
Attaching a hitch to your SUV is easier than you think with the right tools and guidance. This guide walks you through every step—from choosing the right hitch to secure installation—so you can tow confidently and safely.
Key Takeaways
- Choose the correct hitch class: Match your SUV’s towing capacity and intended use (e.g., Class III for light trailers, Class IV for heavier loads).
- Gather essential tools: You’ll need a torque wrench, socket set, jack stands, and safety gear like gloves and goggles.
- Follow the manufacturer’s instructions: Every hitch and SUV model is different—always refer to the provided manual for precise steps.
- Ensure proper alignment: Misaligned hitches can cause damage or unsafe towing; double-check positioning before tightening bolts.
- Torque bolts to spec: Over- or under-tightening can lead to failure—use a torque wrench to meet the recommended settings.
- Test before towing: Do a visual inspection and test drive without a load to confirm everything is secure.
- Consider professional help if unsure: If you’re not confident, hiring a certified installer ensures safety and warranty compliance.
How to Attach Hitch to SUV: A Complete Step-by-Step Guide
So, you’ve decided to attach a hitch to your SUV. Whether you’re planning to tow a small trailer, haul a boat, or carry bikes and cargo, adding a hitch opens up a world of possibilities. But before you grab your toolbox, it’s important to know that installing a hitch isn’t just about bolting on a piece of metal—it’s about doing it safely, correctly, and in a way that protects both your vehicle and your cargo.
In this comprehensive guide, we’ll walk you through everything you need to know about how to attach a hitch to your SUV. From selecting the right hitch for your vehicle to the final safety checks, we’ve got you covered. You’ll learn what tools you need, how to prepare your SUV, step-by-step installation instructions, and troubleshooting tips if things don’t go as planned. By the end, you’ll feel confident tackling this project—or at least know when it’s time to call in a pro.
Let’s get started!
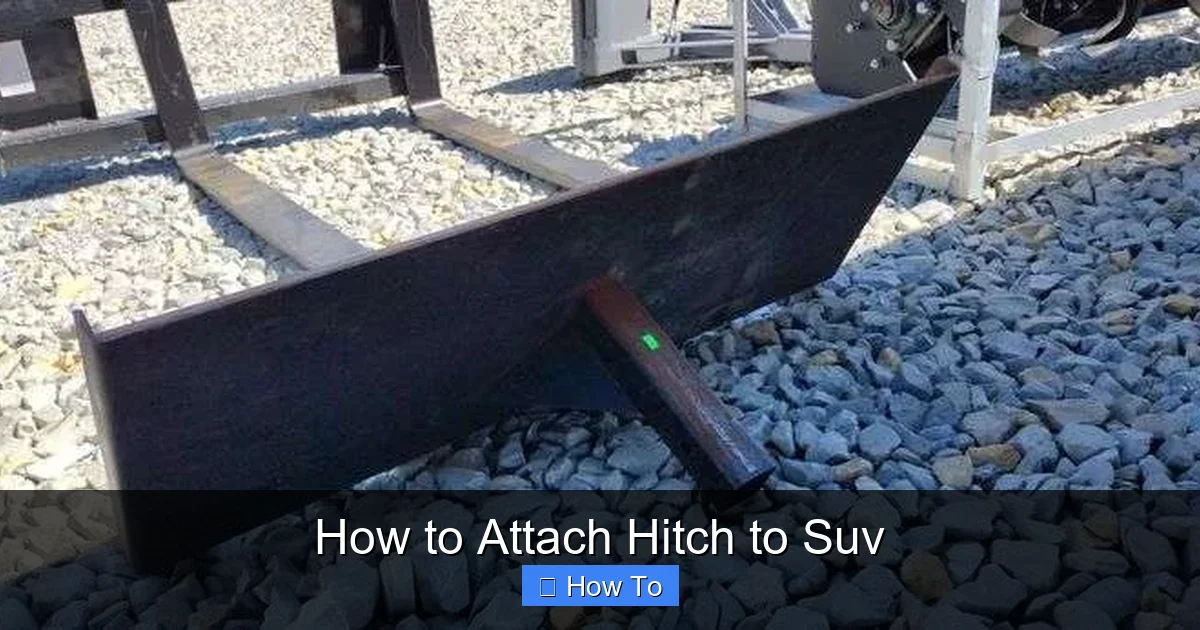
Why Install a Hitch on Your SUV?
Visual guide about How to Attach Hitch to Suv
Image source: bxattachments.com
Before diving into the installation process, it’s worth understanding why adding a hitch is such a smart move. SUVs are built for versatility, and a hitch enhances that capability. Here are a few common reasons people install hitches:
– **Towing trailers:** Whether it’s a utility trailer for moving furniture or a camper for weekend getaways, a hitch lets you tow safely.
– **Bike racks:** Many bike carriers attach directly to a hitch receiver, keeping your bikes secure and freeing up roof space.
– **Cargo carriers:** Need extra storage? Hitch-mounted cargo boxes or baskets can hold luggage, coolers, or camping gear.
– **Boat or jet ski transport:** If you’re heading to the lake, a hitch allows you to tow your watercraft with ease.
But not all hitches are created equal. The type you choose depends on your SUV’s make, model, year, and towing capacity. That’s why the first step in learning how to attach a hitch to your SUV is selecting the right one.
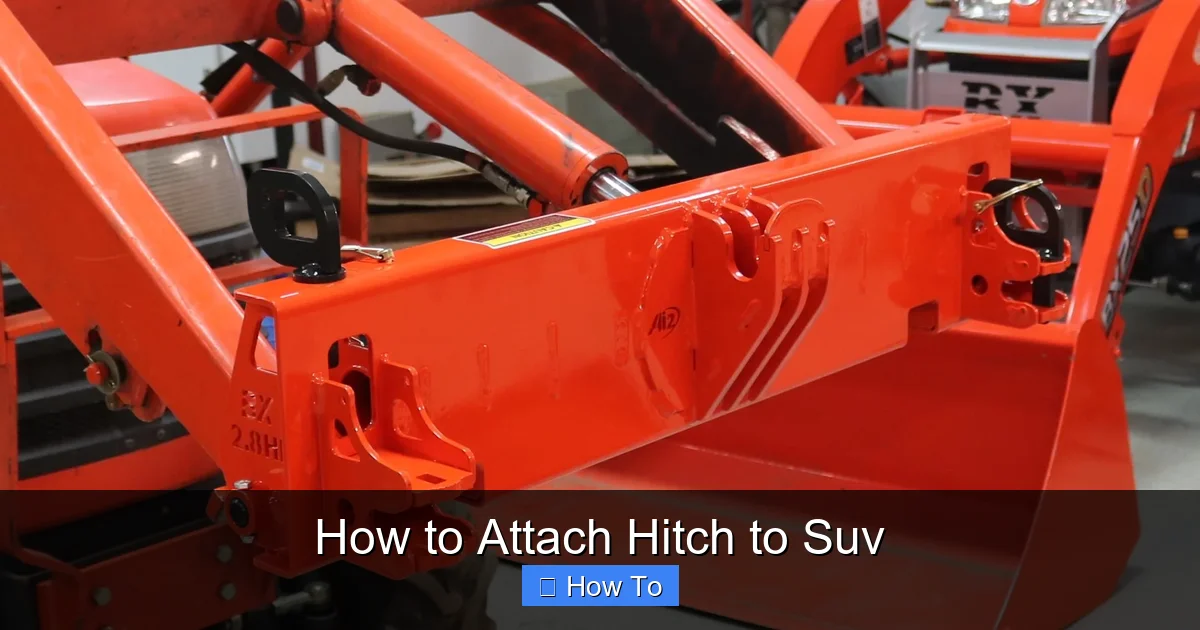
Step 1: Choose the Right Hitch for Your SUV
Visual guide about How to Attach Hitch to Suv
Image source: m.media-amazon.com
Not every hitch fits every SUV. To ensure compatibility and safety, you need to pick the correct hitch class and style for your vehicle.
Understand Hitch Classes
Hitches are categorized into classes based on their weight capacity. Here’s a quick breakdown:
– **Class I:** Up to 2,000 lbs gross trailer weight (GTW), 200 lbs tongue weight. Best for small trailers or bike racks.
– **Class II:** Up to 3,500 lbs GTW, 350 lbs tongue weight. Good for light-duty towing.
– **Class III:** Up to 6,000 lbs GTW, 600 lbs tongue weight. Common for mid-size SUVs and larger trailers.
– **Class IV:** Up to 10,000 lbs GTW, 1,000 lbs tongue weight. Ideal for heavy-duty towing.
– **Class V:** Over 10,000 lbs GTW. Rare for most SUVs, typically used on trucks.
Check your SUV’s owner’s manual to find its maximum towing capacity. Then, choose a hitch that matches or exceeds that rating—but doesn’t go so high that it’s incompatible with your vehicle’s frame.
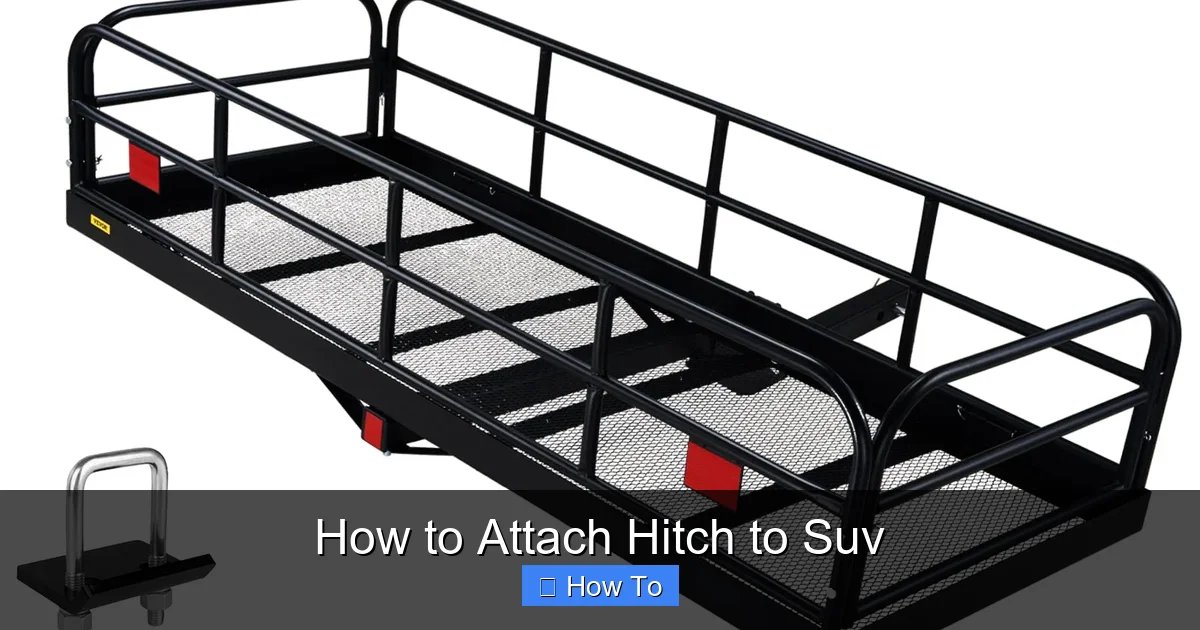
Select the Right Style
Most SUV hitches are **receiver-style**, meaning they have a square tube (usually 1.25” or 2”) that accepts various accessories like ball mounts or bike racks. These are the most versatile and popular.
Other styles include:
– **Gooseneck or fifth-wheel hitches:** Not typically used on SUVs.
– **Bumper hitches:** Less common and not recommended for towing—better for light-duty cargo.
For most SUV owners, a Class III or IV receiver hitch is the best choice.
Check Compatibility
Use online tools from reputable hitch manufacturers (like Curt, Draw-Tite, or Reese) to find hitches compatible with your SUV’s year, make, and model. These tools will show you available options, installation difficulty, and required parts.
Pro tip: Look for hitches labeled “no-drill” or “bolt-on” if you want an easier install. Some may require drilling or minor modifications, so read the product description carefully.
Step 2: Gather Your Tools and Materials
Before you start, make sure you have everything you need. Rushing out to buy tools mid-installation can be frustrating—and dangerous.
Here’s a checklist of essential tools and materials:
– **Torque wrench:** Critical for tightening bolts to the correct specification.
– **Socket set:** Usually includes 10mm, 13mm, 15mm, and 18mm sockets.
– **Ratchet and extensions:** For reaching tight bolts.
– **Jack and jack stands:** To lift and support your SUV safely.
– **Wheel chocks:** Prevent the vehicle from rolling.
– **Safety gear:** Gloves, safety goggles, and closed-toe shoes.
– **Penetrating oil (like WD-40):** Helps loosen rusty bolts.
– **Torque stick (optional):** Makes torqueing bolts easier.
– **Measuring tape or ruler:** For alignment checks.
– **Marker or chalk:** To mark drilling points (if needed).
You’ll also need the hitch kit itself, which should include:
– The hitch receiver
– Mounting brackets
– Bolts, nuts, and washers
– Installation instructions
Double-check that all parts are included before starting.
Step 3: Prepare Your SUV for Installation
Safety first! Proper preparation ensures a smooth and secure installation.
Park on a Level Surface
Choose a flat, stable area like a garage floor or driveway. Avoid slopes—gravity can make lifting and alignment tricky.
Engage the Parking Brake and Chock the Wheels
Put your SUV in “Park” (or first gear for manual transmissions) and set the parking brake. Place wheel chocks behind the rear tires to prevent rolling.
Lift the Vehicle Safely
Use a hydraulic jack to lift the rear of your SUV. Place jack stands under the frame rails—never rely solely on the jack. Lower the vehicle onto the stands and give it a gentle shake to confirm it’s secure.
Never work under a vehicle supported only by a jack.
Remove Obstacles
Depending on your SUV, you may need to remove:
– The spare tire (if mounted under the vehicle)
– Exhaust heat shields
– Rear bumper trim or fascia
– License plate bracket
Refer to your hitch instructions—some installations require temporary removal of these parts.
Clean the Mounting Area
Use a wire brush or rag to clean dirt, rust, or debris from the frame where the hitch will attach. This ensures a solid connection and helps prevent corrosion.
Step 4: Position the Hitch on the Frame
Now it’s time to attach the hitch—but first, you need to position it correctly.
Align the Hitch Brackets
Hold the hitch up to the frame, aligning the mounting holes with the pre-drilled holes on your SUV’s frame. Most hitches are designed to bolt directly into existing frame holes—no drilling required.
If your hitch requires drilling, mark the spots carefully using a marker. Double-check alignment before drilling.
Check for Clearance
Make sure the hitch doesn’t interfere with:
– The exhaust system
– Fuel lines
– Brake lines
– Suspension components
The hitch should sit flat against the frame with no gaps. If there’s a gap, check for obstructions or misalignment.
Temporarily Secure the Hitch
Insert the bolts through the hitch brackets and frame holes. Hand-tighten the nuts to hold the hitch in place. Don’t fully tighten yet—you may need to adjust the position.
Step 5: Tighten the Bolts to Specification
This is the most critical step. Improperly tightened bolts can lead to hitch failure, which is dangerous and potentially deadly.
Use a Torque Wrench
Refer to the hitch manufacturer’s instructions for the correct torque specification—usually listed in foot-pounds (ft-lbs). Common values range from 60 to 120 ft-lbs, depending on bolt size and hitch class.
Never guess the torque. Over-tightening can strip threads or warp the frame. Under-tightening can cause the hitch to loosen over time.
Tighten in a Star Pattern
To ensure even pressure, tighten the bolts in a crisscross or “star” pattern. This prevents warping and ensures the hitch sits flush.
For example, if you have four bolts, tighten them in this order: top-left, bottom-right, top-right, bottom-left.
Double-Check All Bolts
After the initial torque, go back and recheck each bolt. Vibration during tightening can loosen others slightly.
Pro tip: Apply a small amount of anti-seize compound to the bolt threads before installation. This prevents rust and makes future removal easier.
Step 6: Reinstall Removed Components
Once the hitch is securely attached, reattach any parts you removed earlier.
– Reinstall the spare tire (if removed)
– Reattach exhaust heat shields
– Replace bumper trim or fascia
– Reconnect the license plate bracket
Make sure everything fits properly and doesn’t rub against the hitch.
Step 7: Perform a Final Inspection
Before you hit the road, do a thorough check.
Visual Inspection
Look for:
– Proper alignment of the hitch receiver
– No gaps between the hitch and frame
– All bolts are present and tight
– No contact with moving parts
Wiggle Test
Grab the hitch and try to move it side to side or up and down. It should be completely solid—no movement at all.
Test Drive (Without a Load)
Take your SUV for a short, slow drive around the block. Listen for unusual noises like rattling or scraping. If you hear anything, stop and inspect the hitch.
Troubleshooting Common Issues
Even with careful installation, problems can arise. Here’s how to handle the most common ones.
Hitch Doesn’t Fit Properly
– **Cause:** Wrong hitch model or damaged frame holes.
– **Fix:** Double-check the hitch part number against your SUV’s specs. If the frame holes are stripped or misaligned, consult a professional.
Bolt Holes Don’t Line Up
– **Cause:** Hitch may be upside down or misoriented.
– **Fix:** Flip the hitch over and try again. Some hitches are reversible.
Rattling Noise While Driving
– **Cause:** Loose bolts or missing washers.
– **Fix:** Stop and retighten all bolts to the correct torque. Add washers if needed.
Hitch Touches the Ground
– **Cause:** Hitch is too low for your SUV’s ground clearance.
– **Fix:** Consider a hitch with a higher rise or use a drop hitch if towing a low trailer.
Exhaust or Suspension Interference
– **Cause:** Hitch installed too close to moving parts.
– **Fix:** Adjust the hitch position slightly or use spacers (if allowed by the manufacturer). Never force the hitch into place.
When to Call a Professional
While many SUV owners can install a hitch themselves, there are times when it’s best to hire a certified installer.
Consider professional help if:
– You’re not comfortable using power tools or lifting your vehicle
– Your SUV requires welding or major modifications
– You’re unsure about torque specifications
– The hitch is for heavy-duty towing (Class IV or V)
– You want to preserve your vehicle’s warranty
Most auto parts stores and dealerships offer hitch installation services for a reasonable fee—often under $200.
Maintaining Your Hitch
Once installed, your hitch needs regular care to stay in top condition.
– **Clean regularly:** Wash off dirt, salt, and grime, especially in winter.
– **Inspect bolts:** Check torque every few months or after heavy use.
– **Lubricate moving parts:** Use grease on the receiver tube and ball mount.
– **Store accessories properly:** Remove bike racks or cargo carriers when not in use to prevent theft and wear.
A well-maintained hitch lasts for years—and keeps you safe on the road.
Conclusion
Learning how to attach a hitch to your SUV doesn’t have to be intimidating. With the right hitch, tools, and a little patience, you can complete this project in a few hours and gain valuable towing capability.
Remember: safety is paramount. Always follow the manufacturer’s instructions, use a torque wrench, and double-check your work. If something feels off, don’t ignore it—address it immediately or seek professional help.
Whether you’re towing a trailer for a weekend adventure or just need extra cargo space, a properly installed hitch makes your SUV even more versatile. So grab your tools, take your time, and enjoy the confidence that comes with doing it right.
Happy towing!