
Building a kayak rack for your SUV is a cost-effective and customizable solution for safe transport. This guide walks you through every step—from planning and materials to installation and safety checks—so you can haul your kayak with confidence.
Key Takeaways
- Plan before you build: Measure your SUV roof, kayak size, and weight to ensure a proper fit and safe load capacity.
- Use weather-resistant materials: Choose marine-grade wood, stainless steel hardware, and UV-resistant foam to protect your rack from the elements.
- Secure mounting is critical: Use crossbars or roof rails with strong clamps or U-bolts to prevent shifting during transit.
- Protect your kayak and vehicle: Add padded contact points and avoid over-tightening straps to prevent damage.
- Test before you drive: Always do a short test drive and recheck all connections to ensure everything is secure.
- Customize for comfort: Adjust rack height and width to make loading and unloading easier, especially for solo paddlers.
- Maintain regularly: Inspect bolts, straps, and padding periodically to keep your DIY rack in top condition.
How to Build a Kayak Rack for SUV
If you love kayaking but hate the hassle of transporting your boat, building a kayak rack for your SUV might be the perfect DIY project. Not only is it more affordable than buying a pre-made rack, but it also lets you customize the design to fit your specific vehicle and kayak. Whether you’re a weekend warrior or a full-time adventurer, a well-built roof rack can make all the difference in safety, convenience, and peace of mind.
In this comprehensive guide, you’ll learn how to build a sturdy, reliable kayak rack for your SUV using simple tools and readily available materials. We’ll cover everything from planning and measuring to assembly, installation, and safety tips. By the end, you’ll have a custom solution that keeps your kayak secure on the roof while protecting both your gear and your vehicle.
Let’s dive in!
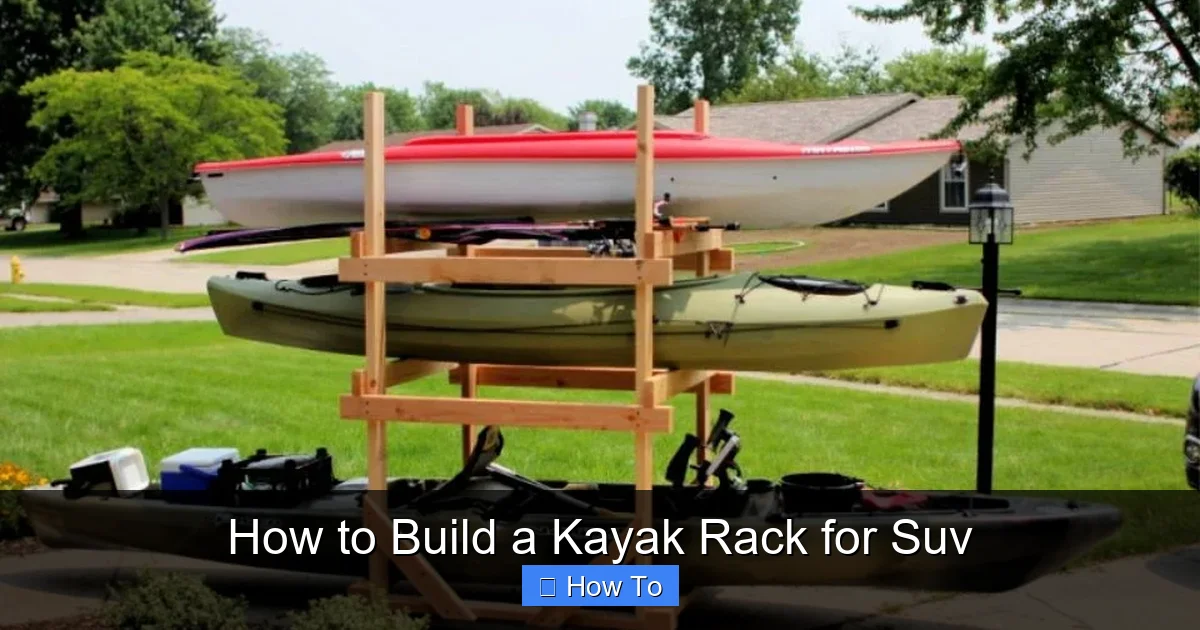
Why Build Your Own Kayak Rack?
Visual guide about How to Build a Kayak Rack for Suv
Image source: media.blitsy.com
Buying a commercial kayak rack can cost anywhere from $150 to $500 or more, depending on the brand and features. While these racks are convenient, they’re not always a perfect fit for every SUV or kayak setup. Building your own rack gives you full control over the design, materials, and functionality.
Cost savings are a major benefit. With basic lumber, foam padding, and hardware, you can build a durable rack for under $100. You also avoid the markup that comes with branded products.
Customization is another advantage. Maybe your SUV has a unique roof shape, or your kayak is extra long or heavy. A DIY rack lets you tailor the dimensions and support points to your exact needs.
Plus, there’s something deeply satisfying about using something you built yourself. It’s a project that combines practicality with creativity—and once it’s done, you’ll have a rack that’s truly yours.
Tools and Materials You’ll Need
Visual guide about How to Build a Kayak Rack for Suv
Image source: rcfact.com
Before you start building, gather all the necessary tools and materials. Having everything on hand will make the process smoother and more efficient.
Tools
- Circular saw or handsaw
- Drill with drill bits
- Measuring tape
- Pencil or marker
- Sandpaper (medium and fine grit)
- Clamps (optional but helpful)
- Wrench or socket set
- Safety goggles and work gloves
Materials
- 2×4 or 2×6 pressure-treated or marine-grade lumber (length depends on your SUV width)
- 1-inch thick foam padding (closed-cell, UV-resistant)
- Stainless steel U-bolts or heavy-duty roof rack clamps
- Stainless steel bolts, nuts, and washers (at least ¼-inch diameter)
- Waterproof wood glue
- Exterior-grade wood screws
- Roof rack crossbars (if your SUV doesn’t have built-in rails)
- Bungee cords or ratchet straps (for securing the kayak)
- Paint or wood sealant (optional, for extra protection)
Optional Upgrades
- Rubber edge trim (to protect the kayak hull)
- Quick-release buckles for straps
- Reflective tape (for visibility at night)
- Adjustable arms (for multiple kayak sizes)
Step 1: Measure Your SUV and Kayak
The first and most important step is measuring. A poorly sized rack can damage your kayak, your SUV, or both. Take your time with this step—accuracy is key.
Measure Your SUV Roof
Start by measuring the width of your SUV’s roof from left to right. Most SUVs are between 60 and 75 inches wide. Use a measuring tape to find the widest usable area, avoiding areas with antennas, sunroofs, or roof racks that can’t be removed.
Next, check if your SUV has existing roof rails or crossbars. Many modern SUVs come with factory-installed rails. If yours doesn’t, you’ll need to install aftermarket crossbars. These are essential for mounting your DIY rack securely.
Measure Your Kayak
Lay your kayak on a flat surface and measure its length, width, and weight. Most recreational kayaks are 9 to 12 feet long and 28 to 34 inches wide. Touring or fishing kayaks can be longer and heavier.
Note the weight—this will help determine how much support your rack needs. A typical kayak weighs 40 to 70 pounds, but some fishing models can exceed 100 pounds.
Determine Rack Dimensions
Your rack should be slightly wider than your kayak to provide stable support. Aim for a width that’s 2 to 4 inches wider than the kayak’s widest point. For example, if your kayak is 32 inches wide, make the rack about 36 inches wide.
The length of the rack arms (the parts that extend outward to cradle the kayak) should be at least 12 to 18 inches long. This gives enough surface area to distribute the weight and prevent tipping.
Step 2: Design Your Rack
Now that you have your measurements, it’s time to sketch a simple design. You don’t need to be an engineer—just a clear plan will do.
Choose a Rack Style
There are two common styles for DIY kayak racks:
J-Rack Style: The kayak rests on its side in a J-shaped cradle. This saves space and is great for single kayaks.
Flat Rack Style: The kayak sits flat on top of horizontal supports. This is simpler to build and works well for wider or heavier kayaks.
For most SUV owners, the flat rack style is easier to build and more stable. It also allows for easier loading and unloading, especially if you’re doing it alone.
Sketch the Layout
Draw a top-down view of your rack. Include:
– The main crossbar that attaches to the SUV roof
– Two support arms that extend outward
– Padding placement
– Bolt holes for mounting
Make sure the support arms are evenly spaced and centered on the crossbar. This ensures balanced weight distribution.
Calculate Material Lengths
Based on your SUV width and desired rack width, calculate how long your 2x4s need to be. For example:
– Crossbar: 40 inches (to fit within roof rails)
– Support arms: 16 inches each (two pieces)
Always add a little extra length for safety and ease of cutting.
Step 3: Cut and Prepare the Wood
With your design ready, it’s time to cut the wood. Safety first—wear goggles and gloves, and work in a well-ventilated area.
Cut the Pieces
Use a circular saw or handsaw to cut:
– One crossbar (e.g., 40 inches)
– Two support arms (e.g., 16 inches each)
Double-check your measurements before cutting. It’s better to cut once than to fix mistakes later.
Sand the Edges
Use medium-grit sandpaper to smooth all cut edges and corners. This prevents splinters and makes the rack safer to handle. Follow up with fine-grit sandpaper for a smooth finish.
Seal the Wood (Optional)
If you want your rack to last longer, apply a coat of exterior wood sealant or paint. This protects against moisture, UV rays, and warping. Let it dry completely before moving to the next step.
Step 4: Attach the Support Arms
Now it’s time to assemble the rack. This step creates the structure that will hold your kayak.
Position the Arms
Place the two support arms perpendicular to the crossbar. Space them evenly—about 12 to 18 inches apart—depending on your kayak’s width. Use clamps to hold them in place while you work.
Drill Pilot Holes
Pre-drill holes through the crossbar into the support arms. This prevents the wood from splitting when you insert screws. Use a drill bit slightly smaller than your screws.
Secure with Screws and Glue
Apply waterproof wood glue to the joints for extra strength. Then, drive exterior-grade wood screws through the crossbar into each support arm. Use at least two screws per joint.
Let the glue dry according to the manufacturer’s instructions—usually 1 to 2 hours.
Step 5: Add Padding
Padding is essential to protect your kayak’s hull from scratches and dents. It also provides grip to prevent slipping.
Cut the Foam
Measure the top surface of each support arm and cut pieces of closed-cell foam to match. Closed-cell foam is waterproof, durable, and resists compression.
Attach the Foam
Use waterproof adhesive or heavy-duty double-sided tape to attach the foam to the support arms. Press firmly to ensure a strong bond.
Add Edge Protection (Optional)
For extra protection, wrap the top edges of the support arms with rubber edge trim. This prevents the kayak from rubbing against bare wood.
Step 6: Mount the Rack to Your SUV
This is the most critical step for safety. A poorly mounted rack can come loose on the highway, causing serious damage or injury.
Install Crossbars (If Needed)
If your SUV doesn’t have roof rails, install aftermarket crossbars. Follow the manufacturer’s instructions carefully. Make sure they’re rated for the weight of your kayak plus the rack.
Position the Rack
Place your DIY rack on top of the crossbars or roof rails. Center it so the weight is evenly distributed. The support arms should extend outward, away from the vehicle.
Secure with U-Bolts or Clamps
Use stainless steel U-bolts or heavy-duty roof rack clamps to attach the crossbar to the crossbars or rails. Tighten the bolts with a wrench, but don’t over-tighten—this can damage the roof or warp the wood.
Double-check that the rack is level and doesn’t wobble.
Step 7: Secure Your Kayak
With the rack in place, it’s time to load your kayak.
Position the Kayak
Carefully lift the kayak onto the rack. Place it so it’s centered and balanced. The bow (front) and stern (back) should extend equally beyond the rack.
Use Straps to Tie Down
Use ratchet straps or heavy-duty cam buckle straps to secure the kayak. Loop the straps over the kayak and under the crossbars. Tighten them evenly to avoid shifting.
Pro Tip: Use bow and stern lines (additional straps tied to the front and back of the vehicle) for extra security, especially on long trips or highways.
Check for Movement
Give the kayak a gentle shake. It should not move side to side or front to back. If it does, tighten the straps or adjust the rack position.
Safety Tips and Best Practices
Building a kayak rack is only half the job—using it safely is just as important.
Never Exceed Weight Limits
Check your SUV’s roof load capacity in the owner’s manual. Most SUVs can handle 100 to 165 pounds on the roof. Include the weight of the rack and kayak.
Drive Cautiously
A kayak on the roof increases wind resistance and affects handling. Drive slower than usual, especially in windy conditions or on highways.
Check Straps Regularly
Vibration can loosen straps over time. Stop every 30 to 60 minutes on long trips to check and retighten if needed.
Avoid Low Clearances
Remember your kayak adds height to your vehicle. Watch out for low bridges, parking garages, and tree branches.
Use Reflective Markers
If you’re driving at night, attach reflective tape or lights to the ends of the kayak for visibility.
Troubleshooting Common Issues
Even the best DIY projects can run into problems. Here’s how to fix common issues:
Rack Wobbles or Shifts
This usually means the mounting hardware isn’t tight enough or the crossbars aren’t secure. Recheck all bolts and clamps. Consider adding rubber washers to reduce vibration.
Kayak Slips Off the Rack
The foam may be too smooth or the straps too loose. Replace the foam with a grippier material or use additional straps. Bow and stern lines can also help.
Wood Warps or Cracks
This happens if the wood isn’t sealed or is exposed to moisture. Sand and reseal the rack. Consider using marine-grade plywood for future builds.
Roof Damage
Over-tightening clamps can dent or scratch the roof. Use rubber pads between the rack and roof to protect the paint.
Maintenance and Upkeep
To keep your DIY kayak rack in great shape, follow these maintenance tips:
– Inspect bolts and straps before every trip.
– Clean the rack with mild soap and water after use, especially if you’ve been near saltwater.
– Reapply wood sealant once a year.
– Store the rack indoors during winter to extend its life.
Conclusion
Building a kayak rack for your SUV is a rewarding project that saves money, improves functionality, and gives you peace of mind on the road. With careful planning, quality materials, and attention to safety, you can create a custom solution that works perfectly for your vehicle and your kayak.
Remember: measure twice, cut once, and always prioritize safety. Whether you’re heading to a calm lake or a rushing river, your DIY rack will get you there with confidence.
Now grab your tools, follow this guide, and get ready to hit the water—your kayak is waiting!