
This guide walks you through building a custom LEGO Police SUV from scratch, using basic bricks and creative techniques. You’ll learn essential building skills, design tips, and how to add realistic details like sirens and decals. Whether you’re a kid or an adult fan of LEGO, this project is fun, educational, and perfect for display or play.
Key Takeaways
- Start with a solid base: A strong chassis ensures your LEGO Police SUV stays intact during play and display.
- Use color wisely: Classic police colors like white, black, and blue help your build look authentic and recognizable.
- Incorporate functional details: Add working doors, a removable roof, and interior seating to boost realism and play value.
- Customize with decals and stickers: Use printed tiles or sticker sheets to add police logos, license plates, and warning signs.
- Include emergency lighting: Transparent red and blue bricks or LED lights make your SUV look like a real patrol vehicle.
- Follow a step-by-step process: Breaking the build into stages prevents mistakes and keeps you organized.
- Adapt and innovate: Once you master the basics, modify the design to create your own unique police vehicle.
Introduction: Why Build a LEGO Police SUV?
Building a LEGO Police SUV is more than just snapping bricks together—it’s a creative adventure that combines imagination, engineering, and storytelling. Whether you’re a parent looking for a fun activity with your kids, a LEGO enthusiast expanding your city collection, or a teacher using LEGO for hands-on learning, this project offers something for everyone.
In this comprehensive guide, you’ll learn how to build a detailed, playable LEGO Police SUV from basic LEGO bricks. No need for expensive official sets—this design uses common pieces you might already have at home. We’ll cover everything from planning your build to adding realistic touches like emergency lights, police decals, and a functional interior.
By the end of this guide, you’ll have a custom police vehicle that looks great on display or stands ready for action in your LEGO city. Plus, you’ll gain valuable building skills you can use in future LEGO projects. So grab your bricks, clear some space, and let’s get building!
What You’ll Need: LEGO Pieces and Tools
Before we dive into the build, let’s make sure you have the right materials. You don’t need a specific LEGO set—just a collection of common bricks, plates, and specialty pieces. Here’s a list of recommended parts:
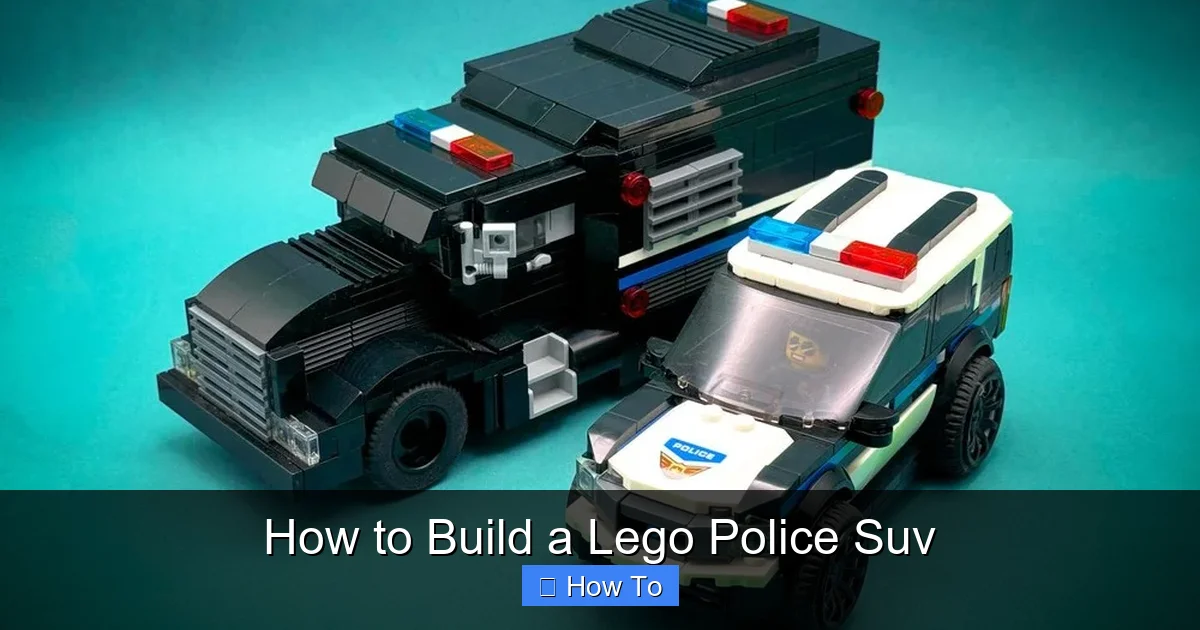
Visual guide about How to Build a Lego Police Suv
Image source: cdn.rebrickable.com
- Baseplates: 1x 32×32 or 16×16 green or gray baseplate (for building surface)
- Bricks: 1×1, 1×2, 1×4, 2×2, 2×4, 2×6, and 2×8 bricks in white, black, and blue
- Plates: 1×1, 1×2, 1×4, and 2×2 plates in various colors
- Slopes: 45-degree slopes (1×2 and 1×4) for the windshield and hood
- Windscreens: Transparent or clear 2×4 or 2×6 windscreen pieces
- Doors and windows: Standard LEGO doors and window frames
- Tires and wheels: Four standard car wheels with black tires
- Transparent bricks: Red and blue 1×1 or 1×2 transparent bricks for lights
- Minifigure accessories: Police hats, walkie-talkies, and handcuffs (optional)
- Decals or stickers: Police logos, “POLICE” text, and license plates
- Building base: A flat, well-lit workspace with good lighting
If you’re missing a few pieces, don’t worry—LEGO is all about creativity. You can substitute similar bricks or adjust the design slightly. The goal is to have fun and learn, not to follow every step perfectly.
Step 1: Planning Your LEGO Police SUV Design
Great LEGO builds start with a plan. Before snapping any bricks, take a moment to sketch or visualize your police SUV. Think about the real-world inspiration: modern police SUVs like the Ford Explorer or Chevrolet Tahoe used by law enforcement. They’re boxy, sturdy, and full of features.
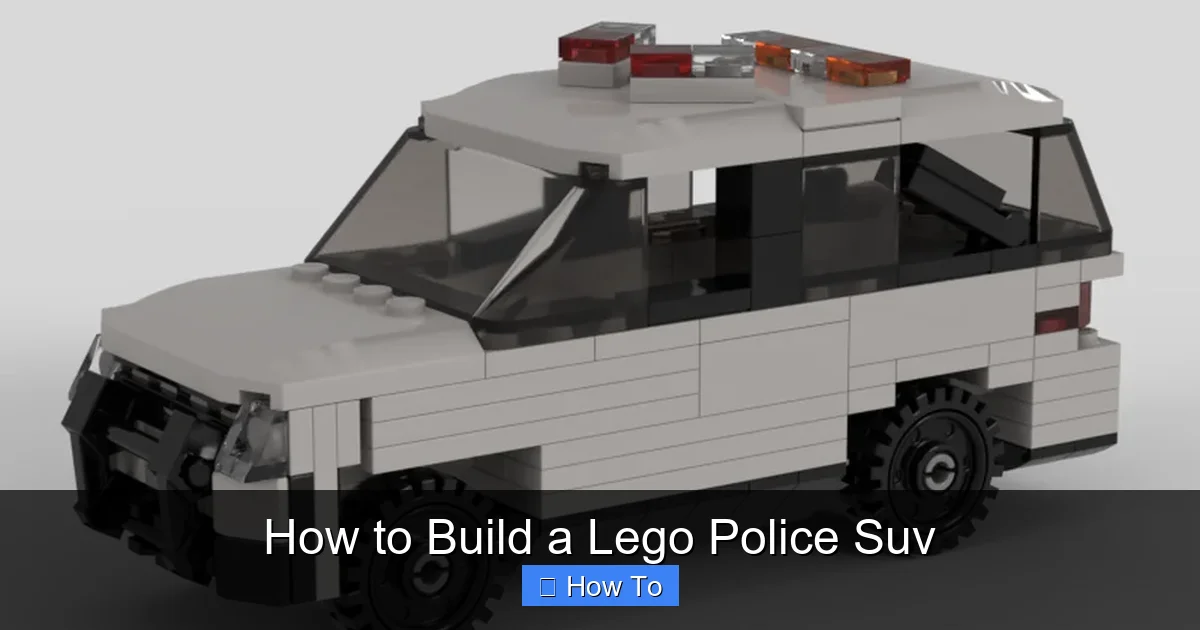
Visual guide about How to Build a Lego Police Suv
Image source: cdn.rebrickable.com
Choose a Scale
Decide how big you want your SUV to be. A good size for play and display is about 6-8 studs wide and 12-16 studs long. This fits well with standard LEGO minifigures and allows room for interior details.
Pick a Color Scheme
Most police vehicles use a white body with black or dark blue accents. Add reflective blue and red stripes for authenticity. You can also include yellow warning stripes on the sides or rear.
Plan Key Features
List the features you want to include:
- Four doors that open
- A removable or hinged roof for access
- Front and rear windshields
- Police light bar on the roof
- Side mirrors
- License plates on front and back
- Interior seating for two minifigures
- Storage compartment in the back
Write down your ideas or draw a simple sketch. This will help you stay on track during the build.
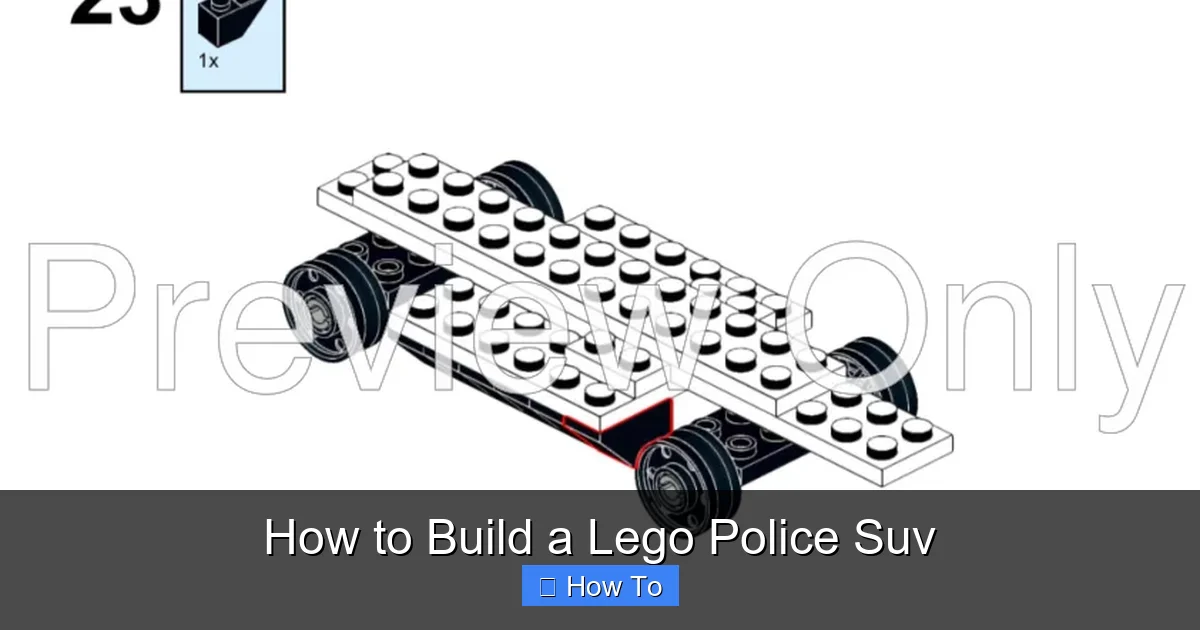
Step 2: Building the Chassis and Base
The chassis is the foundation of your LEGO Police SUV. It needs to be strong enough to support the body and wheels but flexible enough to allow for movement and play.
Create the Base Frame
Start with a 2×8 or 2×10 plate in black or gray. This will be the floor of your vehicle. Attach two 1×8 bricks along the long edges to form the sides of the chassis. Use 1×2 bricks at the corners to reinforce the structure.
Add Cross Supports
To prevent the chassis from bending, add cross supports underneath. Use 1×4 or 1×6 bricks placed perpendicular to the side rails, spaced every 4-6 studs. This creates a grid-like frame that distributes weight evenly.
Install the Wheel Axles
LEGO wheels connect via axles that slide through Technic pins or brick-built axle holes. For a simple build, use standard wheel hubs with built-in axles. Attach one wheel assembly to the front and one to the rear of the chassis. Make sure they’re aligned so the vehicle rolls straight.
Test the Movement
Once the wheels are attached, roll the chassis on a flat surface. If it wobbles or drags, adjust the wheel alignment. You can use 1×1 round plates or tiles under the wheels to level them.
Pro Tip: If you have LEGO Technic pieces, consider using a more advanced suspension system for realistic bouncing. But for most builders, a solid axle works just fine.
Step 3: Constructing the Body and Cabin
Now it’s time to build the main body of the police SUV. We’ll start with the lower section and work our way up.
Build the Lower Body
Use 2×4 and 2×6 white bricks to form the sides of the vehicle. Start at the front and work toward the back. Leave space for doors—typically 2-3 studs wide per door. Use 1×2 bricks with clips or hinges if you want functional doors.
Add the Front and Rear Bumpers
Use 1×8 or 1×10 black plates for the front and rear bumpers. Attach them to the chassis with 1×2 bricks or clips. You can angle them slightly for a more realistic look.
Install the Windshield
For the front windshield, use a 2×4 or 2×6 transparent slope piece. Attach it to the top of the front cabin wall. Make sure it’s angled correctly—around 45 degrees—to mimic a real SUV windshield.
Build the Roof
The roof should be removable for easy access to the interior. Use a 2×8 or 2×10 white plate as the base. Add 1×2 bricks around the edges to create a lip that sits on the cabin walls. You can secure it with a single stud or clip so it lifts off easily.
Add Side Windows
Use transparent 1×2 or 1×4 tiles for the side windows. Place them between the door frames. For a cleaner look, use window frames (1×2 or 1×4 with open centers) and insert the transparent pieces inside.
Step 4: Adding Doors and Interior Details
Functional doors and a detailed interior make your LEGO Police SUV feel alive. Let’s add those now.
Build the Doors
Each door should be 2-3 studs wide. Use 1×2 or 1×3 bricks for the door panels. Attach them to the body using 1×2 hinges or clips. Make sure they swing open smoothly. Add small handles using 1×1 round plates or minifigure handrails.
Create the Interior
Inside the cabin, build two front seats using 1×2 or 1×4 plates. Add backrests with 1×2 bricks. Use black or gray for the seats to look like real car upholstery.
Add Dashboard and Controls
On the front dashboard, use 1×1 and 1×2 plates to create a control panel. Add a steering wheel using a 1×1 round plate with a bar. You can also include a radio or computer screen using printed tiles.
Include Storage Space
In the back, leave an open area for storage. Add a small compartment using 1×2 bricks and a hinged lid. This is where police gear like flashlights or first aid kits can go.
Seat the Minifigures
Place two police minifigures inside—one as the driver, one as the passenger. Make sure they fit comfortably and can be removed easily.
Step 5: Adding Police Details and Accessories
This is where your LEGO Police SUV transforms from a regular car into a law enforcement vehicle. Let’s add the signature features.
Paint the Body (With Bricks!)
Use blue and red 1×2 or 1×4 bricks to create reflective stripes on the sides. Place them diagonally or horizontally, depending on your design. Add yellow warning stripes on the rear bumper using 1×2 yellow bricks.
Install the Light Bar
The light bar is a must-have for any police vehicle. Build a small platform on the roof using 2×4 plates. Attach transparent red and blue 1×1 or 1×2 bricks in an alternating pattern. For extra realism, use a 1×4 transparent tile as the base and place the colored bricks on top.
Add Decals and Stickers
Use printed LEGO tiles or custom sticker sheets to add “POLICE” text on the doors and sides. Include a license plate on the front and back using a 1×4 tile with printed numbers. You can also add a police badge or department logo.
Include Side Mirrors
Build small side mirrors using 1×1 round plates and 1×1 slopes. Attach them to the front doors with hinges so they can pivot. Use black or gray for the mirror housing and transparent white for the mirror glass.
Add a Radio Antenna
On the rear fender, attach a 1×1 round plate with a bar or a thin rod to represent a radio antenna. You can also add a small satellite dish using a 1×1 round tile.
Step 6: Final Touches and Customization
Your LEGO Police SUV is almost complete! Now it’s time for the finishing touches.
Test All Moving Parts
Open and close all doors. Lift the roof. Roll the vehicle. Make sure everything works smoothly. If a door sticks, adjust the hinge. If the roof doesn’t sit flat, add a small support brick underneath.
Add Minifigure Accessories
Equip your police minifigures with hats, walkie-talkies, and handcuffs. Place a flashlight in the storage compartment. You can also add a police dog in the back seat using a small LEGO animal figure.
Create a Scene
Build a small LEGO city scene around your SUV. Add a road plate, traffic lights, and a police station. This makes your creation part of a larger story.
Customize Your Design
Now that you’ve mastered the basics, try modifying your SUV. Add a roof rack, a winch on the front, or a battering ram. Create a K-9 unit version with a dog carrier. The possibilities are endless!
Troubleshooting Common Building Issues
Even the best builders run into problems. Here are some common issues and how to fix them.
Doors Won’t Stay Closed
If your doors keep swinging open, add a small magnet or a 1×1 round plate with a stud on the inside. This creates a slight resistance when the door closes.
Vehicle Tips Over
If your SUV is top-heavy, add weight to the chassis. Use 2×2 or 2×4 bricks in the floor or under the seats. Avoid stacking too many bricks on the roof.
Wheels Don’t Roll Smoothly
Check that the axles are straight and the wheels are aligned. Remove any loose bricks or plates that might be rubbing against the tires.
Roof Doesn’t Fit Properly
Make sure the cabin walls are even. Use a level or ruler to check alignment. If the roof is too tight, sand down the edges slightly or use a larger plate.
Decals Won’t Stick
If you’re using sticker sheets, apply them to smooth, clean surfaces. Avoid placing stickers on sloped or curved bricks. Use a small amount of glue (sparingly) if needed, but be careful—it can damage the bricks.
Conclusion: Your LEGO Police SUV Is Ready for Action!
Congratulations! You’ve successfully built a detailed, functional LEGO Police SUV from scratch. This project not only gives you a cool new vehicle for your LEGO city but also teaches valuable skills like planning, problem-solving, and creative design.
Remember, LEGO is all about imagination. Don’t be afraid to tweak the design, add your own features, or build multiple versions. Maybe next you’ll create a fire truck, an ambulance, or a SWAT van.
Share your creation with friends, post it online, or display it proudly on your shelf. And if you’re looking for your next challenge, try motorizing your SUV with LEGO Power Functions or adding remote control.
Happy building, and may your LEGO city always be safe and sound—thanks to your brave police officers and their trusty SUV!