
Building trunk storage for your SUV is a smart way to stay organized on road trips, camping adventures, or daily errands. This guide walks you through planning, designing, and installing custom storage that fits your vehicle and lifestyle.
Key Takeaways
- Plan before you build: Measure your SUV’s trunk space and list your storage needs to create a layout that works.
- Use lightweight, durable materials: Plywood, MDF, or plastic bins keep weight down while holding up over time.
- Maximize vertical space: Add shelves, drawers, or lift-up panels to use every inch efficiently.
- Secure everything properly: Use bolts, brackets, or non-slip mats to prevent shifting while driving.
- Keep it modular: Design removable or adjustable sections so you can adapt to different loads.
- Prioritize safety and access: Ensure nothing blocks your view or interferes with seat functions.
- Test and refine: After installation, load it up and drive to see what works—then tweak as needed.
How to Build Trunk Storage SUV: A Complete DIY Guide
If you’ve ever opened your SUV’s trunk only to find a jumble of groceries, sports gear, and random clutter, you’re not alone. Whether you’re a weekend warrior hauling camping supplies, a parent shuttling kids to practice, or just someone who likes things neat, building trunk storage for your SUV can transform your ride. The good news? You don’t need to be a master carpenter or spend hundreds on aftermarket systems. With some basic tools, smart planning, and a little creativity, you can build a custom trunk storage solution that fits your needs perfectly.
In this guide, we’ll walk you through every step—from measuring your space to installing the final drawer. You’ll learn how to design a system that’s functional, safe, and easy to use. We’ll cover materials, tools, layout ideas, and pro tips to help you avoid common mistakes. By the end, you’ll have a clean, organized trunk that makes loading and unloading a breeze.
Why Build Your Own Trunk Storage?
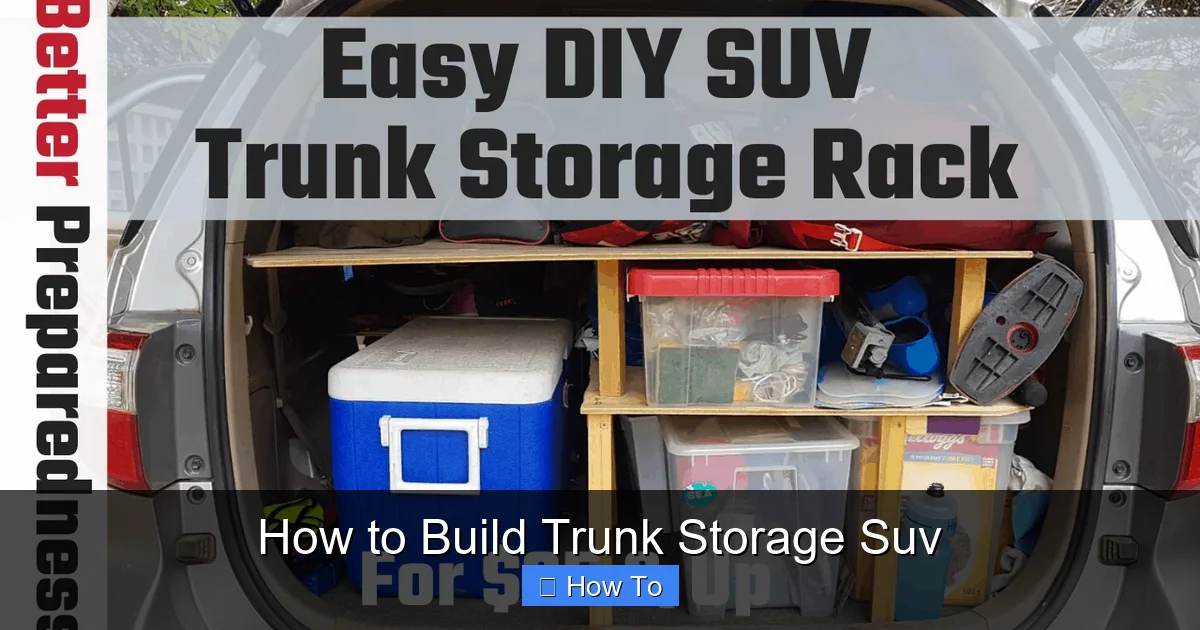
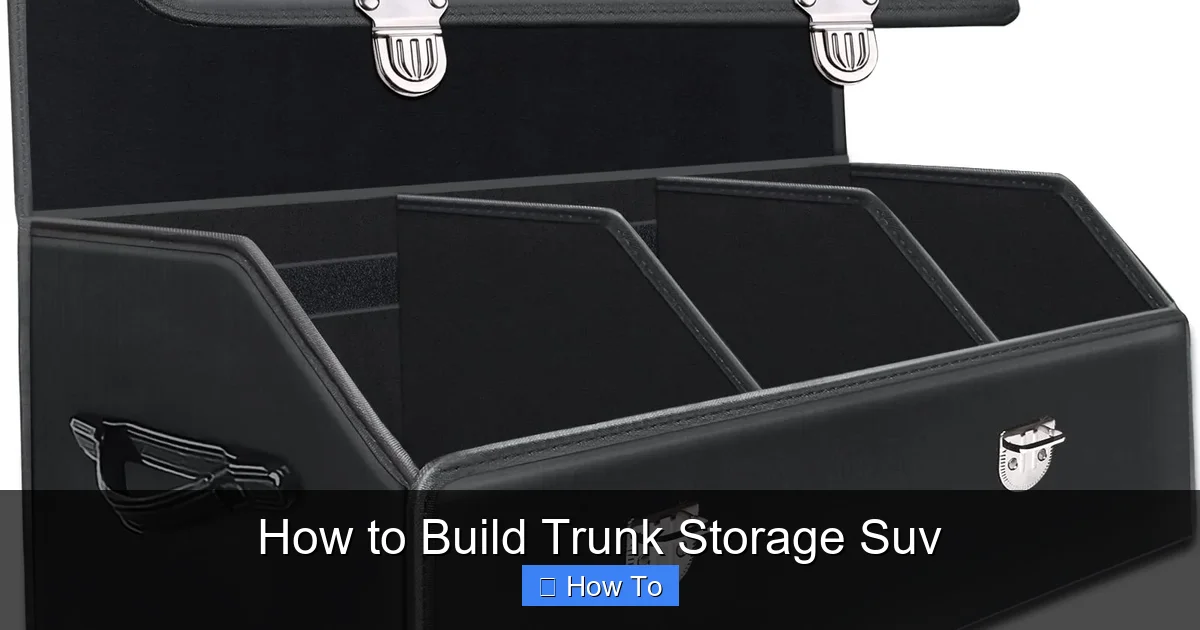
Visual guide about How to Build Trunk Storage Suv
Image source: betterpreparedness.com
Before diving into the build, let’s talk about why DIY trunk storage is worth the effort. Factory-installed cargo systems are often limited in flexibility and can be pricey. Aftermarket organizers might not fit your specific SUV model or lifestyle. Building your own gives you full control over size, shape, and features.
Custom trunk storage lets you:
– Maximize space by using every nook and cranny.
– Organize by category—tools in one drawer, snacks in another, emergency kit in a hidden compartment.
– Adapt to changing needs—swap out bins or add shelves as your gear evolves.
– Save money compared to buying pre-made systems.
– Personalize your ride with colors, labels, or even built-in lighting.
Plus, there’s something deeply satisfying about using something you built yourself. It’s practical, personal, and built to last.
Step 1: Assess Your SUV’s Trunk Space
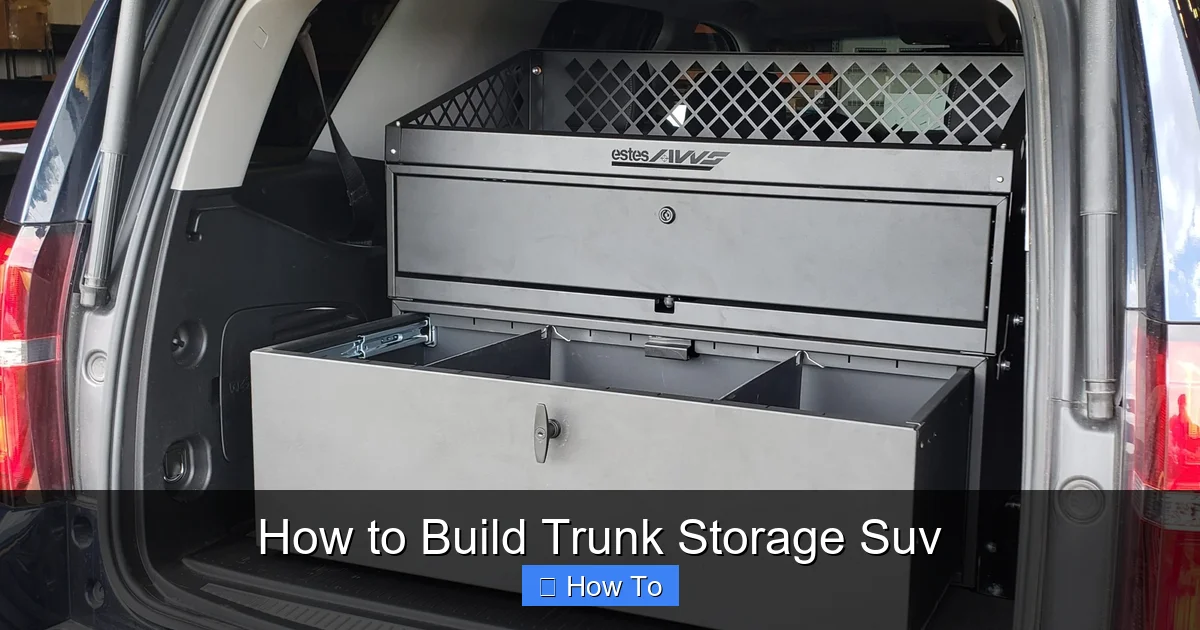
Visual guide about How to Build Trunk Storage Suv
Image source: estesaws.com
The first step in building trunk storage for your SUV is understanding the space you’re working with. Every SUV is different—some have deep wells, others have fold-flat seats, and many have irregular shapes due to spare tires or wheel wells.
Measure the Dimensions
Grab a tape measure and note the following:
– Length (front to back)
– Width (side to side, at the widest point)
– Height (from floor to the bottom of the trunk opening)
– Depth of any recessed areas (like under the floor mat)
Don’t forget to measure around obstacles like the spare tire, jack, or rear seat anchors. Take photos or sketch a rough diagram to visualize the space.
Check Seat Configurations
If your SUV has foldable rear seats, test how they move. Can they fold flat? Do they create a ramp or a gap? This affects how you design your storage—especially if you want a flat loading surface.
Identify Anchor Points
Look for built-in tie-down hooks, seatbelt anchors, or cargo rails. These can be used to secure your storage system and prevent it from sliding around.
Consider Weight Limits
SUV trunks have weight limits—usually listed in the owner’s manual. A heavy wooden box might overload the floor or make the vehicle unsafe. Keep your design lightweight and distribute weight evenly.
Step 2: Define Your Storage Needs
Now that you know your space, think about what you’ll store. This will shape your design.
List Your Gear
Make a list of items you regularly carry:
– Groceries
– Sports equipment (balls, helmets, shoes)
– Camping gear (tent, stove, cooler)
– Tools or work supplies
– Emergency kit (jumper cables, flashlight, first aid)
– Pet supplies (crate, food, toys)
Group similar items together. For example, all camping gear in one section, daily essentials in another.
Prioritize Accessibility
Ask yourself:
– Which items do I use most often? (Put these in easy-to-reach spots.)
– Which items are heavy? (Store low and centered for balance.)
– Do I need quick access while driving? (Consider front-facing drawers or open bins.)
Think About Frequency
If you only camp once a month, you don’t need a permanent tent compartment. But if you go every weekend, a dedicated slot makes sense.
Step 3: Choose Your Design Style
There are several ways to build trunk storage for your SUV. Choose one that matches your needs and skill level.
Modular Bin System
Use plastic storage bins that sit directly on the trunk floor. This is the easiest and cheapest option. You can label bins, stack them, and remove them when needed. Great for renters or people who want flexibility.
Fixed Shelf Unit
Build a permanent shelf that divides the trunk horizontally. Ideal for separating heavy items (bottom) from lighter ones (top). Can be made from plywood or metal.
Drawer System
Install pull-out drawers for easy access. Perfect for tools, emergency kits, or frequently used gear. Requires more skill but offers a clean, professional look.
Lift-Up Platform
Create a hinged platform that lifts to reveal hidden storage underneath. Great for stashing valuables or rarely used items.
Combination Design
Mix and match! For example, a shelf with bins on top and a drawer below. This gives you the best of both worlds.
Step 4: Gather Tools and Materials
Once you’ve chosen a design, it’s time to gather supplies. You don’t need a full workshop—just the basics.
Essential Tools
- Tape measure
- Level
- Drill (cordless recommended)
- Screwdriver set
- Circular saw or jigsaw (for cutting wood)
- Sandpaper (medium and fine grit)
- Clamps (to hold pieces while assembling)
- Pencil and notepad
Materials
Choose materials based on durability, weight, and budget:
– 3/4-inch plywood: Strong and affordable. Use birch or maple for a nicer finish.
– 1/2-inch MDF: Smoother surface but heavier and less water-resistant.
– Plastic bins: Lightweight and easy to clean. Look for stackable, latching styles.
– Aluminum angle brackets: For reinforcing corners.
– Wood screws (1.5–2 inches): For assembly.
– Non-slip matting: To line the bottom and prevent sliding.
– Hinges and drawer slides: If building lift-up or pull-out features.
– Paint or sealant: To protect wood and match your SUV’s interior.
Optional Upgrades
– LED strip lights (battery-powered or wired)
– Magnetic latches
– Label holders
– Foam padding for fragile items
Step 5: Build Your Trunk Storage System
Now for the fun part—building! Follow these steps based on your chosen design.
Cut the Pieces
Using your measurements, cut the wood or plastic to size. Label each piece (e.g., “left side,” “shelf”) to avoid confusion. Sand all edges to prevent splinters.
Assemble the Frame
Start with the base. If building a shelf or drawer unit, attach the sides to the bottom using screws and brackets. Use a level to ensure everything is square. Clamp pieces together while drilling to prevent shifting.
Install Shelves or Dividers
If adding shelves, measure and mark their positions. Use shelf pins or wooden cleats for support. For dividers, cut thin strips of wood and screw them into place to create compartments.
Add Drawer Slides (If Applicable)
For pull-out drawers, install drawer slides on the sides of the unit and the drawer itself. Make sure they’re aligned so the drawer moves smoothly. Test before final assembly.
Attach the Top or Lid
If building a lift-up platform, attach hinges to the back edge. Use a gas strut or support arm to hold the lid open. Sand and finish the top surface for a clean look.
Line the Interior
Glue non-slip matting to the bottom and sides. This prevents items from sliding and protects your storage from scratches.
Secure the Unit
Place the finished unit in your trunk. Use cargo straps, bolts, or L-brackets to anchor it to existing tie-down points. Never rely on friction alone—your storage must stay put while driving.
Step 6: Test and Refine
Once installed, it’s time to test your system.
Load It Up
Fill the storage with your typical gear. Drive around the block—or better yet, take a short trip. Listen for rattling, shifting, or unusual noises.
Check for Issues
– Does anything slide or tip?
– Are drawers hard to open?
– Is the unit blocking your view or seat functions?
– Is it too heavy to lift or move?
Make Adjustments
If something doesn’t work, tweak it. Add more brackets, adjust drawer alignment, or reposition bins. DIY is all about iteration.
Pro Tips for Success
Keep It Light
Remember, every pound counts. Use lightweight materials and avoid overbuilding. A 50-pound storage unit might not seem like much, but it adds up over time.
Use Labels
Label bins or drawers so you (and passengers) know where things go. Clear labels reduce clutter and save time.
Leave Room for Growth
Design with future needs in mind. Add extra space for new gear or seasonal items.
Protect Your SUV
Line the trunk floor with a rubber mat to prevent scratches from your storage unit. Avoid drilling into critical areas like fuel lines or wiring.
Think About Cleaning
Choose materials that are easy to wipe down. Avoid carpeting or fabric that traps dirt and moisture.
Troubleshooting Common Problems
Storage Shifts While Driving
Solution: Add more anchor points. Use ratchet straps or bolt the unit to the floor. Place non-slip mats underneath.
Drawers Stick or Jam
Solution: Check alignment of drawer slides. Sand rough edges. Apply a small amount of silicone lubricant.
Unit Blocks Rear View
Solution: Lower the height or cut a window in the front panel. Never compromise safety for storage.
Wood Swells or Warps
Solution: Use sealed plywood or apply waterproof sealant. Avoid MDF in humid climates.
Too Heavy to Remove
Solution: Build in sections or use lightweight plastic bins instead of solid wood.
Conclusion
Building trunk storage for your SUV is a rewarding project that pays off every time you load up the car. With careful planning, the right materials, and a little patience, you can create a system that’s tailored to your lifestyle—whether you’re hauling gear for adventure or just trying to keep the family car from turning into a junk drawer on wheels.
Remember, the best storage solution is one that you’ll actually use. Start simple, test often, and don’t be afraid to make changes. Your SUV deserves to be as functional as it is stylish, and with this guide, you’re well on your way.
So grab your tools, measure twice, and get building. Your organized trunk—and your future self—will thank you.