
Adding a hitch to your SUV lets you tow trailers, bikes, or cargo with ease. This guide walks you through choosing the right hitch, gathering tools, and installing it safely at home—no mechanic needed.
Key Takeaways
- Choose the right hitch class: Match your SUV’s towing capacity and intended use (e.g., Class III for light trailers, Class IV for heavy loads).
- Use quality tools: A torque wrench, socket set, and jack stands are essential for safe, secure installation.
- Follow the manufacturer’s instructions: Every hitch and SUV model is different—always refer to the included manual.
- Check local laws: Some areas require brake controllers or lighting checks when towing.
- Test before towing: Always do a dry run with lights and connections before hitting the road.
- Consider professional help if unsure: If you’re not confident, a certified installer can save time and prevent damage.
- Maintain your hitch: Regularly inspect for rust, loose bolts, and wear to ensure long-term safety.
How to Add a Hitch to a SUV
So you’ve got an SUV—great for family trips, weekend adventures, or hauling gear. But what if you want to tow a small trailer, carry bikes, or transport a kayak? That’s where a hitch comes in. Adding a hitch to your SUV opens up a world of possibilities, from camping trips to moving day. And the best part? You can do it yourself with the right tools and a little patience.
In this guide, we’ll walk you through everything you need to know about how to add a hitch to a SUV—from choosing the right type of hitch to installing it safely at home. Whether you’re a DIY beginner or a seasoned gearhead, this step-by-step tutorial will help you get the job done right. No mechanic required.
By the end of this guide, you’ll understand the different hitch classes, know which tools to use, and be able to install a hitch on most SUV models with confidence. Plus, we’ll share tips to avoid common mistakes and keep your hitch in top shape for years to come.
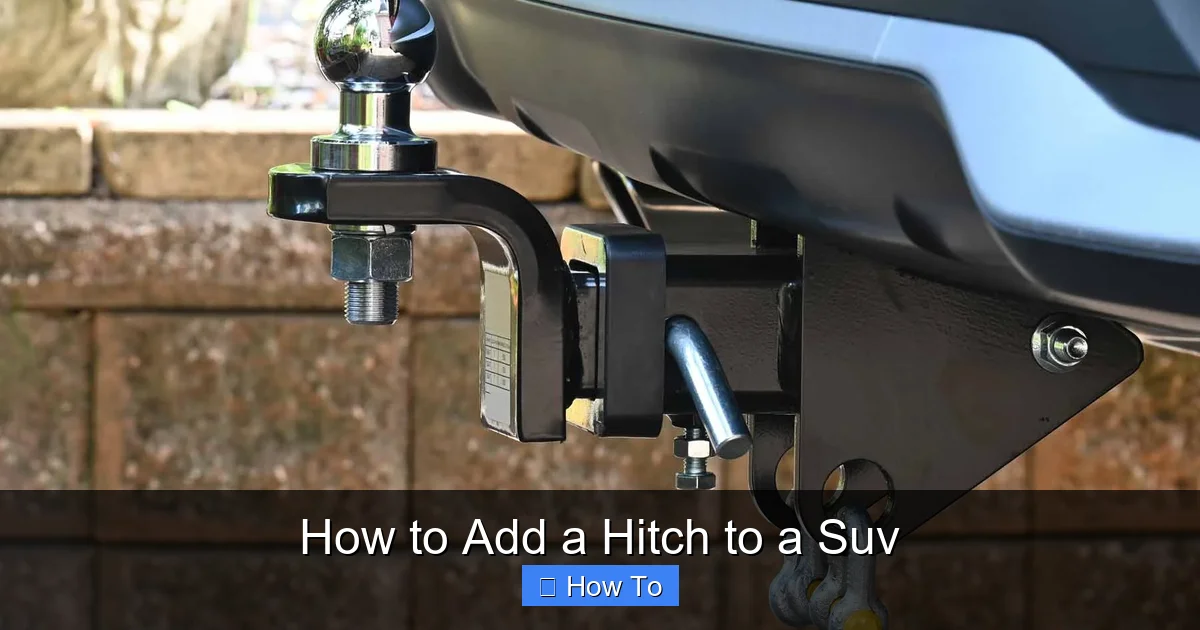
Why Install a Hitch on Your SUV?
Visual guide about How to Add a Hitch to a Suv
Image source: curtmfg.com
Before we dive into the installation, let’s talk about why adding a hitch is such a smart move. SUVs are built for versatility, and a hitch enhances that capability in several ways:
- Towing trailers: Whether it’s a small utility trailer for yard work or a camper for weekend getaways, a hitch lets you tow safely and legally.
- Bike and cargo carriers: Hitch-mounted bike racks and cargo baskets free up space inside your SUV and make transporting gear easier.
- Increased resale value: A professionally installed hitch can boost your SUV’s appeal to future buyers.
- Convenience: No more struggling to fit everything inside—just hook up and go.
But not all hitches are created equal. The type you choose depends on your SUV’s make, model, and towing capacity. That’s why the first step is understanding your options.
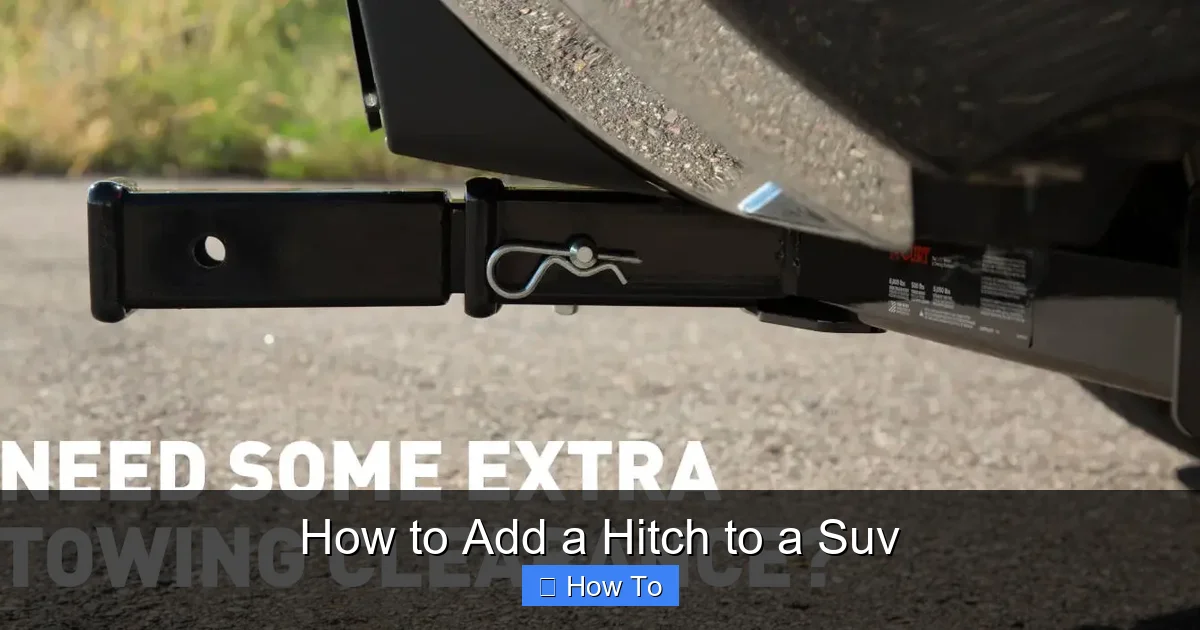
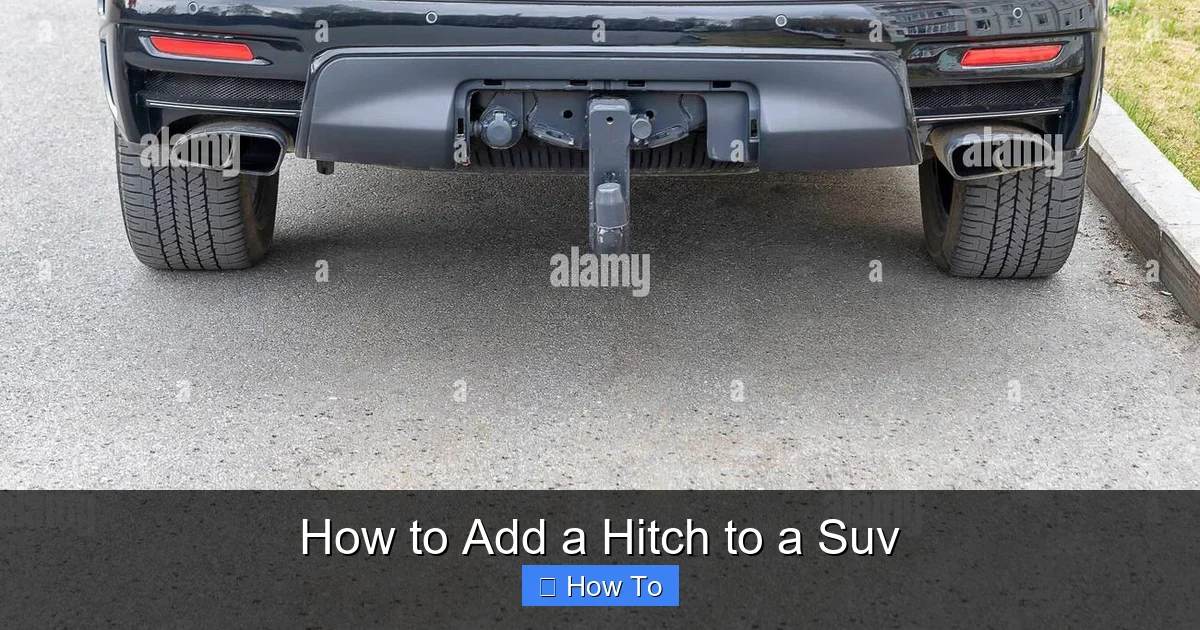
Step 1: Choose the Right Hitch for Your SUV
Visual guide about How to Add a Hitch to a Suv
Image source: c8.alamy.com
Not every hitch fits every SUV. You need to pick one that matches your vehicle’s specifications and your intended use. Here’s how to make the right choice.
Understand Hitch Classes
Hitches are categorized into classes based on their weight capacity. Here’s a quick breakdown:
- Class I: Up to 2,000 lbs gross trailer weight (GTW), 200 lbs tongue weight. Best for small trailers or bike racks. Common on compact SUVs.
- Class II: Up to 3,500 lbs GTW, 350 lbs tongue weight. Good for small campers or utility trailers.
- Class III: Up to 6,000 lbs GTW, 600 lbs tongue weight. Ideal for mid-size SUVs and larger trailers.
- Class IV: Up to 10,000 lbs GTW, 1,000 lbs tongue weight. For heavy-duty towing with full-size SUVs.
- Class V: Over 10,000 lbs GTW. Rare for standard SUVs—usually for commercial or modified vehicles.
Most SUVs fall into Class II or III range. Always check your owner’s manual for your SUV’s maximum towing capacity before choosing a hitch.
Types of Hitches
There are two main types of hitches:
- Receiver Hitch: The most common type. Features a square tube (usually 1.25″ or 2″) that accepts various accessories like bike racks or ball mounts. Great for versatility.
- Fixed Drawbar Hitch: A permanent hitch with a built-in ball mount. Less flexible but simpler. Often used for light towing.
For most SUV owners, a 2-inch receiver hitch (Class III) offers the best balance of strength and flexibility.
Check Compatibility
Not all hitches fit all SUVs. Use online tools from reputable brands like Curt, Draw-Tite, or Reese to find a hitch designed for your specific make, model, and year. These sites let you enter your SUV details and show compatible options.
Pro tip: Look for a hitch labeled “no-drill” or “bolt-on” if you want an easier install. Some models require welding or cutting, which is best left to professionals.
Step 2: Gather Your Tools and Materials
Before you start, make sure you have everything you need. A well-prepared workspace makes the job faster and safer.
Essential Tools
- Socket wrench set: With metric and standard sockets (usually 10mm to 19mm).
- Torque wrench: Critical for tightening bolts to the correct specification.
- Jack and jack stands: To lift and support your SUV safely.
- Wheel chocks: Prevent the vehicle from rolling.
- Screwdrivers and pliers: For removing clips or brackets.
- Drill and drill bits (if needed): Some installations require drilling holes.
- Wire brush and rust inhibitor: Clean rusty bolts and protect new hardware.
- Measuring tape and marker: For alignment.
Materials Included with the Hitch
Most aftermarket hitches come with:
- Hitch receiver assembly
- Mounting brackets
- Bolts, nuts, and washers
- Installation instructions
- Wiring harness (if applicable)
Double-check the package before starting. Missing parts can delay your project.
Safety Gear
Don’t forget personal protection:
- Safety glasses
- Work gloves
- Sturdy shoes
Safety first—always.
Step 3: Prepare Your SUV for Installation
Now that you’ve got your hitch and tools, it’s time to get your SUV ready.
Park on a Level Surface
Find a flat, stable area like a garage or driveway. Avoid slopes—gravity works against you when lifting a vehicle.
Engage the Parking Brake and Chock the Wheels
Put the SUV in park (or first gear for manuals) and set the parking brake. Place wheel chocks behind the rear tires to prevent rolling.
Lift the Vehicle
Use a floor jack to lift the rear of the SUV. Place the jack under the differential or a reinforced lifting point (check your owner’s manual). Once lifted, place jack stands under the frame rails for support. Never rely solely on the jack.
Remove the Rear Bumper or Trim (If Needed)
Some SUVs require partial removal of the rear bumper or plastic trim to access mounting points. Use a screwdriver or trim removal tool to carefully pop off clips. Keep track of all parts—label them if necessary.
Inspect the Frame and Mounting Area
Look for rust, damage, or obstructions. Clean the area with a wire brush if needed. Rusty bolts may need penetrating oil (like WD-40) to loosen.
Step 4: Install the Hitch
This is the main event. Follow these steps carefully.
Position the Hitch
Slide the hitch into place under the SUV, aligning it with the frame mounting holes. Most hitches are designed to fit snugly without modification. Have a helper hold it in place if needed.
Insert the Bolts
Thread the provided bolts through the hitch brackets and into the frame holes. Start with the side bolts, then the center ones. Don’t tighten yet—just hand-tighten to hold the hitch in position.
Align and Level the Hitch
Use a measuring tape to ensure the hitch is centered. Check that the receiver tube is level with the ground. Misalignment can cause uneven towing or damage.
Tighten the Bolts Gradually
Use your socket wrench to tighten bolts in a crisscross pattern (like tightening lug nuts). This ensures even pressure. Then, use the torque wrench to tighten to the manufacturer’s specification—usually between 40 and 80 ft-lbs. Over-tightening can strip threads; under-tightening can lead to failure.
Reattach Bumper or Trim
If you removed any parts, reattach them now. Make sure everything fits properly and doesn’t interfere with the hitch.
Lower the Vehicle
Carefully lower the SUV using the jack, removing the jack stands as you go. Double-check that the hitch is secure and doesn’t wobble.
Step 5: Install Wiring (If Towing)
If you plan to tow a trailer, you’ll need a wiring harness to connect the trailer’s lights to your SUV.
Choose the Right Harness
Most hitches come with a plug-and-play wiring kit that connects to your SUV’s taillight wiring. Make sure it’s compatible with your model.
Locate the Taillight Wiring
Open the rear hatch and remove the interior trim panel to access the taillight wiring. Use a test light or multimeter to identify the correct wires (brake, turn, tail, ground).
Connect the Harness
Follow the instructions to splice the harness into the wiring. Most kits use T-taps or plug adapters—no cutting required. Secure connections with electrical tape or heat shrink tubing.
Test the Lights
Turn on your SUV’s lights and test the trailer connector with a test light or by plugging in a trailer. Check brake lights, turn signals, and running lights.
Secure the Wiring
Use zip ties to route the wiring along the frame, away from moving parts or heat sources. Keep the connector accessible but protected.
Step 6: Test and Inspect
Before you tow anything, do a thorough check.
Visual Inspection
Look for loose bolts, misalignment, or damage. Wiggle the hitch—it should not move.
Torque Check
After 50–100 miles of driving, re-tighten all bolts to the correct torque. Vibration can loosen them over time.
Test with a Light Load
Attach a bike rack or small trailer and drive around the block. Check for rattling, swaying, or wiring issues.
Check Clearance
Make sure the hitch doesn’t scrape when going over bumps or steep driveways. Adjust the ball mount height if needed.
Troubleshooting Common Issues
Even with careful installation, problems can happen. Here’s how to fix them.
Hitch Wobbles or Rattles
Cause: Loose bolts or incorrect torque.
Solution: Re-tighten all bolts to spec. Use a torque wrench—don’t guess.
Wiring Doesn’t Work
Cause: Poor connection or blown fuse.
Solution: Recheck splices and test with a multimeter. Replace the fuse if needed.
Hitch Doesn’t Fit
Cause: Wrong model or missing hardware.
Solution: Double-check the part number. Contact the manufacturer for support.
Rust or Corrosion
Cause: Exposure to moisture.
Solution: Clean regularly and apply rust inhibitor. Consider a hitch cover.
Trailer Sways
Cause: Improper weight distribution or overloading.
Solution: Ensure tongue weight is 10–15% of trailer weight. Use a weight distribution hitch if needed.
Maintenance Tips for Long-Term Use
A little care goes a long way.
- Inspect monthly: Check bolts, welds, and wiring.
- Lubricate the receiver: Use silicone spray or hitch grease to prevent rust and ease insertion.
- Clean after use: Especially after driving in salt or mud.
- Store accessories properly: Remove bike racks when not in use to prevent theft and damage.
- Replace worn parts: Don’t ignore cracks or bent components.
When to Call a Professional
DIY is great, but sometimes it’s better to leave it to the experts.
Consider professional installation if:
- Your SUV requires welding or major modifications.
- You’re not comfortable working under a vehicle.
- The hitch doesn’t fit properly after multiple attempts.
- You need a brake controller installed for heavy towing.
A certified installer can ensure everything is done safely and up to code.
Conclusion
Adding a hitch to your SUV is a practical upgrade that enhances your vehicle’s utility and opens up new adventures. With the right hitch, tools, and a bit of patience, you can install it yourself in a few hours. Just remember to choose the correct class, follow the instructions, and test everything before towing.
Whether you’re hauling bikes, a small trailer, or planning a cross-country camping trip, a properly installed hitch gives you the freedom to go further. And with regular maintenance, your hitch will serve you well for years to come.
So grab your tools, lift that SUV, and get ready to hit the road—your next adventure is just a hitch away.