

You absolutely can paint a grill guard for a SUV vehicle, and doing so can enhance both style and protection. With proper preparation, high-heat-resistant paint, and the right techniques, your grille guard can look brand new—or totally custom—while standing up to the elements.
So, you’ve got a rugged SUV—maybe a Toyota 4Runner, Ford Bronco, or Jeep Wrangler—and you’ve installed a beefy grill guard to protect your front end from rocks, brush, and highway debris. It looks tough, sure, but maybe it’s looking a little… factory. Maybe it’s black when you want matte gray. Or perhaps it’s starting to show some surface rust after a few winters. You’re wondering: *Can you paint a grill guard for a SUV vehicle?*
The short answer? Absolutely. Not only can you paint it, but doing so is one of the most satisfying DIY upgrades you can make. Painting your grill guard isn’t just about aesthetics—it’s about protection, personalization, and extending the life of your investment. Whether you’re going for a stealthy matte black, a bold color match to your SUV, or a custom two-tone design, painting your grille guard is totally doable with the right approach.
But let’s be real—this isn’t like painting a wall in your living room. Your grill guard lives in a harsh environment. It’s exposed to heat from the engine, road salt in winter, UV rays in summer, and constant bombardment from dirt and gravel. So, if you’re going to paint it, you’ve got to do it right. Skip the spray cans from the hardware store and think like a pro. With proper prep, the correct materials, and a little patience, you can transform your grill guard into a standout feature that turns heads and lasts for years.
In this guide, we’ll walk you through everything you need to know about painting a grill guard for a SUV vehicle—from choosing the right paint to applying it like a pro. Whether you’re a weekend warrior or a first-time DIYer, we’ve got you covered. Let’s dive in.
Key Takeaways
- Yes, you can paint a grill guard for a SUV vehicle: It’s a popular DIY upgrade that improves appearance and adds a personal touch.
- Surface prep is critical: Sanding, cleaning, and priming ensure the paint adheres properly and lasts longer.
- Use high-heat, rust-resistant paint: Engine bay temperatures and road debris demand durable coatings like ceramic or epoxy-based paints.
- Remove or mask sensitive parts: Take off lights, sensors, or logos to avoid damage and ensure clean lines.
- Apply in thin, even coats: Multiple light layers prevent drips and create a smooth, professional finish.
- Allow proper drying and curing time: Rushing the process can lead to peeling, bubbling, or premature wear.
- Regular maintenance extends life: Wash your grill guard regularly and touch up chips to prevent rust and fading.
📑 Table of Contents
Why Paint Your SUV’s Grill Guard?
Let’s start with the “why.” Why would you even consider painting your grill guard? After all, it’s meant to be tough, not pretty, right? Well, not exactly. While functionality is key, appearance matters too—especially when your SUV is an extension of your personality.
First, painting your grill guard gives you a chance to match or complement your vehicle’s color scheme. Imagine a white Ford F-150 with a matte black grille guard—it’s a classic, aggressive look. Or maybe you’ve got a red Jeep and want a matching red guard for a seamless, custom appearance. Painting lets you create that cohesive style that off-the-shelf parts often lack.
Second, paint adds a layer of protection. Most factory grill guards come with a basic powder coat or e-coat finish. While these are durable, they’re not immune to chipping, fading, or corrosion—especially if you live in a snowy area where road salt is used heavily. A fresh coat of high-quality paint can seal out moisture, prevent rust, and keep your guard looking sharp for years.
Third, painting is a cost-effective upgrade. A new grill guard can cost anywhere from $200 to over $1,000, depending on the brand and features. Instead of replacing it because it’s scratched or faded, a DIY paint job can restore it to like-new condition for a fraction of the price. Plus, it’s a fun project that gives you bragging rights at the next off-road meetup.
And let’s not forget the satisfaction factor. There’s something deeply rewarding about taking a part of your vehicle and making it truly yours. Whether you’re prepping for a show, prepping for a trail run, or just want your SUV to stand out in the parking lot, painting your grill guard is a small change with a big impact.
Choosing the Right Paint for Your Grill Guard
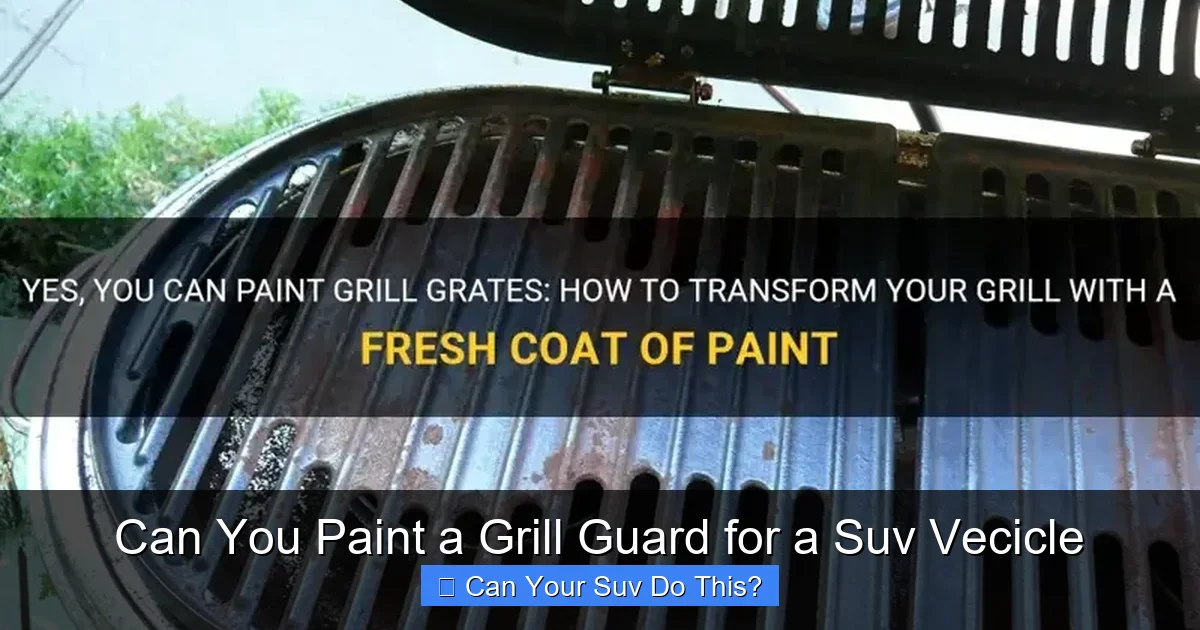
Visual guide about Can You Paint a Grill Guard for a Suv Vecicle
Image source: shungrill.com
Now that you’re convinced painting is worth it, let’s talk about the most important decision: what kind of paint to use. Not all paints are created equal—especially when it comes to automotive parts that face extreme conditions.
The key here is heat resistance and durability. Your grill guard sits right behind the radiator and grille, so it’s exposed to engine heat, especially during long drives or idling. Regular spray paint will bubble, peel, or discolor under these conditions. You need something built for the job.
High-Temperature Engine Paint
One of the best options is high-temperature engine enamel. These paints are designed to withstand temperatures up to 500–600°F (260–315°C), which is more than enough for a grill guard. Brands like VHT, Dupli-Color, and Rust-Oleum offer excellent high-heat formulas in a variety of finishes—gloss, semi-gloss, and matte.
Look for paints labeled “high heat,” “engine enamel,” or “ceramic coating.” These typically contain ceramic microspheres that reflect heat and improve longevity. They’re also resistant to oil, grease, and gasoline, which is a bonus if you’re working near the engine bay.
Ceramic Coatings
For the ultimate in protection, consider a ceramic-based paint or coating. These are more expensive but offer superior heat resistance, UV protection, and chemical resistance. They also tend to have a harder, more durable finish that resists chipping and scratching.
Ceramic coatings often require a two-part application (base coat + activator) and longer curing times, but the results are worth it if you want a professional-grade finish. They’re especially good for off-road vehicles that see extreme conditions.
Rust-Inhibiting Primers and Paints
If your grill guard is showing signs of rust or you live in a humid or salty climate, start with a rust-inhibiting primer. Products like Rust-Oleum Rust Reformer or Eastwood Rust Encapsulator can stop existing rust in its tracks and prevent new corrosion.
Pair this with a rust-resistant topcoat for maximum protection. Many high-heat paints also include rust inhibitors, so you can kill two birds with one stone.
Color and Finish Options
When it comes to color, the sky’s the limit. Most high-heat paints come in standard colors like black, silver, gray, and white. But if you want something custom, you can mix colors or use specialty finishes like metallic, satin, or even fluorescent (though we don’t recommend the last one for stealth reasons).
Matte black is a popular choice for a rugged, tactical look. Gloss black gives a sleek, modern vibe. Silver or gray can mimic the look of polished aluminum or stainless steel. And if you’re feeling bold, a color-matched guard can make your SUV look like it rolled off a custom shop floor.
Just remember: darker colors absorb more heat, which could slightly increase surface temperature. If you live in a hot climate, consider a lighter shade or a ceramic coating to reflect heat.
Tools and Materials You’ll Need
Before you start spraying, make sure you have the right tools. A successful paint job depends as much on preparation and equipment as it does on technique.
Here’s a checklist of what you’ll need:
- Sandpaper (80, 120, and 220 grit): For stripping old paint and smoothing the surface.
- Wire brush or steel wool: To remove rust and loose debris.
- Degreaser or rubbing alcohol: To clean the surface before painting.
- Masking tape and plastic sheeting: To protect lights, sensors, and surrounding areas.
- Primer (rust-inhibiting or high-heat): Essential for adhesion and corrosion protection.
- High-heat spray paint: Your chosen color and finish.
- Clear coat (optional): For added gloss and UV protection.
- Respirator mask and safety goggles: Spray paint fumes are no joke—protect yourself.
- Drop cloth or cardboard: To protect your workspace.
- Paint stir sticks and mixing cups (if using two-part paint): For proper application.
You’ll also want a clean, well-ventilated workspace—ideally a garage or outdoor area with minimal dust. Avoid painting on humid or rainy days, as moisture can ruin the finish.
If you’re not confident in your spraying skills, consider using a paint kit with a spray gun attachment for an air compressor. These give more control and a smoother finish than standard spray cans. But for most DIYers, high-quality spray paint applied in thin coats works just fine.
Step-by-Step Guide to Painting Your Grill Guard
Now for the fun part: the actual painting process. Follow these steps carefully to ensure a professional-looking, long-lasting finish.
Step 1: Remove the Grill Guard (Optional but Recommended)
While you can paint the guard while it’s still on the vehicle, removing it makes the job much easier. You’ll have better access to all surfaces, and you won’t risk overspray on your bumper, headlights, or paint.
Most grill guards bolt on with a few bolts or brackets. Use a socket wrench to remove them, and keep track of all hardware. If you’re not comfortable removing it, that’s okay—just mask off everything thoroughly.
Step 2: Clean the Surface
Dirt, grease, and old paint won’t let new paint adhere properly. Start by washing the guard with soap and water to remove loose grime. Then, use a degreaser or rubbing alcohol to wipe down the entire surface. Let it dry completely.
If there’s old paint or rust, you’ll need to strip it. Use 80-grit sandpaper or a wire brush to remove flaking paint and rust. Work your way up to 120 and then 220 grit for a smooth finish. Wipe away all dust with a tack cloth or damp rag.
Step 3: Apply Primer
Primer is non-negotiable. It creates a bonding layer for the paint and helps prevent rust. Use a rust-inhibiting or high-heat primer, and apply it in thin, even coats. Let it dry according to the manufacturer’s instructions—usually 15–30 minutes between coats.
Lightly sand the primer with 220-grit paper once it’s dry to remove any imperfections. Wipe clean again.
Step 4: Mask Off Sensitive Areas
If the guard is still on the vehicle, use masking tape and plastic sheeting to cover headlights, fog lights, parking sensors, and any logos or trim you don’t want painted. Be precise—overspray can be a nightmare to remove.
Step 5: Apply the Paint
Now for the main event. Shake your high-heat paint can for at least one minute. Hold it 8–12 inches from the surface and spray in smooth, overlapping passes. Apply thin coats—too thick, and you’ll get drips or bubbles.
Let each coat dry for 10–15 minutes before applying the next. Most jobs require 2–3 coats for full coverage. Avoid spraying in direct sunlight or high humidity.
Step 6: Apply Clear Coat (Optional)
If you want extra shine and protection, apply a high-heat clear coat after the final paint layer. This adds UV resistance and makes the finish more durable. Use the same technique: thin, even coats with drying time in between.
Step 7: Let It Cure
This is where most people go wrong. Don’t rush it. Let the paint cure for at least 24–48 hours before reinstalling the guard. Some high-heat paints require up to 7 days to fully cure—check the label.
Avoid driving or exposing the guard to water during this time. Patience pays off.
Step 8: Reinstall and Admire
Once fully cured, bolt the guard back onto your SUV. Step back and admire your work. You’ve just given your vehicle a custom look and added years of protection—all for the cost of a few cans of paint.
Common Mistakes to Avoid
Even with the best intentions, things can go wrong. Here are some common pitfalls and how to avoid them:
- Skipping surface prep: Paint won’t stick to dirty, rusty, or glossy surfaces. Always sand and clean thoroughly.
- Using the wrong paint: Regular spray paint will fail under heat and UV exposure. Always use high-heat or automotive-grade paint.
- Applying thick coats: This leads to drips, bubbles, and uneven texture. Thin coats are key.
- Painting in poor conditions: Humidity, wind, and dust ruin finishes. Choose a calm, dry day.
- Rushing the cure time: Driving too soon can cause peeling or smudging. Let it cure fully.
- Forgetting to mask: Overspray on lights or paint is hard to remove. Take the time to mask properly.
Maintaining Your Painted Grill Guard
Once your grill guard is painted and installed, keep it looking great with regular maintenance.
Wash it with mild soap and water every few weeks, especially after off-road trips or winter driving. Avoid harsh chemicals or abrasive scrubbers that can scratch the finish.
Inspect it periodically for chips or rust. Touch up any damage immediately with a small brush and matching paint. A little prevention goes a long way.
If you live in a snowy area, rinse off road salt as soon as possible. Salt accelerates corrosion, even under paint.
With proper care, your painted grill guard can look new for 5–10 years or more.
Final Thoughts: Make Your SUV Stand Out
So, can you paint a grill guard for a SUV vehicle? The answer is a resounding yes—and you should. It’s a simple, affordable way to personalize your ride, protect your investment, and show off your DIY skills.
Whether you’re going for a stealthy blackout look or a bold color match, painting your grill guard is a project that delivers big results. Just remember: prep is everything, use the right materials, and take your time.
Your SUV isn’t just a vehicle—it’s a statement. And with a freshly painted grill guard, that statement just got a lot louder.
Frequently Asked Questions
Can I paint my grill guard while it’s still on the SUV?
Yes, you can, but it’s much easier and safer to remove it first. Painting on the vehicle risks overspray on your bumper, lights, or paint. If you must leave it on, mask everything thoroughly.
What kind of paint should I use for a grill guard?
Use high-temperature engine enamel or ceramic-based paint. These are designed to withstand heat, UV rays, and road debris. Avoid regular spray paint—it will fail quickly.
Do I need to prime the grill guard before painting?
Yes, priming is essential. A rust-inhibiting or high-heat primer ensures the paint adheres properly and prevents corrosion, especially on bare metal.
How long does it take for the paint to cure?
Most high-heat paints require 24–48 hours to dry and up to 7 days to fully cure. Check the product label and avoid driving or exposing the guard to water during this time.
Can I paint over rust?
You can, but only after treating it. Use a wire brush or sandpaper to remove loose rust, then apply a rust converter or encapsulator before priming and painting.
Will painted grill guard chip or fade?
It can, especially if low-quality paint is used or if the surface wasn’t prepped properly. Using high-heat, UV-resistant paint and maintaining it regularly will minimize chipping and fading.