
Adding a TV into your SUV can transform long drives into enjoyable experiences for passengers. This guide walks you through choosing the right TV, mounting it securely, managing power, and ensuring safety—all while keeping your vehicle functional and stylish.
Key Takeaways
- Choose the right TV size and type: Opt for a compact, energy-efficient LED or OLED screen (7–12 inches) that fits your SUV’s interior without obstructing visibility.
- Prioritize safety and secure mounting: Use a certified headrest or seatback mount to prevent the TV from becoming a hazard during sudden stops.
- Power your TV safely: Connect to your SUV’s 12V outlet or use an inverter; avoid overloading the electrical system.
- Manage cables neatly: Route wires along trim panels or under carpets to prevent tripping and maintain a clean look.
- Enhance audio with external speakers or headphones: Built-in TV speakers are often weak—consider Bluetooth headphones or portable speakers for better sound.
- Test before final installation: Always do a trial run to check picture quality, power stability, and signal reception.
- Follow local laws: Some regions restrict screen visibility for drivers—ensure your setup complies with regulations.
How to Add a TV into SUV: A Complete Step-by-Step Guide
Long road trips, weekend getaways, or even daily commutes can feel endless—especially for passengers in the back seat. Whether you’re traveling with kids, elderly relatives, or just want to enjoy a movie on the go, adding a TV into your SUV is a smart way to boost comfort and entertainment. But it’s not as simple as just plugging in a screen. You need the right equipment, safe installation, and smart planning to make it work seamlessly.
In this comprehensive guide, we’ll walk you through everything you need to know about how to add a TV into SUV. From selecting the perfect screen to mounting it securely, powering it safely, and managing cables, we’ve got you covered. By the end, you’ll have a reliable, safe, and enjoyable in-car entertainment system that enhances every journey.
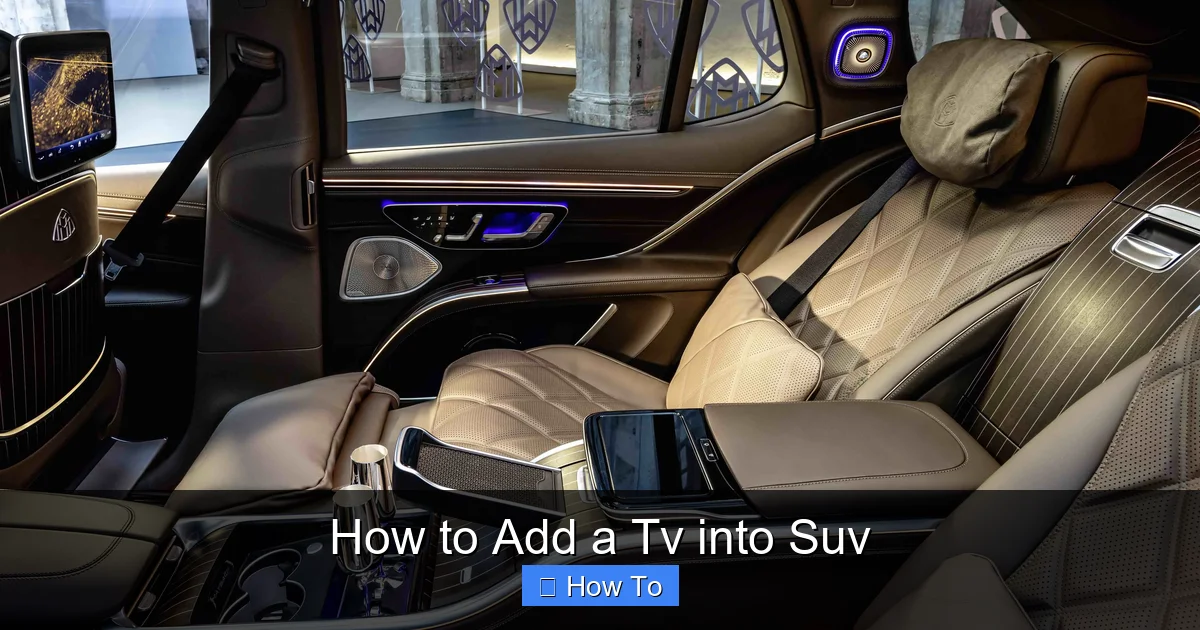
Why Add a TV to Your SUV?
Visual guide about How to Add a Tv into Suv
Image source: cdn.motor1.com
Before diving into the how-to, let’s talk about the why. Adding a TV into your SUV isn’t just about fun—it’s about practicality and comfort. Here are a few compelling reasons:
- Keep passengers entertained: Kids (and adults!) stay happier and quieter when they’re watching their favorite shows or movies.
- Reduce travel stress: Long drives can be tiring. A TV provides a distraction that makes time pass faster.
- Support educational content: Use the screen for documentaries, language lessons, or interactive learning apps during trips.
- Enhance road trip experiences: Watch travel vlogs, navigation tips, or even live sports while parked at scenic spots.
- Increase resale value: A well-installed entertainment system can make your SUV more appealing to future buyers.
But remember: safety and legality come first. A poorly installed TV can be a distraction or even a danger in an accident. That’s why following proper steps is crucial.
Step 1: Choose the Right TV for Your SUV
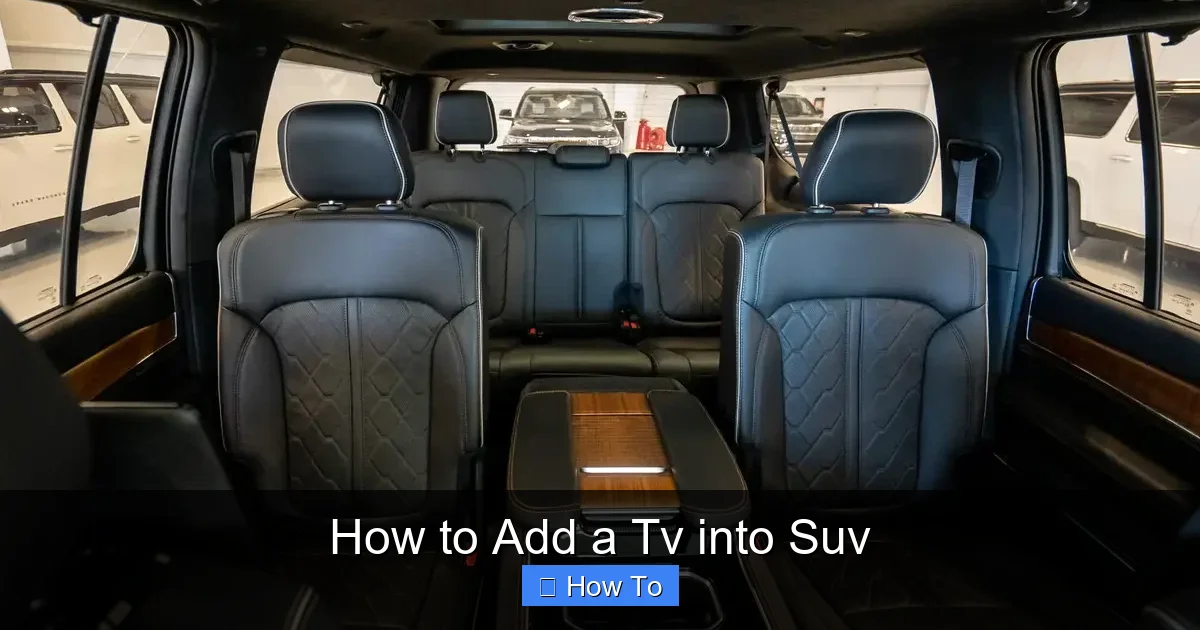
Visual guide about How to Add a Tv into Suv
Image source: images.cars.com
Not all TVs are created equal—especially when it comes to car use. You need a screen that’s compact, energy-efficient, and durable. Here’s what to look for:
Screen Size and Resolution
For most SUVs, a screen between 7 and 12 inches is ideal. Anything larger may block visibility or be too heavy for mounting. Look for at least 720p resolution, but 1080p Full HD is better for clarity. Avoid 4K unless you’re streaming high-quality content—most in-car sources don’t support it.
TV Type: LED vs. OLED vs. Portable
- LED TVs: Affordable, bright, and energy-efficient. Great for most SUV setups.
- OLED TVs: Offer deeper blacks and better contrast, but are more expensive and can suffer from burn-in if static images are shown too long (like a paused screen).
- Portable DVD/TV combos: All-in-one units with built-in players. Convenient but often lower quality.
Power Requirements
Most SUVs have a 12V electrical system. Your TV should either run on 12V DC directly or come with a compatible car adapter. Check the power consumption—ideally under 50 watts to avoid draining your battery.
Built-in Features to Consider
- HDMI input: For connecting streaming devices like Roku, Fire Stick, or gaming consoles.
- USB ports: To play media from flash drives.
- Wi-Fi or Bluetooth: For streaming or wireless audio.
- Anti-glare screen: Helps visibility in bright sunlight.
- Touchscreen controls: Useful if the remote is out of reach.
Recommended Models
Some popular options include:
- LG 8-inch Portable TV: Lightweight, 1080p, HDMI input, and car adapter included.
- Sceptre 10-inch HD TV: Affordable, slim design, great for headrest mounting.
- Sony 9-inch OLED: Premium picture quality, ideal for movie lovers.
Step 2: Select the Best Mounting Location
Where you place the TV matters—for safety, visibility, and convenience. Here are the most common and effective mounting spots in an SUV:
Headrest Mount (Most Popular)
This is the top choice for rear passengers. The TV attaches to the back of the front seat headrest using a universal bracket.
- Pros: Easy to install, doesn’t block driver’s view, accessible to backseat viewers.
- Cons: May wobble on bumpy roads; ensure it’s tightly secured.
Seatback Mount
Similar to headrest mounts but attaches to the seat frame or back panel. Offers more stability.
- Pros: Sturdier than headrest mounts; less movement.
- Cons: May require drilling or modification; not all seats support it.
Ceiling Mount
A fold-down screen that drops from the ceiling. Common in luxury SUVs and RVs.
- Pros: Frees up seat space; great for larger groups.
- Cons: Complex installation; may interfere with sunroof or airbags.
Dashboard or Center Console Mount
Only recommended for passenger-side use. Never mount a TV in the driver’s line of sight.
- Pros: Central viewing for front and back seats.
- Cons: Can distract the driver; may block air vents or controls.
Safety Tip:
Always ensure the TV does not obstruct the driver’s view through mirrors or windows. In many states, it’s illegal for screens to be visible to the driver while the vehicle is in motion.
Step 3: Choose the Right Mounting Hardware
A good mount is just as important as the TV itself. Here’s what to look for:
Universal Headrest Mounts
These use adjustable arms and clamps to fit most headrest poles. Brands like Koomus, iBOLT, and RAM Mounts offer reliable options.
- Look for rubber padding to protect your seats.
- Ensure the mount supports your TV’s weight and VESA pattern (if applicable).
- Choose a model with tilt and swivel for optimal viewing angles.
Seatback Brackets
These attach directly to the seat frame. Some require bolting, so check your SUV’s manual before drilling.
- Use a bracket with a locking mechanism to prevent theft.
- Ensure it doesn’t interfere with seat belts or airbags.
Ceiling Mount Kits
These include a hinge, bracket, and sometimes a motor for automatic lowering. Best installed by a professional.
DIY vs. Professional Installation
If you’re handy with tools, a headrest mount can be installed in under 30 minutes. For ceiling or seatback mounts, especially in newer SUVs with complex interiors, consider hiring an auto electrician or car audio specialist.
Step 4: Power Your TV Safely
Powering your TV correctly is critical. You don’t want to drain your battery or cause electrical issues.
Option 1: 12V Car Adapter (Simplest)
Most portable TVs come with a 12V car adapter that plugs into the cigarette lighter or 12V outlet.
- Pros: Easy, no wiring needed.
- Cons: Limited by outlet location; may require extension cords.
Option 2: Hardwired Connection
For a cleaner look, you can wire the TV directly to the SUV’s electrical system.
- Use a fused connection to the battery or fuse box.
- Install an inline fuse (5–10 amps) for safety.
- Route wires through the firewall using existing grommets.
- Use a relay if the TV draws more than 5 amps.
Option 3: Power Inverter
If your TV only accepts AC power (standard wall plug), use a 12V to 120V inverter.
- Choose a pure sine wave inverter for sensitive electronics.
- Ensure the inverter’s wattage exceeds your TV’s power draw (e.g., 100W inverter for a 50W TV).
- Plug into the 12V outlet or hardwire for higher capacity.
Battery Drain Warning
Never leave the TV on when the engine is off for long periods. Even a small draw can kill your battery overnight. Use a timer or smart plug to cut power automatically.
Step 5: Manage Cables and Wires
Messy cables are not just ugly—they’re a tripping hazard and can get damaged.
Route Wires Along Trim Panels
Use plastic pry tools to gently lift door sills, seat bases, and trim panels. Tuck wires underneath.
- Use zip ties or adhesive clips to secure cables.
- Avoid sharp edges that can cut insulation.
- Label wires for easy troubleshooting later.
Use Cable Management Sleeves
These flexible tubes bundle multiple wires together and hide them from view. Available at auto parts stores.
Install a Wireless System (Optional)
Some setups use wireless HDMI transmitters to send video from a media player to the TV. This reduces cable clutter but may have slight lag.
Step 6: Connect Your Media Sources
A TV is only as good as what you can watch on it. Here’s how to connect your content:
Streaming Devices
- Fire Stick, Roku, or Chromecast: Plug into the TV’s HDMI port. Use a portable Wi-Fi hotspot or your phone’s hotspot for internet.
- Apple TV: Great for AirPlay from iPhones or iPads.
DVD/Blu-ray Players
If you prefer physical media, a portable player can connect via HDMI or AV cables.
USB Drives and SD Cards
Load movies, music, or photos onto a USB drive and plug directly into the TV.
Gaming Consoles
A Nintendo Switch or portable Xbox can be connected for gaming on the go. Just ensure you have enough power.
Step 7: Improve Audio Quality
Most built-in TV speakers are weak and tinny. Here’s how to get better sound:
Bluetooth Headphones
Pair wireless headphones with your TV for private listening. Great for kids or nighttime drives.
- Look for low-latency models to avoid audio delay.
- Use a multi-pairing headset so two people can listen.
Portable Bluetooth Speakers
Place a small speaker on the center console or seatback. Ensure it doesn’t block controls.
FM Transmitter
Send audio from the TV to your car stereo via FM frequency. Works with any car radio.
AUX Cable
If your SUV has an auxiliary input, connect the TV’s audio output directly to the stereo.
Step 8: Test and Secure Everything
Before hitting the road, do a full test:
- Turn on the TV and check picture quality.
- Test all inputs (HDMI, USB, etc.).
- Play audio through speakers and headphones.
- Drive around the block to check for vibrations, loose mounts, or power issues.
- Ensure the TV doesn’t block airbags or seat belts.
Final Safety Check
- All cables are secured and out of the way.
- Mount is tight and doesn’t wobble.
- TV turns off when the car is off (or use a timer).
- No wires are pinched or exposed.
Troubleshooting Common Issues
Even with careful planning, problems can arise. Here’s how to fix them:
TV Won’t Turn On
- Check the power source: Is the 12V outlet working? Try another device.
- Test the adapter or inverter with a multimeter.
- Ensure the TV’s fuse (if any) isn’t blown.
Flickering or Poor Picture
- Loose HDMI cable? Reconnect firmly.
- Weak signal from streaming device? Move closer to the hotspot.
- Screen glare? Adjust angle or use an anti-glare film.
Battery Drains Overnight
- TV may be drawing power when off. Use a relay or smart plug.
- Check for parasitic drain with a multimeter.
Mount Wobbles or Falls
- Tighten all bolts and clamps.
- Use rubber washers to reduce vibration.
- Upgrade to a heavier-duty mount if needed.
Audio Out of Sync
- Common with wireless systems. Try a wired connection.
- Update firmware on streaming devices.
Legal and Safety Considerations
Before finalizing your setup, check local laws. In many U.S. states and countries:
- Screens must not be visible to the driver while driving.
- Rear-seat TVs are usually allowed, but front-seat installations may be restricted.
- Mounts must not interfere with airbags or seat belts.
- Distracted driving laws may apply if passengers are overly engaged.
Always prioritize safety over convenience. A secure, well-placed TV enhances travel—don’t let it become a hazard.
Conclusion
Adding a TV into your SUV is a fantastic way to make every journey more enjoyable. With the right screen, secure mounting, safe power setup, and smart cable management, you can create a reliable in-car entertainment system that passengers will love.
Remember: start small, test thoroughly, and always prioritize safety. Whether you’re watching cartoons with the kids or catching up on your favorite series during a road trip, a well-installed TV turns your SUV into a mobile entertainment hub.
Follow this guide step by step, and you’ll have a professional-looking setup that’s both functional and safe. Happy travels—and happy viewing!