
Adding a receiver hitch to your SUV opens up new possibilities for towing trailers, bikes, or cargo carriers. This guide walks you through every step—from choosing the right hitch to secure installation—so you can do it confidently at home.
Key Takeaways
- Choose the correct hitch class: Match your SUV’s towing capacity and intended use (e.g., Class III for light towing, Class IV for heavier loads).
- Use the right tools: A socket wrench, torque wrench, jack stands, and safety gear are essential for a safe and proper installation.
- Follow the manufacturer’s instructions: Every hitch and SUV model is different—always refer to the included manual for specific steps.
- Check local laws and regulations: Some areas require brake controllers or lighting compliance when towing.
- Test before you tow: After installation, perform a visual inspection and test drive to ensure everything is secure.
- Consider professional help if unsure: If you’re not confident in your mechanical skills, hiring a pro ensures safety and warranty protection.
- Maintain your hitch regularly: Inspect for rust, loose bolts, and wear every few months, especially after heavy use.
How to Add Receiver Hitch to SUV
Adding a receiver hitch to your SUV might sound like a job for a mechanic, but with the right tools, a bit of patience, and this detailed guide, you can do it yourself—safely and correctly. Whether you’re planning to tow a small trailer, haul a boat, or just want the option to carry bikes or a cargo carrier, installing a receiver hitch is a smart upgrade that boosts your vehicle’s versatility.
In this comprehensive how-to guide, you’ll learn everything you need to know about adding a receiver hitch to your SUV. We’ll cover how to choose the right hitch, gather the necessary tools, prepare your vehicle, and install the hitch step by step. You’ll also get practical tips, safety reminders, and troubleshooting advice to ensure a smooth process from start to finish.
By the end of this guide, you’ll not only have a securely installed hitch but also the confidence to use it responsibly. Let’s get started!
Why Install a Receiver Hitch on Your SUV?
Visual guide about How to Add Receiver Hitch to Suv
Image source: i.ytimg.com
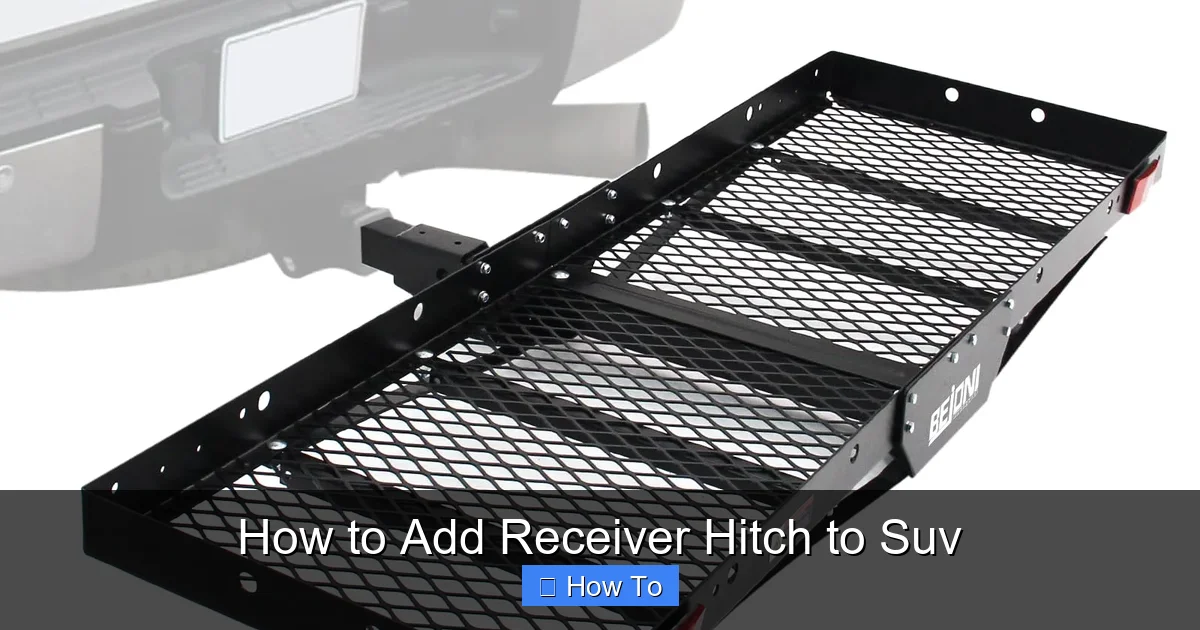
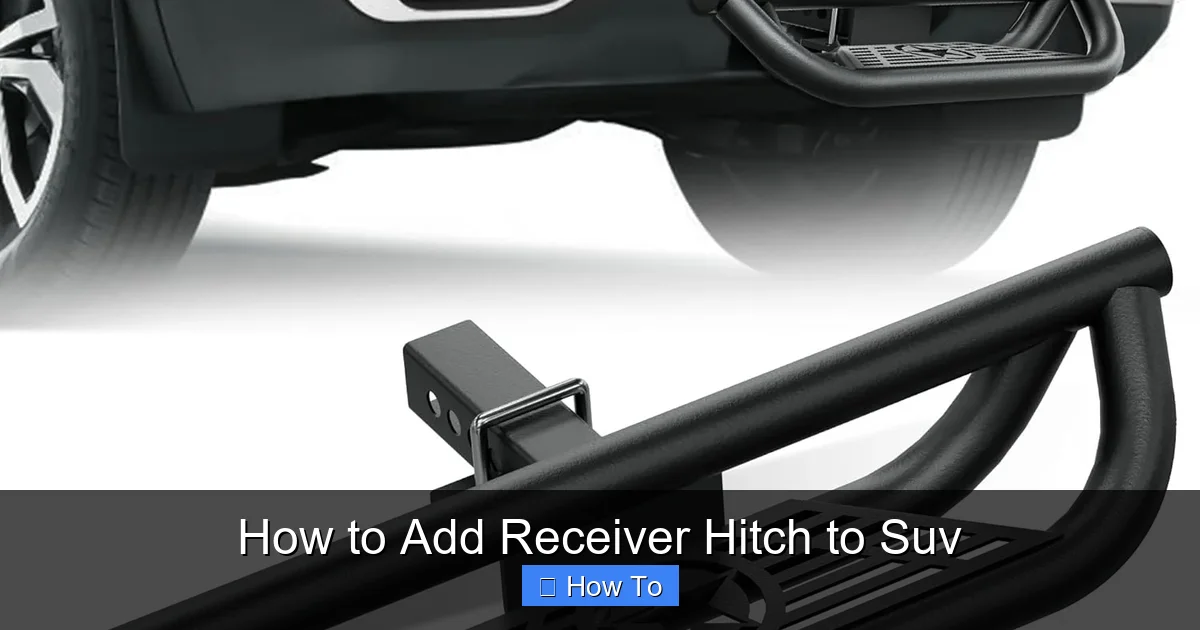
Before diving into the installation, it’s helpful to understand why a receiver hitch is such a valuable addition to your SUV. A receiver hitch is a square-shaped tube mounted to the frame of your vehicle that accepts various towing and carrying accessories. It’s the standard connection point for trailers, bike racks, cargo carriers, and even hitch-mounted steps.
Here are some common reasons SUV owners install a receiver hitch:
– **Towing trailers:** Whether it’s a small utility trailer, a camper, or a boat, a hitch gives you the ability to tow safely.
– **Carrying gear:** Hitch-mounted bike racks and cargo baskets let you transport items without sacrificing interior space.
– **Improved resale value:** A properly installed hitch can increase your SUV’s appeal to future buyers.
– **Convenience:** No more struggling to fit everything inside—your hitch becomes an extension of your vehicle’s storage.
Not all hitches are created equal, though. The type you choose depends on your SUV’s make, model, year, and towing needs. That’s why the first step is selecting the right hitch.
Step 1: Choose the Right Receiver Hitch
Visual guide about How to Add Receiver Hitch to Suv
Image source: m.media-amazon.com
Not every hitch fits every SUV. To ensure compatibility and safety, you need to choose a receiver hitch designed specifically for your vehicle.
Check Your SUV’s Make, Model, and Year
Start by identifying your SUV’s exact specifications. Most hitch manufacturers design products for specific vehicle models and years. For example, a hitch made for a 2020 Toyota RAV4 won’t fit a 2020 Honda CR-V, even though both are compact SUVs.
You can usually find this information in your owner’s manual or by checking the manufacturer’s website. If you’re unsure, a quick online search using your VIN (Vehicle Identification Number) can help confirm your vehicle’s details.
Determine Your Towing Needs
Receiver hitches are classified by their weight capacity. The most common classes for SUVs are:
– **Class I:** Up to 2,000 lbs towing capacity. Best for small trailers or bike racks.
– **Class II:** Up to 3,500 lbs. Suitable for light-duty towing like small campers or utility trailers.
– **Class III:** Up to 6,000 lbs. Ideal for mid-size SUVs and moderate towing needs.
– **Class IV:** Up to 10,000 lbs or more. For larger SUVs and heavy-duty towing.
Choose a hitch that matches or exceeds your intended use. Overloading a hitch can damage your vehicle and create serious safety hazards.
Select a Reputable Brand
Stick with well-known brands like Curt, Draw-Tite, Reese, or Westin. These companies offer high-quality hitches with detailed installation instructions and customer support. Avoid cheap, no-name hitches—they may not meet safety standards or fit properly.
Consider Additional Features
Some hitches come with extra features like:
– **Integrated wiring harness:** Makes connecting trailer lights easier.
– **Powder-coated finish:** Resists rust and corrosion.
– **Removable ball mount:** Allows you to switch between towing and carrying accessories.
Once you’ve selected the right hitch, it’s time to gather your tools.
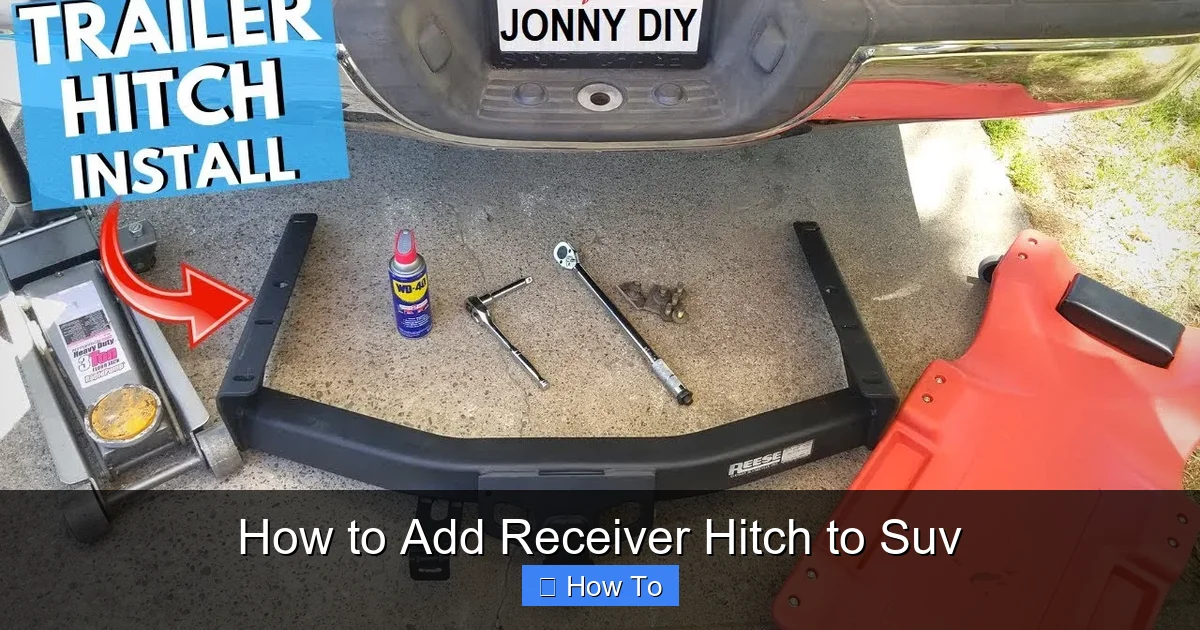
Step 2: Gather the Necessary Tools and Materials
Having the right tools on hand will make the installation process smoother and safer. Here’s what you’ll need:
Basic Tools
– Socket wrench set (metric and standard)
– Torque wrench (essential for tightening bolts to spec)
– Ratchet and extension bars
– Screwdrivers (flathead and Phillips)
– Pliers
– Wire brush or sandpaper
– Safety glasses and gloves
Vehicle Support Tools
– Jack stands (at least two)
– Hydraulic jack or floor jack
– Wheel chocks (to prevent the SUV from rolling)
Optional but Helpful
– Impact wrench (speeds up bolt removal and tightening)
– Drill and drill bits (only if drilling is required—most modern hitches are bolt-on)
– Penetrating oil (like WD-40, for rusty bolts)
– Flashlight or work light
– Assistant (having a second person helps with alignment)
Materials Included with the Hitch
Most receiver hitches come with:
– Mounting brackets
– Bolts, nuts, and washers
– Installation instructions
– Wiring harness (if applicable)
Double-check the package contents before starting. If anything is missing, contact the manufacturer before proceeding.
Step 3: Prepare Your SUV for Installation
Safety comes first. Before you begin, take time to prepare your workspace and vehicle.
Park on a Level Surface
Choose a flat, stable area like a garage or driveway. Avoid slopes or uneven ground. Engage the parking brake and place wheel chocks behind the rear tires to prevent rolling.
Disconnect the Battery (Optional but Recommended)
While not always necessary, disconnecting the negative terminal of your battery reduces the risk of electrical shorts—especially if you’re installing a wiring harness.
Lift the SUV Safely
Use a hydraulic jack to lift the rear of your SUV. Place jack stands under the frame rails or designated lift points (refer to your owner’s manual). Never rely solely on the jack—always use jack stands for support.
Remove Obstacles
Clear any items from the rear bumper area, such as spare tires, mud flaps, or exhaust components. Some hitches require you to remove the bumper cover or exhaust hangers temporarily.
Clean the Mounting Area
Use a wire brush or sandpaper to clean the frame where the hitch will attach. Remove dirt, rust, or paint to ensure a solid connection. Wipe the area with a clean cloth.
Step 4: Install the Receiver Hitch
Now comes the main event—installing the hitch. Follow these steps carefully, and refer to your hitch’s instruction manual for model-specific details.
Position the Hitch
With the help of an assistant, lift the hitch into place under the SUV. Align the mounting brackets with the pre-drilled holes in the frame. Most modern SUVs have factory-drilled holes for hitch installation, so drilling is rarely needed.
If the hitch doesn’t align perfectly, double-check the model number and vehicle compatibility. Forcing the hitch can damage the frame.
Insert the Bolts
Slide the provided bolts through the hitch brackets and into the frame holes. Use washers and nuts on the opposite side. Hand-tighten them first to hold the hitch in place.
Tighten the Bolts Gradually
Use a socket wrench to tighten the bolts in a crisscross pattern (like tightening lug nuts on a wheel). This ensures even pressure and prevents warping.
Once snug, use a torque wrench to tighten each bolt to the manufacturer’s specified torque. Over-tightening can strip threads; under-tightening can lead to loose connections.
Reattach Removed Components
If you removed the bumper cover, exhaust hangers, or other parts, reinstall them now. Make sure everything fits properly and doesn’t interfere with the hitch.
Install the Wiring Harness (If Applicable)
If your hitch includes a wiring harness for trailer lights, follow the included instructions. Most harnesses plug into the SUV’s existing taillight wiring using T-taps or plug-and-play connectors.
Route the wires securely, avoiding hot or moving parts. Use zip ties to keep them tidy. Test the lights before finishing.
Step 5: Test and Inspect the Installation
Don’t hit the road just yet—take time to verify everything is secure.
Visual Inspection
Check that:
– All bolts are tight and properly torqued
– The hitch is level and centered
– No wires are pinched or exposed
– The hitch doesn’t interfere with the exhaust, suspension, or bumper
Test the Connection
Insert a ball mount or accessory into the receiver and secure it with the hitch pin and clip. Wiggle it gently—there should be minimal movement.
Take a Test Drive
Drive around the block at low speed. Listen for unusual noises like rattling or scraping. If something sounds off, stop and inspect immediately.
Recheck Bolts After First Use
After driving 50–100 miles, recheck all bolts. Vibration can loosen them over time.
Troubleshooting Common Issues
Even with careful installation, problems can arise. Here’s how to handle common issues:
Hitch Doesn’t Fit Properly
Double-check the hitch model and vehicle compatibility. If it’s the wrong part, contact the seller for an exchange. Never modify the hitch or frame to force a fit.
Bolts Won’t Thread
Rust or debris may be blocking the threads. Use penetrating oil and a wire brush to clean the holes. If needed, use a tap to clean the threads.
Wiring Harness Not Working
Check connections at both ends. Ensure the fuse is intact and the ground wire is secure. Use a multimeter to test for continuity.
Hitch Feels Loose
Stop driving immediately. Re-torque all bolts. If the problem persists, inspect for damaged threads or warped brackets.
Exhaust or Suspension Interference
Some hitches require slight adjustments to exhaust hangers or heat shields. Use spacers or reposition components as needed—don’t ignore clearance issues.
Safety Tips and Best Practices
Installing a receiver hitch is only half the battle—using it safely is just as important.
Never Exceed Towing Capacity
Check your SUV’s owner’s manual for its maximum towing capacity. Stay well below this limit to protect your transmission, brakes, and frame.
Use the Right Ball Size
Match the ball size to your trailer’s coupler (common sizes are 1-7/8″, 2″, and 2-5/16″).
Distribute Weight Evenly
Load your trailer so 60% of the weight is on the front half. This improves stability and prevents fishtailing.
Check Local Laws
Some states require brake controllers for trailers over a certain weight. Others mandate breakaway systems or specific lighting setups.
Inspect Regularly
Before each trip, check the hitch, bolts, wiring, and trailer connections. Look for signs of wear, rust, or damage.
When to Call a Professional
While many SUV owners can install a receiver hitch themselves, there are times when it’s best to hire a professional:
– You’re unsure about your mechanical skills
– Your SUV requires drilling or welding
– You’re installing a complex 5th-wheel or gooseneck hitch
– You want to preserve your vehicle’s warranty
Professional installers have the tools, experience, and insurance to get the job done right. Many offer lifetime warranties on their work.
Conclusion
Adding a receiver hitch to your SUV is a practical and rewarding project that enhances your vehicle’s functionality. With the right hitch, tools, and careful attention to detail, you can complete the installation in a few hours—right in your driveway.
Remember to choose a hitch that matches your SUV and towing needs, follow the manufacturer’s instructions, and prioritize safety at every step. After installation, inspect your work and test it thoroughly before hitting the road.
Whether you’re towing a camper across the country or just carrying bikes to the trailhead, your new receiver hitch will open up a world of possibilities. So grab your tools, take your time, and enjoy the journey—both in installing the hitch and using it.