
Adding roof rails to your SUV boosts cargo capacity and style. This guide walks you through every step, from choosing the right rails to secure installation. Get professional results at home with clear instructions and expert tips.
Key Takeaways
- Choose compatible roof rails: Match the rails to your SUV’s make, model, and year for a secure fit and safe load capacity.
- Use proper tools and safety gear: A torque wrench, drill, and gloves ensure precision and protect you during installation.
- Follow the manufacturer’s instructions: Every roof rail kit is different—always read the manual before starting.
- Seal all drill points: Prevent leaks and rust by applying automotive-grade sealant to every hole you drill.
- Test the installation before loading: Tighten bolts to spec and gently shake the rails to confirm stability.
- Respect weight limits: Never exceed the dynamic or static load ratings listed by the manufacturer.
- Maintain your roof rails: Regularly check bolts, clean debris, and reseal as needed to ensure long-term safety.
How to Add Roof Rails to SUV
Adding roof rails to your SUV isn’t just about looking rugged—it’s about expanding your vehicle’s functionality. Whether you’re planning a camping trip, hauling bikes, or carrying extra luggage, roof rails give you the flexibility to transport more gear safely. But installing them isn’t as simple as bolting on a few bars. It requires careful planning, the right tools, and attention to detail.
In this guide, you’ll learn how to add roof rails to SUV step by step. We’ll cover everything from choosing the right rails for your vehicle to drilling, sealing, and testing the final installation. By the end, you’ll have a secure, professional-looking setup that’s ready for adventure.
Why Add Roof Rails to Your SUV?
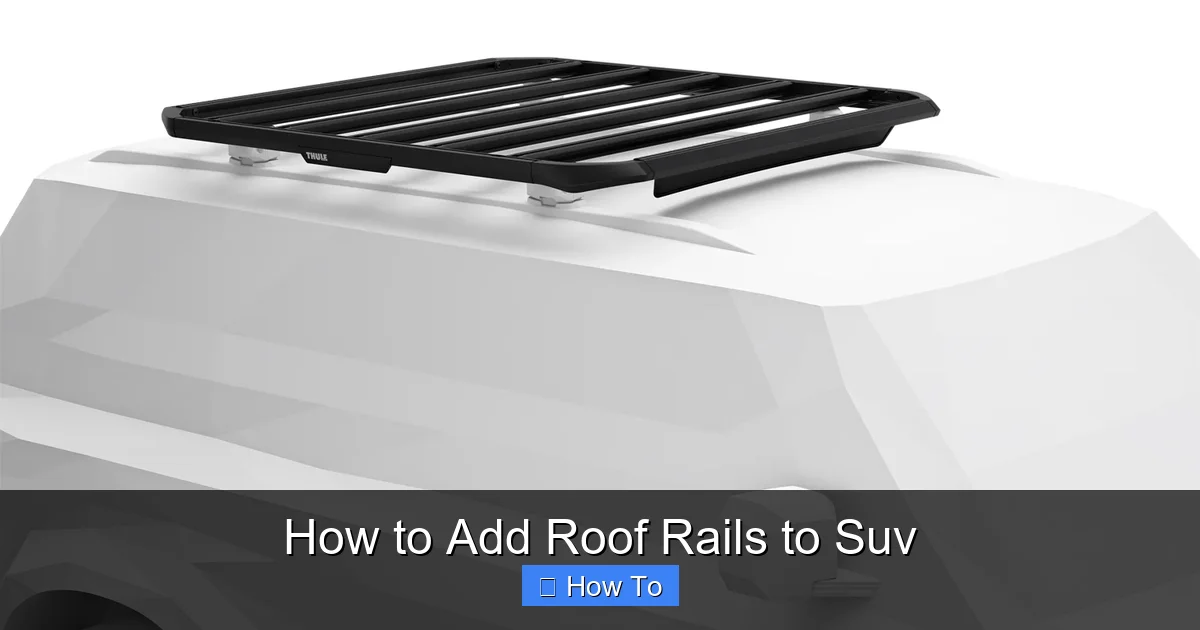
Visual guide about How to Add Roof Rails to Suv
Image source: car-roofracks.co.uk
Roof rails enhance your SUV’s utility in several ways. First, they provide anchor points for roof racks, cargo boxes, bike carriers, and kayak mounts. Without rails, you’re limited to using suction cup or strap-based systems, which are less secure and can damage your roof over time.
Second, roof rails improve aerodynamics when used with compatible crossbars and cargo boxes. They help distribute weight evenly and reduce wind noise compared to aftermarket racks that clamp directly to the door frames.
Finally, roof rails add a sleek, factory-installed look. Many SUV owners prefer the clean lines of integrated rails over bulky add-ons. Even if you don’t plan to carry heavy loads right away, having rails gives you future flexibility.
Types of Roof Rails
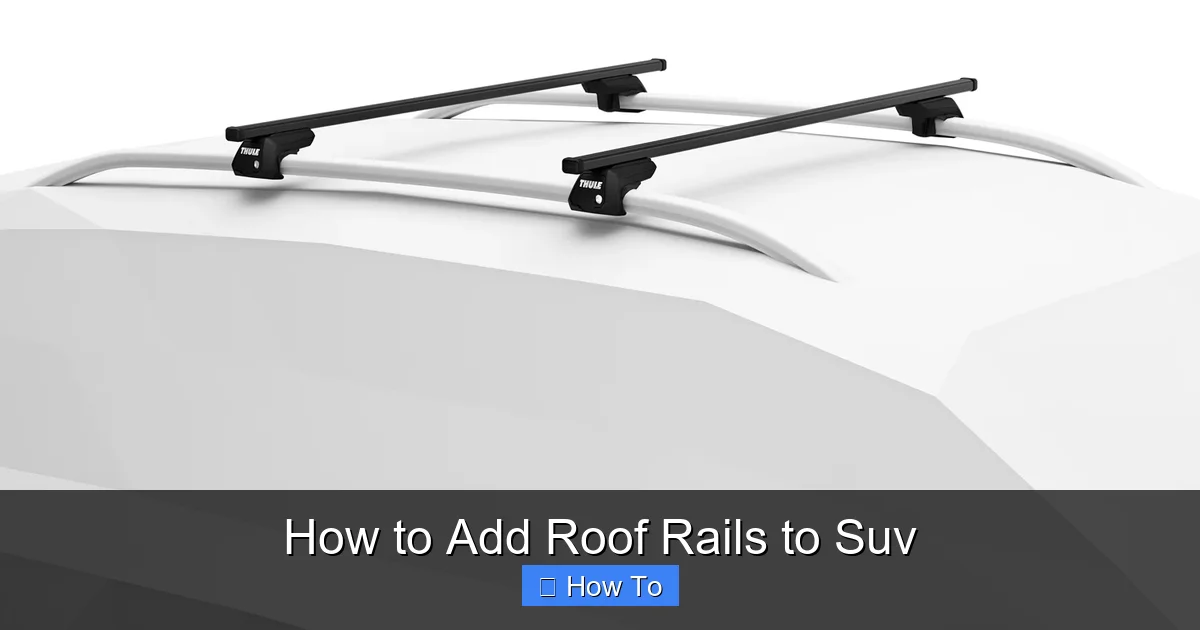
Visual guide about How to Add Roof Rails to Suv
Image source: carpartstuning.com
Before you buy, understand the different types of roof rails available:
Factory-Style Roof Rails
These mimic the look and function of OEM (original equipment manufacturer) rails. They’re designed to blend seamlessly with your SUV’s roofline and often come with pre-drilled mounting points. Factory-style rails are ideal if your vehicle didn’t come with rails but has a compatible roof structure.
Universal Roof Rails
Universal rails fit a wide range of SUVs but may require more customization. They’re usually adjustable and come with clamps or brackets that attach to the roof’s drip channels or door frames. While convenient, they may not offer the same rigidity as vehicle-specific models.
Flush-Mount Roof Rails
These sit low to the roof and provide a streamlined appearance. They’re often used on luxury SUVs and are designed for minimal wind resistance. Installation typically requires drilling, so they’re best for experienced DIYers.
Raised Roof Rails
Raised rails sit higher off the roof, offering more clearance for cargo. They’re great for off-road vehicles or when you need extra space for tall items like kayaks or rooftop tents.
Tools and Materials You’ll Need
Gather these tools and materials before starting:
- Roof rail kit (vehicle-specific recommended)
- Torque wrench
- Drill with appropriate drill bits (usually 3/16″ or 1/4″)
- Measuring tape
- Marker or painter’s tape
- Automotive sealant (silicone or butyl rubber-based)
- Socket set or wrench
- Screwdrivers (Phillips and flathead)
- Safety gloves and goggles
- Clean cloth and rubbing alcohol
- Clamps (optional, for holding rails in place)
Step 1: Choose the Right Roof Rails
Not all roof rails are created equal. The most important factor is compatibility. Check your SUV’s make, model, and year, then look for rails specifically designed for it. Brands like Thule, Yakima, and Rola offer vehicle-specific kits that include custom brackets and hardware.
Check Your Roof Type
SUVs have different roof structures:
– Flush Roof: No visible rails or gutters. Requires drilling for most installations.
– Drip Channel Roof: Has a channel along the edge of the roof. Some rails clamp here without drilling.
– Raised Roof: Has built-in rails or mounting points. Easier to upgrade.
If your SUV has a flush roof, you’ll likely need to drill. Make sure the rail kit includes instructions for drilling and sealing.
Consider Load Capacity
Roof rails have two weight limits:
– Dynamic Load: Weight the vehicle can carry while moving (usually 100–165 lbs).
– Static Load: Weight the roof can support when parked (often 3–5 times higher).
Never exceed the dynamic load. Overloading can damage your roof, cause accidents, or void your warranty.
Step 2: Prepare Your Workspace
Find a clean, flat area to work—ideally a garage or driveway with good lighting. Park your SUV on level ground and engage the parking brake.
Clean the Roof
Use a clean cloth and rubbing alcohol to wipe down the area where the rails will be installed. Remove dirt, wax, and debris. A clean surface ensures better adhesion for sealant and prevents leaks.
Protect the Paint
Apply painter’s tape around the installation area to protect your SUV’s paint from scratches. Avoid using duct tape, which can leave residue.
Step 3: Locate Mounting Points
Most roof rail kits include a template or alignment guide. If not, use the instructions to find the correct positions.
Use the Template
Place the template on the roof and align it with the edges. Mark the drill points with a marker or small piece of tape. Double-check measurements—once you drill, there’s no going back.
Measure Twice, Drill Once
Measure the distance between mounting points and compare it to the rail’s specifications. Even a small error can misalign the rails. Use a measuring tape and level to ensure symmetry.
Step 4: Drill the Mounting Holes
This is the most critical step. Drilling into your roof requires precision and caution.
Put on Safety Gear
Wear safety goggles and gloves. Drilling can create metal shavings and dust.
Start with a Pilot Hole
Use a small drill bit (1/8″) to create a pilot hole at each marked point. This helps guide the larger bit and prevents slipping.
Drill to the Correct Depth
Switch to the recommended drill bit size (usually 3/16″ or 1/4″). Drill straight down—don’t angle the drill. Stop when the bit reaches the roof’s inner layer. Avoid drilling too deep, which could damage wiring or insulation.
Clean the Holes
Use a vacuum or compressed air to remove metal shavings. Wipe the area with rubbing alcohol.
Step 5: Apply Sealant
Sealing is essential to prevent water leaks and rust.
Choose the Right Sealant
Use a high-quality automotive sealant like 3M Urethane Windshield Adhesive or DAP Kwik Seal. Silicone-based sealants work but may not bond as strongly to metal.
Apply Generously
Squeeze a small bead of sealant around each hole. Spread it evenly with a gloved finger or applicator. Don’t skimp—water can seep through tiny gaps.
Let It Cure
Follow the sealant’s drying time (usually 15–30 minutes) before installing the rails. Don’t rush this step.
Step 6: Install the Roof Rails
Now it’s time to attach the rails.
Position the Rails
Place the rails over the holes. Use clamps or have a helper hold them in place while you align them. Check that they’re straight and symmetrical.
Insert the Bolts
Thread the bolts through the rail brackets and into the holes. Hand-tighten first to avoid cross-threading.
Tighten with a Torque Wrench
Use a torque wrench to tighten the bolts to the manufacturer’s specification (usually 8–12 ft-lbs). Over-tightening can strip threads or crack the roof. Under-tightening can lead to loose rails.
Double-Check Alignment
Step back and inspect the rails from different angles. They should be parallel to each other and centered on the roof.
Step 7: Test the Installation
Before loading anything, test the rails for stability.
Gentle Shake Test
Grab each rail and gently shake it side to side and up and down. It should feel solid—no movement or creaking.
Check for Leaks
Spray water on the roof near the installation area. Wait 15–20 minutes, then check inside the vehicle for moisture. If you see water, reapply sealant.
Re-Torque After 100 Miles
Vibration from driving can loosen bolts. After your first drive, re-check the torque on all bolts.
Step 8: Maintain Your Roof Rails
Proper maintenance ensures long-term safety and performance.
Inspect Regularly
Check bolts, seals, and rails every few months. Look for rust, cracks, or loose parts.
Clean After Use
Rinse off dirt, salt, and debris, especially after off-road trips or winter driving.
Reseal as Needed
If you notice water stains or hear wind noise, reapply sealant to the mounting points.
Troubleshooting Common Issues
Even with careful installation, problems can arise. Here’s how to fix them:
Rails Are Loose
Cause: Bolts not tightened to spec or stripped threads.
Solution: Re-torque the bolts. If threads are damaged, use a thread repair kit or consult a professional.
Water Leaks
Cause: Insufficient or degraded sealant.
Solution: Remove the rails, clean the area, and reapply fresh sealant. Consider using a waterproof tape under the brackets.
Rails Are Misaligned
Cause: Incorrect drilling or template placement.
Solution: If minor, adjust the brackets. If severe, you may need to fill the holes with epoxy and redrill—consult a body shop if unsure.
Wind Noise
Cause: Gaps between rails and roof or loose components.
Solution: Add foam tape under the rails or tighten all hardware. Use a wind deflector if needed.
Rust Around Holes
Cause: Moisture trapped under the rail.
Solution: Remove the rail, sand the rust, apply rust converter, and reseal. Prevent future rust with regular inspections.
Safety Tips and Best Practices
Adding roof rails is a great DIY project, but safety comes first.
- Never exceed weight limits. Overloading can cause roof failure or accidents.
- Distribute weight evenly. Place heavy items in the center and secure them properly.
- Use crossbars if needed. Some rails require crossbars to support cargo boxes or carriers.
- Check local laws. Some areas have height restrictions for roof loads.
- Secure all cargo. Use straps, nets, or locks to prevent items from shifting or falling.
- Inspect before long trips. A quick check can prevent disasters on the road.
Conclusion
Adding roof rails to your SUV is a smart upgrade that enhances both function and style. With the right tools, careful planning, and attention to detail, you can install them safely and correctly at home. Remember to choose vehicle-specific rails, seal all drill points, and follow the manufacturer’s torque specifications.
Once installed, your roof rails will open up a world of possibilities—from weekend adventures to everyday convenience. Just remember to respect weight limits, maintain your rails, and always secure your cargo.
Whether you’re hauling gear for a camping trip or just want the option to carry more, roof rails are a worthwhile investment. Follow this guide, take your time, and enjoy the added capability of your SUV.