
Adding a tow hitch to your SUV opens up new possibilities for hauling trailers, bikes, or gear. This guide walks you through the entire process—from choosing the right hitch to final safety checks—so you can tow with confidence.
Key Takeaways
- Choose the right hitch class: Match your SUV’s towing capacity and intended use (e.g., Class III for light trailers, Class IV for heavier loads).
- Check your vehicle compatibility: Not all hitches fit every SUV—verify fitment using your make, model, and year.
- Gather the right tools: You’ll need a socket wrench, torque wrench, jack stands, and safety gear for a smooth installation.
- Follow torque specifications: Over- or under-tightening bolts can cause failure—always use a torque wrench as directed.
- Test before towing: Perform a visual inspection and test drive before attaching any load.
- Consider professional help: If you’re unsure about wiring or structural mounting, consult a certified installer.
- Maintain your hitch: Regular cleaning and lubrication prevent rust and ensure long-term reliability.
How to Add a Tow Hitch to Your SUV
So, you’ve decided to add a tow hitch to your SUV. Great choice! Whether you’re planning to haul a small utility trailer, a camper, or even just a bike rack, a tow hitch gives your vehicle serious versatility. But before you grab your toolbox and start drilling, it’s important to understand that installing a tow hitch isn’t just about bolting on a piece of metal—it’s about safety, compatibility, and proper technique.
In this comprehensive guide, we’ll walk you through every step of adding a tow hitch to your SUV. You’ll learn how to choose the right hitch, gather the necessary tools, prepare your vehicle, install the hitch correctly, and perform essential safety checks. By the end, you’ll have the knowledge and confidence to tow safely and legally.
Let’s get started.
Why Install a Tow Hitch on Your SUV?
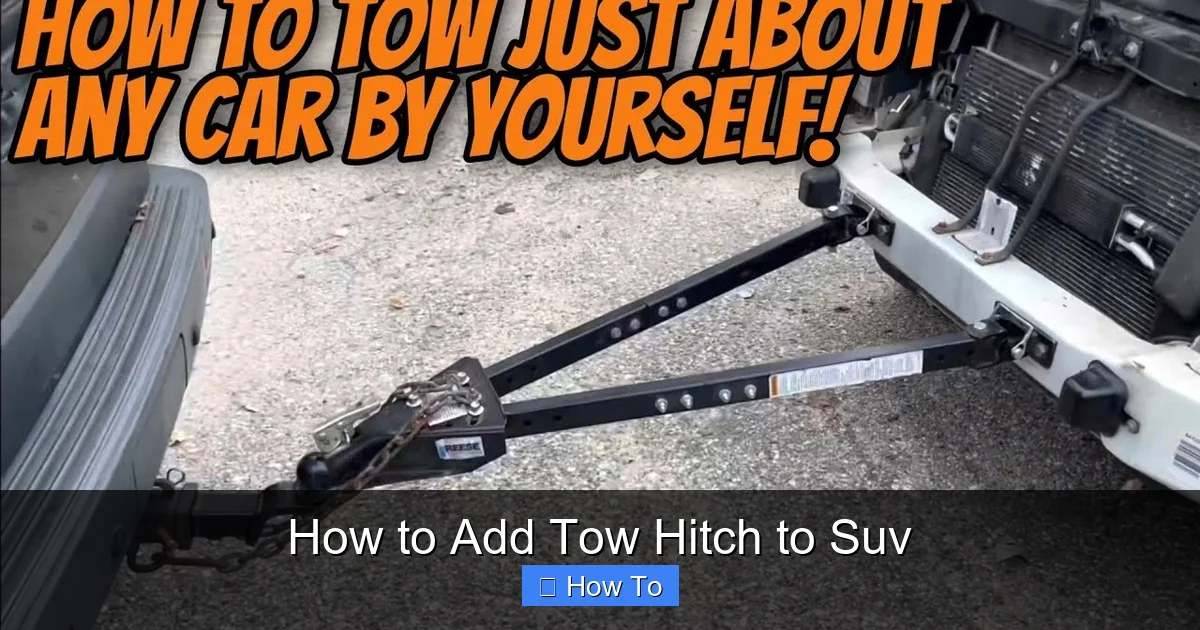
Visual guide about How to Add Tow Hitch to Suv
Image source: curtmfg.com
SUVs are built for adventure. They’re spacious, powerful, and capable of handling rough terrain. But without a tow hitch, their potential is limited. Adding a hitch unlocks a world of possibilities:
– Hauling trailers for moving, landscaping, or camping
– Towing small boats, ATVs, or jet skis
– Mounting bike racks, cargo carriers, or roof boxes
– Increasing resale value of your vehicle
More importantly, a properly installed hitch ensures that your load is secure and your vehicle remains stable on the road. A poorly installed hitch, on the other hand, can lead to dangerous swaying, detachment, or even accidents.
That’s why it’s crucial to do it right—whether you’re a DIY enthusiast or considering professional installation.
Step 1: Determine Your SUV’s Towing Capacity
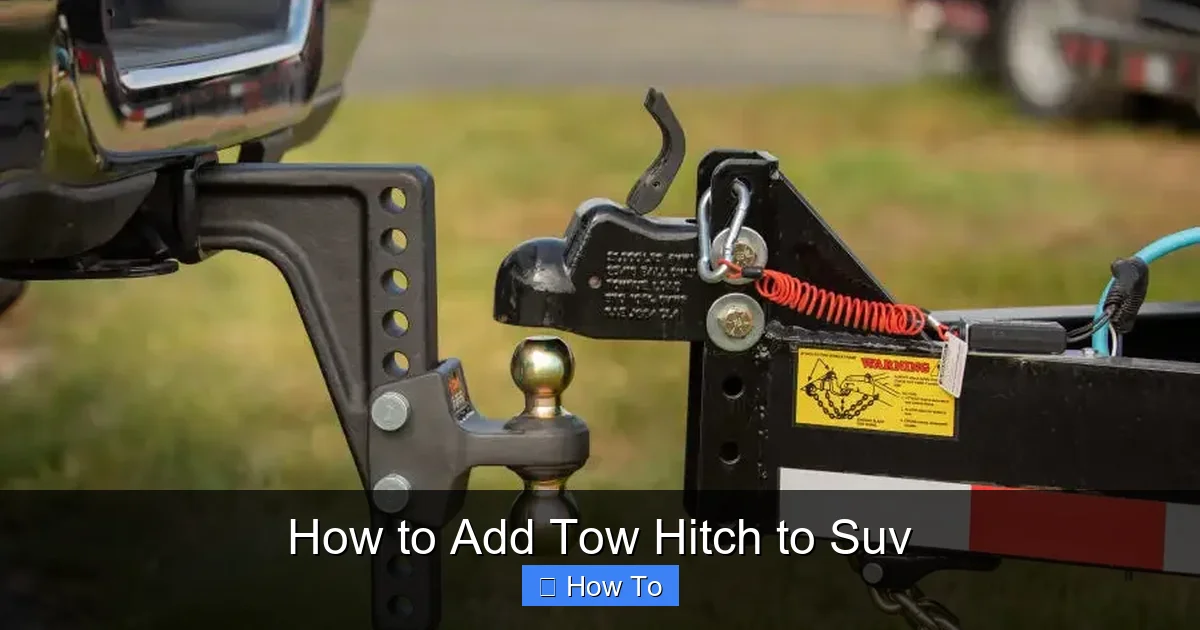
Visual guide about How to Add Tow Hitch to Suv
Image source: i.ytimg.com
Before you buy any hitch, you need to know how much your SUV can safely tow. This is called the towing capacity, and it varies widely between models and engine types.
How to Find Your Towing Capacity
Check your owner’s manual—it will list the maximum towing capacity for your specific SUV. If you don’t have the manual, you can usually find it online by searching “[Your SUV Make] [Model] [Year] towing capacity.”
For example:
– A 2022 Honda CR-V has a towing capacity of 1,500 lbs.
– A 2023 Ford Explorer can tow up to 5,600 lbs with the right equipment.
– A Toyota RAV4 Hybrid maxes out around 1,500–3,500 lbs depending on trim.
Factors That Affect Towing Capacity
- Engine type: Turbocharged or V6 engines typically offer more power than base 4-cylinders.
- Transmission: Some SUVs have towing packages that include upgraded cooling systems.
- Drivetrain: All-wheel drive (AWD) or four-wheel drive (4WD) can improve traction but may not increase towing capacity.
- Factory towing package: If your SUV came with a towing package, it likely has reinforced suspension, a transmission cooler, and pre-wired harnesses.
Pro Tip: Never exceed your SUV’s towing capacity—even if the hitch you’re installing is rated higher. The weakest link determines safety.
Step 2: Choose the Right Type of Tow Hitch
Not all tow hitches are created equal. The type you choose depends on what you plan to tow and how often.
Common Hitch Classes
- Class I: Up to 2,000 lbs GTW (Gross Trailer Weight), 200 lbs tongue weight. Best for small trailers, bike racks, or cargo carriers. Common on compact SUVs.
- Class II: Up to 3,500 lbs GTW, 350 lbs tongue weight. Good for small campers or utility trailers.
- Class III: Up to 6,000 lbs GTW, 600 lbs tongue weight. Ideal for mid-size SUVs towing larger trailers, boats, or ATVs.
- Class IV: Up to 10,000 lbs GTW, 1,000 lbs tongue weight. For heavy-duty towing—common on full-size SUVs like the Chevrolet Tahoe or Ford Expedition.
- Class V: Over 10,000 lbs GTW. Rare for SUVs; more common on trucks.
Hitch Styles
– Receiver Hitch: The most common type. Features a square tube (usually 1.25″ or 2″) that accepts various attachments like ball mounts, bike racks, or cargo carriers. Highly versatile.
– Fixed Drawbar Hitch: A single-piece hitch with a built-in ball. Less flexible but simpler.
– Gooseneck or Fifth Wheel: Not typically used on SUVs—these are for heavy trailers and require special chassis modifications.
Recommendation: For most SUV owners, a Class III receiver hitch is the sweet spot—offering enough capacity for serious towing while remaining compatible with accessories.
Step 3: Verify Hitch Compatibility with Your SUV
Just because a hitch says “fits SUVs” doesn’t mean it fits your SUV. You need to ensure a precise match.
How to Check Fitment
1. Use a reputable hitch retailer’s fit guide: Websites like Curt, Draw-Tite, or U-Haul allow you to enter your vehicle’s make, model, year, and sometimes engine type to find compatible hitches.
2. Check for frame mounting points: Most SUV hitches bolt directly to the vehicle’s frame. Look under your SUV to see if there are pre-drilled holes or reinforced areas.
3. Consider ground clearance: Some hitches sit low and may scrape on steep driveways or off-road terrain. Look for a hitch with adequate clearance or a recessed design.
Example:
If you own a 2020 Subaru Outback, you’ll want a hitch specifically designed for that model. A Curt #13410 is a popular Class III receiver hitch that fits perfectly and uses existing frame holes—no drilling required.
Warning: Avoid universal hitches. They often require modification and may not meet safety standards.
Step 4: Gather the Right Tools and Materials
Before you begin, make sure you have everything you need. Rushing out to buy tools mid-installation can be frustrating and unsafe.
Essential Tools
- Socket wrench set (metric and standard)
- Torque wrench (critical for proper bolt tightening)
- Jack and jack stands (or a hydraulic lift if available)
- Wheel chocks
- Safety glasses and gloves
- Penetrating oil (like WD-40) for rusty bolts
- Wire brush (to clean mounting surfaces)
- Measuring tape
- Marker or chalk
Optional but Helpful
- Impact wrench (speeds up bolt removal)
- Torque angle gauge (for precise tightening)
- Assistant (some hitches are heavy and awkward to hold in place)
Pro Tip: Lay out all tools and parts before starting. This saves time and reduces the risk of losing small components.
Step 5: Prepare Your SUV for Installation
Safety first. You’ll be working under your vehicle, so take precautions.
Step-by-Step Preparation
- Park on a flat, level surface. Use wheel chocks to prevent rolling.
- Engage the parking brake. This adds an extra layer of safety.
- Disconnect the negative battery terminal. This prevents accidental electrical shorts, especially if you’re installing a wiring harness later.
- Raise the rear of the SUV. Use a jack to lift the rear axle, then place jack stands under the frame rails. Never rely solely on the jack.
- Remove the rear wheels (optional but recommended). This gives you better access to the frame and hitch mounting area.
- Clean the mounting area. Use a wire brush and penetrating oil to remove dirt, rust, and debris from the frame where the hitch will attach.
Safety Reminder: Always wear safety glasses and gloves. Working under a vehicle is dangerous—take your time.
Step 6: Install the Tow Hitch
Now for the main event. Follow the manufacturer’s instructions carefully—every hitch is slightly different.
General Installation Steps
- Position the hitch. Slide the hitch into place under the SUV, aligning it with the frame mounting holes. You may need an assistant to hold it steady.
- Insert the bolts. Most hitches use 4–6 bolts that pass through the frame. Use the provided hardware—don’t substitute with random bolts.
- Hand-tighten all bolts. Start by threading each bolt by hand to avoid cross-threading.
- Torque the bolts to specification. This is critical. Use your torque wrench to tighten bolts in a crisscross pattern (like tightening lug nuts). Typical torque ranges from 60 to 120 ft-lbs, depending on the hitch.
- Double-check alignment. Ensure the hitch is level and centered. Misalignment can cause uneven wear or stress.
- Reinstall wheels (if removed). Lower the SUV carefully and remove jack stands.
Common Installation Challenges
– Rusty or seized bolts: Spray with penetrating oil and let it sit for 15–30 minutes. Use a breaker bar if needed—but avoid excessive force.
– Hitch won’t align: Slightly loosen adjacent bolts to adjust position. Don’t force it.
– Missing hardware: Contact the manufacturer immediately. Never install a hitch without all original bolts and washers.
Pro Tip: Take photos during disassembly. They’ll help if you need to reassemble something later.
Step 7: Install the Wiring Harness (If Towing Trailers)
If you plan to tow a trailer with lights (brake lights, turn signals, running lights), you’ll need a wiring harness.
Types of Wiring Harnesses
– Plug-and-play harness: Connects to your SUV’s factory wiring using OEM connectors. No splicing required. Best for modern vehicles.
– Hardwired harness: Requires cutting and splicing into the vehicle’s taillight wires. More permanent but reliable.
– Capacitor-based or battery-powered: For trailers without a wiring system (e.g., some bike racks).
Installation Tips
- Follow the wiring diagram in the harness kit.
- Use electrical tape or heat shrink tubing to seal connections.
- Route wires away from moving parts, heat sources, and sharp edges.
- Test all lights (brake, turn, reverse) before hitting the road.
Note: Some SUVs require a brake controller if towing a trailer with electric brakes. This is a separate device that mounts inside the cabin and connects to the wiring harness.
Step 8: Perform a Final Safety Check
Before you tow anything, make sure everything is secure.
Safety Inspection Checklist
- All bolts are torqued to spec.
- Hitch is firmly attached with no movement.
- Wiring harness is connected and lights function.
- Ball mount (if used) is inserted and pinned correctly.
- Trailer coupler is locked onto the ball.
- Safety chains are crossed and attached to the SUV.
- Brake controller (if used) is calibrated.
Test Drive
Take a short, slow drive around the block with the hitch installed (even without a load). Listen for rattles, check for movement, and ensure the hitch doesn’t scrape the ground.
Troubleshooting Common Issues
Even with careful installation, problems can arise.
Hitch Feels Loose or Wobbly
– Cause: Bolts not torqued properly or worn hardware.
– Fix: Re-torque all bolts. Replace any damaged washers or bolts.
Trailer Lights Not Working
– Cause: Poor connection, blown fuse, or incorrect wiring.
– Fix: Check fuse box, test connections with a multimeter, and verify wiring matches the diagram.
Hitch Scrapes on Driveways
– Cause: Hitch sits too low.
– Fix: Use a hitch extender or choose a higher-clearance model next time.
Excessive Trailer Sway
– Cause: Improper weight distribution or overloading.
– Fix: Ensure 60% of trailer weight is on the front half. Use a weight distribution hitch if needed.
Maintenance Tips for Your Tow Hitch
A little care goes a long way.
- Clean regularly: Wash off dirt, salt, and grime after each use—especially in winter.
- Lubricate the ball: Use a silicone-based grease to prevent rust and ensure smooth coupling.
- Inspect for damage: Look for cracks, bends, or excessive rust. Replace if compromised.
- Store accessories properly: Keep bike racks and cargo carriers in a dry place to prevent corrosion.
When to Call a Professional
While many SUV owners can install a tow hitch themselves, some situations call for expert help:
– Your SUV has a unibody construction (no traditional frame)
– You’re installing a fifth-wheel or gooseneck hitch
– You’re unsure about electrical wiring
– You lack the proper tools or workspace
– You’re towing near or at your vehicle’s maximum capacity
Certified installers have the experience and equipment to ensure a safe, code-compliant installation.
Conclusion
Adding a tow hitch to your SUV is a smart upgrade that enhances functionality and opens up new adventures. By following this guide—choosing the right hitch, using proper tools, and performing thorough safety checks—you can install it confidently and tow safely.
Remember, the key to successful towing isn’t just the hitch—it’s how well it’s installed and maintained. Take your time, follow the steps, and don’t skip the torque wrench. Your safety—and the safety of others on the road—depends on it.
Now go out there and make the most of your SUV’s towing potential!