
Adding a trailer hitch to your SUV opens up new possibilities for hauling gear, trailers, and more. This guide walks you through the entire process—from choosing the right hitch to secure installation—so you can do it safely and confidently at home.
Key Takeaways
- Choose the right hitch class: Match your SUV’s towing capacity and intended use (e.g., Class III for light trailers, Class IV for heavier loads).
- Check your vehicle compatibility: Not all hitches fit every SUV—verify fitment using your make, model, and year.
- Gather the right tools: A socket wrench, torque wrench, jack stands, and penetrating oil are essential for a smooth installation.
- Follow torque specifications: Over- or under-tightening bolts can lead to failure—always use a torque wrench as directed.
- Test before towing: After installation, perform a visual inspection and test drive before attaching any trailer.
- Consider professional help if unsure: If you’re not confident in your mechanical skills, hiring a pro ensures safety and warranty compliance.
- Maintain your hitch regularly: Clean and inspect it periodically to prevent rust and ensure long-term reliability.
How to Add a Trailer Hitch to SUV
So you’ve decided to add a trailer hitch to your SUV—great choice! Whether you’re planning to tow a small utility trailer, a camper, or even a small boat, installing a trailer hitch gives you the flexibility to haul more without needing a bigger vehicle. The good news? You don’t need to be a mechanic to do it yourself. With the right tools, a bit of patience, and this step-by-step guide, you can install a trailer hitch on your SUV safely and correctly—right in your driveway.
In this comprehensive how-to guide, we’ll walk you through everything you need to know: from choosing the right hitch for your SUV, gathering the necessary tools, preparing your vehicle, performing the installation, and finally testing it before your first tow. We’ll also share practical tips, common pitfalls to avoid, and troubleshooting advice to help ensure a smooth, successful project.
By the end of this guide, you’ll not only have a fully functional trailer hitch installed, but you’ll also feel confident in your ability to maintain it and use it safely. Let’s get started!
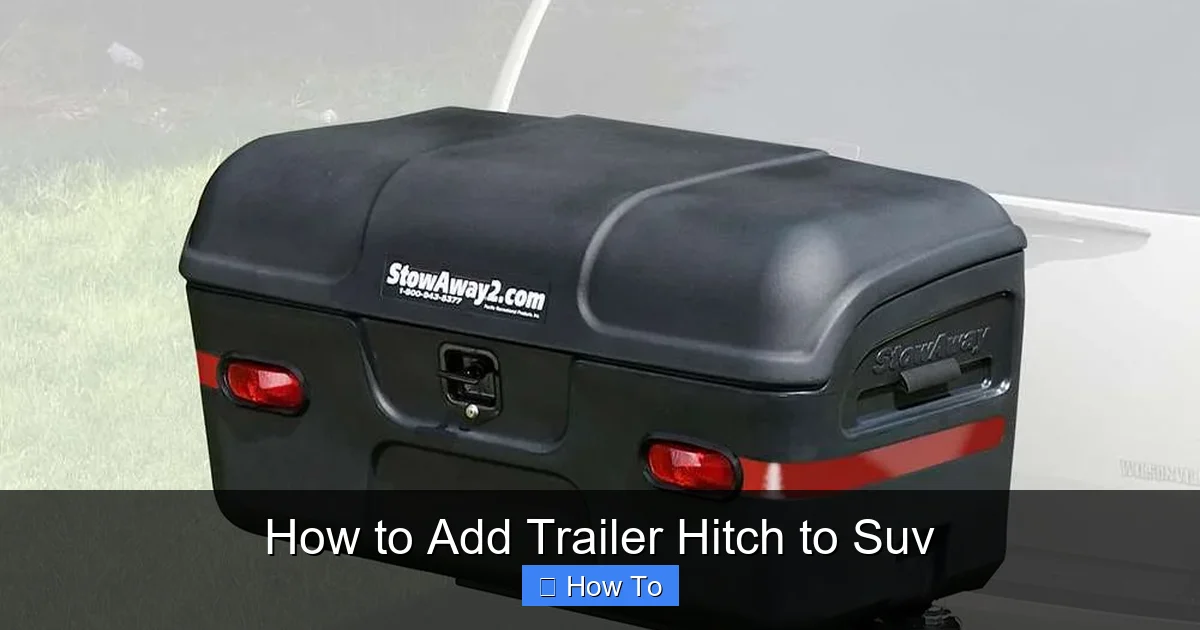
Why Install a Trailer Hitch on Your SUV?
Visual guide about How to Add Trailer Hitch to Suv
Image source: torkliftcentral.com
Before diving into the installation process, it’s helpful to understand why adding a trailer hitch is such a smart upgrade. SUVs are built for versatility—they handle off-road adventures, family road trips, and daily commutes with ease. But when it comes to hauling, many SUVs come from the factory without a hitch, limiting their utility.
A trailer hitch transforms your SUV into a capable towing machine. Whether you’re moving furniture, transporting ATVs, or heading out for a weekend camping trip with a small trailer, a hitch gives you the power to bring more with you. It’s also a great investment—adding a hitch can increase your vehicle’s resale value, especially if it’s professionally installed and well-maintained.
Plus, installing it yourself saves you money. Professional installation can cost $200–$500 or more, depending on your location and the complexity of the job. With a little DIY effort, you can cut that cost significantly while gaining valuable hands-on experience.
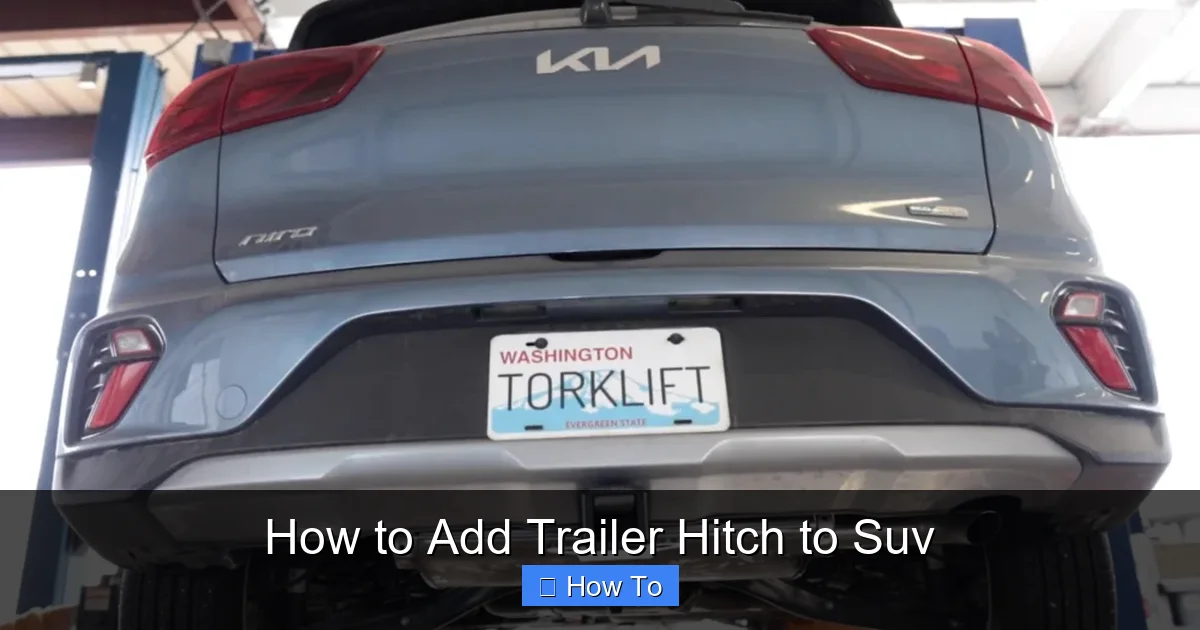
Step 1: Choose the Right Trailer Hitch for Your SUV
Visual guide about How to Add Trailer Hitch to Suv
Image source: dlczb9lfz9r73.cloudfront.net
The first and most important step is selecting the correct trailer hitch for your SUV. Not all hitches are created equal, and using the wrong one can lead to safety hazards, damage to your vehicle, or even void your warranty.
Understand Hitch Classes
Trailer hitches are categorized into classes based on their weight capacity. Here’s a quick breakdown:
- Class I: Up to 2,000 lbs gross trailer weight (GTW), 200 lbs tongue weight. Best for small trailers, bike racks, or light cargo carriers.
- Class II: Up to 3,500 lbs GTW, 350 lbs tongue weight. Suitable for small campers or utility trailers.
- Class III: Up to 6,000 lbs GTW, 600 lbs tongue weight. Ideal for mid-sized trailers, boats, or larger cargo.
- Class IV: Up to 10,000 lbs GTW, 1,000 lbs tongue weight. For heavy-duty towing, such as large campers or equipment trailers.
- Class V: Over 10,000 lbs GTW. Typically used on heavy-duty trucks, not common for most SUVs.
Most SUVs fall into the Class II or III range, but always check your owner’s manual for your vehicle’s maximum towing capacity. Never exceed this limit—even if your hitch can handle more.
Check Compatibility
Not every hitch fits every SUV. Manufacturers design hitches specifically for certain makes, models, and years. To find the right one:
- Visit reputable hitch retailers like etrailer.com, U-Haul, or Curt Manufacturing.
- Enter your SUV’s year, make, and model into their fitment tool.
- Look for hitches labeled “direct fit” or “no-drill installation” for easier DIY work.
For example, a 2020 Honda CR-V typically uses a Class II or III hitch that bolts directly to the frame without welding or drilling. In contrast, some older or heavier SUVs may require more complex installations.
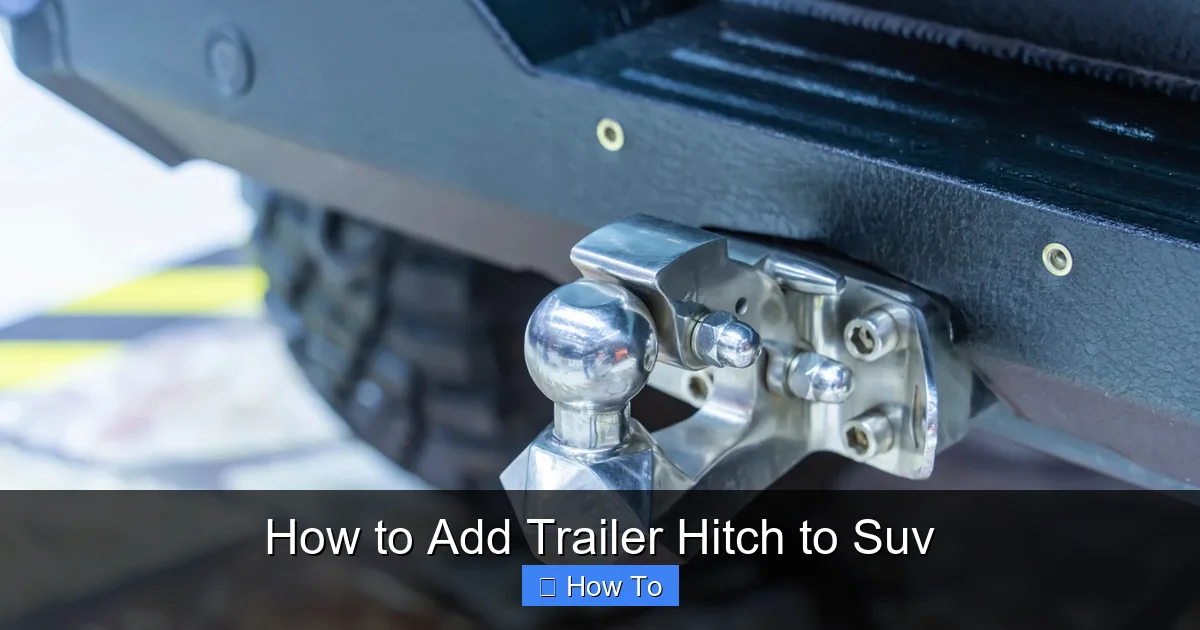
Choose Between Receiver Types
Most SUV hitches use a receiver-style hitch, which accepts removable ball mounts or accessories. The two most common sizes are:
- 1¼-inch receiver: Used with Class I and II hitches. Great for light-duty use like bike racks.
- 2-inch receiver: Used with Class III and IV hitches. Offers more strength and versatility for towing.
If you plan to tow heavier loads or want future flexibility, go with a 2-inch receiver—even if your current needs are lighter. It’s easier to downsize a ball mount than upgrade the entire hitch later.
Step 2: Gather Your Tools and Materials
Before you begin, make sure you have all the necessary tools and supplies. Having everything ready will save time and frustration during installation.
Essential Tools
- Socket wrench set: Preferably with metric and standard sockets (most SUVs use metric).
- Torque wrench: Critical for tightening bolts to the manufacturer’s specifications.
- Jack and jack stands: To safely lift and support your SUV.
- Wheel chocks: Prevent the vehicle from rolling while lifted.
- Penetrating oil (like WD-40): Helps loosen rusty or stuck bolts.
- Safety glasses and gloves: Protect your eyes and hands.
- Rubber mallet: Useful for gently tapping parts into place.
- Measuring tape and marker: For alignment checks.
Additional Supplies
- Trailer hitch kit: Should include the hitch, mounting hardware, and instructions.
- Thread locker (optional): Helps prevent bolts from loosening over time.
- Wire brush: For cleaning rust or debris from bolt holes.
- Flashlight or work light: Improves visibility under the vehicle.
Optional but Helpful
- Impact wrench: Speeds up bolt removal and tightening (but use a torque wrench for final tightening).
- Helper: A second person can help hold the hitch in place during installation.
- Vehicle lift or ramps: If you have access, these make the job easier than using jack stands.
Step 3: Prepare Your SUV for Installation
Safety first! Before you start working, take the time to properly prepare your vehicle and workspace.
Park on a Level Surface
Choose a flat, stable area like a garage floor or driveway. Avoid slopes or uneven ground, which can make lifting the vehicle dangerous.
Engage the Parking Brake and Chock the Wheels
Put your SUV in “Park” (or first gear for manual transmissions) and set the parking brake. Place wheel chocks behind the rear tires to prevent rolling.
Lift the Vehicle Safely
Use a hydraulic jack to lift the rear of the SUV. Place the jack under the rear differential or a designated lift point (check your owner’s manual). Once lifted, position jack stands under the frame rails or reinforced jack points. Never rely solely on the jack—always use jack stands for support.
Remove Obstacles
Some SUVs have exhaust components, heat shields, or bumper covers that may interfere with hitch installation. You may need to:
- Loosen or remove the rear bumper (check your hitch instructions—some require partial removal).
- Detach exhaust hangers to lower the tailpipe slightly.
- Remove heat shields if they block access to bolt holes.
Take photos before disassembling anything so you can reassemble it correctly later.
Clean the Mounting Area
Use a wire brush and penetrating oil to clean rust, dirt, or debris from the frame where the hitch will bolt on. This ensures a secure fit and makes bolt insertion easier.
Step 4: Install the Trailer Hitch
Now comes the main event—installing the hitch. Follow your hitch kit’s instructions carefully, as designs vary by manufacturer. Below is a general step-by-step process that applies to most bolt-on hitches.
Position the Hitch
With the help of a friend (or using a jack to support the hitch), lift the hitch into place under the vehicle. Align it with the pre-drilled holes in the frame. Most hitches are designed to fit snugly, but you may need to wiggle it slightly to get it into position.
Insert the Bolts
Start by hand-threading the bolts through the hitch and into the frame. Use the hardware provided in the kit—don’t substitute with generic bolts. Most kits include Grade 8 bolts, which are strong enough for towing loads.
Tighten the Bolts Gradually
Use your socket wrench to tighten the bolts in a crisscross pattern (like tightening lug nuts on a wheel). This ensures even pressure and prevents warping. Don’t fully tighten yet—just snug them up.
Torque to Specification
This is the most critical step. Refer to your hitch instructions for the correct torque value (usually listed in foot-pounds or Newton-meters). Use your torque wrench to tighten each bolt to the specified level. Over-tightening can strip threads or damage the frame; under-tightening can lead to loosening over time.
For example, a typical Class III hitch might require 65–85 ft-lbs of torque. Always double-check the specs.
Reinstall Removed Components
Once the hitch is securely bolted on, reattach any parts you removed earlier—bumper covers, exhaust hangers, heat shields, etc. Make sure everything is properly secured and doesn’t rub against the hitch.
Double-Check Alignment
Ensure the hitch receiver is level and centered under the vehicle. Misalignment can cause uneven towing and stress on the hitch. Use a measuring tape to check equal distance from the receiver to each side of the bumper or frame.
Step 5: Test the Installation
Before you hook up a trailer, it’s essential to test your work.
Visual Inspection
Walk around the hitch and check:
- All bolts are tight and properly torqued.
- No parts are loose or rubbing.
- The hitch is securely attached with no movement when shaken.
Lower the Vehicle
Carefully remove the jack stands and lower the SUV using the jack. Let it settle on its suspension.
Test Drive
Take a short, slow drive around the block. Listen for unusual noises—rattling, clunking, or scraping—which could indicate a loose bolt or misalignment. If everything sounds good, you’re ready to tow.
Attach a Ball Mount (Optional)
If you’re planning to tow soon, insert a ball mount into the receiver and secure it with a pin and clip. Make sure the ball size matches your trailer coupler (common sizes are 2” and 2-5/16”).
Troubleshooting Common Issues
Even with careful installation, you might run into a few hiccups. Here’s how to handle them:
Bolts Won’t Thread
If a bolt won’t go in, don’t force it. The hole may be misaligned or clogged with debris. Use a wire brush to clean it, or slightly adjust the hitch position. In rare cases, the frame hole may be damaged—consult a professional if needed.
Hitch Feels Loose
If the hitch moves when you shake it, one or more bolts may not be tight enough. Re-torque all bolts to the correct specification. If the problem persists, check for damaged threads or missing hardware.
Exhaust or Bumper Interference
Some hitches sit close to the exhaust or bumper. If you hear scraping, you may need to adjust the exhaust hangers or add a heat shield. Never ignore rubbing—it can lead to damage over time.
Rust or Corrosion
If you live in a snowy or coastal area, rust can be a problem. After installation, apply a rust-inhibiting spray to the hitch and bolts. Reapply annually or as needed.
Maintenance Tips for Your Trailer Hitch
To keep your hitch in top condition:
- Clean regularly: Wash off dirt, salt, and grime after each use, especially in winter.
- Inspect before towing: Check for cracks, rust, or loose bolts every time you hook up.
- Lubricate the receiver: Use a silicone-based spray to prevent sticking and corrosion.
- Store accessories properly: Remove ball mounts when not in use to prevent theft and damage.
- Touch up paint: If the hitch coating chips, use touch-up paint to prevent rust.
When to Call a Professional
While most SUV trailer hitches can be installed at home, there are times when it’s best to hire a pro:
- Your SUV requires welding or drilling (not common, but possible on older models).
- You’re unsure about torque specs or proper alignment.
- You don’t have the right tools or a safe workspace.
- Your vehicle is still under warranty—some manufacturers require professional installation to maintain coverage.
Professional installers also often provide warranties on their work, giving you peace of mind.
Conclusion
Adding a trailer hitch to your SUV is a rewarding DIY project that enhances your vehicle’s functionality and value. By choosing the right hitch, gathering the proper tools, and following each step carefully, you can complete the installation safely and correctly. Remember to always torque bolts to specification, test your work, and maintain your hitch over time.
Whether you’re hauling gear for a weekend adventure or preparing for a big move, your newly equipped SUV is ready for the task. With this guide, you’ve not only saved money but also gained the confidence to tackle future automotive projects. Happy towing!