
This guide walks you through how to armor a SUV effectively, whether for off-road durability or personal security. You’ll learn about materials, installation steps, and key considerations to keep your vehicle safe and functional.
Key Takeaways
- Understand your needs: Determine whether you need ballistic protection, off-road armor, or both before starting.
- Choose the right materials: Steel, aluminum, and composite armor each have pros and cons in weight, cost, and protection level.
- Prioritize critical areas: Focus on doors, windows, undercarriage, and fuel tank for maximum effectiveness.
- Work with professionals when needed: Ballistic armoring should be done by certified experts to ensure safety and compliance.
- Maintain vehicle performance: Armor adds weight—upgrade suspension, brakes, and tires to compensate.
- Check legal requirements: Some armor types may require permits or violate local laws—research regulations first.
- Test and inspect regularly: After installation, routinely check armor integrity and vehicle handling.
Introduction: Why Armor Your SUV?
Whether you’re preparing for extreme off-road adventures, living in a high-risk area, or simply want peace of mind, learning how to armor a SUV is a smart move. Armor doesn’t just mean bulletproofing—it can also protect against rocks, debris, and environmental hazards. Modern SUVs are built tough, but they’re not invincible. Adding armor enhances durability, improves safety, and can even increase resale value if done correctly.
In this guide, we’ll walk you through every step of the process—from assessing your needs to choosing materials, installing armor, and maintaining your upgraded vehicle. You’ll learn the difference between ballistic and non-ballistic protection, how to balance weight and performance, and when to call in the pros. By the end, you’ll have a clear roadmap to make your SUV tougher, safer, and ready for whatever comes your way.
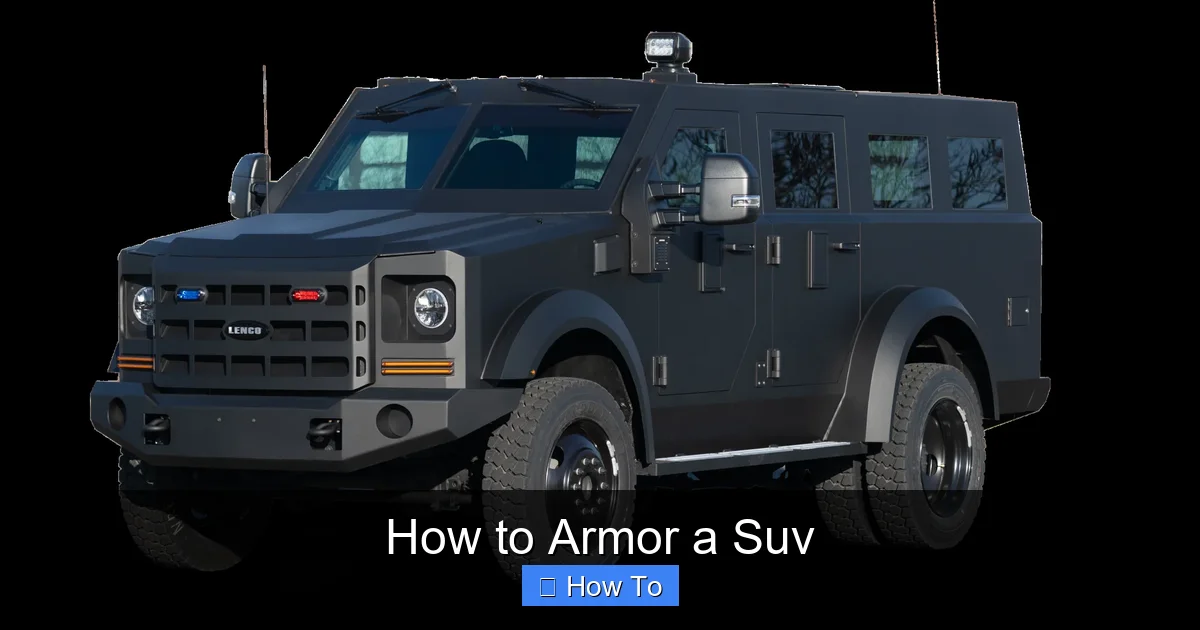
Step 1: Assess Your Armor Needs
Before buying a single bolt or sheet of metal, ask yourself: Why do I need armor? The answer will determine the type, thickness, and placement of armor you install. There are two main categories: ballistic protection and off-road/durability armor.
Visual guide about How to Armor a Suv
Image source: motortrend.com
Ballistic Protection
If you’re in a region with high crime rates, political instability, or frequent civil unrest, ballistic armor may be necessary. This type of armor is designed to stop bullets from handguns, rifles, or even armor-piercing rounds. It’s typically made from layered steel, Kevlar, or advanced composites.
Ballistic armoring is highly specialized and usually requires professional installation. DIY attempts can be dangerous and ineffective. Always consult with certified armor specialists who can certify the protection level (e.g., NIJ Level III or IV).
Off-Road and Environmental Armor
For overlanders, adventurers, or those driving on rough terrain, non-ballistic armor protects against rocks, branches, and road debris. This includes skid plates, rock sliders, reinforced bumpers, and underbody protection. These upgrades help prevent damage to vital components like the engine, transmission, and fuel tank.
Ask yourself:
- Where will I be driving most often?
- What kind of threats am I likely to face?
- Do I need full-body protection or just key areas?
For example, if you’re exploring desert trails, underbody armor and a reinforced front bumper are essential. If you’re in an urban area with high crime, window and door armor might take priority.
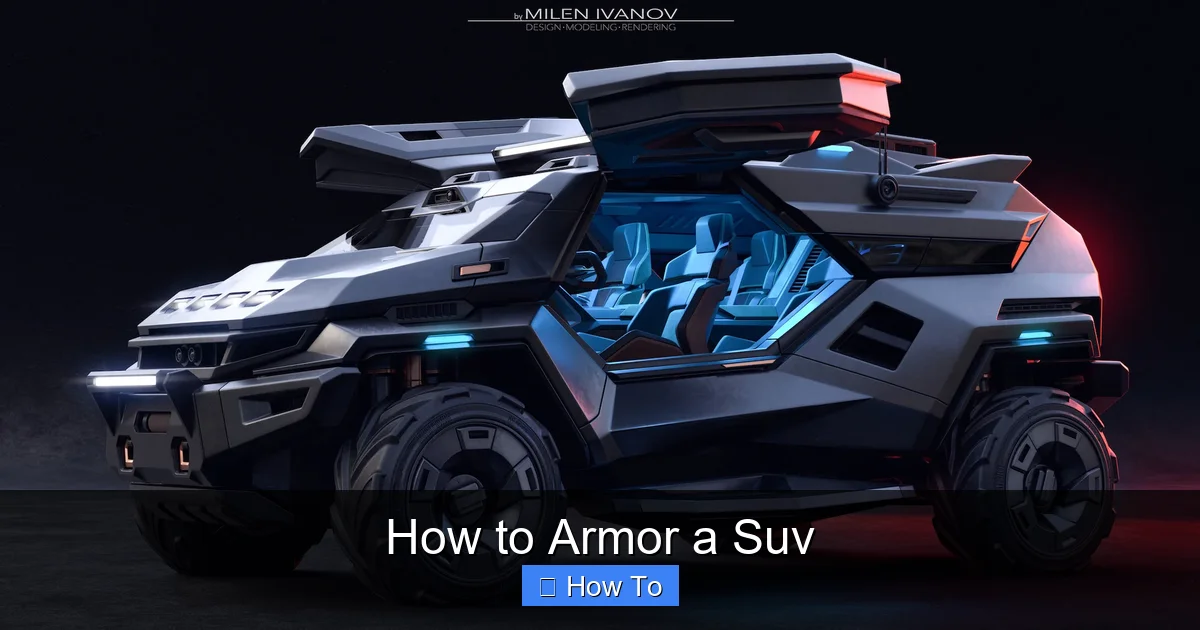
Step 2: Choose the Right Armor Materials
Not all armor is created equal. The material you choose affects weight, cost, durability, and ease of installation. Here’s a breakdown of the most common options:
Visual guide about How to Armor a Suv
Image source: carstyling.ru
Steel Armor
Steel is the most traditional and affordable armor material. It’s strong, widely available, and excellent for stopping bullets and impacts. However, it’s also heavy—adding hundreds of pounds to your SUV.
Best for: Ballistic protection, underbody skid plates, bumpers.
Pros: High strength, low cost, easy to weld.
Cons: Heavy, prone to rust, reduces fuel efficiency.
Aluminum Armor
Aluminum is lighter than steel—about one-third the weight—while still offering good impact resistance. It’s ideal for off-road armor where weight matters.
Best for: Rock sliders, skid plates, body panels.
Pros: Lightweight, corrosion-resistant, strong for its weight.
Cons: More expensive than steel, less effective against high-caliber bullets.
Composite Armor
Composites like Kevlar, Dyneema, or ceramic laminates are used in military and high-end civilian applications. They offer excellent ballistic protection with minimal weight.
Best for: Ballistic door inserts, window armor, lightweight panels.
Pros: Extremely light, high protection-to-weight ratio.
Cons: Very expensive, requires professional installation.
Hybrid Solutions
Many modern armored SUVs use a combination of materials. For example, steel plates in doors with composite window inserts. This balances protection, weight, and cost.
Tip: Always check the material’s certification. For ballistic armor, look for NIJ (National Institute of Justice) ratings. For off-road gear, check for SAE or OEM-grade standards.
Step 3: Identify Key Areas to Armor
You don’t need to armor every inch of your SUV. Focus on the most vulnerable and critical areas. Here’s where to start:
Doors and Panels
Doors are the most common entry point for threats. Reinforcing them with steel or composite plates can stop bullets and blunt force.
- Install door armor inserts behind the interior panels.
- Use anti-shatter film on windows to prevent glass from breaking into dangerous shards.
- Consider ballistic curtains for rear doors and cargo areas.
Windows
Standard glass offers no protection. Ballistic glass is layered with polycarbonate and glass to absorb and disperse impact.
- Front and rear windshields are most critical.
- Side windows should match the protection level of the doors.
- Note: Ballistic glass is heavy and may require reinforced window frames.
Undercarriage and Skid Plates
The underside of your SUV is exposed to rocks, curbs, and debris. Skid plates protect the engine, transmission, oil pan, and fuel tank.
- Use 3/16″ to 1/4″ steel or aluminum plates.
- Ensure plates are bolted securely and allow for drainage.
- Include access points for maintenance (e.g., oil drain plug).
Fuel Tank and Battery
A punctured fuel tank can cause fires or leave you stranded. Armor the tank with a steel or composite shield.
- Mount the shield with vibration-dampening brackets.
- Ensure it doesn’t interfere with fuel lines or sensors.
Bumpers and Rock Sliders
Reinforced bumpers protect against collisions and provide mounting points for winches or lights. Rock sliders protect the sides of the vehicle from rocks and curbs.
- Choose bolt-on designs for easy replacement.
- Ensure they don’t reduce ground clearance or approach/departure angles.
Step 4: Plan the Installation Process
Now that you know what to armor and with what materials, it’s time to plan the installation. This step is crucial—poor installation can compromise safety and damage your SUV.
DIY vs. Professional Installation
Some armor upgrades, like skid plates or rock sliders, can be installed at home with basic tools. Others, especially ballistic armor, should only be done by professionals.
DIY-Friendly Upgrades:
- Skid plates
- Rock sliders
- Reinforced bumpers
- Window film
Professional-Only Upgrades:
- Ballistic door inserts
- Ballistic glass
- Full-body armor kits
- Electrical or fuel system modifications
Tools and Equipment Needed
For DIY installations, gather these tools:
- Socket wrench set
- Drill and drill bits
- Torque wrench
- Measuring tape and level
- Safety gear (gloves, goggles, mask)
- Jack stands and hydraulic jack
Preparation Steps
Before you begin:
- Park your SUV on a level surface and engage the parking brake.
- Disconnect the battery to avoid electrical shorts.
- Remove interior panels or trim as needed.
- Clean the installation area thoroughly.
Tip: Take photos before disassembling anything. This helps during reassembly.
Step 5: Install the Armor
Now comes the hands-on work. Follow these step-by-step instructions for common armor installations.
Installing Skid Plates
- Raise the SUV using a jack and secure it with jack stands.
- Locate the mounting points on the frame (refer to your vehicle’s manual).
- Position the skid plate and mark drill holes if needed.
- Drill pilot holes to prevent cracking.
- Bolt the plate using grade-8 bolts and lock washers.
- Torque bolts to manufacturer specifications.
- Lower the vehicle and test for rattles or misalignment.
Reinforcing Doors
- Remove the door panel carefully using a trim tool.
- Disconnect any electrical connectors (windows, locks).
- Cut and shape the armor plate to fit behind the panel.
- Secure the plate with bolts or high-strength adhesive.
- Reinstall the panel and test all functions.
Applying Window Film
- Clean the window thoroughly with glass cleaner.
- Measure and cut the film slightly larger than the window.
- Spray the window with soapy water to allow repositioning.
- Apply the film, starting from the top and smoothing out bubbles.
- Trim excess film with a razor blade.
- Let it cure for 24–48 hours before rolling windows down.
Mounting Rock Sliders
- Position the sliders along the rocker panels.
- Use the provided brackets to attach to the frame.
- Drill holes and secure with bolts.
- Ensure they’re level and don’t interfere with doors.
- Torque all bolts and test by stepping on them.
Safety Note: Never skip torque specifications. Over-tightening can strip threads; under-tightening can lead to failure.
Step 6: Upgrade Supporting Systems
Armor adds weight—sometimes 300–800 pounds or more. This extra mass affects handling, braking, and suspension. To maintain performance, upgrade these systems:
Suspension
Heavier vehicles sag and handle poorly. Install:
- Heavy-duty shocks and struts
- Upgraded coil springs or air suspension
- Leaf spring helpers (for trucks)
Brakes
Stopping power is critical. Consider:
- Larger brake rotors
- High-performance brake pads
- Stainless steel brake lines
Tires
Standard tires may not handle the extra weight. Switch to:
- Load-range E or higher tires
- All-terrain or mud-terrain tires for off-road use
- Reinforced sidewalls to prevent punctures
Engine and Transmission
If you’ve added significant weight, your engine may struggle. Consider:
- Performance tuners to adjust fuel mapping
- Upgraded cooling systems
- Heavy-duty transmission coolers
Tip: Have a mechanic inspect your SUV after major upgrades to ensure everything is functioning safely.
Step 7: Test and Maintain Your Armored SUV
Installation is just the beginning. Regular maintenance ensures your armor remains effective and your SUV stays roadworthy.
Initial Testing
After installation:
- Take a short test drive to check for noises, vibrations, or handling issues.
- Test all doors, windows, and electrical systems.
- Check for fluid leaks (especially after underbody work).
Routine Inspections
Every 3–6 months:
- Inspect armor bolts for loosening (vibration can shake them loose).
- Check for rust or corrosion, especially on steel parts.
- Clean skid plates and underbody to remove mud and debris.
- Test window film for peeling or bubbling.
Professional Re-Certification
If you have ballistic armor, schedule annual inspections with the installer. They can check for delamination, cracks, or wear that could reduce protection.
Troubleshooting Common Issues
Even with careful planning, problems can arise. Here’s how to handle them:
Excessive Weight Affects Fuel Economy
Solution: Optimize driving habits (smooth acceleration, reduce speed). Consider lighter materials for non-critical areas.
Doors Feel Heavy or Don’t Close Properly
Solution: Check door hinges and latches. You may need reinforced hinges or adjusted strikers.
Armor Rattles While Driving
Solution: Re-torque all bolts. Add rubber gaskets or anti-vibration pads between metal surfaces.
Reduced Ground Clearance
Solution: Choose low-profile armor or lift the suspension slightly (check local laws).
Electrical Issues After Installation
Solution: Double-check all disconnected wires. Use a multimeter to test circuits.
Conclusion: Your Armored SUV Is Ready
Congratulations! You’ve successfully learned how to armor a SUV—from assessing your needs to installing protection and maintaining your vehicle. Whether you’ve added rugged skid plates for off-roading or ballistic panels for security, your SUV is now better equipped to handle challenges.
Remember, armor is an investment in safety and peace of mind. But it’s not a one-and-done project. Regular maintenance, system upgrades, and professional inspections will keep your vehicle performing at its best. And always prioritize safety—when in doubt, consult an expert.
Now get out there and drive with confidence. Your armored SUV is ready for anything.