
Attaching a bike rack to your SUV doesn’t have to be complicated. This guide walks you through choosing the right rack, installation steps, and safety tips to ensure your bikes travel safely. Whether you’re heading to the trail or the beach, we’ve got you covered.
Key Takeaways
- Choose the right bike rack type: Hitch-mounted, trunk-mounted, roof-mounted, and spare tire racks each suit different SUVs and needs.
- Check your SUV’s compatibility: Know your hitch size, roof load capacity, and trunk design before buying a rack.
- Follow installation instructions carefully: Each rack type has specific steps—skipping them can lead to damage or accidents.
- Secure your bikes properly: Use straps, locks, and anti-sway features to prevent movement during transit.
- Perform a pre-trip safety check: Always double-check rack stability, bike attachment, and clearance before driving.
- Maintain your rack regularly: Inspect for wear, rust, or loose parts to ensure long-term safety and performance.
- Know the legal requirements: Some states require bike racks to have lights or flags if they obstruct license plates.
How to Attach a Bike Rack to an SUV
So, you’ve got your bikes, your SUV, and a weekend adventure calling. But before you hit the road, there’s one crucial step: attaching a bike rack safely and securely. Whether you’re a weekend warrior or a family heading to the mountains, knowing how to attach a bike rack to an SUV is essential for protecting your bikes—and everyone else on the road.
In this guide, we’ll walk you through everything you need to know: from choosing the right type of bike rack for your SUV, to step-by-step installation, safety tips, and troubleshooting common issues. By the end, you’ll be ready to load up and ride with confidence.
Why a Properly Attached Bike Rack Matters
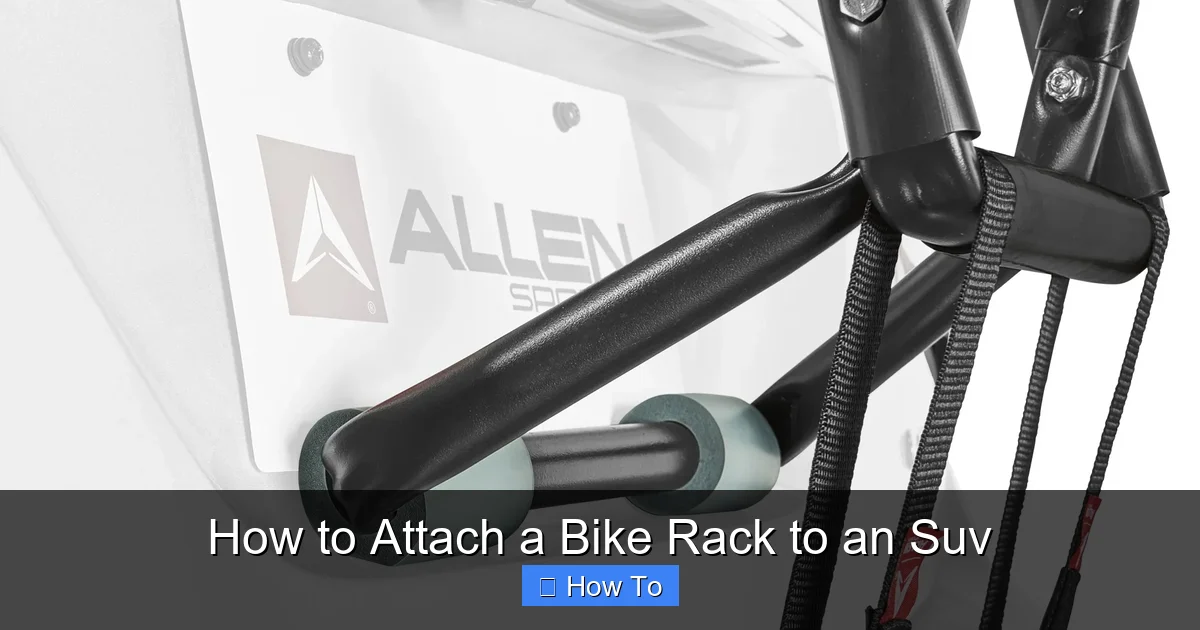
Visual guide about How to Attach a Bike Rack to an Suv
Image source: foldingbikerider.com
Let’s start with the basics: why does it matter how you attach your bike rack? A poorly installed rack can lead to damaged bikes, scratched SUVs, or even dangerous accidents. Bikes can fall off, racks can loosen, and straps can snap—especially at high speeds or on bumpy roads.
A secure bike rack ensures:
– Your bikes stay safe and scratch-free
– Your SUV’s paint and body aren’t damaged
– You comply with traffic laws (like keeping license plates visible)
– You reduce wind resistance and improve fuel efficiency
Think of your bike rack as part of your vehicle’s safety system. Just like seatbelts or airbags, it needs to be installed correctly to do its job.
Step 1: Choose the Right Type of Bike Rack
Visual guide about How to Attach a Bike Rack to an Suv
Image source: trucksauthority.com
Not all bike racks are created equal—and not all are right for your SUV. The first step is choosing the best type based on your vehicle, how many bikes you carry, and how often you use the rack.
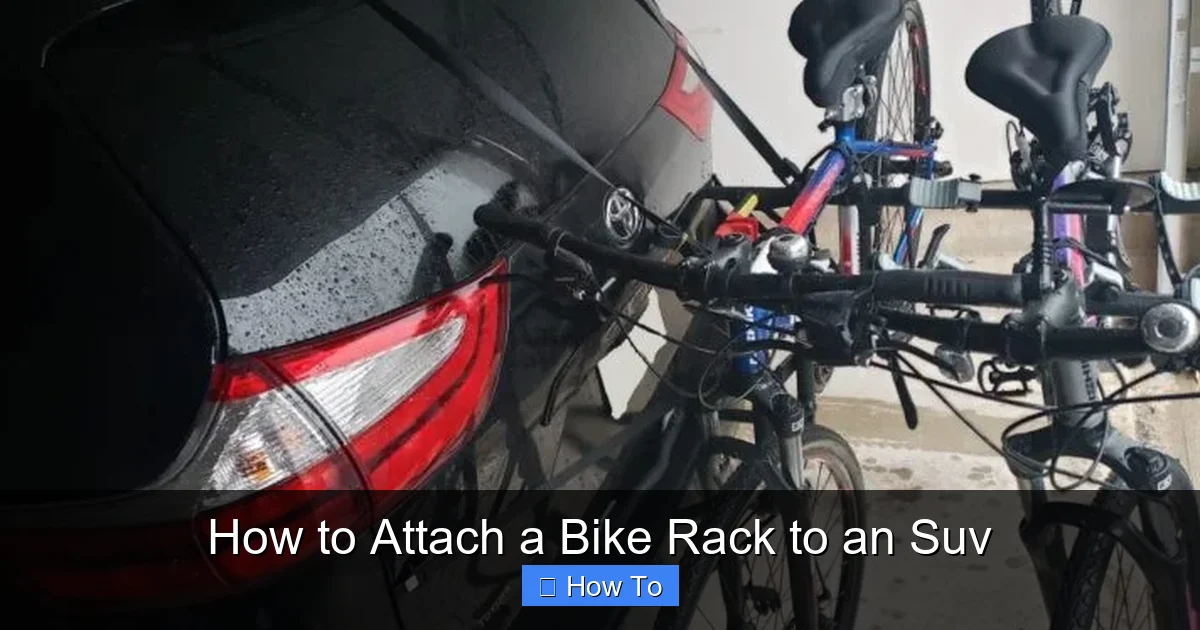
Hitch-Mounted Bike Racks
These are the most popular and secure option for SUVs. They attach to a trailer hitch receiver (usually 1.25” or 2”) at the rear of your vehicle.
Best for: Frequent riders, carrying 2–4 bikes, long trips.
Pros:
– Very stable and secure
– Easy to load and unload bikes
– Often include anti-sway features
– Don’t touch the vehicle’s body (no scratches)
Cons:
– Requires a hitch (may need installation)
– Can block rear camera or trunk access
– More expensive than trunk racks
Tip: If your SUV doesn’t have a hitch, you can install one. Most auto shops or hardware stores can do this for $100–$300, depending on the vehicle.
Trunk-Mounted Bike Racks
These racks attach to the rear hatch or trunk using straps and hooks. They’re lightweight and affordable.
Best for: Occasional use, budget-conscious buyers, SUVs without hitches.
Pros:
– No hitch required
– Easy to install and remove
– Affordable (usually under $100)
Cons:
– Can scratch paint if not padded properly
– Less stable at high speeds
– May block license plate or taillights
– Limited to 2–3 bikes
Tip: Always use protective pads between the rack and your SUV’s paint. Remove the rack when not in use to avoid wear.
Roof-Mounted Bike Racks
These racks attach to roof rails or crossbars and hold bikes vertically or horizontally on top of your SUV.
Best for: SUVs with roof rails, carrying 1–2 bikes, keeping rear access clear.
Pros:
– Doesn’t block trunk or rear camera
– Great for tall SUVs with high ground clearance
– Can carry other gear (like cargo boxes) alongside bikes
Cons:
– Harder to load bikes (especially heavy ones)
– Increases vehicle height—watch out for low garages or bridges
– Reduces fuel efficiency due to wind resistance
– Requires roof rails or crossbars
Tip: Use a step stool or ask for help when loading bikes onto the roof. Always double-check height clearance before driving into parking structures.
Spare Tire-Mounted Bike Racks
Designed for SUVs with rear-mounted spare tires (like Jeep Wranglers or older Land Rovers), these racks clamp onto the spare tire.
Best for: Off-road vehicles with external spare tires.
Pros:
– Doesn’t block rear door
– Easy access to trunk
– Secure fit on compatible vehicles
Cons:
– Only works with specific SUV models
– Limited bike capacity (usually 2 bikes)
– May interfere with spare tire access
Tip: Make sure the rack is compatible with your spare tire size and mounting system.
Step 2: Check Your SUV’s Compatibility
Before buying any rack, confirm it works with your SUV. Here’s what to check:
Hitch Size and Class
If you’re going hitch-mounted, know your hitch receiver size:
– 1.25”: Common on compact SUVs
– 2”: Standard on larger SUVs and trucks
Also, check the hitch class (I, II, III, IV), which determines weight capacity. Most bike racks need at least a Class II hitch.
Roof Load Capacity
For roof racks, check your SUV’s roof load limit in the owner’s manual. This includes the weight of the rack, bikes, and any additional gear. Exceeding this can damage the roof or cause instability.
Trunk or Hatch Design
Trunk-mounted racks need a flat, sturdy surface. SUVs with curved hatches or spoilers may not work well. Some racks come with extendable arms to fit unique shapes.
Number of Bikes
Don’t overload your rack. Most racks list a maximum number of bikes (e.g., 2, 3, or 4). Exceeding this can cause swaying or failure.
Step 3: Gather Your Tools and Equipment
You don’t need a full toolbox, but having the right items makes installation easier.
What you’ll need:
– Bike rack (obviously!)
– Owner’s manual (for both rack and SUV)
– Wrench or socket set (for hitch bolts)
– Measuring tape (to check clearance)
– Protective pads or towels (to prevent scratches)
– Bike locks (optional but recommended)
– Step stool (for roof racks)
Optional but helpful:
– Torque wrench (to tighten hitch bolts to spec)
– Bike rack cover (to protect bikes from rain)
– Reflective tape or flags (if rack blocks lights)
Step 4: Install the Bike Rack (Step-by-Step)
Now for the main event: attaching the rack to your SUV. We’ll cover each type separately.
Installing a Hitch-Mounted Bike Rack
Step 1: Prepare the Hitch
Make sure the hitch receiver is clean and free of dirt or rust. Insert the rack’s shank into the hitch.
Step 2: Secure with Pin and Clip
Insert the hitch pin through the shank and hitch. Secure it with a clip or lock. Some racks use a locking mechanism instead.
Step 3: Tighten the Anti-Rattle Bolt
Many hitch racks have a bolt that tightens against the hitch to reduce wobble. Use a wrench to snug it—don’t overtighten.
Step 4: Extend the Rack Arms
Pull out the bike arms and lock them in place. Make sure they’re level and secure.
Step 5: Test for Stability
Give the rack a firm shake. It should not move side-to-side or up-and-down. If it does, recheck the pin and anti-rattle bolt.
Installing a Trunk-Mounted Bike Rack
Step 1: Position the Rack
Place the rack on the rear of your SUV, centered over the hatch. Make sure the top hooks will reach the top edge of the trunk.
Step 2: Attach Top Hooks
Hook the upper straps over the top of the trunk or hatch. Use protective pads to prevent scratches.
Step 3: Secure Lower Straps
Attach the lower hooks to the bottom edge of the trunk or bumper. Tighten all straps evenly.
Step 4: Check for Movement
Press down on the rack. It should not shift. If it does, tighten the straps or reposition the hooks.
Step 5: Cover Straps (Optional)
Use Velcro straps or tape to bundle loose strap ends and prevent flapping.
Installing a Roof-Mounted Bike Rack
Step 1: Install Crossbars (If Needed)
If your SUV has roof rails but no crossbars, install them first. Follow the manufacturer’s instructions.
Step 2: Attach the Rack to Crossbars
Place the rack on the crossbars and secure it with clamps or bolts. Tighten evenly.
Step 3: Adjust Bike Holders
Position the bike cradles or fork mounts according to your bike size. Some racks allow vertical or horizontal mounting.
Step 4: Load the Bike
Lift the bike onto the rack. Secure the wheels in the cradles and clamp the frame or fork.
Step 5: Double-Check Height
Measure the total height of your SUV with the bike. Avoid low-clearance areas.
Installing a Spare Tire-Mounted Bike Rack
Step 1: Position the Rack
Place the rack against the spare tire, aligning the mounting arms.
Step 2: Clamp Onto the Tire
Use the built-in clamps or straps to secure the rack to the tire. Tighten evenly on both sides.
Step 3: Lock the Rack (If Applicable)
Some models have a locking mechanism to prevent theft.
Step 4: Test Stability
Push on the rack to ensure it doesn’t shift. Adjust clamps if needed.
Step 5: Load Your Bikes Safely
A secure rack is only half the battle—how you load your bikes matters too.
General Loading Tips
– Load bikes one at a time to avoid dropping them.
– Place heavier bikes on the bottom (for hitch racks) or closer to the vehicle (for roof racks).
– Alternate bike directions (front wheel in, then out) to save space.
– Use frame pads to prevent scratches.
Securing the Bikes
– Use the rack’s built-in straps or clamps to secure wheels and frames.
– Add extra straps for long trips or rough roads.
– Lock bikes to the rack with a cable or U-lock (especially in public areas).
Avoiding Sway and Damage
– Use anti-sway bars or straps to prevent bikes from rubbing.
– Don’t let handlebars or pedals touch each other.
– Check bike positions after 10–15 minutes of driving.
Step 6: Perform a Pre-Trip Safety Check
Before you drive, do a quick inspection:
Checklist:
– Is the rack securely attached?
– Are all straps and bolts tight?
– Are bikes locked and stable?
– Is the license plate visible?
– Are taillights and brake lights unobstructed?
– Is there enough ground clearance?
– Is the total height safe for bridges and garages?
Take a short test drive around the block. Listen for rattling or unusual noises. If something feels off, stop and recheck.
Troubleshooting Common Issues
Even with careful installation, problems can happen. Here’s how to fix them.
Rack Wobbles or Shakes
Cause: Loose hitch pin, missing anti-rattle bolt, or uneven loading.
Fix: Tighten all bolts, use a torque wrench if needed, and redistribute bike weight.
Bikes Rubbing or Swaying
Cause: Poor spacing or lack of anti-sway features.
Fix: Add foam pads between bikes, use anti-sway straps, or upgrade to a rack with built-in stabilization.
Straps Slipping or Breaking
Cause: Low-quality straps or over-tightening.
Fix: Replace with heavy-duty straps. Don’t overtighten—snug is enough.
Rack Blocks License Plate or Lights
Cause: Poor rack design or placement.
Fix: Use a rack with a license plate extender or add reflective tape/flags. Some states require lights on extended racks.
Paint Scratches from Trunk Rack
Cause: Missing protective pads or abrasive movement.
Fix: Always use padded hooks and remove the rack when not in use.
Maintenance and Care for Your Bike Rack
To keep your rack in top shape:
– Clean regularly: Wash off dirt, salt, and grime after trips.
– Inspect for wear: Check straps, bolts, and welds for damage.
– Lubricate moving parts: Use silicone spray on hinges and locks.
– Store properly: Keep in a dry place when not in use.
– Replace worn parts: Don’t risk safety with damaged components.
Conclusion
Attaching a bike rack to your SUV doesn’t have to be stressful. With the right rack, careful installation, and a few safety checks, you can transport your bikes safely and confidently. Whether you choose hitch-mounted, trunk-mounted, roof-mounted, or spare tire racks, the key is compatibility, security, and regular maintenance.
Remember: a well-installed bike rack protects your investment, your vehicle, and everyone on the road. So take your time, follow the steps, and enjoy the ride. Your next adventure is just a bike ride away.