
Attaching a cooler to your SUV ensures your food and drinks stay cold and secure during travel. This guide walks you through choosing the right cooler, using straps or cargo nets, and maximizing space without blocking visibility or airbags.
Key Takeaways
- Choose the right cooler size: Pick a cooler that fits your SUV’s cargo area without obstructing rearview visibility or passenger space.
- Use proper securing tools: Ratchet straps, bungee cords, or cargo nets keep your cooler from sliding during sudden stops or turns.
- Position for safety and airflow: Place the cooler away from airbags and ensure it doesn’t block vents or emergency exits.
- Pre-chill your cooler: Cooling the interior before loading extends ice life and keeps contents colder longer.
- Distribute weight evenly: Balance the load to maintain vehicle stability and prevent swaying or tipping.
- Check local laws: Some areas restrict loose items in cargo areas—secure your cooler to avoid fines.
- Inspect regularly: Stop periodically to ensure straps are tight and the cooler hasn’t shifted during transit.
How to Attach Cooler to SUV: A Complete Step-by-Step Guide
Whether you’re heading out on a weekend camping trip, a family road trip, or just running errands on a hot day, keeping your food and drinks cold is essential. One of the best ways to do that is by using a cooler in your SUV. But simply tossing a cooler into the back isn’t enough—especially if you want to keep it secure, safe, and effective. That’s why knowing how to attach cooler to SUV properly is so important.
In this guide, you’ll learn everything you need to know about safely and securely attaching a cooler to your SUV. We’ll cover how to choose the right cooler, where to place it, what tools to use, and how to ensure it stays put—even on bumpy roads or sharp turns. You’ll also get practical tips for maximizing space, maintaining cold temperatures, and avoiding common mistakes.
By the end of this guide, you’ll be ready to hit the road with confidence, knowing your cooler is secure and your perishables are protected.
Why Properly Attaching Your Cooler Matters
Visual guide about How to Attach Cooler to Suv
Image source: robots.net
Before we dive into the how-to steps, let’s talk about why this matters. A loose cooler in the back of your SUV might seem harmless, but it can become a serious hazard.
Imagine slamming on the brakes—your cooler could slide forward, potentially injuring passengers or damaging your vehicle’s interior. On winding roads, an unsecured cooler can shift, causing your SUV to feel unbalanced. In the worst-case scenario, a flying cooler could block your view or interfere with airbag deployment.
Beyond safety, a properly attached cooler stays in place, which helps maintain its internal temperature. When a cooler shifts around, the lid may open slightly, letting cold air escape and warm air in. That means your ice melts faster, and your drinks go lukewarm sooner.
Finally, securing your cooler protects your investment. High-quality coolers can cost hundreds of dollars. A fall or collision could crack the lid or damage the insulation. Proper attachment keeps your cooler—and its contents—safe and functional.
Step 1: Choose the Right Cooler for Your SUV
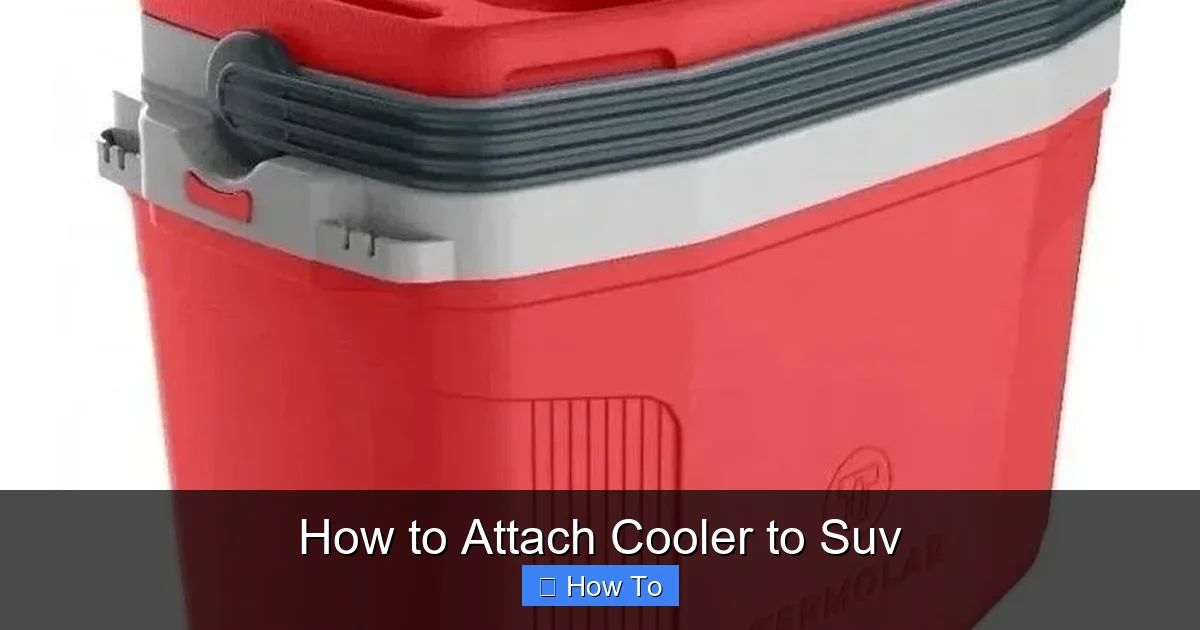
Visual guide about How to Attach Cooler to Suv
Image source: product-hub-prd.madeiramadeira.com.br
Not all coolers are created equal, and not every cooler will work well in every SUV. The first step in learning how to attach cooler to SUV is selecting the right one.
Consider Size and Shape
Start by measuring your SUV’s cargo area. Open the rear hatch and measure the width, depth, and height of the space where you plan to place the cooler. Don’t forget to account for spare tires, subwoofers, or other built-in features that reduce usable space.
Choose a cooler that fits comfortably without forcing it. A cooler that’s too large may not close properly or could block your rearview mirror. A cooler that’s too small might shift around more easily.
Rectangular or low-profile coolers often work best in SUVs because they sit flat and can be strapped down securely. Avoid tall, narrow coolers unless you have vertical space and a way to stabilize them.
Look for Built-in Handles or Tie-Down Points
Some coolers come with molded handles or recessed tie-down points on the sides or lid. These make it much easier to attach straps or bungee cords. If your cooler doesn’t have these, you may need to use cargo nets or wrap straps around the entire unit—just be careful not to damage the cooler.
Choose the Right Type of Cooler
There are three main types of coolers:
- Hard-sided coolers: Made of plastic or rotomolded materials, these are durable and offer excellent insulation. They’re ideal for long trips but can be heavy.
- Soft-sided coolers: Lightweight and flexible, these are great for short trips or when space is tight. However, they don’t insulate as well and may be harder to secure.
- Electric coolers: These plug into your SUV’s 12V outlet and maintain a set temperature. They’re convenient but require power and may not be as rugged.
For most SUV owners, a medium to large hard-sided cooler is the best choice. It offers a good balance of insulation, durability, and ease of attachment.
Step 2: Prepare Your SUV’s Cargo Area
Before placing your cooler, take a few minutes to prepare the space. A clean, organized cargo area makes attachment easier and safer.
Clear the Space
Remove any loose items from the cargo area. This includes bags, tools, or other gear that could shift and interfere with your cooler. A clutter-free space gives you room to work and reduces the risk of damage.
Use a Cargo Mat or Non-Slip Liner
Place a rubber cargo mat or non-slip liner on the floor of your SUV. This adds traction and helps prevent the cooler from sliding, even before you attach straps. It also protects your vehicle’s interior from spills or scratches.
If you don’t have a mat, consider using a towel or blanket under the cooler. Just make sure it doesn’t bunch up or create a slipping hazard.
Check for Anchor Points
Most SUVs come with built-in tie-down anchors in the cargo area. These are usually metal loops or hooks near the floor or sides of the compartment. Locate these—they’ll be essential for securing your cooler.
If your SUV doesn’t have anchor points, you may need to use the seatbelt anchors or install aftermarket tie-downs. Avoid attaching straps to plastic trim or fragile parts.
Step 3: Position the Cooler Correctly
Where you place the cooler matters—both for safety and functionality.
Place It Low and Centered
For stability, place the cooler as low as possible in the cargo area. This lowers the center of gravity and reduces the risk of tipping. Center it from side to side to maintain balance.
Avoid placing the cooler directly behind the rear seats if it blocks your view through the rear window. This can be dangerous, especially when reversing.
Keep It Away from Airbags
Never place a cooler in a position where it could interfere with side or curtain airbags. These are often located along the roof lining or pillars. Check your owner’s manual to locate airbag zones.
Allow Space for Ventilation
If you’re using an electric cooler, make sure it has room for airflow. Don’t block ventilation ports with other items. For traditional coolers, avoid stacking heavy items on top, as this can compress the lid and reduce insulation.
Step 4: Choose the Right Attachment Method
Now it’s time to secure your cooler. There are several ways to do this, depending on your cooler type and SUV setup.
Use Ratchet Straps for Maximum Security
Ratchet straps are the gold standard for securing heavy items. They’re strong, adjustable, and lock tightly.
To use them:
- Thread the strap through the cooler’s handle or around the body.
- Attach the hook end to a tie-down anchor in your SUV.
- Pull the strap tight and crank the ratchet to secure.
- Repeat with a second strap for added stability.
Always use at least two straps—one on each side—to prevent side-to-side movement.
Try Bungee Cords for Lightweight Coolers
For soft-sided or lightweight coolers, bungee cords can work well. They’re quick to attach and remove.
Hook one end to an anchor point and stretch the cord over the cooler, attaching the other end to another anchor. Use multiple cords in a crisscross pattern for better hold.
Just remember: bungee cords can lose tension over time and may not hold up under heavy loads or sudden stops.
Use a Cargo Net for Flexible Coverage
A cargo net stretches over the top of your cooler and attaches to multiple anchor points. It’s great for keeping the lid closed and preventing shifting.
Look for a net with adjustable hooks and strong elastic. Make sure it covers the entire cooler and is pulled taut.
Consider a Cargo Barrier or Divider
If you frequently carry multiple items, a cargo barrier can help. These are metal or plastic panels that separate the cargo area from the passenger space.
Install the barrier behind the rear seats, then place your cooler in front of it. This keeps the cooler from sliding forward, even without straps.
Some SUVs come with built-in barriers, or you can buy aftermarket versions.
Step 5: Secure the Cooler Step-by-Step
Let’s walk through the process of attaching your cooler to your SUV using ratchet straps—the most reliable method.
Step 1: Place the Cooler
Set the cooler in the center of the cargo area, on top of your non-slip mat. Make sure it’s upright and the lid is closed.
Step 2: Locate Anchor Points
Find two anchor points on opposite sides of the cargo area. These should be metal loops or hooks near the floor.
Step 3: Attach the First Strap
Thread one end of the ratchet strap through the cooler’s handle or around the body. Hook the other end to the left anchor point.
Pull the strap tight by hand, then engage the ratchet. Crank it until the strap is snug but not overly tight—over-tightening can damage the cooler.
Step 4: Attach the Second Strap
Repeat the process on the right side. Use a second strap to create a secure hold.
Step 5: Check for Movement
Gently push the cooler from different angles. It should not shift or tip. If it moves, tighten the straps or add a third strap across the top.
Step 6: Double-Check Before Driving
Before hitting the road, make sure:
- The cooler lid is fully closed.
- Straps are secure and not rubbing against sharp edges.
- No straps are blocking your view or interfering with seatbelts.
- The cooler isn’t blocking access to emergency tools or the spare tire.
Step 6: Optimize Cooling Performance
Attaching your cooler securely is only half the battle. To keep your food and drinks cold, you need to optimize cooling.
Pre-Chill the Cooler
Before loading, place the empty cooler in a cold environment—like your garage or basement—for a few hours. Or, fill it with ice packs the night before.
A pre-chilled cooler starts colder and stays cold longer.
Use Block Ice Instead of Cubes
Block ice melts slower than cubed ice. Freeze water in milk jugs or silicone molds before your trip.
Pack Smart
Organize items so you don’t have to open the cooler frequently. Group similar items together—drinks in one section, food in another.
Use frozen gel packs at the bottom and top to create a “cold sandwich” effect.
Minimize Air Gaps
Fill empty spaces with crumpled newspaper or towels. This reduces air circulation inside the cooler, which helps maintain temperature.
Keep It Out of Direct Sunlight
If possible, park your SUV in the shade. Use a reflective sunshade on the rear window to reduce heat buildup in the cargo area.
Troubleshooting Common Issues
Even with the best preparation, problems can arise. Here’s how to handle common issues.
Problem: Cooler Keeps Sliding
Solution: Add a non-slip mat or use more straps. Consider a cargo net or barrier for extra hold.
Problem: Straps Won’t Stay Tight
Solution: Check for worn or frayed straps. Replace them if needed. Use ratchet straps instead of bungee cords for heavy coolers.
Problem: Cooler Lid Won’t Stay Closed
Solution: Use a bungee cord or strap over the top to hold the lid down. Make sure nothing is blocking the seal.
Problem: Ice Melts Too Fast
Solution: Pre-chill the cooler, use block ice, and limit how often you open it. Avoid placing hot items inside.
Problem: Cooler Blocks Rearview Mirror
Solution: Reposition the cooler to the side or use a smaller model. Consider a rooftop cargo box for extra storage.
Safety Tips and Best Practices
Safety should always come first when attaching a cooler to your SUV.
- Never overload the cooler: Heavy coolers are harder to secure and can affect vehicle handling.
- Check straps regularly: Stop every few hours to ensure everything is still tight.
- Secure loose items inside the cooler: Use containers or dividers to prevent bottles and cans from rolling around.
- Follow local laws: Some states require cargo to be covered or secured with specific methods.
- Use caution when opening: Open the cooler away from your face in case of pressure buildup from melting ice.
Conclusion
Learning how to attach cooler to SUV properly is a simple but essential skill for any road tripper, camper, or outdoor enthusiast. By choosing the right cooler, preparing your cargo area, and using secure attachment methods, you can keep your food and drinks cold—and your journey safe.
Remember: a well-secured cooler isn’t just about convenience. It’s about safety, efficiency, and peace of mind. Whether you’re driving across the country or just to the beach, take a few extra minutes to attach your cooler correctly. Your future self—and your passengers—will thank you.
With the tips and techniques in this guide, you’re ready to hit the road with confidence. Pack smart, drive safe, and enjoy every cold sip along the way.