
This guide walks you through the complete process of attaching a Saris bike rack to an RSv4 SUV, ensuring safety, stability, and ease of use. Whether you’re a weekend warrior or a daily commuter, you’ll find clear instructions, helpful tips, and troubleshooting advice to make your bike transport hassle-free.
Key Takeaways
- Compatibility Check: Confirm your Saris bike rack model is compatible with the RSv4 SUV’s roof rails or hitch receiver before installation.
- Roof vs. Hitch Mount: Choose between roof-mounted and hitch-mounted Saris racks based on your SUV’s setup and your biking needs.
- Proper Alignment: Ensure the rack is centered and level on the vehicle to prevent wind noise, vibration, or damage during travel.
- Secure Fastening: Use all provided straps, clamps, and locking mechanisms to firmly attach the rack and prevent shifting.
- Bike Loading Technique: Load bikes carefully, securing frames and wheels to avoid scratches and ensure stability.
- Safety Inspection: Always perform a pre-trip check to verify the rack and bikes are tightly secured.
- Maintenance Tips: Regularly inspect straps, bolts, and contact points for wear and tear to maintain long-term reliability.
How to Attach Saris Bike Rack on RSv4 SUV
If you’re an avid cyclist or just love weekend adventures with your bike, transporting your two-wheeler safely is essential. The RSv4 SUV is a versatile vehicle with ample space and strong build quality, making it a great choice for outdoor enthusiasts. Pair it with a reliable bike rack like those from Saris, and you’ve got the perfect setup for hitting the trails, roads, or mountain paths.
But how do you properly attach a Saris bike rack to your RSv4 SUV? Whether you’re using a roof-mounted or hitch-mounted model, the process requires attention to detail, the right tools, and a solid understanding of your vehicle’s structure. This comprehensive guide will walk you through every step—from checking compatibility to securing your bikes and performing safety checks—so you can travel with confidence.
By the end of this guide, you’ll know exactly how to attach your Saris bike rack to your RSv4 SUV, avoid common mistakes, and ensure your bikes arrive safely at your destination. Let’s get started!
Understanding Your RSv4 SUV and Saris Bike Rack Options
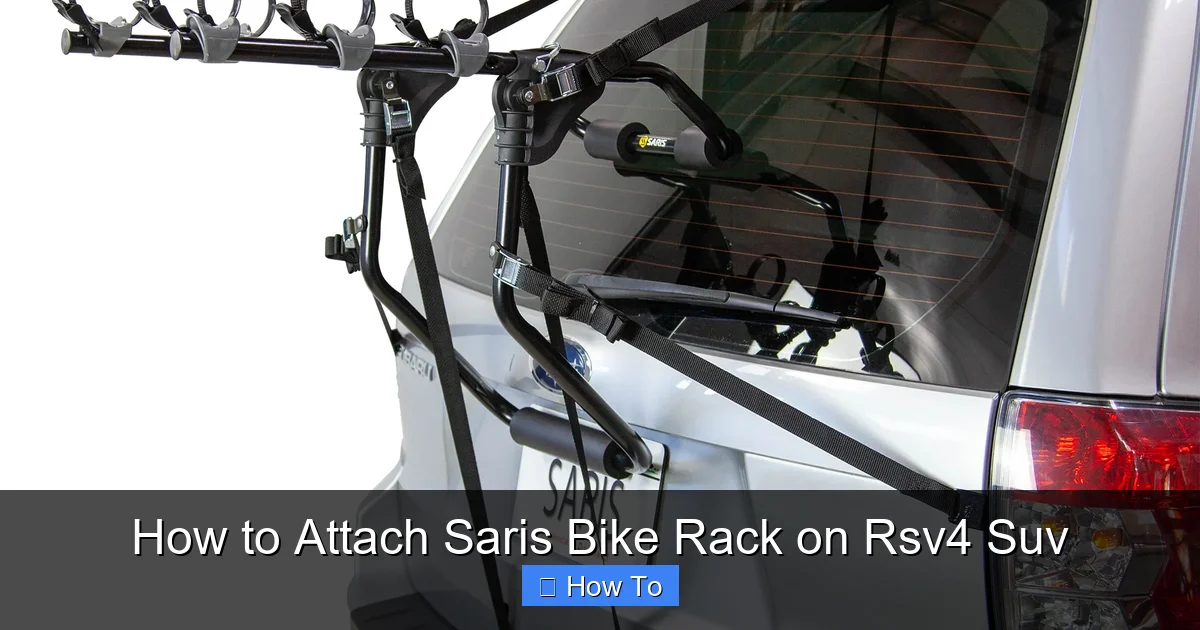
Visual guide about How to Attach Saris Bike Rack on Rsv4 Suv
Image source: pyramydair.com
Before you begin installation, it’s important to understand the types of bike racks Saris offers and how they integrate with your RSv4 SUV. Saris is known for high-quality, durable bike racks designed for various vehicle types, including SUVs, sedans, and trucks. Their product line includes roof-mounted, hitch-mounted, and trunk-mounted racks, but for the RSv4 SUV, the most practical and secure options are roof and hitch mounts.
The RSv4 SUV typically comes equipped with factory-installed roof rails or a tow hitch receiver, both of which provide excellent mounting points for bike racks. Roof rails run along the top edges of the vehicle and are ideal for roof-mounted racks, while the hitch receiver (usually 1.25” or 2”) supports hitch-mounted racks that attach directly to the rear of the vehicle.
Roof-Mounted Saris Racks
Roof-mounted racks, such as the Saris Bones or Saris Roof Rack systems, attach directly to the roof rails or crossbars of your RSv4. These racks hold bikes by their frames, keeping them elevated and out of the way of traffic. They’re great if you frequently carry other gear in the cargo area or prefer not to block the rear hatch.
However, roof racks require you to lift your bike overhead, which can be challenging for heavier models or taller riders. They also increase your vehicle’s height, so be cautious when entering garages or low-clearance areas.
Hitch-Mounted Saris Racks
Hitch-mounted racks, like the Saris SuperClamp or Saris Freedom, connect to the hitch receiver at the back of your RSv4. These racks are easier to load since bikes sit at waist or chest height, and many models feature tilting mechanisms that allow access to the rear hatch even when bikes are loaded.
Hitch racks are generally more user-friendly and can carry multiple bikes (typically 2–4), depending on the model. They also don’t affect your vehicle’s height, making them ideal for urban driving and parking.
Choosing the Right Rack for Your Needs
When deciding between roof and hitch mounts, consider the following:
– How many bikes do you usually transport?
– Do you have a hitch receiver installed?
– Are you comfortable lifting bikes overhead?
– Do you need frequent access to the rear cargo area?
For most RSv4 owners, a hitch-mounted Saris rack offers the best balance of convenience, capacity, and ease of use. But if you already have crossbars on your roof rails, a roof-mounted system might be the way to go.
Tools and Materials You’ll Need
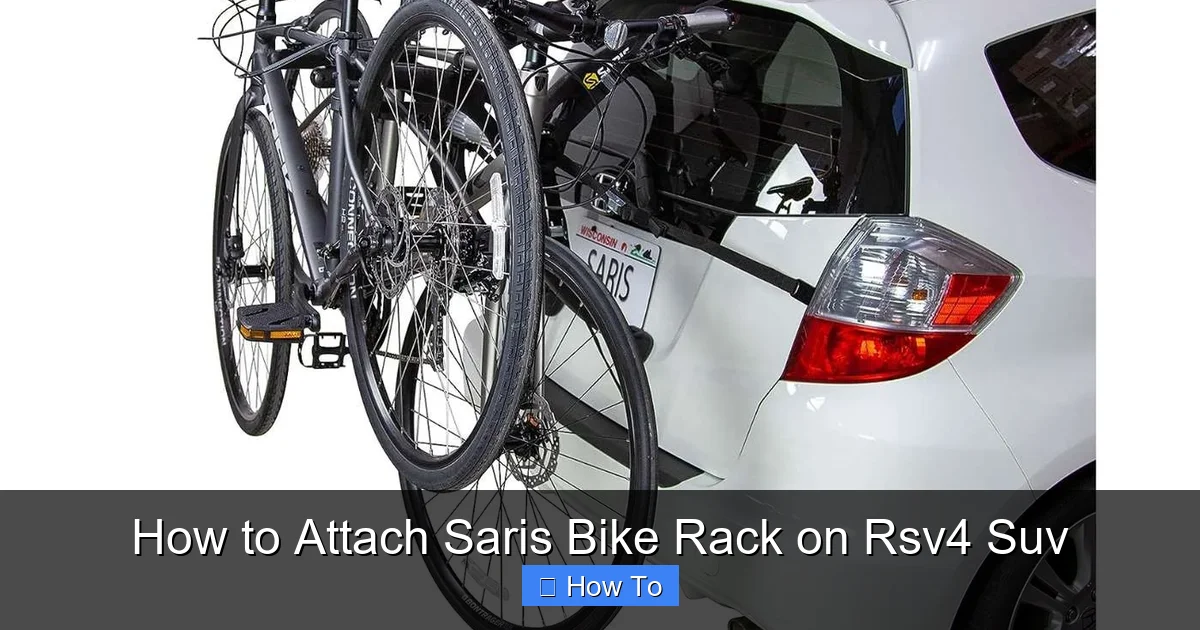
Visual guide about How to Attach Saris Bike Rack on Rsv4 Suv
Image source: pyramydair.com
Before starting the installation, gather the following tools and materials to ensure a smooth process:
– Saris bike rack (compatible with your RSv4)
– Vehicle owner’s manual (for roof rail or hitch specifications)
– Socket wrench or torque wrench (for hitch bolts)
– Rubber mallet (optional, for adjusting fit)
– Measuring tape (to center the rack)
– Soft cloth or microfiber towel (to protect paint)
– Zip ties or bungee cords (for securing loose straps)
– Owner’s manual for the Saris rack
Having these items ready will save time and prevent frustration during installation.
Step 1: Verify Compatibility
The first and most critical step is confirming that your Saris bike rack is compatible with your RSv4 SUV. Not all racks fit all vehicles, so checking compatibility prevents damage and ensures safety.
Check the Saris Fit Guide
Visit the official Saris website and use their vehicle fit guide. Enter your vehicle make, model, and year (e.g., “RSv4 SUV, 2022”) to see which racks are recommended. The guide will indicate whether your vehicle supports roof, hitch, or trunk mounting and specify any required accessories, such as crossbars or hitch adapters.
Inspect Your Vehicle’s Roof Rails or Hitch
If you’re using a roof-mounted rack, examine the roof rails on your RSv4. Are they raised side rails or flush-mounted? Do they have crossbars, or will you need to install them? Most Saris roof racks require crossbars to distribute weight evenly.
For hitch-mounted racks, check the size of your hitch receiver. Use a tape measure to determine if it’s 1.25” or 2”—this must match the shank size of your Saris rack. Also, ensure the hitch is securely bolted to the frame and not rusted or damaged.
Confirm Rack Capacity
Each Saris rack has a maximum weight and bike capacity. For example, the Saris SuperClamp EX 2 can carry two bikes up to 60 lbs each. Make sure your bikes—and any additional gear—don’t exceed these limits.
Step 2: Prepare Your Vehicle and Rack
Once compatibility is confirmed, prepare both your RSv4 and the Saris rack for installation.
Clean the Mounting Areas
Wipe down the roof rails, crossbars, or hitch receiver with a soft cloth to remove dirt, grease, or debris. This ensures a secure grip and prevents scratches. For roof mounts, also clean the areas where the rack’s feet will contact the vehicle.
Unpack and Organize the Rack
Lay out all components of your Saris rack on a clean, flat surface. Check the instruction manual to identify each part: clamps, straps, bolts, anti-sway devices, and locking mechanisms. Ensure nothing is missing or damaged.
Adjust Rack Settings (If Applicable)
Some Saris racks come with adjustable arms or cradles. Set these to the appropriate width for your bike frames. For hitch racks, extend the rack arms to their full position if they’re collapsible.
Step 3: Install the Saris Rack on Your RSv4 SUV
Now it’s time to attach the rack. The process differs slightly depending on whether you’re using a roof or hitch mount.
Installing a Hitch-Mounted Saris Rack
This is the most common and user-friendly option for the RSv4 SUV.
Step 3.1: Position the Rack at the Hitch
Lift the Saris rack and align the shank with the hitch receiver. Slide it in until it’s fully seated. You should feel it drop into place.
Step 3.2: Secure with the Hitch Pin
Insert the provided hitch pin through the shank and receiver. Use a locking pin or clip to secure it. If your rack includes a torque bolt, tighten it with a wrench until snug—do not overtighten, as this can damage the hitch.
Step 3.3: Attach Stabilizing Straps (If Included)
Some Saris hitch racks come with anti-sway straps that connect the rack to the vehicle’s bumper or frame. Attach these to minimize side-to-side movement during driving.
Step 3.4: Level and Center the Rack
Use a level to ensure the rack is horizontal. Adjust the tilt angle if your model has a tilting feature. Center the rack so it’s evenly positioned over the rear axle.
Installing a Roof-Mounted Saris Rack
Roof mounts require more precision but offer excellent aerodynamics.
Step 3.1: Attach Crossbars (If Needed)
If your RSv4 doesn’t have crossbars, install a compatible set (e.g., Saris Crossbar Kit). Follow the manufacturer’s instructions to mount them securely to the roof rails.
Step 3.2: Position the Rack on Crossbars
Place the Saris rack on the crossbars, centered between the front and rear. Use a measuring tape to ensure equal distance from each end.
Step 3.3: Secure the Rack Feet
Clamp the rack’s feet to the crossbars using the provided hardware. Tighten the bolts or clamps evenly, alternating sides to avoid warping. Use a torque wrench if specified in the manual.
Step 3.4: Check for Movement
Gently shake the rack to test stability. It should not wobble or shift. If it does, re-tighten the clamps or adjust the foot positioning.
Step 4: Load Your Bikes Safely
With the rack securely attached, it’s time to load your bikes. Proper loading prevents damage to your bikes and vehicle and ensures safe travel.
Prepare the Bikes
Remove any loose items like water bottles, pumps, or bike computers. Deflate tires slightly (about 10%) if traveling long distances to reduce stress on the wheels.
Load Bikes One at a Time
Start with the bike closest to the vehicle (for hitch racks) or the front (for roof racks). Lift the bike carefully and place it in the designated cradle or tray.
Secure the Frame and Wheels
Use the rack’s built-in straps or clamps to secure the bike frame. Most Saris racks feature padded cradles that grip the frame without scratching. For wheel trays, strap down both front and rear wheels to prevent spinning.
Use Anti-Sway Devices
Attach anti-sway bars or straps between bikes to prevent them from knocking into each other. This is especially important for carbon frames or expensive bikes.
Double-Check All Connections
After loading, go around the rack and verify that every strap is tight, every clamp is secure, and no parts are loose.
Step 5: Perform a Safety Check Before Driving
Never hit the road without a thorough safety inspection.
Test for Movement
Grab the rack and try to move it side to side and up and down. It should feel solid with minimal play.
Check Clearance
Ensure the bikes don’t interfere with the rear hatch, license plate, or exhaust. For roof racks, confirm you have enough clearance for drive-thrus, parking garages, and bridges.
Verify Visibility
Make sure your brake lights, turn signals, and license plate are still visible. If not, consider a license plate relocator or light extension.
Do a Short Test Drive
Drive around the block at low speed. Listen for unusual noises like rattling or whistling, which could indicate loose parts.
Troubleshooting Common Issues
Even with careful installation, problems can arise. Here’s how to fix the most common ones.
Rack Wobbles or Shakes
This usually means the rack isn’t tightened enough. Re-check all bolts, clamps, and hitch pins. For hitch racks, ensure the shank fits snugly—use a hitch tightener if there’s play.
Bikes Scratch Each Other
Add more padding between bikes or use frame protectors. Adjust the spacing on the rack if possible.
Wind Noise or Whistling
Roof racks can create noise at high speeds. Ensure the rack is level and consider adding a wind deflector or fairing.
Difficulty Accessing Rear Hatch
If using a hitch rack, make sure it has a tilt function. If not, consider switching to a roof mount or a different model.
Straps Wear Out Quickly
Inspect straps regularly and replace them if frayed. Use zip ties as temporary fixes, but don’t rely on them long-term.
Maintenance and Care Tips
To keep your Saris rack in top condition:
– Clean it after every trip, especially if exposed to salt, mud, or rain.
– Lubricate moving parts like tilt mechanisms and locks.
– Store indoors when not in use to prevent UV damage.
– Check bolts and straps before each use.
Conclusion
Attaching a Saris bike rack to your RSv4 SUV doesn’t have to be complicated. With the right preparation, tools, and attention to detail, you can install your rack safely and confidently. Whether you choose a roof or hitch mount, following this guide ensures your bikes are secure, your vehicle is protected, and your adventures are stress-free.
Remember: compatibility, proper installation, and regular maintenance are the keys to success. Now that you know how to attach your Saris bike rack on your RSv4 SUV, you’re ready to explore new trails, cities, and scenic routes with your bike in tow. Happy riding!