
This guide walks you through how to attach a Thule bike rack to an SUV with clear, easy-to-follow instructions. Whether you’re using a hitch-mounted or trunk-mounted model, you’ll learn the best practices for safe and secure installation.
Key Takeaways
- Choose the right Thule bike rack: Match the rack type (hitch, trunk, or roof) to your SUV’s design and your biking needs.
- Check your SUV’s compatibility: Ensure your vehicle has a hitch receiver or sturdy trunk for mounting.
- Follow the manufacturer’s instructions: Always refer to the Thule manual for model-specific steps and safety warnings.
- Secure all straps and locks properly: Double-check tightness to prevent wobbling or bike damage during transit.
- Test the setup before driving: Give the rack and bikes a firm shake to confirm stability.
- Maintain and inspect regularly: Check for wear, rust, or loose parts before each trip.
- Use safety accessories: Add lights, reflectors, or anti-sway devices for added security on the road.
How to Attach Thule Bike Rack to SUV: A Complete Step-by-Step Guide
Planning your next mountain biking adventure or weekend trail ride? One of the most important steps is safely transporting your bikes. If you own an SUV and a Thule bike rack, you’re already ahead of the game. Thule is a trusted brand known for durable, reliable, and user-friendly bike carriers. But even the best gear needs proper installation.
In this guide, we’ll walk you through how to attach a Thule bike rack to an SUV—whether it’s a hitch-mounted, trunk-mounted, or roof-mounted model. We’ll cover everything from choosing the right rack to securing your bikes and troubleshooting common issues. By the end, you’ll feel confident loading up and hitting the road with peace of mind.
Let’s get started!
Why Choose a Thule Bike Rack for Your SUV?
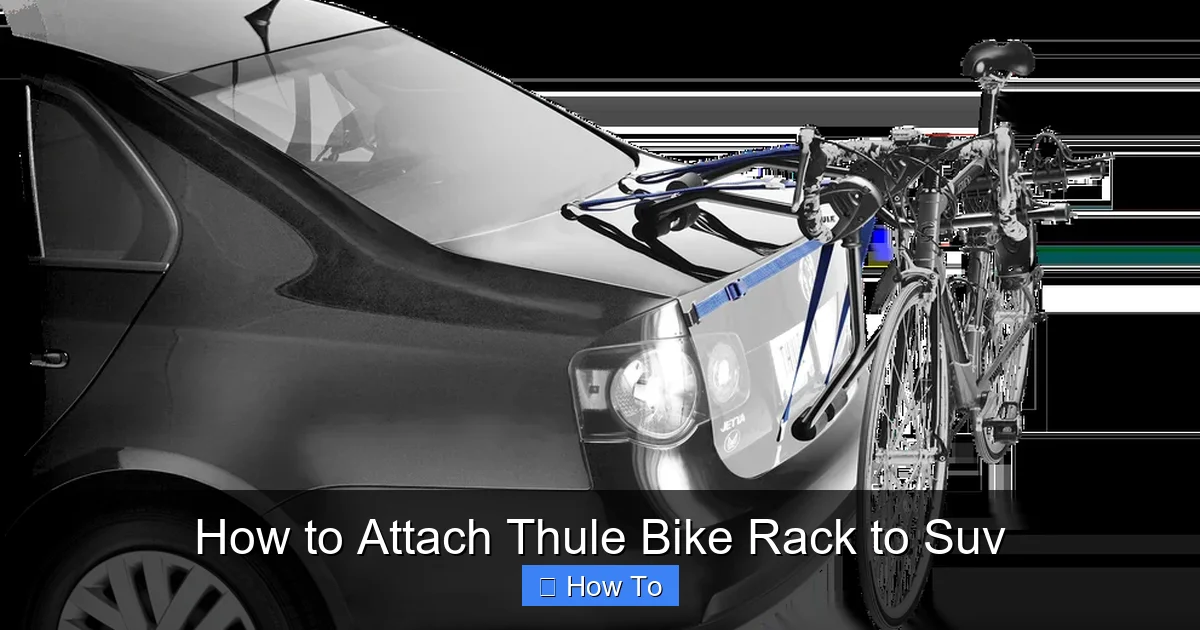
Visual guide about How to Attach Thule Bike Rack to Suv
Image source: thule.com
Thule has been a leader in outdoor gear for decades, and their bike racks are no exception. Designed with safety, ease of use, and durability in mind, Thule racks are built to handle the rigors of the road—whether you’re cruising down the highway or navigating rough terrain.
SUVs are ideal vehicles for bike racks because of their size, height, and often available hitch receivers. Thule offers several mounting options, so you can find the perfect fit for your vehicle and lifestyle. Whether you’re a casual rider or a serious cyclist, a Thule rack ensures your bikes stay secure and protected.
Types of Thule Bike Racks for SUVs
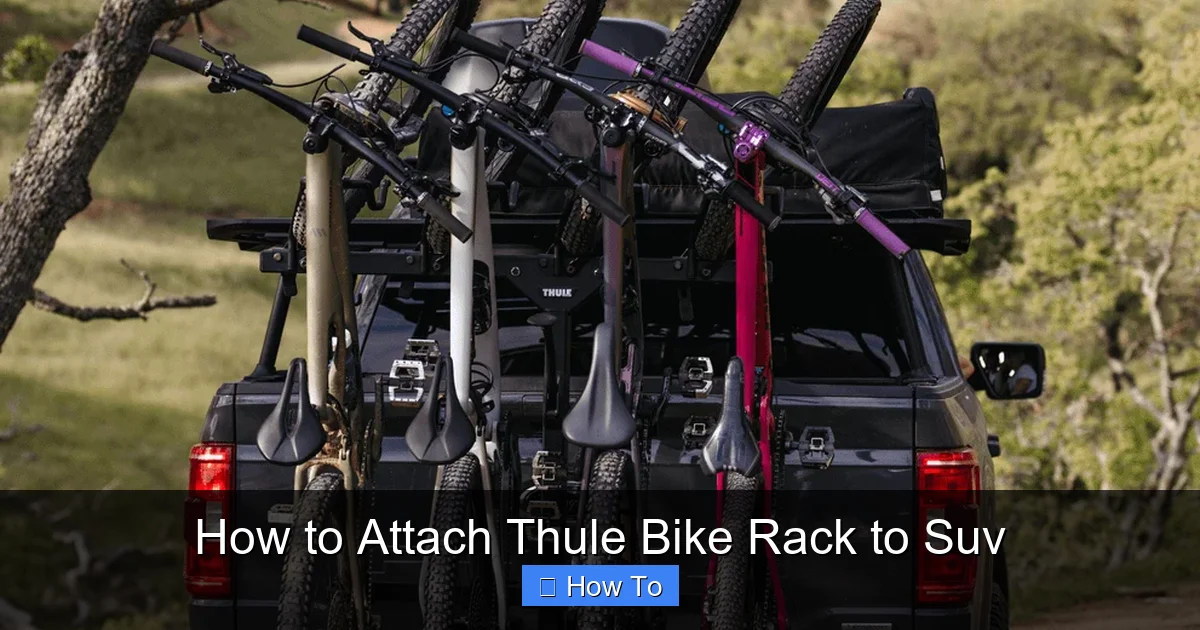
Visual guide about How to Attach Thule Bike Rack to Suv
Image source: thule.com
Before you begin installation, it’s important to understand the different types of Thule bike racks available. Each has its own installation method and benefits.
Hitch-Mounted Bike Racks
These racks attach to a 1.25-inch or 2-inch hitch receiver on the back of your SUV. They’re among the most popular because they’re stable, easy to load, and don’t touch the vehicle’s body. Models like the Thule T2 Pro XTR and Thule EasyFold XT are excellent choices for SUVs.
Trunk-Mounted Bike Racks
These racks strap onto the rear hatch or trunk of your SUV. They’re more affordable and don’t require a hitch, but they can scratch paint if not installed carefully. The Thule Gateway Pro and Thule Raceway Pro are great trunk options.
Roof-Mounted Bike Racks
These racks attach to roof rails or crossbars and hold bikes vertically or horizontally. They keep the rear of the SUV clear but can reduce fuel efficiency and make loading heavier bikes more difficult. The Thule UpRide and Thule ProRide XT are top picks.
For most SUV owners, a hitch-mounted rack offers the best balance of convenience, safety, and capacity. That’s why we’ll focus primarily on hitch-mounted installation in this guide, but we’ll also cover trunk and roof options.
Tools and Materials You’ll Need
Before you begin, gather the following items:
- Thule bike rack (hitch, trunk, or roof model)
- SUV with compatible mounting point (hitch receiver, trunk, or roof rails)
- Owner’s manual for your Thule rack
- Torque wrench (for hitch models)
- Measuring tape (optional, for alignment)
- Clean cloth (to wipe down surfaces)
- Bike lock (recommended for security)
- Reflective tape or lights (if required by law)
Having everything ready will make the process smoother and safer.
Step 1: Choose the Right Thule Rack for Your SUV
Not all bike racks fit all SUVs. The first step is ensuring compatibility.
Check Your SUV’s Hitch Receiver
If you’re going with a hitch-mounted rack, confirm your SUV has a hitch receiver. Most modern SUVs come with one pre-installed, but if not, you can have one added by a professional. Measure the hitch size—common sizes are 1.25 inches and 2 inches. Your Thule rack must match this size.
Verify Weight and Bike Capacity
Check the rack’s maximum weight limit and number of bikes it can carry. For example, the Thule T2 Pro XTR holds up to four bikes and supports up to 120 pounds. Make sure your bikes and rack are within these limits.
Consider Your SUV’s Design
Some SUVs have rear spoilers, sensors, or cameras that can interfere with trunk-mounted racks. Hitch and roof racks are often better for these vehicles.
Once you’ve confirmed compatibility, you’re ready to install.
Step 2: Prepare Your SUV and Rack
Preparation is key to a secure installation.
Clean the Mounting Area
Wipe down the hitch receiver, trunk, or roof rails with a clean cloth. Remove dirt, grease, or debris that could affect the fit or cause scratches.
Inspect the Rack
Unbox your Thule rack and check for any damage. Ensure all parts are included by referencing the manual. Look for bolts, straps, locking mechanisms, and anti-sway features.
Read the Manual
Every Thule model has specific instructions. Don’t skip this step—even if you’ve installed similar racks before. Features like tilt-away mechanisms or foldable arms vary by model.
Step 3: Installing a Hitch-Mounted Thule Bike Rack
Hitch-mounted racks are the most secure and user-friendly option for SUVs. Here’s how to install one properly.
Insert the Rack into the Hitch Receiver
Slide the rack’s hitch arm into the receiver on your SUV. Make sure it’s fully inserted and aligned. Most Thule racks have a built-in hitch lock or pin hole for security.
Secure with the Hitch Pin or Lock
Insert the included hitch pin through the receiver and rack. Tighten the bolt or use a locking mechanism if your model has one. For added security, use a hitch lock to prevent theft.
Tighten the Anti-Sway or Stabilizer Knob
Many Thule hitch racks have a knob or lever that tightens against the hitch to reduce wobble. Turn it clockwise until snug. Don’t overtighten—this can damage the rack or hitch.
Test the Stability
Grab the rack and give it a firm shake. It should not move side to side or up and down. If it wobbles, recheck the hitch pin and stabilizer.
Extend and Lock the Rack Arms
Pull out the bike arms and lock them in place. Some models have a quick-release lever; others use pins. Ensure they’re fully extended and secure.
Adjust the Tilt-Away Feature (If Applicable)
Many Thule hitch racks tilt away to allow access to the rear hatch. Test this feature to make sure it works smoothly and doesn’t interfere with your SUV’s tailgate.
Step 4: Installing a Trunk-Mounted Thule Bike Rack
Trunk racks are a great budget-friendly option, but they require careful installation to avoid damage.
Position the Rack on the Trunk
Place the rack on the rear of your SUV, centered over the trunk or hatch. Make sure the top hooks will attach to the upper edge and the bottom hooks to the lower edge.
Attach the Upper Straps
Hook the top straps over the top edge of the trunk. Adjust the length so the rack sits level. Use the padded hooks to protect your paint.
Secure the Lower Straps
Attach the bottom straps to the lower edge or bumper. Some models use hooks; others use loops. Tighten the straps evenly to prevent tilting.
Tighten All Straps
Use the tension knobs or buckles to tighten each strap. The rack should be snug but not so tight that it bends or warps. Avoid over-tightening, which can damage the trunk.
Check for Clearance
Open the trunk or hatch to ensure the rack doesn’t block access. If it does, adjust the position or consider a different model.
Test the Fit
Give the rack a gentle shake. It should stay firmly in place. If it moves, recheck the straps and hooks.
Step 5: Installing a Roof-Mounted Thule Bike Rack
Roof racks keep your bikes high and out of the way, but they require roof rails or crossbars.
Install Roof Crossbars (If Needed)
If your SUV doesn’t have crossbars, install Thule crossbars compatible with your vehicle. Follow the manufacturer’s instructions for spacing and torque.
Attach the Bike Rack to the Crossbars
Place the rack on the crossbars and secure it using the provided clamps or bolts. Tighten evenly to prevent shifting.
Adjust the Bike Holders
Position the bike holders so they’re spaced apart and won’t interfere with each other. Some models allow you to slide them along the crossbar.
Lock the Rack (If Applicable)
Use the integrated lock or a separate bike lock to secure the rack to the crossbars.
Step 6: Loading Your Bikes Safely
Now that your rack is installed, it’s time to load your bikes.
Prepare the Bikes
Remove water bottles, pumps, or loose accessories. Lower the seat and handlebars if needed to reduce width.
Load Bikes One at a Time
Start with the bike farthest from the vehicle. Lift it onto the rack and secure the wheels in the cradles. Use the rack’s straps or clamps to hold the frame.
Secure Each Bike
Tighten the frame and wheel straps. Make sure no part of the bike is loose or rubbing against another bike or the rack.
Use Anti-Sway Devices
If your rack has anti-sway bars or straps, attach them between bikes to prevent them from knocking together.
Double-Check All Connections
Go over every strap, clamp, and lock. Ensure nothing is loose or dangling.
Step 7: Final Safety Checks Before Driving
Safety is paramount when transporting bikes.
Test the Rack and Bikes
Give the entire setup a firm shake. The rack should not move, and the bikes should stay in place.
Check Clearance
Ensure the bikes don’t block your license plate, taillights, or rearview camera. If they do, adjust the position or use a license plate extender.
Verify Legal Requirements
Some states require additional lights or reflectors if the bikes obstruct your taillights. Add a light board or reflective tape if needed.
Lock Your Bikes
Use a high-quality bike lock to secure each bike to the rack. This deters theft, especially in parking lots.
Take a Short Test Drive
Drive a short distance and check for unusual noises or movement. Pull over if anything feels off.
Troubleshooting Common Issues
Even with careful installation, problems can arise. Here’s how to fix them.
Rack Wobbles or Moves
This is usually due to a loose hitch pin or stabilizer. Tighten all connections. For hitch racks, use a torque wrench to ensure proper tightness (typically 15–20 ft-lbs).
Bikes Rub or Knock Together
Adjust the spacing between bikes or use anti-sway straps. Make sure each bike is fully secured in its cradle.
Trunk Rack Scratches Paint
Use padded hooks and avoid over-tightening. Consider switching to a hitch or roof rack if scratches persist.
Rack Blocks Trunk Access
Tilt the rack away if it has that feature. If not, consider a different model or mounting style.
Difficulty Loading Heavy Bikes
Use a rack with a ramp or assist feature, like the Thule EasyFold XT. Or consider a hitch rack with a lower loading height.
Maintenance and Care Tips
To keep your Thule rack in top condition:
- Clean it regularly with soap and water.
- Lubricate moving parts like hinges and locks.
- Inspect straps and bolts for wear or rust.
- Store indoors when not in use to prevent weather damage.
- Check the manual for specific maintenance schedules.
Proper care extends the life of your rack and ensures safe trips for years.
Conclusion
Attaching a Thule bike rack to your SUV doesn’t have to be complicated. With the right preparation, tools, and step-by-step guidance, you can install your rack safely and confidently. Whether you choose a hitch, trunk, or roof model, following the manufacturer’s instructions and performing regular checks will keep your bikes secure on every journey.
Remember: safety comes first. Always double-check your setup, use locks, and inspect your rack before each trip. With your Thule bike rack properly installed, you’re ready to explore new trails, scenic routes, and outdoor adventures—without worrying about your bikes.
So grab your gear, load up, and hit the road. The mountains are calling!