
This guide walks you through how to attach a Saris bike rack on an SUV with clear, easy-to-follow instructions. Whether you’re using a hitch-mounted or trunk-mounted model, you’ll learn proper setup, safety tips, and troubleshooting advice to ensure a secure ride every time.
Key Takeaways
- Choose the right Saris rack for your SUV: Hitch-mounted racks offer better stability and weight capacity, while trunk-mounted models are more affordable and easier to install.
- Always check your SUV’s hitch receiver size: Most Saris hitch racks fit 1.25″ or 2″ receivers—verify compatibility before mounting.
- Secure the rack properly to prevent wobbling: Use the included hitch lock, anti-wobble device, or strap system to keep the rack stable during travel.
- Load bikes correctly to avoid damage: Place bikes with enough space between them, secure frames (not wheels), and double-check all straps and clamps.
- Perform a pre-trip safety check: Test the rack’s stability, ensure bikes are firmly attached, and verify that lights and license plates remain visible.
- Follow weight limits and local laws: Overloading the rack or blocking vehicle lights can lead to fines or accidents.
- Store and maintain your rack: Clean it after use, inspect for wear, and store in a dry place to extend its lifespan.
How to Attach a Saris Bike Rack on an SUV
If you’re an outdoor enthusiast, weekend warrior, or just love taking your bike on road trips, a bike rack is a must-have accessory. Among the top brands in the market, Saris stands out for its durable, user-friendly designs. Whether you’re hauling one bike or a whole fleet, knowing how to attach a Saris bike rack on an SUV correctly is essential for safety, convenience, and peace of mind.
This comprehensive guide will walk you through every step—from choosing the right model to securing your bikes and hitting the road. We’ll cover both hitch-mounted and trunk-mounted Saris racks, offer practical tips, and help you avoid common mistakes. By the end, you’ll be confident in your ability to install and use your Saris bike rack like a pro.
Why Choose a Saris Bike Rack?

Visual guide about How to Attacj Saris Bike Rack on Suv
Image source: kroger.com
Saris has been a trusted name in bike transportation for over 40 years. Their racks are known for innovative designs, high-quality materials, and compatibility with a wide range of vehicles—especially SUVs. Whether you drive a compact crossover or a full-size SUV, Saris offers models that fit securely and protect both your bikes and your vehicle.
One of the biggest advantages of Saris racks is their ease of use. Many models feature tool-free installation, foldable designs for storage, and integrated locks for security. Plus, they’re built to last, with weather-resistant coatings and sturdy construction that can handle rough roads and long trips.
Types of Saris Bike Racks for SUVs
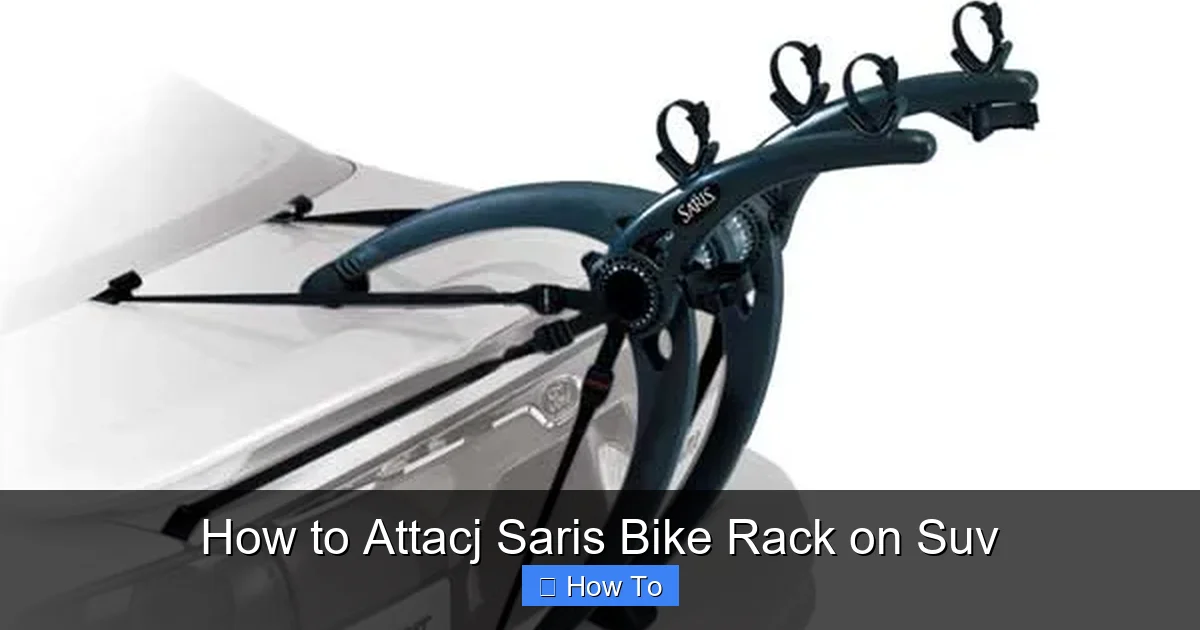
Visual guide about How to Attacj Saris Bike Rack on Suv
Image source: carbikeracksguide.com
Before you learn how to attach a Saris bike rack on an SUV, it’s important to understand the two main types available:
Hitch-Mounted Racks
These racks attach directly to your SUV’s hitch receiver—a metal tube mounted to the rear bumper or frame. Hitch-mounted racks are the most popular choice for SUVs because they’re stable, can carry multiple bikes, and don’t touch the vehicle’s body.
Popular Saris hitch models include:
– Saris SuperClamp EX 2 or 4
– Saris Freedom 2 or 4
– Saris Sentinel 2 or 4
These racks typically fit 1.25″ or 2″ hitch receivers. The larger the receiver, the more weight it can handle. Always check your SUV’s hitch class (I, II, III, etc.) and the rack’s weight capacity before purchasing.
Trunk-Mounted Racks
Trunk-mounted racks strap onto the rear hatch or bumper of your SUV using adjustable straps and hooks. They’re lighter, more affordable, and don’t require a hitch, making them a good option for SUVs without a receiver.
Popular Saris trunk models include:
– Saris Bones 2 or 3
– Saris Guardian 2
However, trunk racks have limitations: they can block access to the rear door, may scratch paint if not installed carefully, and usually carry fewer bikes (2–3 max). They’re best for occasional use or lighter loads.
Step-by-Step: How to Attach a Saris Hitch-Mounted Bike Rack on an SUV
Hitch-mounted racks are the gold standard for SUVs. Here’s how to install one safely and correctly.
Step 1: Gather Your Tools and Equipment
You’ll need:
– Your Saris hitch-mounted bike rack
– A compatible hitch receiver (1.25″ or 2″)
– The included hitch pin and lock (if applicable)
– An anti-wobble device or hitch tightener (often included)
– A torque wrench (optional but recommended)
– Gloves (to protect your hands)
Make sure your SUV is parked on a flat, level surface with the parking brake engaged.
Step 2: Inspect the Hitch Receiver
Open the rear hatch and locate your hitch receiver. It should be a square metal tube mounted under the bumper. Check for:
– Dirt, rust, or debris—clean it with a wire brush if needed
– Proper alignment—ensure it’s level and not bent
– Size—measure the inside dimensions to confirm it’s 1.25″ or 2″
If your hitch is damaged or the wrong size, do not proceed. Contact a mechanic or upgrade your hitch.
Step 3: Prepare the Bike Rack
Unbox your Saris rack and lay out all components. Most models come pre-assembled or require minimal setup. Check the instruction manual for any assembly steps, such as attaching wheel trays or folding arms.
Ensure all moving parts are lubricated and that the rack is in the upright (unfolded) position.
Step 4: Insert the Rack into the Hitch
Lift the rack and align the hitch arm with the receiver. Slide it in smoothly—don’t force it. If it doesn’t go in easily, double-check the size and alignment.
Push the rack all the way in until the hitch pin holes line up. Most Saris racks have a spring-loaded mechanism that clicks into place when fully inserted.
Step 5: Secure with the Hitch Pin
Insert the hitch pin through the receiver and rack arm. Push it all the way through until it clicks or locks. If your model includes a lock, insert the key and turn to secure.
For added stability, use the anti-wobble device. This is a small metal or rubber piece that fits between the rack and hitch to reduce side-to-side movement. Tighten it according to the manual—usually with a knob or bolt.
Step 6: Tighten and Test Stability
Give the rack a firm shake. It should not wobble or move side to side. If it does, tighten the anti-wobble device or use a hitch tightener (available separately).
For heavy loads, consider using a torque wrench to tighten the hitch pin to the manufacturer’s recommended setting (usually 15–20 ft-lbs).
Step 7: Fold or Adjust the Rack (If Needed)
Some Saris racks fold down for easier access to the rear hatch. Test this feature to ensure it works smoothly. Make sure the folded position doesn’t interfere with your SUV’s lights or license plate.
Step-by-Step: How to Attach a Saris Trunk-Mounted Bike Rack on an SUV
Trunk-mounted racks are simpler to install but require more care to avoid damaging your SUV.
Step 1: Position the Rack on the Rear
Lay the rack flat against the rear hatch or bumper. Make sure it’s centered and level. The top hooks should rest on the top edge of the hatch, and the bottom hooks on the lower bumper.
Step 2: Attach the Top Straps
Lift the top of the rack and hook the upper straps over the top edge of the hatch. Pull them tight but not so hard that they bend the hatch. Use foam pads or towels to protect the paint.
Step 3: Secure the Bottom Straps
Attach the lower straps to the bumper or under the rear lip. Some SUVs have a plastic trim—hook the straps under it, not through it. Avoid sharp edges that could cut the straps.
Step 4: Tighten All Straps
Pull each strap tight using the built-in tensioners. The rack should be snug and not shift when you push on it. Recheck after driving a short distance—straps can loosen over time.
Step 5: Protect Your SUV’s Paint
Use protective pads or towels between the rack and your SUV’s body. Saris often includes foam or rubber padding—use it. Avoid letting metal parts rub against paint.
How to Load Bikes on a Saris Rack
Proper loading prevents damage to your bikes and ensures a safe ride.
Step 1: Prepare the Bikes
Remove water bottles, bike computers, and loose accessories. Deflate tires slightly if carrying multiple bikes to reduce pressure on frames.
Step 2: Load Bikes in the Correct Order
Place the heaviest or largest bike closest to the SUV. Load bikes alternately (left, right, left) to balance weight. Avoid overlapping handlebars or pedals.
Step 3: Secure the Frame, Not the Wheels
Use the rack’s frame clamps or cradles to hold the bike by the top tube or down tube—never the wheels, fork, or derailleur. Saris racks often have padded arms that grip the frame gently.
Step 4: Use Additional Straps
Most Saris racks include wheel straps to keep wheels from spinning. Secure both front and rear wheels. For extra safety, use a secondary strap across the bike frame to the rack.
Step 5: Double-Check Everything
Give each bike a firm shake. It should not move. Recheck all clamps, straps, and locks before driving.
Safety Tips and Best Practices
– Never exceed the rack’s weight limit: Most Saris racks hold 30–60 lbs per bike. Overloading can damage the rack or your SUV.
– Ensure visibility: Your license plate and brake lights must be visible. Use a light board or extension if needed.
– Check local laws: Some states require bike racks to have reflectors or lights if they block your vehicle’s lights.
– Drive carefully: Allow extra following distance and avoid sudden stops. Bikes can shift during hard braking.
– Inspect regularly: Check straps, clamps, and the hitch connection every few trips.
Troubleshooting Common Issues
Rack Wobbles or Shakes
Cause: Loose hitch pin or missing anti-wobble device.
Solution: Tighten the pin and install the anti-wobble piece. Use a hitch tightener for extra stability.
Bikes Are Damaged During Transport
Cause: Improper loading or loose straps.
Solution: Always secure the frame, not wheels. Use additional straps and space bikes apart.
Straps Slip or Break
Cause: Old or worn straps, or incorrect attachment.
Solution: Replace damaged straps. Hook them under solid parts of the bumper, not plastic trim.
Hitch Pin Won’t Insert
Cause: Misaligned holes or dirty receiver.
Solution: Clean the hitch and gently wiggle the rack. Don’t force it—check for obstructions.
Rear Hatch Won’t Open
Cause: Rack is too wide or blocks the door.
Solution: Use a rack with a tilt or swing feature, or remove bikes before opening.
Maintenance and Storage
To keep your Saris rack in top condition:
– Clean it after each use with mild soap and water.
– Dry thoroughly to prevent rust.
– Lubricate moving parts (hinges, clamps) with silicone spray.
– Store indoors in a dry place—avoid leaving it on the SUV in rain or snow.
– Inspect annually for cracks, rust, or worn straps.
Conclusion
Learning how to attach a Saris bike rack on an SUV doesn’t have to be complicated. With the right model, proper installation, and a few safety checks, you can transport your bikes safely and confidently. Whether you choose a hitch-mounted or trunk-mounted rack, Saris offers reliable, user-friendly options that fit most SUVs.
Remember: always follow the manufacturer’s instructions, respect weight limits, and perform regular inspections. A well-installed rack not only protects your bikes but also ensures a smoother, safer journey for you and your passengers.
Now that you know how to attach a Saris bike rack on an SUV, you’re ready to explore new trails, scenic routes, and outdoor adventures—without the hassle. Happy riding!