
This guide walks you through how to build a LEGO SUV from scratch, whether you’re using a kit or custom parts. You’ll learn essential techniques, design tips, and troubleshooting advice to create a sturdy, stylish off-road vehicle.
Key Takeaways
- Choose the right LEGO set or pieces: Start with a compatible baseplate and wheels designed for off-road builds.
- Plan your design first: Sketch or visualize your SUV’s layout to avoid mid-build changes.
- Use strong connections: Reinforce joints and axles to handle weight and movement.
- Balance aesthetics and function: Make your SUV look cool while ensuring it rolls smoothly.
- Add realistic details: Include doors, roof racks, and lights for a lifelike touch.
- Test and adjust: Roll your SUV on different surfaces to check stability and fix issues early.
- Customize freely: Use stickers, colors, and accessories to make your LEGO SUV unique.
Introduction: Why Build a LEGO SUV?
Building a LEGO SUV is more than just snapping bricks together—it’s a creative adventure that blends engineering, design, and imagination. Whether you’re a kid, a parent, or a lifelong LEGO fan, constructing your own off-road vehicle offers a satisfying challenge and a fun way to explore mechanics and aesthetics. In this guide, you’ll learn how to build a LEGO SUV that’s not only sturdy and functional but also looks awesome on display or during play.
You don’t need a fancy kit to get started. With basic LEGO bricks, wheels, and a little planning, you can create a custom SUV that rolls, turns, and stands out. This guide covers everything from choosing the right pieces to adding finishing touches like lights and decals. By the end, you’ll have a complete, road-ready LEGO SUV and the skills to build more models in the future.
What You’ll Need to Build a LEGO SUV
Before you start snapping bricks, gather your materials. You don’t need every piece in the LEGO universe—just the essentials. Here’s a list of what you’ll likely need:
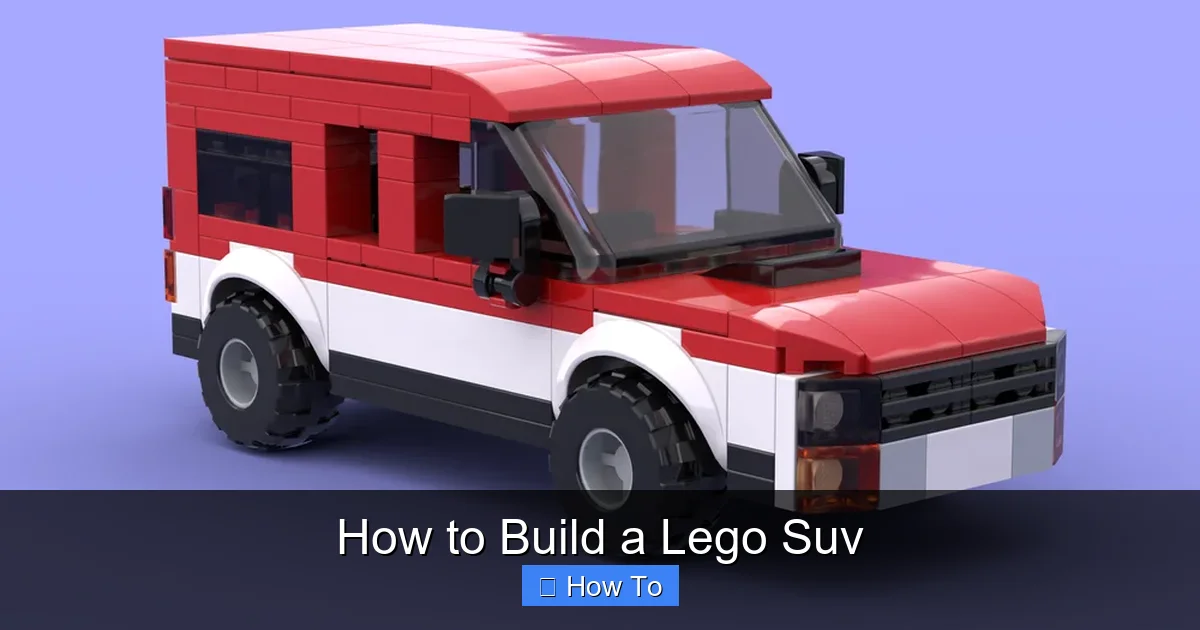
Visual guide about How to Build a Lego Suv
Image source: lego.tr
- Baseplates: A 16×16 or 24×16 stud baseplate gives your SUV a solid foundation.
- Wheels and tires: Choose off-road-style wheels with thick tires for a rugged look. LEGO Technic axles and connectors help attach them securely.
- Bricks and plates: A mix of 1×1, 1×2, 2×2, 2×4, and larger bricks for the body and chassis.
- Slopes and curved pieces: These add realism to the hood, roof, and fenders.
- Technic pins and beams: For internal support and axle connections.
- Doors and windows: Transparent bricks or specialized window pieces for the cabin.
- Decorative elements: Headlights, grilles, stickers, and roof racks for detail.
- Optional: LEGO motors or remote control kits if you want a motorized SUV.
If you’re using a LEGO set like the Creator Expert Off-Road Truck or City Adventurer SUV, many of these pieces will already be included. But even if you’re building from scratch, most LEGO collections have enough variety to get started.
Step 1: Plan Your LEGO SUV Design
Great builds start with a plan. Before you touch a single brick, take a moment to sketch or visualize your SUV. Ask yourself:
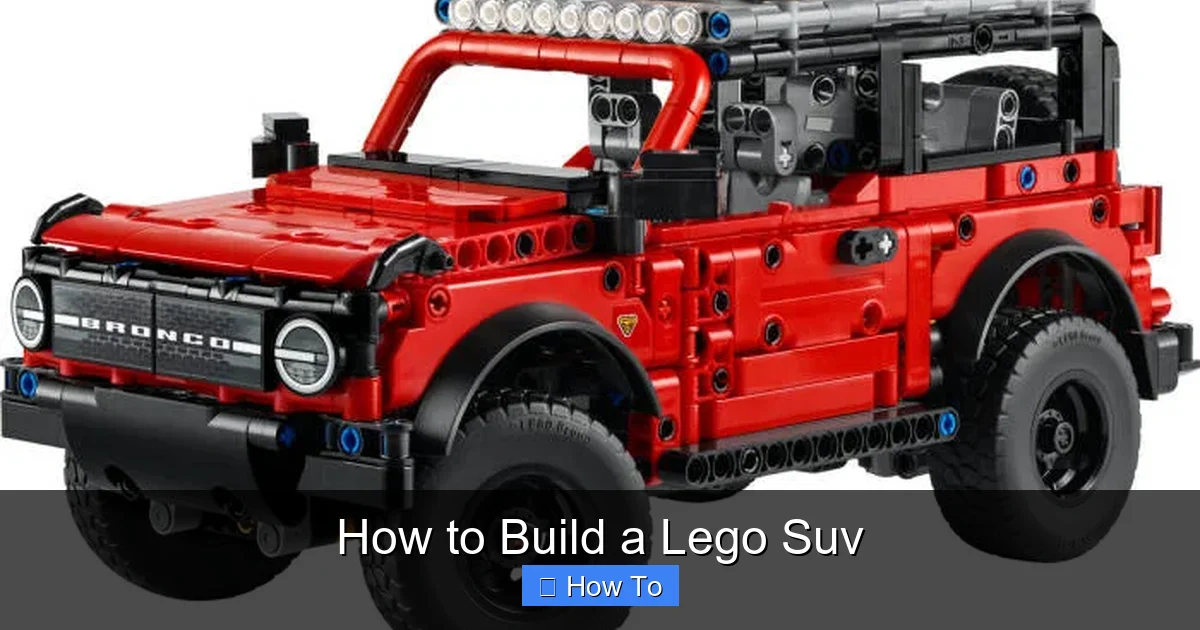
Visual guide about How to Build a Lego Suv
Image source: img.brickowl.com
- What size will it be? (Small, medium, or large?)
- Will it have a pickup bed, SUV cabin, or crossover style?
- What color scheme will you use?
- Do you want working doors, a removable roof, or suspension?
Sketching your design on paper or using a digital LEGO building app (like LEGO Digital Designer or Stud.io) helps you spot problems early. For example, you might realize your wheelbase is too short, or the roof is too high for the body. Planning saves time and bricks.
Design Tips for a Realistic SUV
- Proportions matter: Real SUVs have a longer wheelbase than compact cars. Aim for a 1:3 ratio (wheelbase to total length) for a balanced look.
- Raise the ground clearance: Use taller wheels or add suspension to lift the body off the baseplate.
- Include overhangs: The front and rear should extend slightly beyond the wheels, like real off-road vehicles.
- Use symmetry: Keep both sides of the SUV even for a clean, professional appearance.
Step 2: Build the Chassis and Wheelbase
The chassis is the backbone of your LEGO SUV. It holds everything together and supports the weight of the body. A strong chassis ensures your SUV rolls smoothly and doesn’t collapse under stress.
Start with the Baseplate
Place your baseplate on a flat surface. This will be the floor of your SUV. Use a 16×16 or 24×16 stud plate depending on how big you want your vehicle. Larger baseplates allow for more detail but require more bricks.
Attach the Wheels
Position your wheels at each corner. For off-road realism, use large, knobby tires. LEGO Technic wheels with axles are ideal because they spin freely and connect securely.
- Insert a Technic axle through the wheel hub.
- Connect the axle to the baseplate using Technic beams or connector pins.
- Make sure all four wheels are level and aligned. Test by rolling the baseplate—does it move straight?
Reinforce the Frame
To prevent flexing, add crossbeams underneath the baseplate. Use 1×4 or 1×6 Technic beams connected with pins. This creates a rigid frame that can handle bumps and weight.
Tip: If you want suspension, use LEGO shock absorbers (available in Technic sets) between the axle and chassis. This gives your SUV a realistic bounce when rolled over uneven surfaces.
Step 3: Construct the Body and Cabin
Now it’s time to build the main body of your SUV. This is where your design really comes to life. Start with the lower body and work your way up.
Build the Lower Body
Use 2×4 and 2×6 bricks to form the sides, front, and rear of the SUV. Attach them to the baseplate, leaving space for the wheels. Make sure the body doesn’t interfere with wheel movement.
- Use plates (1×2, 1×4) to create a smooth surface.
- Add slopes at the front and rear for a sloped, aerodynamic look.
- Include wheel arches using curved bricks or inverted slopes.
Create the Cabin
The cabin is the passenger area. Use transparent bricks for windows and solid bricks for the roof and sides. For realism:
- Make the cabin slightly narrower than the lower body.
- Add a windshield using a large transparent slope piece.
- Include side windows and a rear window.
- Use dark transparent bricks for tinted windows.
Add Doors
Attach doors using hinges or Technic pins so they can open and close. Use 1×2 or 1×4 bricks with door handles made from 1×1 round plates or clips.
Tip: For a more advanced build, add interior details like seats (using 1×2 bricks with backrests) and a steering wheel (a 1×1 round brick on a Technic axle).
Step 4: Add the Roof and Accessories
The roof completes the silhouette of your SUV. It also provides a place to add cool accessories.
Build the Roof
Use flat tiles or slopes to create a smooth, aerodynamic roof. For a rugged look, add a roof rack using 1×2 bricks with clips or Technic beams. You can attach LEGO accessories like a spare tire, camping gear, or a light bar.
Install Lights and Grille
Use 1×1 round transparent bricks for headlights and taillights. Place them at the front and rear. For the grille, use a 2×4 tile with a grill pattern or create your own with 1×1 tiles in a checkerboard design.
Add Decorative Details
Personalize your SUV with stickers, decals, or printed tiles. Add a license plate using a 1×4 tile with printed numbers. Use color accents—like red trim or black fenders—to make your SUV pop.
Step 5: Test and Troubleshoot Your LEGO SUV
Once your SUV is built, it’s time to test it. Roll it on different surfaces—carpet, tile, even a small ramp. Watch for issues like wobbling, dragging, or wheels falling off.
Common Problems and Fixes
- Wobbly wheels: Check axle connections. Use more pins or beams to secure them.
- Body flexing: Add internal supports or crossbeams under the baseplate.
- Doors not closing: Adjust hinge placement or use smaller bricks for tighter fit.
- Roof too heavy: Use lighter pieces like tiles instead of bricks.
- Wheels rubbing: Raise the body or trim excess bricks near the wheel arches.
Testing helps you refine your build. Don’t be afraid to take it apart and tweak it. Every great LEGO builder makes mistakes—what matters is learning from them.
Step 6: Customize and Upgrade
Your LEGO SUV doesn’t have to stop at the basics. Once it’s functional, get creative with upgrades.
Add Motors (Optional)
Use a LEGO Power Functions or Powered Up motor set to make your SUV remote-controlled. Attach motors to the rear axle and add a battery box and receiver. This turns your static model into a moving vehicle.
Create a Themed SUV
Build a rescue SUV with a light bar and ladder. Make a camping SUV with a tent on the roof. Or design a futuristic electric SUV with sleek lines and neon accents.
Use Alternate Colors
Try a desert tan for a dune buggy, or forest green for a wilderness explorer. Color changes can completely transform the vibe of your build.
Tips for Beginners
If you’re new to LEGO building, start simple. Use a small baseplate and basic bricks. Focus on getting the wheels right and the body stable. As you gain confidence, add details like doors, lights, and suspension.
Watch LEGO building videos on YouTube for inspiration. Many builders share free instructions for SUVs and trucks. You can also join LEGO fan communities online to share your creations and get feedback.
Conclusion: Enjoy Your LEGO SUV
Building a LEGO SUV is a rewarding project that combines creativity, problem-solving, and hands-on fun. Whether you’re building for play, display, or competition, the process teaches valuable skills and sparks joy.
Remember, there’s no single “right” way to build a LEGO SUV. Your version can be rugged, sleek, futuristic, or whimsical—whatever reflects your style. With the steps in this guide, you now have the knowledge to create a sturdy, stylish, and fully functional LEGO SUV from scratch.
So gather your bricks, fire up your imagination, and start building. Your next adventure is just a few snaps away.