
Turn your SUV into a fully functional mobile detailing business with smart storage, essential tools, and efficient workflow. This guide walks you through organizing supplies, choosing equipment, and maximizing space so you can deliver professional car care anywhere.
Key Takeaways
- Plan your layout first: Measure your SUV’s cargo area and sketch a storage plan to maximize space and accessibility.
- Invest in compact, multi-use tools: Choose lightweight, battery-powered equipment like dual-action polishers and portable vacuums to save room and power.
- Use modular storage systems: Stackable bins, sliding drawers, and wall-mounted racks keep supplies secure and easy to find.
- Prioritize water and power solutions: A portable water tank and inverter let you work anywhere without relying on external sources.
- Keep safety and cleanliness in mind: Store chemicals properly, use spill-proof containers, and maintain a clean workspace to protect your vehicle and clients.
- Test your setup before launching: Do a trial run to ensure everything fits, works, and stays in place while driving.
- Stay organized with labels and checklists: Label bins and keep a daily prep list to streamline your workflow and reduce setup time.
How to Build a Mobile Detailing Setup in an SUV
So, you’ve decided to start a mobile detailing business—or maybe you just want to detail your own cars like a pro without hauling gear to a shop. Either way, turning your SUV into a mobile detailing powerhouse is a smart, efficient move. With the right setup, you can clean, polish, and protect vehicles anywhere—from driveways to parking lots to remote job sites.
But here’s the catch: space is limited, and chaos is easy. Without a solid plan, your SUV can quickly turn into a cluttered mess of bottles, cords, and tools. That’s why building a smart, organized mobile detailing setup is essential.
In this guide, we’ll walk you through every step of creating a professional-grade mobile detailing setup inside your SUV. You’ll learn how to choose the right equipment, organize your supplies, manage water and power, and keep everything secure while on the road. By the end, you’ll have a clean, efficient, and fully functional mobile detailing station that helps you work faster, safer, and more professionally.
Let’s get started.
Step 1: Assess Your SUV’s Space and Capabilities
Before buying a single bottle of wax or sponge, take a good look at your SUV. Every vehicle is different, so your setup should be tailored to your specific make and model.
Measure the Cargo Area
Grab a tape measure and note the dimensions of your SUV’s cargo space—length, width, and height. Don’t forget to measure the floor space behind the rear seats if they fold down. Also, check the height clearance when the tailgate is closed. This will help you choose storage bins and equipment that fit snugly.
Check Weight Limits
SUVs have weight limits for the cargo area, usually listed in the owner’s manual. A full detailing setup—water tanks, tools, chemicals—can add up quickly. A 5-gallon water tank alone weighs about 42 pounds when full. Add in tools, vacuums, and supplies, and you could easily exceed 200 pounds. Stay under your vehicle’s limit to avoid damage or safety risks.
Consider Seat Configuration
Most SUVs have fold-flat rear seats. If yours do, you’ll gain a huge amount of flat floor space. Test how the seats fold and whether they lie completely flat. Some models have a slight ramp or gap—this can affect how you arrange your gear. If your seats don’t fold flat, you may need to work around them or consider removable storage solutions.
Evaluate Access Points
Think about how you’ll load and unload gear. Is the tailgate wide enough? Are there side doors or sliding panels? Easy access means faster setup and less frustration. If your SUV has a low load floor, that’s a bonus—it makes lifting heavy items like water tanks much easier.
Step 2: Choose the Right Detailing Equipment
Now that you know your space, it’s time to pick your tools. The goal is to get professional results with compact, efficient gear.
Essential Tools for Mobile Detailing
Here’s a list of must-have equipment for a mobile setup:
- Dual-Action (DA) Polisher: Battery-powered models like the DeWalt DWP849X or Flex XC 3401 are ideal. They’re lighter, quieter, and don’t need an outlet.
- Portable Vacuum: Look for a cordless, wet/dry vacuum like the Ridgid WD4070 or DeWalt DCV581H. It should have strong suction and a long battery life.
- Pressure Washer (Optional): A compact, 12V or battery-powered model like the Sun Joe SPX3000 or Greenworks GPW1501 can save time on pre-wash. But it’s not essential if you’re doing hand washing.
- Microfiber Towels and Wash Mitts: Stock up on high-quality microfiber—different colors for different tasks (washing, drying, polishing).
- Detailing Brushes: Soft-bristle brushes for wheels, vents, and crevices. Get a set with extendable handles.
- Clay Bar Kit: For removing contaminants before polishing.
- Applicator Pads and Foam Blocks: For wax, sealant, and interior cleaners.
- Interior Cleaning Kit: Includes glass cleaner, all-purpose cleaner, leather conditioner, and upholstery spray.
Battery vs. Corded Tools
For true mobility, go cordless. Battery-powered tools let you work anywhere—no need to find an outlet or run extension cords. Invest in extra batteries and a charging station. Most modern detailing tools use lithium-ion batteries that last 30–60 minutes per charge.
Compact and Multi-Function Gear
Save space by choosing tools that do more than one job. For example, a vacuum with a blower function can dry tight spots. A polisher with interchangeable pads works for both compounding and finishing. Avoid bulky, single-use items.
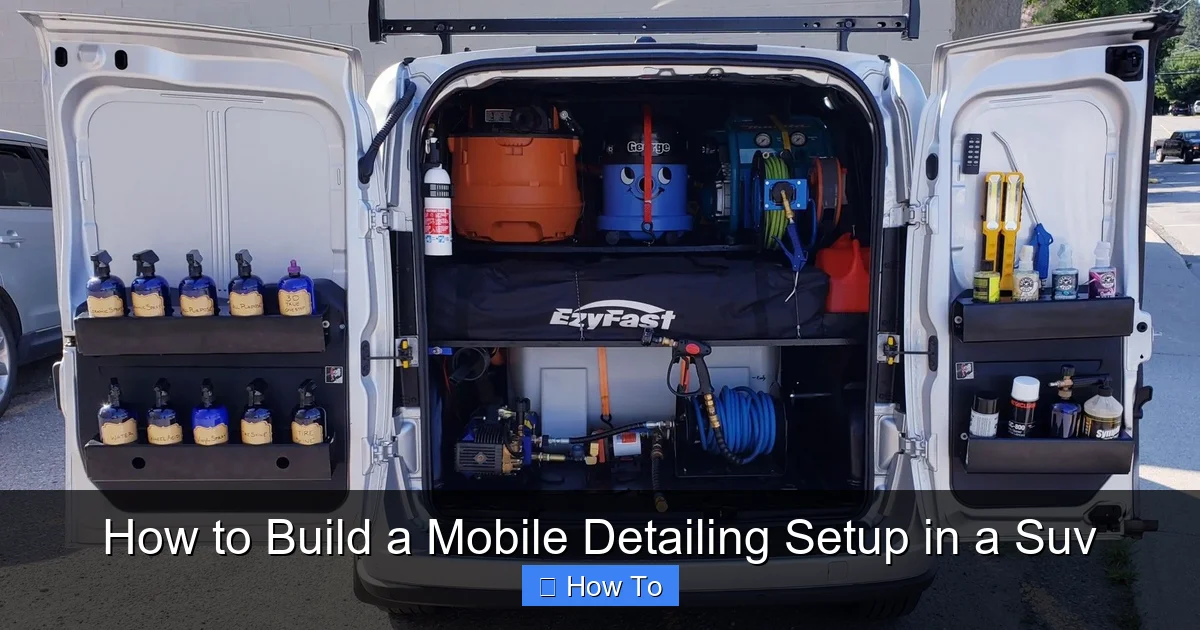
Step 3: Plan Your Storage System
This is where most mobile detailers go wrong. Without smart storage, your SUV becomes a jumble of loose items that shift around while driving.
Use Modular Storage Bins
Stackable, clear plastic bins are your best friend. Label each one: “Exterior Wash,” “Interior Clean,” “Polishing,” “Chemicals.” Clear bins let you see contents at a glance. Choose bins with secure lids to prevent spills.
Install Sliding Drawers or Trays
Custom-built or pre-made sliding drawers fit under your cargo floor or along the sides. They’re perfect for heavy items like water tanks or vacuums. You can pull them out easily without unloading everything.
Wall-Mounted Racks and Hooks
Use the sides of your cargo area to hang items. Install PVC pipe racks for microfiber towels, or use heavy-duty hooks for hoses and brushes. Magnetic strips can hold metal tools like scrapers or pad cleaners.
Secure Loose Items
Use bungee cords, cargo nets, or ratchet straps to anchor bins and equipment. Nothing should move when you brake or turn. Test your setup by driving around the block—shake it up and see what shifts.
Create a “Work Zone”
Designate one side of your SUV as your active workspace. Keep frequently used items—like spray bottles, towels, and applicators—within arm’s reach. Store less-used items (like spare pads or manuals) in harder-to-reach spots.
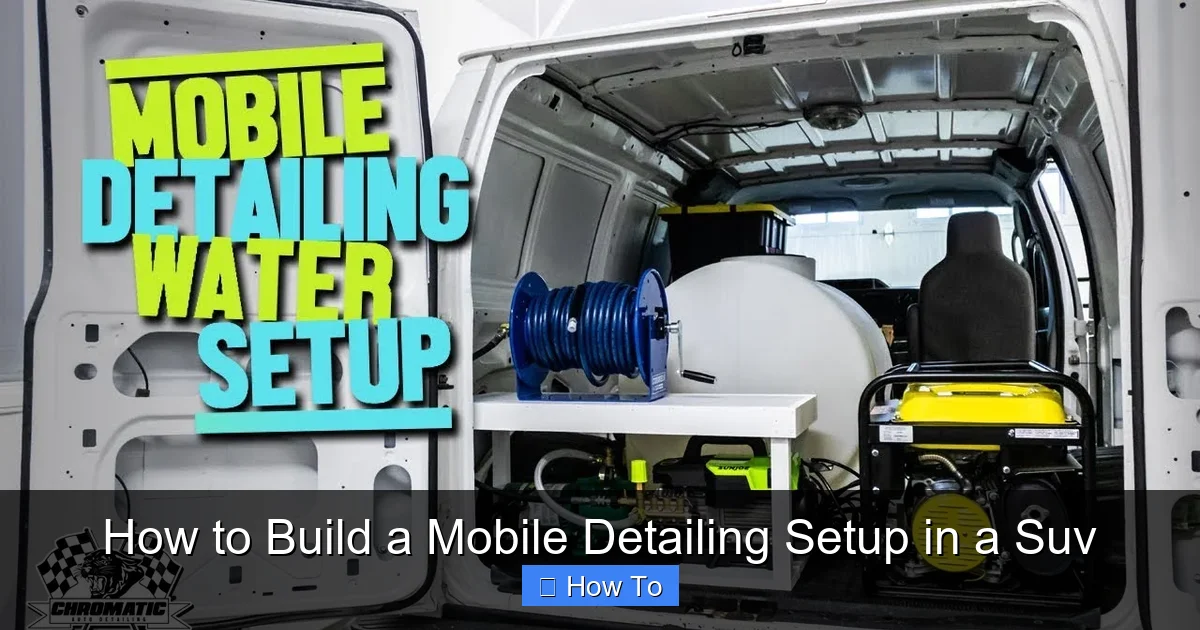
Step 4: Manage Water and Power
Water and electricity are the lifelines of mobile detailing. Without them, you’re stuck.
Portable Water Tank
A 5- to 10-gallon collapsible water tank is ideal. Brands like Reliance or Camco make durable, food-grade tanks that fold flat when empty. Mount it securely in your SUV—use a bracket or strap it down. Add a small 12V pump (like the Shurflo 2088) to pressurize water for washing.
Waterless and Rinse-Free Options
To reduce water use, keep a supply of waterless wash products like Optimum No Rinse or Meguiar’s Ultimate Wash & Wax. These let you clean cars with just a spray bottle and microfiber towels—perfect for dry climates or water-restricted areas.
Power Solutions
Most detailing tools run on batteries, but you may need AC power for charging or running a pressure washer.
- Power Inverter: A 1000–2000W pure sine wave inverter plugs into your SUV’s 12V outlet and converts DC to AC power. Use it to charge tool batteries or run small appliances.
- Portable Power Station: A lithium-ion power station like the Jackery 500 or EcoFlow River can run tools for hours. It’s quiet, emissions-free, and rechargeable via car, solar, or wall outlet.
- Extra Batteries: Always carry spare batteries for your tools. Keep them charged and stored in a cool, dry place.
Conserve Resources
Use water and power wisely. Turn off pumps and inverters when not in use. Reuse rinse water for pre-soaking wheels. Choose efficient tools that get the job done faster.
Step 5: Organize Chemicals and Supplies
Chemicals are essential, but they can be messy and dangerous if not stored properly.
Use Spill-Proof Containers
Transfer liquids into leak-proof, labeled bottles. Use spray bottles with secure caps for cleaners and wax. Avoid glass—it can break. HDPE plastic bottles are lightweight and durable.
Separate by Function
Group chemicals by use: exterior, interior, wheels, glass. Keep strong chemicals (like wheel acid or degreaser) in a locked, ventilated bin away from food or children.
Follow Safety Guidelines
Store chemicals upright, away from heat and direct sunlight. Wear gloves and goggles when handling strong cleaners. Keep a small first-aid kit and fire extinguisher in your SUV.
Minimize Inventory
You don’t need 20 different products. Stick to a core set: all-purpose cleaner, glass cleaner, tire shine, wax, and interior protectant. Multi-use products save space and money.
Step 6: Optimize Your Workflow
A great setup isn’t just about gear—it’s about how you use it.
Create a Step-by-Step Process
Develop a consistent routine: pre-rinse, wash, dry, clay, polish, wax, interior clean, glass, tires. This reduces mistakes and saves time.
Use a Detailing Cart (Optional)
A small, foldable cart can hold your most-used items and roll right up to the car. It’s especially helpful for interior work or tight spaces.
Keep a Daily Checklist
Before each job, check off: water tank full, batteries charged, towels stocked, chemicals ready. This prevents last-minute scrambles.
Clean as You Go
Wipe down tools, return items to bins, and dispose of trash immediately. A clean SUV is a professional SUV.
Step 7: Test and Refine Your Setup
Don’t wait for a big job to test your system. Do a trial run.
Simulate a Full Detail
Detail your own car using your mobile setup. Time each step. Note what’s missing, what’s hard to reach, or what shifts while driving.
Gather Feedback
Ask a friend or family member to observe. What looks messy? What takes too long? Use their input to improve.
Make Adjustments
Move bins, add hooks, swap tools. Your setup should evolve as you learn what works best.
Troubleshooting Common Issues
Even the best setups run into problems. Here’s how to fix them.
Problem: Tools Shift While Driving
Solution: Use non-slip mats under bins, add more straps, or install a cargo barrier. Test drive and recheck.
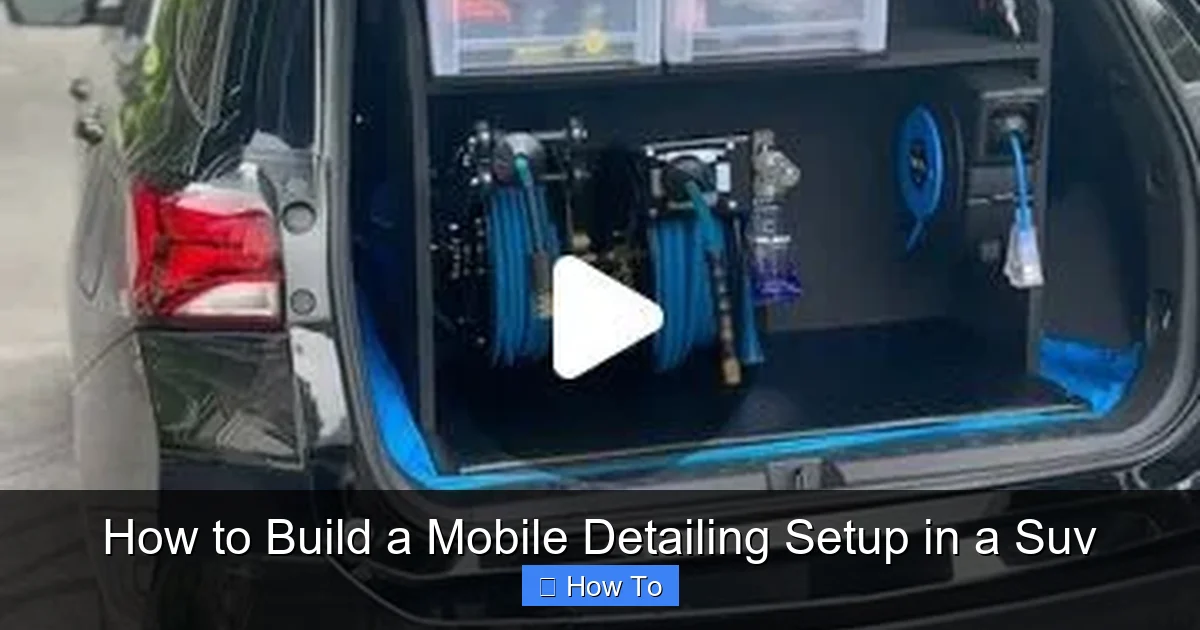
Visual guide about How to Build a Mobile Detailing Setup in a Suv
Image source: i.ytimg.com
Visual guide about How to Build a Mobile Detailing Setup in a Suv
Image source: i.pinimg.com
Problem: Not Enough Power
Solution: Upgrade to a higher-wattage inverter or add a portable power station. Charge batteries overnight.
Problem: Water Runs Out Too Fast
Solution: Use waterless products for light cleaning. Carry a refill jug or plan jobs near water sources.
Problem: Hard to Reach Supplies
Solution: Reorganize bins. Move frequently used items to the front. Use pull-out trays.
Problem: Chemicals Leak
Solution: Double-check caps. Use secondary containment—like a plastic tub—under chemical bins.
Conclusion
Building a mobile detailing setup in your SUV isn’t just about throwing tools in the back. It’s about creating a smart, efficient, and professional workspace that lets you deliver top-quality results anywhere. By planning your layout, choosing the right gear, organizing your supplies, and managing water and power, you’ll turn your SUV into a rolling detailing studio.
Remember: start simple, test often, and refine as you go. Your setup should grow with your skills and business. With the right system, you’ll save time, reduce stress, and impress every client with your professionalism.
So grab your tape measure, pick your bins, and get ready to detail like a pro—on the go.