
Building a platform bed for your SUV is a simple, cost-effective way to turn your vehicle into a cozy sleeping space. This guide walks you through measuring, cutting, assembling, and installing a sturdy, removable platform that fits snugly in your cargo area—ideal for weekend adventures or full-time van life.
Key Takeaways
- Measure your SUV’s cargo area accurately to ensure a perfect fit and avoid wasted materials.
- Use lightweight, durable materials like plywood and 2x4s to keep the bed sturdy yet easy to move.
- Design for modularity so you can remove or reconfigure the platform when not in use.
- Add storage underneath with drawers or bins to maximize space and keep gear organized.
- Include ventilation and padding for comfort and to prevent moisture buildup while sleeping.
- Test the setup before long trips to ensure stability, comfort, and safety.
- Customize with finishes like paint, carpet, or fabric to match your style and protect the wood.
How to Build a Platform Bed for SUV
Whether you’re planning a weekend camping trip, a cross-country road adventure, or just need extra sleeping space for guests, building a platform bed for your SUV is a smart, practical solution. Unlike expensive rooftop tents or bulky camping cots, a DIY platform bed fits neatly inside your vehicle’s cargo area, turning it into a comfortable, flat sleeping surface. And the best part? You can build one yourself with basic tools and materials—no professional carpentry skills required.
In this guide, we’ll walk you through the entire process, from measuring your SUV to adding the final touches. You’ll learn how to design a platform that’s sturdy, removable, and tailored to your vehicle. We’ll also share tips on maximizing storage, improving comfort, and ensuring safety. By the end, you’ll have a custom-built platform bed that transforms your SUV into a cozy mobile bedroom—perfect for adventurers, van lifers, or anyone who loves sleeping under the stars.
Why Build a Platform Bed for Your SUV?
Before diving into the build, let’s talk about why a platform bed is such a great idea. First, it’s affordable. A DIY platform costs a fraction of pre-made camping beds or camper conversions. Second, it’s versatile. You can use your SUV for daily driving and still have a ready-to-go sleeping setup for trips. Third, it’s space-efficient. By elevating the sleeping surface, you create valuable storage underneath for gear, clothes, or coolers.
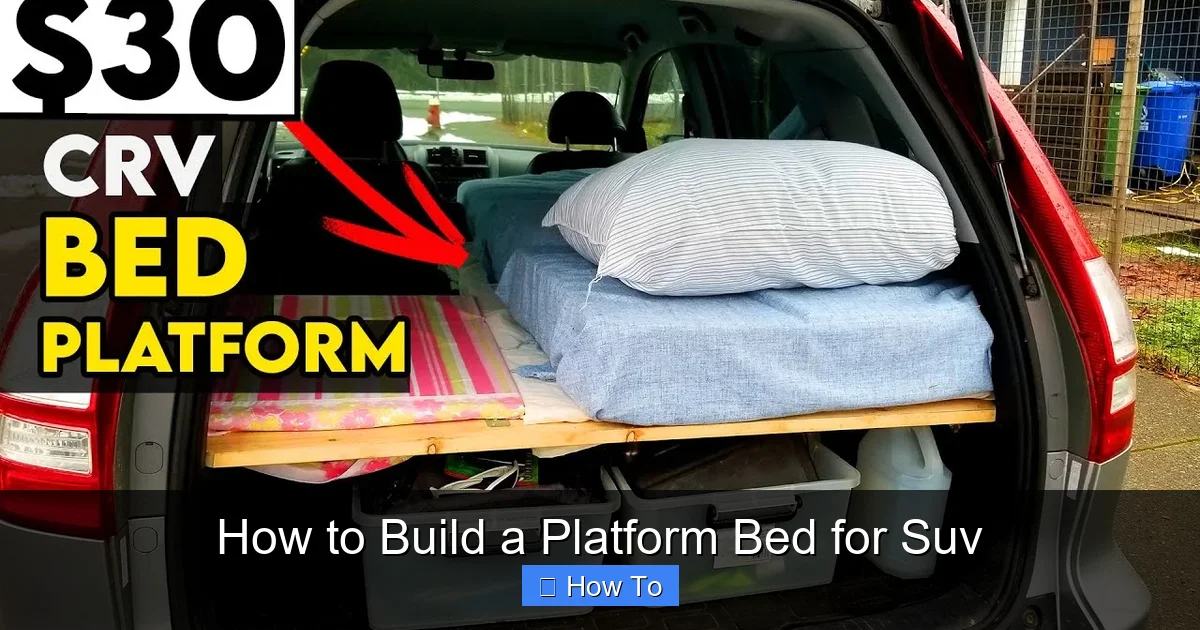
Visual guide about How to Build a Platform Bed for Suv
Image source: i.pinimg.com
Plus, a well-designed platform bed improves comfort. Instead of sleeping on uneven seats or a bumpy floor, you get a flat, stable surface that supports your body. You can even add a mattress or foam pad for extra cushioning. And because it’s removable, you can take it out when you need the full cargo space for hauling furniture, groceries, or luggage.
Tools and Materials You’ll Need
Before you start building, gather all the tools and materials. Having everything ready will save time and prevent frustrating trips to the hardware store mid-project.
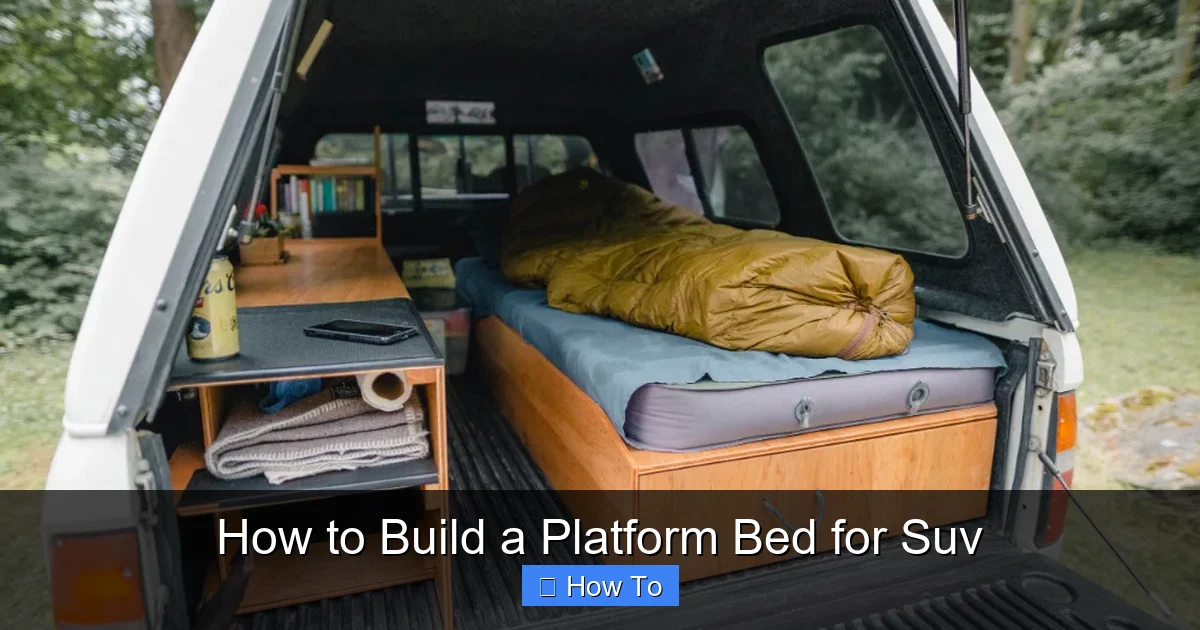
Visual guide about How to Build a Platform Bed for Suv
Image source: i.ytimg.com
Tools
- Tape measure
- Pencil
- Circular saw or jigsaw
- Drill with drill bits
- Screwdriver or impact driver
- Sandpaper or orbital sander
- Level
- Clamps (optional but helpful)
Materials
- 1 sheet of ¾-inch plywood (4’ x 8’ is standard)
- Four 2×4 boards (8 feet long)
- Wood screws (1.5” and 2.5”)
- Wood glue
- Sandpaper (medium and fine grit)
- Paint, stain, or sealant (optional)
- Carpet, fabric, or vinyl flooring (optional, for finishing)
- Foam mattress or sleeping pad (optional, for comfort)
- Drawer slides or storage bins (optional, for under-bed storage)
Most of these items can be found at your local hardware store or home improvement center. If you’re on a budget, check for discounted or damaged plywood—just make sure it’s still structurally sound.
Step 1: Measure Your SUV’s Cargo Area
The key to a successful platform bed is accurate measurements. Every SUV is different, so you can’t rely on generic dimensions. Start by clearing out the cargo area completely. Remove any floor mats, seat belts, or debris that could interfere with your measurements.
Measure the Length, Width, and Height
Use your tape measure to record the following:
- Length: From the back of the rear seats to the tailgate.
- Width: From one side panel to the other, at the widest point.
- Height: From the floor to the bottom of the tailgate opening or any overhead obstruction.
Take measurements at multiple points, especially if your SUV has uneven floors or wheel wells. Note the smallest dimensions—your platform must fit within these limits.
Account for Seat Configuration
Most SUVs have fold-down rear seats. Decide whether you want the platform to sit behind folded seats or span the entire cargo area including the footwells. If you fold the seats, measure the new flat surface. If you keep them up, design the platform to fit around them.
Sketch a Simple Diagram
Draw a rough sketch of your SUV’s cargo area, labeling all measurements. Include wheel wells, seat anchors, and any other obstacles. This visual will help you plan the platform layout and avoid surprises during assembly.
Step 2: Design Your Platform Bed
Now that you have your measurements, it’s time to design the platform. A good design balances strength, weight, and functionality. Most DIYers build a simple rectangular frame with a plywood top, but you can customize it based on your needs.
Choose a Platform Style
There are two main styles:
- Single-Level Platform: A flat surface that spans the entire cargo area. Best for maximizing sleeping space.
- Raised Platform with Storage: Elevated to create space underneath for bins or drawers. Ideal for campers who need gear storage.
For most SUVs, a raised platform is the better choice. It keeps your sleeping area off the cold floor and frees up room for essentials.
Calculate Platform Dimensions
Subtract ½ inch from your length and width measurements to allow for expansion and easy removal. For example, if your cargo area is 60” long and 48” wide, make the platform 59.5” x 47.5”.
Plan the Frame
The frame supports the plywood top and adds rigidity. Use 2x4s to build a rectangular base with cross supports every 16–24 inches. This prevents sagging, especially if you’re using a thinner plywood.
Consider Modularity
To make the platform easier to remove, design it in two or three sections. For example, split a long platform into two halves that connect with hinges or bolts. This is especially helpful in smaller SUVs where maneuvering a single large piece is difficult.
Step 3: Cut the Wood
With your design finalized, it’s time to cut the wood. Safety first—wear safety goggles and work in a well-ventilated area.
Cut the Plywood Top
Using your circular saw and a straight edge guide, cut the plywood to your platform dimensions. If you’re making a multi-section platform, cut it into the planned pieces. Label each piece (e.g., “Left Side,” “Right Side”) to avoid confusion later.
Cut the 2×4 Frame Pieces
Cut four 2x4s to match the length and width of your platform. These will form the outer frame. Then, cut additional 2x4s for cross supports. For a 60” long platform, you might need three cross supports spaced 20” apart.
Sand All Edges
Use sandpaper or an orbital sander to smooth rough edges and corners. This prevents splinters and makes the platform safer to handle.
Step 4: Assemble the Frame
Now it’s time to build the frame. A strong, level frame is essential for a stable sleeping surface.
Lay Out the Frame
Place the four outer 2x4s on a flat surface to form a rectangle. Check that the corners are square using the 3-4-5 method: measure 3 feet along one side, 4 feet along the adjacent side, and ensure the diagonal is 5 feet. Adjust until it’s perfect.
Attach the Corners
Apply wood glue to the ends of the 2x4s, then clamp them together. Drill pilot holes to prevent splitting, then secure with 2.5” wood screws. Use at least two screws per corner.
Add Cross Supports
Position the cross supports inside the frame, spacing them evenly. Glue and screw them into place. Make sure they’re flush with the top of the frame so the plywood sits flat.
Reinforce the Joints
For extra strength, add metal corner brackets at each joint. Screw them into place with the provided screws. This is especially important if you plan to move the platform frequently.
Step 5: Attach the Plywood Top
With the frame complete, it’s time to attach the plywood top.
Position the Plywood
Place the plywood sheet on top of the frame. Make sure it’s centered and overhangs are even on all sides.
Secure with Screws
Drill pilot holes through the plywood into the frame. Use 1.5” wood screws every 6–8 inches along the edges and across the cross supports. Avoid over-tightening, which can warp the wood.
Check for Stability
Lift the platform and gently shake it. It should feel solid with no wobbling. If it flexes, add more cross supports or use thicker plywood.
Step 6: Add Storage (Optional)
One of the biggest advantages of a raised platform is the storage space underneath. Here’s how to make the most of it.
Install Drawer Slides
If you want pull-out drawers, attach drawer slides to the underside of the platform and to matching storage bins. Use heavy-duty slides rated for at least 50 pounds. Measure carefully to ensure smooth operation.
Use Storage Bins
For a simpler solution, place plastic storage bins underneath. Label them for easy access. Choose bins that fit snugly to prevent shifting while driving.
Add a Lifting Mechanism
For heavy loads, consider installing gas struts or hinges that allow the platform to tilt up for access. This is more advanced but very convenient for frequent use.
Step 7: Finish and Customize
A few finishing touches will make your platform bed look great and last longer.
Sand and Seal the Wood
Sand the entire platform with fine-grit sandpaper until smooth. Wipe away dust, then apply a coat of paint, stain, or wood sealant. This protects against moisture and gives a polished look.
Add a Comfort Layer
Place a foam mattress topper, sleeping pad, or folded blanket on top for comfort. Secure it with non-slip rug pads or Velcro strips to prevent sliding.
Cover with Fabric or Carpet
For a cozy feel, glue carpet tiles or outdoor fabric to the plywood top. Use spray adhesive for a secure bond. Trim excess material with a utility knife.
Install Lighting (Optional)
Add LED strip lights underneath or along the edges for nighttime visibility. Use battery-powered or USB-powered lights for easy installation.
Step 8: Install and Test the Platform
Now for the moment of truth—installing your platform bed in the SUV.
Place the Platform
Carefully lower the platform into the cargo area. Make sure it sits flat and doesn’t interfere with seat belts, latches, or the tailgate.
Secure for Safety
Use ratchet straps or bungee cords to anchor the platform to seat anchors or cargo hooks. This prevents shifting during sudden stops or turns.
Test for Comfort and Stability
Lie down on the platform to test comfort. Check for any creaking, flexing, or uneven spots. Make adjustments if needed.
Take a Short Drive
Go for a short test drive to ensure the platform stays in place. Listen for rattling or movement. Re-tighten straps if necessary.
Troubleshooting Common Issues
Even with careful planning, you might run into a few problems. Here’s how to fix them.
Platform Doesn’t Fit
If the platform is too big, remove it and trim the edges with a jigsaw. If it’s too small, add wooden shims or build a larger frame. Always double-check measurements before cutting.
Platform Sags in the Middle
This usually means insufficient cross supports. Add another 2×4 support in the center or use thicker plywood (½-inch instead of ¾-inch may not be enough for long spans).
Difficult to Remove
If the platform is hard to lift out, consider adding handles. Drill two finger holes on the sides or attach small rope handles. Alternatively, switch to a modular design.
Moisture Buildup Underneath
To prevent mold or mildew, add ventilation. Drill small holes in the plywood or leave gaps between sections. Use a breathable mattress topper instead of plastic-covered pads.
Safety Tips
Your platform bed should be safe for both sleeping and driving.
- Never drive with someone on the platform—this is extremely dangerous.
- Always secure the platform when the vehicle is in motion.
- Ensure the platform doesn’t block airbags or seat belt mechanisms.
- Use non-slip materials to prevent sliding during sleep.
- Check local laws—some states have regulations about sleeping in vehicles.
Conclusion
Building a platform bed for your SUV is a rewarding DIY project that enhances your vehicle’s functionality and comfort. With just a few tools and materials, you can create a custom sleeping space that’s perfect for camping, road trips, or unexpected guests. By following this guide, you’ll have a sturdy, removable platform that fits your SUV like a glove.
Remember to measure carefully, build with quality materials, and test your setup before relying on it for long trips. Add storage, comfort, and style to make it truly your own. Whether you’re a weekend warrior or a full-time adventurer, a DIY platform bed opens up a world of possibilities—all from the comfort of your own vehicle.
So grab your tools, clear out your cargo area, and start building. Your next great adventure is just a good night’s sleep away.