
This guide walks you through how to build a roof rack for a SUV using simple tools and materials. You’ll learn safe design, installation, and load tips for a custom, budget-friendly solution.
Key Takeaways
- Measure twice, cut once: Accurate measurements of your SUV’s roof and crossbars ensure a secure, wobble-free fit.
- Use weather-resistant materials: Choose marine-grade plywood, aluminum, or treated steel to prevent rust and warping.
- Prioritize safety and balance: Distribute weight evenly and never exceed your vehicle’s roof load limit (usually 100–165 lbs).
- Seal all wood surfaces: Apply marine varnish or epoxy to protect against rain, snow, and UV damage.
- Test before you travel: Do a short drive at low speed to check for noise, shifting, or loose parts.
- Customize for your needs: Add tie-down points, padding, or modular sections for bikes, kayaks, or cargo boxes.
- Check local laws: Some areas regulate roof rack height, reflectors, or noise—stay compliant.
How to Build a Roof Rack for a SUV
So you’ve got gear to carry—maybe a kayak, camping equipment, or a rooftop cargo box—but you don’t want to spend hundreds on a factory roof rack. The good news? You can build a sturdy, custom roof rack for your SUV at a fraction of the cost. This step-by-step guide will show you exactly how to build a roof rack for a SUV using accessible materials, basic tools, and smart design principles.
Whether you’re a weekend adventurer, a DIY enthusiast, or just looking to save money, this project is totally doable. We’ll cover everything from planning and measuring to assembly, installation, and safety checks. By the end, you’ll have a reliable roof rack that fits your SUV perfectly and handles your gear with confidence.
Let’s get started!
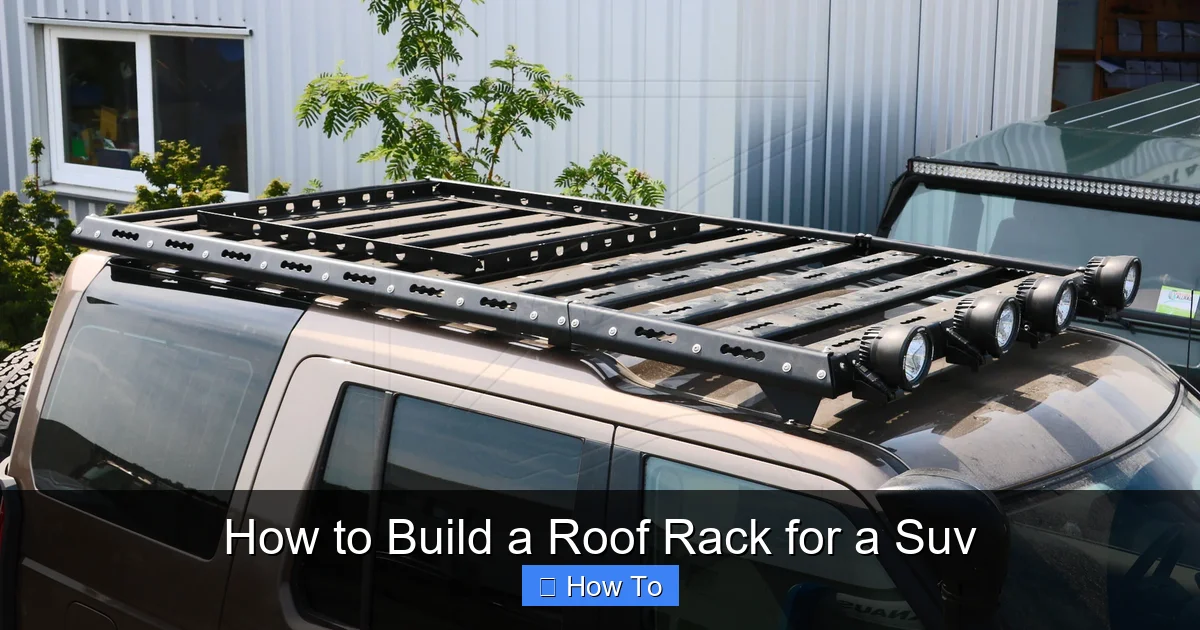
Why Build Your Own Roof Rack?
Visual guide about How to Build a Roof Rack for a Suv
Image source: twigandthistle.com
Before diving into the build, let’s talk about why you might want to make your own roof rack instead of buying one.
First, cost. A high-quality commercial roof rack can run $300 to $800 or more. With a DIY version, you can build one for under $100 using scrap wood, basic hardware, and materials from your local hardware store.
Second, customization. Store-bought racks are one-size-fits-most. But your SUV might have unique roof rails, a curved roofline, or specific gear needs. Building your own lets you tailor the design to your exact requirements—whether that’s extra tie-down points, a wider platform, or a lower profile.
Third, satisfaction. There’s something deeply rewarding about building something with your own hands. Plus, if something breaks, you’ll know exactly how to fix it.
And finally, availability. Sometimes, the exact rack you want isn’t in stock. Building your own ensures you’re not waiting weeks for shipping.
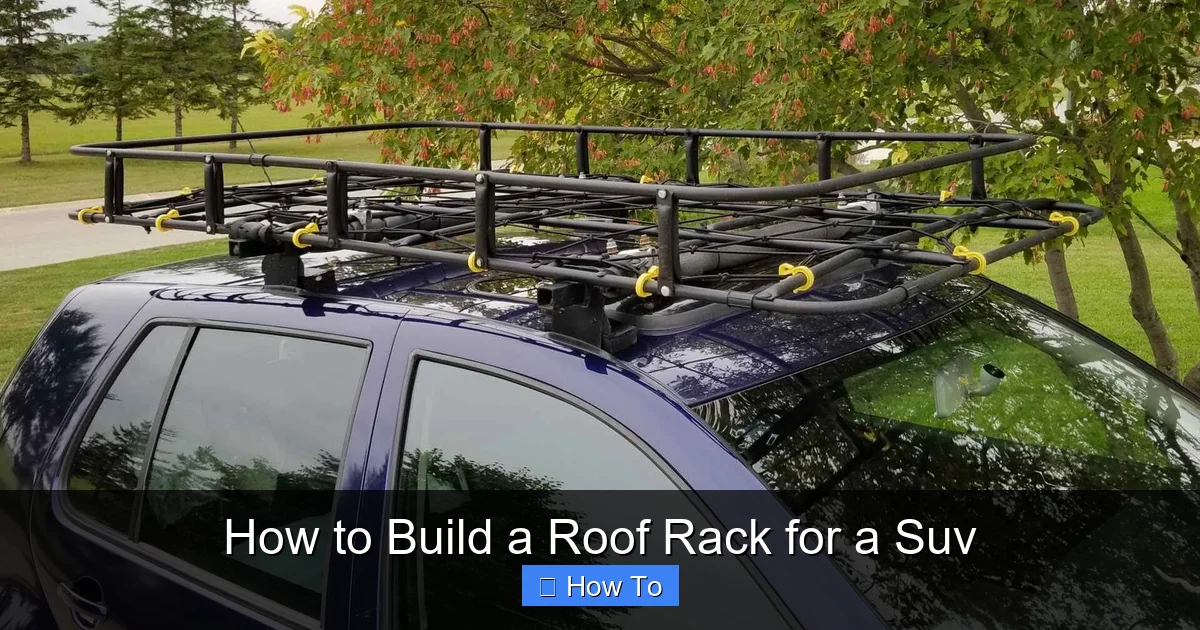
What You’ll Need: Tools and Materials
Visual guide about How to Build a Roof Rack for a Suv
Image source: gtmall.com.au
Let’s gather everything before we begin. Having the right tools and materials on hand will make the process smoother and safer.
Tools
- Tape measure
- Pencil or marker
- Circular saw or jigsaw (for cutting wood)
- Drill with drill bits
- Socket wrench or adjustable wrench
- Sandpaper (medium and fine grit)
- Clamps (optional but helpful)
- Safety goggles and work gloves
Materials
- 1 sheet of ¾-inch marine-grade plywood (4′ x 8′) – this is weather-resistant and strong
- 2 aluminum or steel crossbars (or repurpose old roof rack bars)
- 4 U-bolts or J-bolts (½-inch diameter, long enough to wrap around crossbars)
- 8 flat washers and 8 nuts (matching bolt size)
- Wood screws (1½-inch)
- Waterproof wood glue
- Marine varnish or outdoor-grade polyurethane
- Rubber padding or foam tape (to protect roof and reduce noise)
- Zip ties or bungee cords (for temporary testing)
Optional Upgrades
- Reflective tape (for visibility)
- LED light bar mount (if adding lights)
- Removable side rails (for extra security)
- Non-slip matting (like truck bed liner)
Step 1: Measure Your SUV’s Roof
The foundation of a great roof rack is accurate measurement. A poorly measured rack will wobble, scratch your roof, or even fly off at highway speeds.
Measure the Roof Width and Length
Start by measuring the usable area of your SUV’s roof. Avoid areas near the windshield, rear hatch, or side mirrors—these can interfere with aerodynamics or visibility.
Use your tape measure to find the widest and longest flat section. For most SUVs, this is between the front and rear roof rails (if your vehicle has them). Write down:
– Width (side to side)
– Length (front to back)
– Distance between existing roof rails (if applicable)
Check Roof Load Capacity
Every SUV has a maximum dynamic roof load limit—this is the weight it can safely carry while moving. Check your owner’s manual. Most SUVs range from 100 to 165 pounds.
Never exceed this limit. Your roof rack itself should weigh under 30 pounds to leave room for gear.
Account for Overhang
Your rack should not extend more than 4 inches beyond the sides of your SUV. This prevents accidents and keeps you legal in most states.
Step 2: Design Your Roof Rack
Now that you have measurements, it’s time to sketch your design.
Choose a Style
There are two main types of DIY roof racks:
Platform Rack: A flat, solid surface ideal for boxes, bags, or flat gear. Great for general cargo.
Crossbar Rack: Uses only crossbars with tie-down points. Lighter and more aerodynamic, but less stable for large items.
For most DIYers, a hybrid platform with crossbars is the best balance of strength and versatility.
Sketch the Layout
On paper or using free design software (like SketchUp Free), draw your rack to scale. Include:
– Platform dimensions
– Crossbar placement (usually 24–30 inches apart)
– Tie-down points (at least 4)
– Mounting hardware locations
Plan for Drainage
Water can pool on flat surfaces. Add slight curvature or drill small drainage holes (¼-inch) near the edges to prevent warping.
Step 3: Cut the Wood Platform
Now it’s time to build.
Mark and Cut the Plywood
Lay your plywood on a flat surface. Use your measurements to mark the platform size. For example, a 40″ x 60″ platform works well for mid-size SUVs.
Double-check your marks. Once you cut, there’s no going back.
Use a circular saw with a straight edge guide for clean, straight cuts. If your design has curves, use a jigsaw.
Sand the Edges
Raw plywood edges are rough and can splinter. Use medium-grit sandpaper to smooth all sides, then finish with fine grit for a polished look.
Seal the Wood
This step is critical. Untreated wood will swell, rot, or warp in rain.
Apply 2–3 coats of marine varnish or outdoor polyurethane, sanding lightly between coats. Let it dry completely (usually 24 hours).
Step 4: Attach the Crossbars
Crossbars provide structural support and mounting points.
Position the Crossbars
Place the crossbars on the platform, spaced evenly (about 24–30 inches apart). They should run perpendicular to the length of the SUV.
Mark where the U-bolts will go. Each crossbar needs two U-bolts—one near each end.
Drill Holes for U-Bolts
Drill ½-inch holes where you marked. Make sure they’re aligned so the U-bolts sit flush.
Secure with U-Bolts
Slide the U-bolts through the holes from the top. Place washers and nuts on the underside. Tighten with a wrench until snug—don’t over-tighten, or you’ll crack the wood.
For extra strength, add a dab of waterproof wood glue where the crossbar contacts the platform.
Step 5: Add Tie-Down Points
You’ll need secure spots to fasten your gear.
Install Eye Bolts or D-Rings
Drill holes at each corner and along the sides. Insert eye bolts or D-rings and secure with nuts underneath. Use washers to distribute pressure.
Alternatively, you can screw in heavy-duty tie-down straps with buckles.
Reinforce High-Stress Areas
Add small wooden blocks underneath at tie-down points to prevent the wood from splitting under load.
Step 6: Install Rubber Padding
Protect your SUV’s roof and reduce noise.
Cut Foam or Rubber Strips
Measure the length of your crossbars. Cut rubber padding or foam tape to match.
Attach to Crossbars
Peel and stick the padding to the bottom of each crossbar. This creates a soft barrier between the metal and your roof.
Step 7: Mount the Roof Rack on Your SUV
Now for the moment of truth.
Position the Rack
With a helper, carefully lift the rack onto your SUV’s roof. Center it between the front and rear roof rails (if present).
Secure with Straps or Clamps
If your SUV has factory roof rails, use ratchet straps to secure the rack to the rails. Loop the straps through the crossbars and around the rails.
If you don’t have rails, use soft roof rack straps that go over the roof and hook into door frames. Never drill into your roof!
Check for Movement
Gently push the rack side to side. It should not shift. If it does, tighten the straps or add more padding.
Step 8: Test and Fine-Tune
Before hitting the highway, do a thorough test.
Short Drive Test
Drive slowly (under 30 mph) for 5–10 minutes. Listen for rattling, whistling, or shifting.
Check for Noise
Wind noise is common with roof racks. If it’s excessive, add more padding or adjust the angle of the platform.
Inspect After Driving
Check all bolts, straps, and tie-downs. Tighten anything that loosened.
Safety Tips and Best Practices
Building a roof rack is only half the battle—using it safely is just as important.
Never Exceed Weight Limits
Remember: your SUV’s roof load limit includes the rack and all gear. A 150-pound limit means your 25-pound rack leaves only 125 pounds for cargo.
Distribute Weight Evenly
Place heavy items in the center, low and flat. Avoid stacking too high—this raises the center of gravity and increases rollover risk.
Secure All Gear
Use ratchet straps, not just bungee cords. Bungees can snap or loosen over time.
Check Regularly
Inspect your rack before every trip. Look for cracks, loose bolts, or worn straps.
Remove When Not in Use
Leaving the rack on increases wind resistance, reduces fuel economy, and exposes it to weather damage.
Troubleshooting Common Issues
Even the best builds can have hiccups. Here’s how to fix common problems.
Rack Wobbles or Shifts
Cause: Loose straps or uneven padding.
Solution: Tighten all connections. Add more rubber padding under crossbars.
Excessive Wind Noise
Cause: Flat platform creating turbulence.
Solution: Add a front fairing (a small angled piece at the front) or switch to a mesh design.
Wood Swelling or Cracking
Cause: Inadequate sealing.
Solution: Sand and reapply marine varnish. Consider switching to aluminum or composite materials next time.
Scratches on Roof
Cause: Metal crossbars touching paint.
Solution: Add thicker rubber padding or use foam pipe insulation.
Customization Ideas
Once your basic rack is working, consider upgrades.
Add Side Rails
Attach 6-inch wooden or aluminum rails to the sides to prevent gear from sliding off.
Install a Cargo Net
Stretch a heavy-duty net over the platform for loose items like camping gear.
Mount a Light Bar
Drill holes and wire an LED light bar for off-road visibility (check local laws).
Make It Modular
Design removable sections so you can switch between a full platform and crossbars-only setup.
Conclusion
Building a roof rack for your SUV is a smart, cost-effective way to expand your vehicle’s cargo capacity. With careful planning, quality materials, and attention to safety, you can create a custom solution that outperforms store-bought options—and costs a fraction of the price.
This project teaches valuable skills: measuring, cutting, sealing, and securing. Plus, you’ll gain confidence in your ability to modify and maintain your vehicle.
Remember, the key to a successful DIY roof rack is how to build a roof rack for a SUV the right way—prioritizing safety, balance, and durability. Take your time, follow the steps, and always test before you travel.
Now get out there, load up your gear, and hit the road with confidence. Your adventure starts with a well-built roof rack.