
Building an SUV storage box is a smart, cost-effective way to organize gear, protect valuables, and maximize cargo space. This guide walks you through every step—from planning and measuring to cutting, assembling, and installing your custom storage solution—using simple tools and affordable materials.
Key Takeaways
- Measure your SUV’s cargo area accurately to ensure a perfect fit and avoid wasted materials.
- Use durable, lightweight materials like plywood or plastic bins for strength without added bulk.
- Design with modularity in mind so you can reconfigure compartments as your needs change.
- Include ventilation and drainage if storing damp or outdoor gear to prevent mold and odors.
- Secure the box properly using straps, anchors, or brackets to prevent shifting during drives.
- Personalize with labels, dividers, or foam padding for better organization and protection of items.
- Test the build before final installation to catch any issues early and ensure safety and functionality.
Introduction: Why Build an SUV Storage Box?
If you’ve ever struggled to find your jumper cables in a cluttered SUV trunk or worried about groceries rolling around during a sharp turn, you’re not alone. SUVs offer great space, but without smart organization, that space quickly becomes chaotic. That’s where a custom-built SUV storage box comes in.
Whether you’re a weekend camper, a parent shuttling kids to sports, or a contractor hauling tools, a well-designed storage box can transform your vehicle’s cargo area into a tidy, efficient system. Unlike expensive pre-made organizers, a DIY storage box lets you tailor the design to your exact needs—whether that’s deep bins for boots, shallow trays for electronics, or lockable compartments for valuables.
In this guide, we’ll walk you through the entire process of building a sturdy, functional, and stylish SUV storage box. You’ll learn how to measure your space, choose the right materials, cut and assemble the box, and install it safely. No fancy workshop or advanced skills required—just basic tools, a little patience, and this step-by-step plan.
Step 1: Plan Your Design
Before you buy a single screw or sheet of wood, take time to plan your storage box. A good design saves time, money, and frustration down the road.
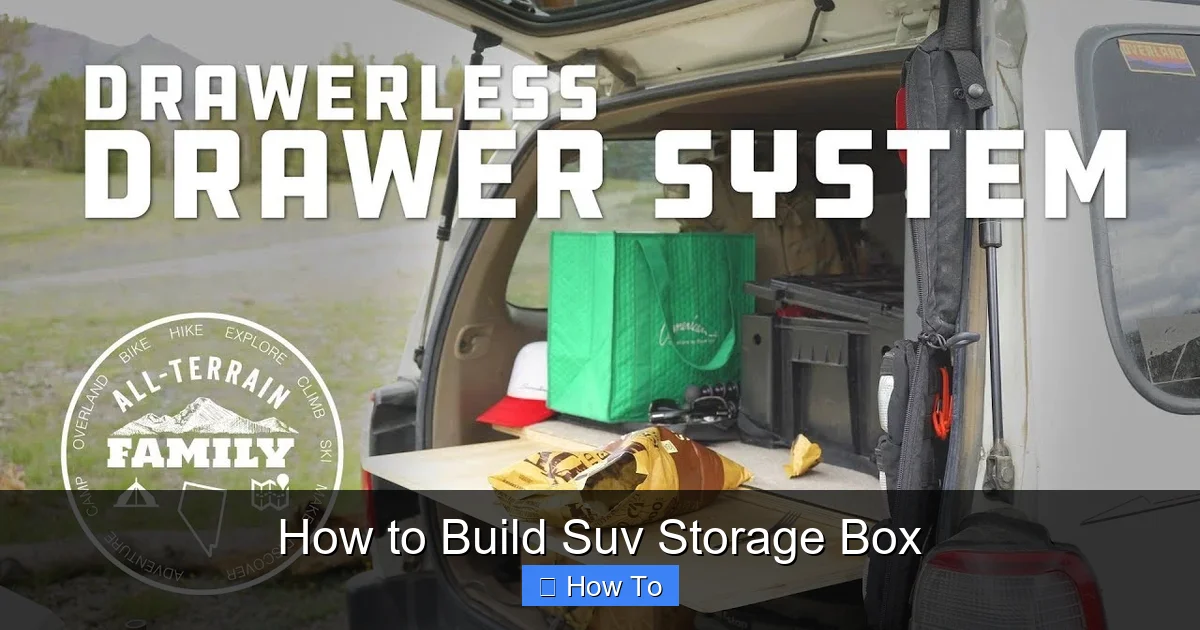
Visual guide about How to Build Suv Storage Box
Image source: s3.amazonaws.com
Measure Your SUV’s Cargo Area
Grab a tape measure and head to your vehicle. Measure the width, depth, and height of the cargo space with the rear seats up or down, depending on how you usually use the area. Don’t forget to account for wheel wells, spare tire compartments, or built-in storage bins—these can limit your box’s dimensions.
Pro tip: Take photos and sketch a rough layout. Note where seat belts, hooks, or cargo anchors are located—you may want to use these for securing your box later.
Decide on Box Type and Configuration
There are three main types of SUV storage boxes:
- Full-width box: Spans the entire cargo floor, ideal for large items like coolers or toolboxes.
- Modular system: Multiple smaller bins that can be rearranged or removed as needed.
- Lift-top or drawer-style: Offers easy access without unloading everything on top.
Think about what you carry most often. If you frequently transport sports gear, a modular system with labeled bins works well. For road trips, a lift-top box with padded compartments protects fragile items.
Choose Your Materials
The material you choose affects durability, weight, and cost. Here are the most common options:
- 3/4-inch plywood: Strong and affordable, great for permanent builds. Use birch or maple for a clean finish.
- 1/2-inch plywood: Lighter but still sturdy—ideal if you want to move the box often.
- Plastic storage bins: Lightweight, waterproof, and easy to clean. Perfect for a no-cut solution.
- MDF (medium-density fiberboard): Smooth surface but heavier and prone to water damage—avoid unless sealed.
- Aluminum or composite panels: Light and rust-proof, but more expensive and harder to work with.
For most DIYers, 3/4-inch plywood offers the best balance of strength and ease of use.
Step 2: Gather Tools and Materials
Once your design is ready, it’s time to gather what you need. Here’s a complete checklist:
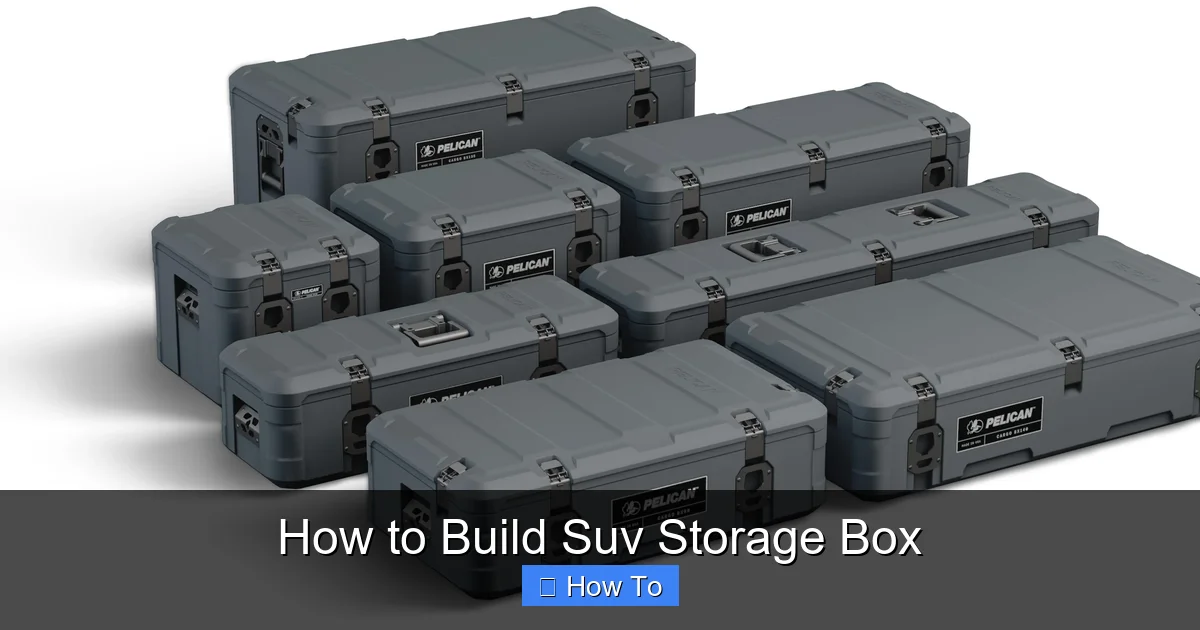
Visual guide about How to Build Suv Storage Box
Image source: truckvault.com
Tools
- Tape measure
- Pencil and straightedge
- Circular saw or jigsaw
- Drill with drill bits
- Screwdriver or impact driver
- Sandpaper (120 and 220 grit)
- Clamps (optional but helpful)
- Safety gear: gloves, goggles, dust mask
Materials
- Plywood (size depends on your design)
- Wood screws (1 1/4-inch or 1 1/2-inch)
- Wood glue
- Hinges (if building a lift-top)
- Drawer slides (for drawer-style boxes)
- Weather stripping or foam tape (for cushioning)
- Paint, stain, or sealant (optional)
- Velcro straps, bungee cords, or cargo anchors (for securing the box)
Most of these items are available at hardware stores like Home Depot or Lowe’s. If you’re on a budget, check for plywood remnants or recycled bins.
Step 3: Cut the Pieces
Now comes the fun part—cutting your materials to size. Accuracy here ensures a snug fit and professional look.
Mark and Measure
Transfer your measurements to the plywood using a pencil and straightedge. Double-check each dimension before cutting. Label each piece (e.g., “front,” “back,” “side”) to avoid confusion later.
Cut with Care
Use a circular saw with a fine-tooth blade for clean cuts. If you don’t have one, most hardware stores offer cutting services for a small fee. For curved edges or small adjustments, a jigsaw works well.
Safety first: Wear goggles and a dust mask, and secure the wood with clamps or have a helper hold it steady.
Sand the Edges
After cutting, smooth all edges with sandpaper. Rough edges can splinter and make assembly harder. Start with 120-grit to remove splinters, then finish with 220-grit for a smooth surface.
Pro tip: Round the top corners slightly—this prevents snagging on clothes or gear and gives a more finished look.
Step 4: Assemble the Box
With all pieces cut and sanded, it’s time to build your storage box. Follow these steps for a strong, stable structure.
Apply Wood Glue
Apply a thin, even layer of wood glue to the edges where pieces will join. Glue adds strength and helps prevent squeaks.
Clamp and Screw
Hold the pieces together with clamps, then drill pilot holes to prevent splitting. Insert screws every 6 to 8 inches along the joints. Countersink the screws slightly so they sit flush with the surface.
For extra strength, use corner brackets on the inside corners—especially if the box will hold heavy items.
Reinforce the Bottom
The bottom panel takes the most weight. If using 1/2-inch plywood, consider doubling it up or adding a center support beam. Screw the bottom into the sides and front/back panels securely.
Add Dividers or Shelves (Optional)
If your design includes compartments, measure and cut divider panels. Attach them with screws or use removable brackets for flexibility. For adjustable shelves, install shelf pins or wooden cleats at different heights.
Step 5: Customize and Finish
Now that your box is assembled, it’s time to make it functional and stylish.
Add a Lid or Drawers
If building a lift-top box, attach hinges to the back edge of the lid and the top rear of the box. Use soft-close hinges to prevent slamming. For drawer-style boxes, install full-extension drawer slides and cut drawer fronts to match.
Install Ventilation and Drainage
If you plan to store wet gear like hiking boots or swimwear, drill small holes in the bottom for drainage and add ventilation slots along the sides. Cover holes with mesh to keep debris out.
Line with Foam or Carpet
Protect your gear and reduce noise by lining the interior with foam padding, carpet remnants, or non-slip shelf liner. Use adhesive spray to attach it securely.
Paint or Seal
Apply a coat of paint, stain, or polyurethane to protect the wood and match your SUV’s interior. Use a brush or spray for even coverage. Let it dry completely before use.
Add Labels and Handles
Label compartments with a label maker or vinyl stickers. Install small handles or knobs on drawers and lids for easy opening. Use recessed handles to save space.
Step 6: Install and Secure the Box
A great storage box is useless if it slides around during driving. Proper installation keeps you and your cargo safe.
Test Fit in Your SUV
Place the box in your cargo area to ensure it fits snugly. Check for clearance when opening the tailgate or folding seats. Make adjustments if needed.
Secure with Straps or Anchors
Use cargo straps hooked to your SUV’s built-in anchor points to tie down the box. For extra security, install L-brackets to bolt the box to the floor (only if your vehicle allows it and you’re comfortable drilling).
Alternative: Use non-slip mats under the box to prevent sliding. Heavy-duty rubber mats work well.
Test Drive
Take a short drive over bumps and around corners to see how the box performs. Listen for rattling or shifting. Tighten straps or add padding as needed.
Troubleshooting Common Issues
Even with careful planning, problems can arise. Here’s how to fix the most common ones:
Box Doesn’t Fit
If the box is too wide, check for wheel well interference. Trim the sides slightly or design around the wells. If too tall, lower the height or remove the lid temporarily.
Wobbly or Weak Structure
Add cross braces inside the box or use thicker plywood. Reinforce corners with metal brackets.
Difficult to Open or Close
Adjust hinges or drawer slides. Ensure the box isn’t warped—store plywood flat before cutting.
Scratches or Damage to SUV Interior
Line the bottom and sides of the box with felt or rubber. Avoid metal brackets that contact the carpet or trim.
Moisture or Odor Buildup
Improve ventilation and use moisture-absorbing products like silica gel packs. Clean the box regularly.
Conclusion: Enjoy Your Custom SUV Storage Solution
Building an SUV storage box is a rewarding project that pays off every time you hit the road. Not only does it keep your gear organized and protected, but it also adds value to your vehicle and saves money compared to store-bought organizers.
By following this guide, you’ve created a solution tailored to your lifestyle—whether that’s camping trips, family errands, or work commutes. With a little creativity, your storage box can evolve over time: add new dividers, swap out bins, or paint it a new color to match your mood.
Remember, the best storage system is one you actually use. So keep it simple, keep it secure, and keep it organized. Now go enjoy that clutter-free cargo space!