
This guide walks you through how to carry a bike in an SUV using various methods, from roof racks to hitch mounts and interior setups. Whether you’re a weekend warrior or a daily commuter, you’ll find practical, safe, and space-saving solutions tailored to your vehicle and lifestyle.
Key Takeaways
- Choose the right bike rack: Match the rack type—roof, hitch, trunk, or interior—to your SUV’s design and your biking needs.
- Measure your SUV and bike: Ensure your vehicle has enough space and weight capacity before loading.
- Secure the bike properly: Use straps, locks, and padding to prevent damage and ensure safety during transit.
- Protect your SUV’s interior: Use mats, towels, or bike bags to avoid scratches and dirt when carrying bikes inside.
- Check local laws and visibility: Some states require lights or flags on rear-mounted racks; always ensure your license plate and taillights are visible.
- Test drive after loading: Take a short drive to check for wobbling, noise, or shifting before hitting the road.
- Maintain your rack and bike: Regularly inspect straps, bolts, and bike components to ensure long-term safety and performance.
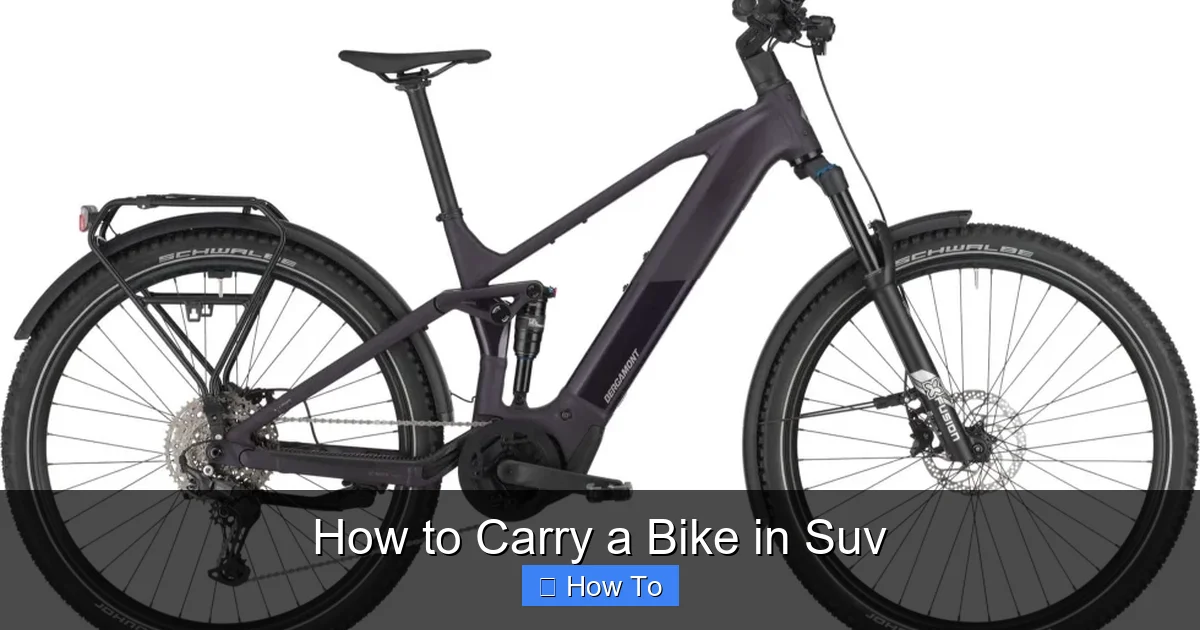
How to Carry a Bike in an SUV: A Complete Step-by-Step Guide
Whether you’re heading to the mountains for a weekend trail ride, transporting your child’s bike to soccer practice, or simply need to move your bicycle across town, knowing how to carry a bike in an SUV safely and efficiently is essential. SUVs offer versatile cargo space, but without the right setup, transporting a bike can lead to damage—to your vehicle, your bike, or even other drivers on the road.
This comprehensive guide will walk you through every method of carrying a bike in an SUV, from using roof racks and hitch-mounted carriers to loading bikes inside the cabin. You’ll learn how to choose the best option for your vehicle, prepare your bike and SUV, secure everything properly, and avoid common mistakes. By the end, you’ll be confident in transporting your bike—whether it’s a lightweight road bike, a rugged mountain bike, or a kid’s cruiser.
Let’s get rolling.
Understanding Your Options: Types of Bike Carriers for SUVs
Visual guide about How to Carry a Bike in Suv
Image source: nomadicsupply.com
Before you load up, it’s important to understand the different ways you can carry a bike in or on your SUV. Each method has pros and cons, and the best choice depends on your SUV model, how many bikes you’re carrying, your budget, and how often you transport bikes.
1. Roof-Mounted Bike Racks
Roof racks attach to the crossbars on top of your SUV and allow you to carry one or more bikes above the vehicle. They’re popular because they don’t block access to the rear hatch and keep the bikes out of the way.
Pros:
– Keeps the rear of the SUV clear for passengers or cargo.
– Great for frequent use—once installed, loading is quick.
– Works well for multiple bikes (with additional mounts).
Cons:
– Requires lifting the bike overhead, which can be difficult for heavier bikes or taller SUVs.
– Increases vehicle height, which may be an issue in low-clearance areas like parking garages.
– Can reduce fuel efficiency due to wind resistance.
Best for: SUVs with existing roof rails or crossbars, and users who transport bikes regularly.
2. Hitch-Mounted Bike Racks
These racks attach to a trailer hitch receiver (usually 1.25” or 2”) at the rear of the SUV. They’re among the most popular options because they’re easy to load and unload.
Pros:
– Easy to load—no lifting over your head.
– Stable and secure, especially platform-style racks that hold the bike by the wheels.
– Many models tilt or fold down for access to the rear hatch.
Cons:
– Blocks rear visibility and access to the trunk when in use.
– May require a hitch installation if your SUV doesn’t have one.
– Can be expensive, especially for high-capacity or premium models.
Best for: SUVs with a hitch, families, or those carrying multiple bikes.
3. Trunk-Mounted Bike Racks
These racks strap onto the rear hatch or trunk of your SUV using hooks and straps. They’re usually the most affordable option and don’t require any permanent installation.
Pros:
– Inexpensive and easy to install.
– No need for a hitch or roof rails.
– Great for occasional use.
Cons:
– Can scratch or damage the SUV’s paint if not padded properly.
– Less stable than hitch or roof racks—bikes may wobble.
– Blocks taillights and license plate, which may be illegal in some areas.
Best for: Budget-conscious users or those who only transport bikes occasionally.
4. Interior Bike Transport
Some SUVs have enough cargo space to carry bikes inside—either upright, laid flat, or with the front wheel removed. This method protects the bike from weather and theft but takes up passenger or cargo room.
Pros:
– Full protection from rain, dirt, and road debris.
– No risk of theft if the SUV is locked.
– No external modifications needed.
Cons:
– Takes up significant interior space.
– Risk of scratching seats or interior panels.
– May require removing wheels or seats.
Best for: Short trips, valuable bikes, or SUVs with large cargo areas like the Honda Pilot or Toyota Highlander.
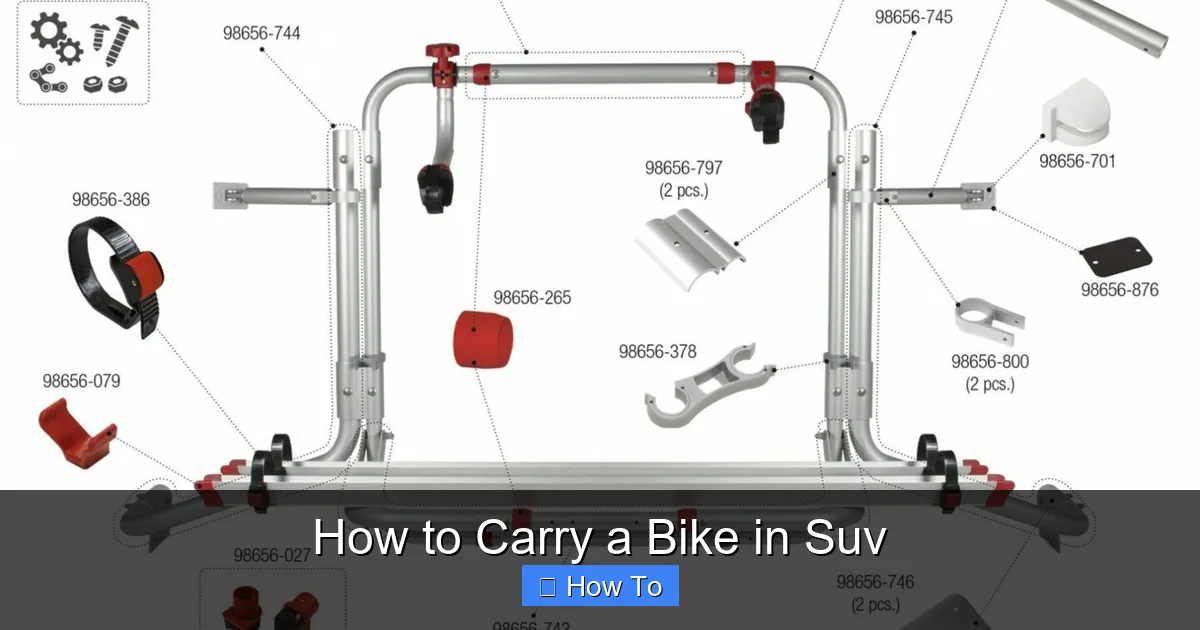
Step-by-Step: How to Carry a Bike in an SUV Using a Hitch Rack
Visual guide about How to Carry a Bike in Suv
Image source: edelkueche.com
Hitch-mounted racks are one of the most user-friendly and secure options. Here’s how to use one safely and effectively.
Step 1: Install the Hitch (If Needed)
If your SUV doesn’t have a hitch, you’ll need to install one. Most SUVs can accommodate a Class I, II, or III hitch, depending on towing capacity. Visit a local auto shop or use a DIY kit—many are bolt-on and don’t require welding.
Tip: Choose a 2” receiver for heavier loads or multiple bikes. A 1.25” receiver works for lighter setups.
Step 2: Choose the Right Hitch Rack
There are two main types of hitch racks:
– Platform racks: Hold the bike by the wheels, keeping the frame elevated and secure. Best for carbon frames or expensive bikes.
– Hanging racks: Support the bike by the top tube. More affordable but can cause frame stress over time.
Look for features like:
– Tilt-away design for hatch access
– Integrated locks
– Padded contact points
– Weight capacity (most hold 2–4 bikes)
Popular brands include Thule, Yakima, Kuat, and Saris.
Step 3: Install the Rack
1. Slide the rack into the hitch receiver.
2. Secure it with the included hitch pin and tighten the anti-wobble bolt or knob.
3. Ensure the rack is level and doesn’t wobble. A loose rack can damage your bike or SUV.
Safety Tip: Always double-check that the rack is fully secured before loading bikes.
Step 4: Prepare the Bike
– Remove any loose accessories (water bottles, bike computers, saddlebags).
– Shift into the smallest chainring and rear cog to prevent drivetrain damage.
– If using a hanging rack, ensure the top tube is clean and dry to avoid scratches.
Step 5: Load the Bike
For platform racks:
1. Lift the bike and place the wheels into the wheel trays.
2. Secure the wheels with ratchet straps or clamps.
3. Use a frame strap (if provided) to prevent side-to-side movement.
For hanging racks:
1. Lift the bike and hook the top tube onto the rack’s arms.
2. Secure the wheels with straps to prevent swaying.
3. Use a secondary strap around the seat post and rack for extra stability.
Step 6: Secure and Lock
– Tighten all straps until the bike doesn’t move.
– Use a cable lock to secure the bike to the rack (many racks include one).
– Lock the rack to the hitch if it has a built-in lock.
Step 7: Final Check
– Ensure the bike doesn’t block taillights, brake lights, or the license plate.
– If it does, use a flag or auxiliary light kit (required in some states).
– Give the bike a firm shake—it shouldn’t move more than an inch.
How to Carry a Bike Inside an SUV
If you prefer to keep your bike protected from the elements, carrying it inside your SUV is a great option—especially for high-end bikes or short trips.
Step 1: Clear the Cargo Area
Remove any loose items from the back of your SUV. Fold down rear seats if needed (most SUVs have 60/40 or 40/60 split-folding seats).
Tip: Use a cargo mat or old blanket to protect the floor from dirt and scratches.
Step 2: Prepare the Bike
– Remove the front wheel (most quick-release or thru-axle wheels can be removed in seconds).
– Lower or remove the seat post if space is tight.
– Deflate the tires slightly to prevent pressure changes during transport.
Step 3: Position the Bike
There are a few ways to position the bike:
– Laid flat: Place the bike on its side in the cargo area. Use foam pipe insulation or towels to protect the frame.
– Upright: Stand the bike vertically using a bike stand or by leaning it against the seatbacks. Secure with bungee cords or straps.
– Wheel wells: Some SUVs have deep wheel wells—place the rear wheel in one and the front (removed) wheel in the other.
Step 4: Secure the Bike
Use ratchet straps or bungee cords to anchor the bike to anchor points (like seat bolts or cargo hooks). Avoid tying directly to painted surfaces.
Pro Tip: Place a towel between the bike and any hard surfaces to prevent scratches.
Step 5: Protect Passengers and Cargo
If passengers are riding in the back, ensure the bike doesn’t shift and cause injury. Use a cargo barrier or net if available.
Roof Rack Installation and Use
Roof racks are ideal for frequent riders who want to keep their SUV’s rear clear.
Step 1: Install Roof Rails or Crossbars
Most SUVs come with roof rails, but you may need to add crossbars. Brands like Thule and Yakima offer universal or vehicle-specific kits.
1. Attach the foot pads to the roof rails.
2. Slide the crossbars into place and tighten the clamps.
3. Ensure the bars are level and secure.
Safety Note: Never exceed the roof’s dynamic weight limit (usually 100–165 lbs). Check your owner’s manual.
Step 2: Attach Bike Mounts
Bike mounts clamp onto the crossbars. Options include:
– Fork-mount: Requires removing the front wheel.
– Frame-mount: Clamps to the top tube.
– Wheel-mount: Holds the bike by the wheels (easiest for quick loading).
Step 3: Load the Bike
1. Lift the bike onto the roof (use a step stool if needed).
2. Secure the wheels or frame according to the mount type.
3. Tighten all clamps and straps.
Tip: Load the heaviest bike closest to the front of the vehicle for better balance.
Step 4: Final Checks
– Ensure the bike doesn’t extend beyond the front or rear of the SUV.
– Check that all straps are tight and nothing is loose.
– Drive slowly at first to test stability.
Trunk Rack Setup and Safety
Trunk racks are a budget-friendly option, but they require extra care to avoid damage.
Step 1: Position the Rack
1. Place the rack on the rear hatch, centered over the license plate.
2. Attach the upper hooks to the top edge of the hatch.
3. Secure the lower hooks to the bumper or under the lip of the trunk.
Step 2: Pad All Contact Points
Use foam pads or towels between the rack and your SUV to prevent scratches. Never let metal touch paint.
Step 3: Load and Secure the Bike
– Load the bike as you would with a hitch rack.
– Use additional straps to stabilize the bike and prevent swaying.
Step 4: Check Visibility
Ensure the bike doesn’t block lights or the license plate. If it does, use a red flag or auxiliary light.
Troubleshooting Common Issues
Even with the best setup, problems can arise. Here’s how to handle them.
Bike Wobbles While Driving
Cause: Loose straps, unbalanced load, or poor rack installation.
Fix:
– Stop and retighten all straps.
– Redistribute weight if carrying multiple bikes.
– Check that the rack is fully secured to the hitch or roof.
Rack Scratches the SUV
Cause: Metal-on-metal contact or lack of padding.
Fix:
– Always use foam pads or towels.
– Choose racks with rubberized contact points.
– Avoid trunk racks on vehicles with delicate paint.
Bike Damaged During Transport
Cause: Frame contact, loose parts, or improper securing.
Fix:
– Use frame protectors or socks.
– Remove loose accessories.
– Prefer wheel-based racks over frame clamps.
Reduced Fuel Efficiency
Cause: Roof racks create wind resistance.
Fix:
– Remove the rack when not in use.
– Use aerodynamic bike mounts.
– Drive at moderate speeds.
Tips for Safe and Efficient Bike Transport
– Plan ahead: Know your route and check for low bridges or narrow roads if using a roof rack.
– Use lights and flags: If your bike blocks taillights, add a light kit or red flag for visibility.
– Inspect regularly: Check straps, bolts, and bike condition before and after each trip.
– Lock it up: Always use a bike lock, even for short stops.
– Clean your bike: Remove mud and debris before loading to protect your SUV’s interior.
Conclusion
Learning how to carry a bike in an SUV doesn’t have to be complicated. With the right rack, a little preparation, and attention to safety, you can transport your bike securely and confidently—whether you’re heading to the trailhead or across the country.
From hitch-mounted platforms to interior setups, each method has its place. Choose the one that fits your SUV, your bike, and your lifestyle. Remember to measure, secure, and inspect every time. A little effort upfront saves you from damage, stress, and potential accidents down the road.
Now that you’re equipped with the knowledge and steps, it’s time to hit the road—bike in tow, adventure ahead.