
Learn how to carry kayaks on SUV safely and efficiently with this complete guide. From choosing the right roof rack to securing your kayak properly, we cover everything you need for a smooth, secure trip to the water.
Key Takeaways
- Choose the right roof rack system: A quality roof rack is essential for safe kayak transport. Look for crossbars that match your SUV’s make and model, and ensure they’re rated for the weight of your kayak.
- Use proper kayak carriers: J-style, saddle, or stacker carriers help stabilize your kayak and reduce wind resistance. Pick one that fits your kayak shape and roof setup.
- Secure your kayak with strong straps: Always use cam straps or ratchet straps with buckle protectors. Tie down both the front and back with bow and stern lines for extra safety.
- Load and unload carefully: Use a step stool, kayak loader, or ask for help to avoid injury. Lift with your legs, not your back, and center the kayak on the rack.
- Check local laws and weight limits: Some areas have rules about overhanging loads. Also, never exceed your SUV’s roof weight capacity—usually 100–165 lbs.
- Inspect before every trip: Check straps, racks, and tie-downs for wear or looseness. A quick 30-second check can prevent accidents.
- Drive cautiously: Kayaks create wind resistance and can affect handling. Reduce speed, avoid sudden moves, and allow extra stopping distance.
How to Carry Kayaks on SUV: A Complete Step-by-Step Guide
So you’ve got your kayak, your paddle, and your sense of adventure—now you just need to get it to the water. But how do you safely carry a kayak on your SUV without damaging your vehicle, your gear, or yourself? Whether you’re a weekend warrior or a seasoned paddler, transporting a kayak can feel intimidating if you’re new to it. The good news? With the right gear, a few simple steps, and a bit of practice, you can load, secure, and transport your kayak like a pro.
In this guide, we’ll walk you through everything you need to know about how to carry kayaks on SUV. From choosing the right roof rack to strapping down your kayak securely, we’ll cover all the essentials. You’ll learn about different carrier types, safety tips, loading techniques, and even how to drive safely with a kayak on top. By the end, you’ll feel confident hitting the road—no matter where your next paddling adventure takes you.
Why Proper Kayak Transport Matters
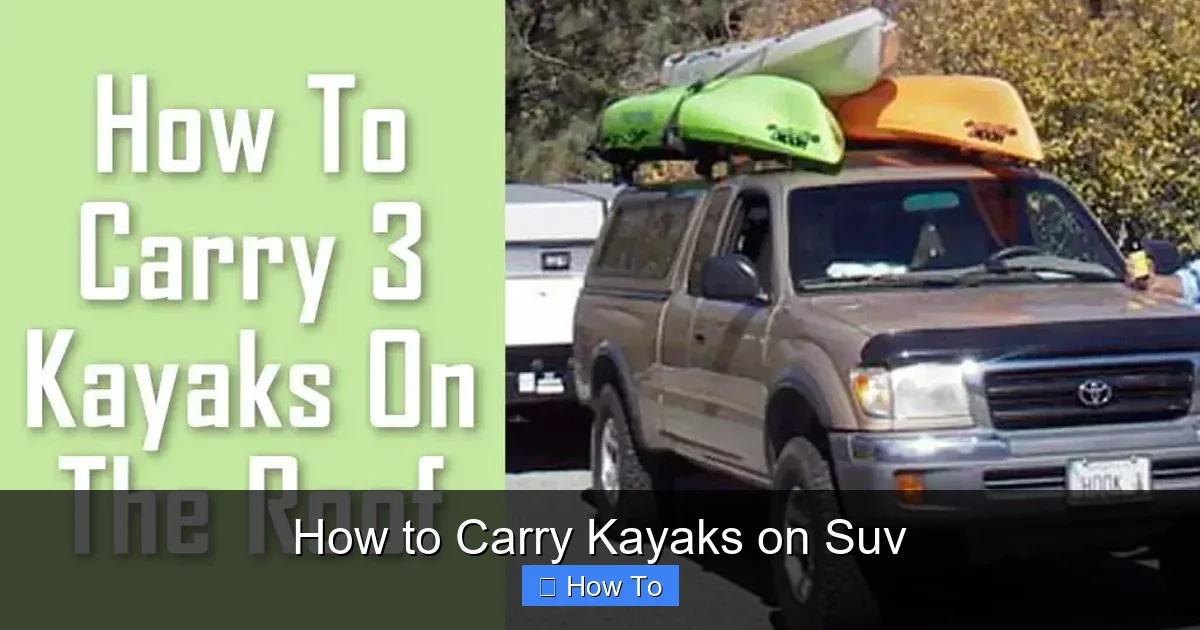
Visual guide about How to Carry Kayaks on Suv
Image source: i.ytimg.com
Before we dive into the how-to, let’s talk about why this matters. A poorly secured kayak isn’t just a risk to your gear—it’s a danger to other drivers, your SUV, and even yourself. Loose straps, unbalanced loads, or incorrect rack setups can lead to accidents, damage, or fines. Plus, a kayak flying off your roof at highway speeds is a nightmare scenario no one wants to experience.
On the flip side, when done right, carrying a kayak on your SUV is safe, efficient, and opens up endless possibilities for exploration. Whether you’re heading to a calm lake, a rushing river, or the open ocean, proper transport ensures your gear arrives in one piece and ready to use.
Step 1: Choose the Right Roof Rack System
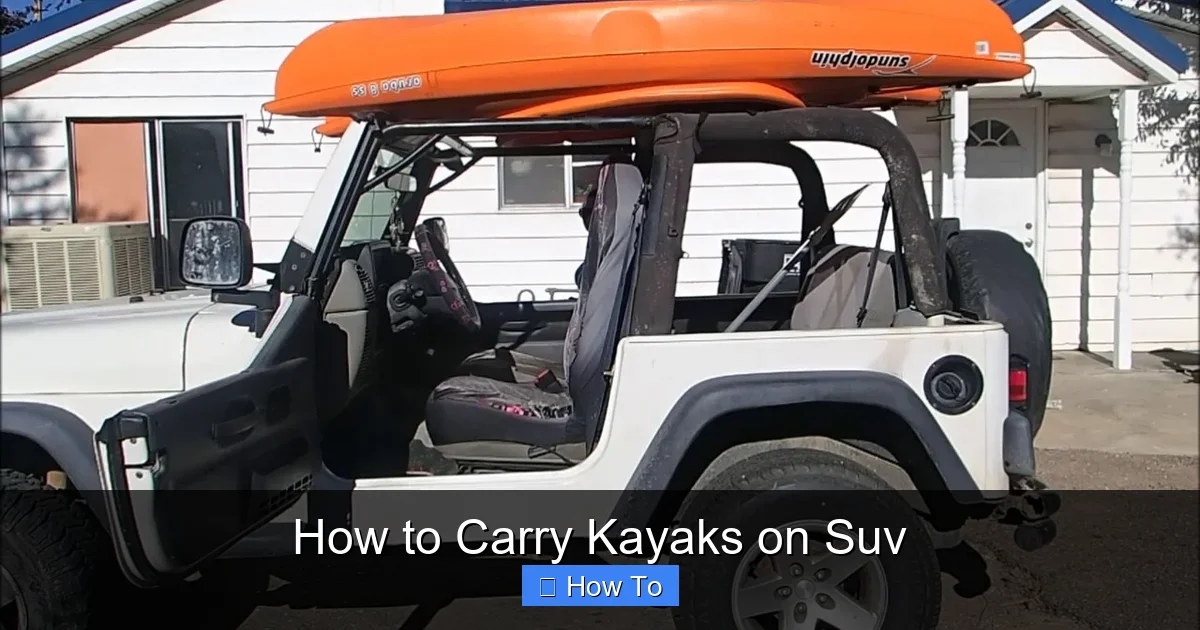
Visual guide about How to Carry Kayaks on Suv
Image source: rvandplaya.com
The foundation of safe kayak transport is a solid roof rack. Without it, you’re relying on makeshift solutions that are unsafe and unreliable. Your SUV likely came with factory-installed roof rails or mounting points, but you’ll need crossbars to create a stable platform.
Check Your SUV’s Roof Rails
Most modern SUVs come with roof rails—those raised bars running front to back along the roof. These are great because they provide built-in attachment points. However, rails alone aren’t enough. You need crossbars that span the width of your vehicle and attach to the rails.
If your SUV doesn’t have rails, don’t worry. Many models have hidden mounting points under plastic caps along the roof’s edge. These allow you to install flush-mounted or clamp-on crossbars.
Select Compatible Crossbars
Not all crossbars are created equal. You’ll want ones that are:
– Compatible with your SUV’s make, model, and year
– Rated for the weight of your kayak (typically 100–165 lbs total)
– Made from durable materials like aluminum or steel
– Easy to install and remove
Popular brands like Thule, Yakima, and Rhino-Rack offer vehicle-specific crossbar kits. These often include all the hardware and instructions you need. For example, a Thule WingBar Evo is aerodynamic, quiet, and strong—perfect for frequent kayakers.
Consider Weight and Load Capacity
Always check your SUV’s owner’s manual for the maximum dynamic (moving) roof load. This is usually between 100 and 165 pounds. That includes the weight of the kayak, carrier, and any additional gear.
For example, a typical recreational kayak weighs 40–60 lbs. Add a carrier (10–20 lbs) and straps, and you’re already at 70–90 lbs. If you’re carrying two kayaks, double that. Make sure your crossbars and roof can handle the total load.
Step 2: Pick the Best Kayak Carrier Type
Once you have crossbars, you need a carrier to hold your kayak securely. There are three main types: J-style, saddle, and stacker carriers. Each has pros and cons, so choose based on your needs.
J-Style Carriers
J-style carriers hold the kayak on its side in a “J” shape. They’re popular because they:
– Take up less roof space (great for multiple kayaks)
– Reduce wind resistance compared to flat carriers
– Are easy to load with a little practice
However, they require you to lift the kayak higher onto the roof, which can be tricky for heavier boats or shorter people. Some J-style carriers come with extension arms or loading aids to help.
Saddle Carriers
Saddle carriers hold the kayak flat on its bottom, like a horse saddle. They’re stable and easy to load—just lift the kayak and slide it into place. They’re ideal for beginners or those with heavier kayaks.
The downside? They take up more roof space and can create more wind noise. But for single-kayak trips, they’re a reliable choice.
Stacker Carriers
Stacker carriers let you carry two kayaks by stacking one on top of the other. The bottom kayak sits in a saddle or J-style carrier, and the top one rests on padded arms. These are great for families or couples who paddle together.
Just remember: stacking increases height and wind resistance. Make sure your SUV’s roof height won’t be an issue at drive-thrus, parking garages, or low bridges.
Universal vs. Custom Carriers
Some carriers are universal and fit most kayaks. Others are designed for specific hull shapes. If you have a wide or unusual kayak (like a fishing kayak with outriggers), look for adjustable or wide-base carriers.
Step 3: Gather the Right Straps and Tie-Downs
A carrier alone isn’t enough—you need strong, reliable straps to keep your kayak in place. Never use bungee cords or rope. They stretch, slip, and can fail under stress.
Use Cam Straps or Ratchet Straps
Cam straps are the gold standard for kayak transport. They’re easy to use, don’t over-tighten, and have a cam buckle that locks securely. Look for straps that are:
– At least 1 inch wide
– Made of polyester webbing (stronger and more UV-resistant than nylon)
– Rated for at least 300 lbs of working load
Ratchet straps are stronger but can over-tighten and damage your kayak if used incorrectly. If you use them, go slow and stop as soon as the kayak is snug.
Add Buckle Protectors
Buckle protectors are soft covers that go over the metal cam buckle. They prevent the buckle from scratching your kayak’s hull. They’re cheap, easy to install, and well worth the small investment.
Use Bow and Stern Lines
This is a critical step many beginners skip. Bow and stern lines are extra straps that tie the front (bow) and back (stern) of your kayak to the SUV’s bumper or tow hooks.
Why? Because cross-straps alone can allow the kayak to shift forward or backward during sudden stops or wind gusts. Bow and stern lines add extra security and prevent “kayak walk”—when the boat slowly creeps forward on the rack.
Attach one end to the kayak’s handle or deck line, and the other to a secure point on your SUV, like a tow hook or bumper bracket. Use cam straps or rope with carabiners for easy attachment.
Step 4: Load the Kayak Safely
Now for the physical part: getting the kayak onto the roof. This is where many people struggle—or worse, injure themselves. Follow these steps to load safely and efficiently.
Prepare the Area
Clear a flat, open space next to your SUV. Remove any debris, rocks, or puddles. Have your straps, carrier, and any helpers ready.
Position the Kayak
Place the kayak on the ground parallel to your SUV, with the bow (front) facing the direction you want it to go. If using a J-style carrier, position it so the kayak will rest on its side.
Lift with Help or Tools
Lifting a 50-lb kayak onto a roof can be tough. Here are three safe options:
1. **Ask for help:** Have a friend lift one end while you lift the other. Communicate clearly—“Ready? Lift on three!”
2. **Use a kayak loader:** These are small ramps or slings that help you slide the kayak onto the roof. Brands like Malone and Yakima offer affordable options.
3. **Use a step stool:** Stand on a sturdy step stool to reduce the lifting height. This is great for solo loading.
Center the Kayak on the Rack
Once the kayak is on the roof, slide it into the carrier and center it side-to-side. The kayak should be evenly balanced over the crossbars. An off-center load can affect handling and increase wind resistance.
Secure the Kayak with Straps
Now it’s time to strap it down. Follow these steps:
1. Loop the cam strap through the carrier and over the kayak.
2. Pull the strap tight—just enough to hold the kayak snugly. Don’t overtighten, or you could warp the hull.
3. Repeat for the second strap (if using a saddle carrier) or the second J-arm.
4. Attach bow and stern lines to the front and back of the kayak and secure them to your SUV.
Double-Check Everything
Before you drive, do a quick inspection:
– Are all straps tight and secure?
– Are buckles locked and protected?
– Are bow and stern lines attached?
– Is the kayak centered and not touching the SUV’s body?
Give the kayak a firm shake. It shouldn’t move more than an inch in any direction.
Step 5: Drive Safely with a Kayak on Top
You’re loaded and strapped—now it’s time to hit the road. But driving with a kayak changes how your SUV handles. Here’s what to keep in mind.
Reduce Your Speed
Wind resistance increases significantly with a kayak on top. At highway speeds, the force can be strong enough to shift or damage your kayak. Drive 5–10 mph below the speed limit, especially on highways.
Avoid Sudden Moves
Hard braking, sharp turns, or quick lane changes can cause the kayak to shift or the straps to loosen. Drive smoothly and anticipate stops and turns.
Allow Extra Stopping Distance
Your SUV will take longer to stop with extra weight on top. Keep a safe following distance—at least 3–4 seconds behind the car in front of you.
Watch for Low Clearances
A kayak adds 6–12 inches to your SUV’s height. Watch out for:
– Drive-thrus
– Parking garages
– Low-hanging branches
– Gas station canopies
Use your side mirrors to check clearance, and consider removing the kayak before entering tight spaces.
Check Straps During Long Trips
If you’re driving more than 30 minutes, pull over after the first 10–15 minutes and check your straps. Vibration and wind can loosen them over time. Re-tighten if needed.
Troubleshooting Common Kayak Transport Problems
Even with the best preparation, issues can arise. Here’s how to handle common problems.
Problem: Kayak Shifts While Driving
**Solution:** This usually means your straps aren’t tight enough or your bow and stern lines are missing. Stop safely, re-tighten all straps, and add bow and stern lines if you haven’t already.
Problem: Wind Noise or Flapping
**Solution:** Loose straps or an unbalanced load can cause flapping. Check that the kayak is centered and all straps are snug. Consider using a fairing (a wind deflector) on your crossbars to reduce noise.
Problem: Scratches on the Kayak
**Solution:** This happens when metal buckles touch the hull. Always use buckle protectors or wrap the straps in a soft cloth. Also, avoid over-tightening ratchet straps.
Problem: Difficulty Loading Solo
**Solution:** Invest in a kayak loader or use a step stool. Practice lifting with your legs, not your back. If your kayak is too heavy, consider a lighter model or a trailer.
Problem: Roof Rack Squeaks or Rattles
**Solution:** Check that all bolts and clamps are tight. Apply a small amount of silicone spray to moving parts to reduce noise.
Alternative Transport Methods
While roof racks are the most common, they’re not the only option. Here are two alternatives:
Kayak Trailers
A kayak trailer attaches to your SUV’s hitch and carries one or more kayaks at ground level. Pros:
– No lifting onto the roof
– Easy to load and unload
– Can carry multiple kayaks
Cons:
– Requires a hitch
– Takes up parking space
– More expensive upfront
Great for heavy kayaks or frequent use.
Hitch-Mounted Carriers
These carriers attach to your trailer hitch and hold the kayak behind the SUV. They’re lower to the ground, making loading easier. However, they reduce ground clearance and can block your license plate or rear camera.
Maintenance and Storage Tips
To keep your gear in top shape:
– Rinse straps and carriers with fresh water after saltwater trips
– Store straps dry to prevent mold and UV damage
– Inspect roof rack bolts annually
– Replace worn straps immediately
Conclusion
Learning how to carry kayaks on SUV doesn’t have to be stressful. With the right roof rack, carrier, and straps, you can transport your kayak safely and confidently. Remember: always use cam straps, secure bow and stern lines, and drive cautiously. A little preparation goes a long way in ensuring your gear—and your adventure—arrives intact.
Whether you’re heading to a quiet pond or a raging river, proper kayak transport lets you focus on what matters: the joy of paddling. So gear up, strap down, and get out there. The water is waiting.