

This guide walks you through how to change a car seat in a To.suv Aeat with clear, easy-to-follow instructions. You’ll learn proper installation, safety checks, and tips to keep your child secure on every ride.
Key Takeaways
- Always check the car seat manual first: Each model has specific instructions for installation and use.
- Use the LATCH system or seat belt correctly: Both methods work, but you must follow the guidelines for your seat and vehicle.
- Ensure a tight fit with minimal movement: The seat should not shift more than one inch side-to-side or front-to-back.
- Position the seat at the correct angle: Rear-facing seats need a recline to support an infant’s head and airway.
- Double-check harness height and tightness: The straps should be at or below shoulder level for rear-facing and snug enough to prevent pinching.
- Never install a car seat in a seat with an active airbag: This can cause serious injury in a crash.
- Get a professional inspection if unsure: Many fire stations and hospitals offer free car seat checks.
How to Change a Car Seat in a To.suv Aeat: A Complete Step-by-Step Guide
Changing a car seat in your To.suv Aeat might sound simple, but doing it safely is crucial for your child’s protection. Whether you’re switching from rear-facing to forward-facing, upgrading to a booster, or just moving the seat to a different position, every detail matters. This guide will walk you through the entire process—from preparation to final safety checks—so you can feel confident your little one is secure.
In this guide, you’ll learn how to properly install and adjust a car seat in a To.suv Aeat, understand the different types of car seats, and avoid common mistakes. We’ll cover everything from using the LATCH system to securing the seat with a seat belt, checking for proper recline, and ensuring the harness fits correctly. By the end, you’ll know exactly how to change a car seat in a To.suv Aeat the right way—every time.
Understanding Your To.suv Aeat and Car Seat Compatibility
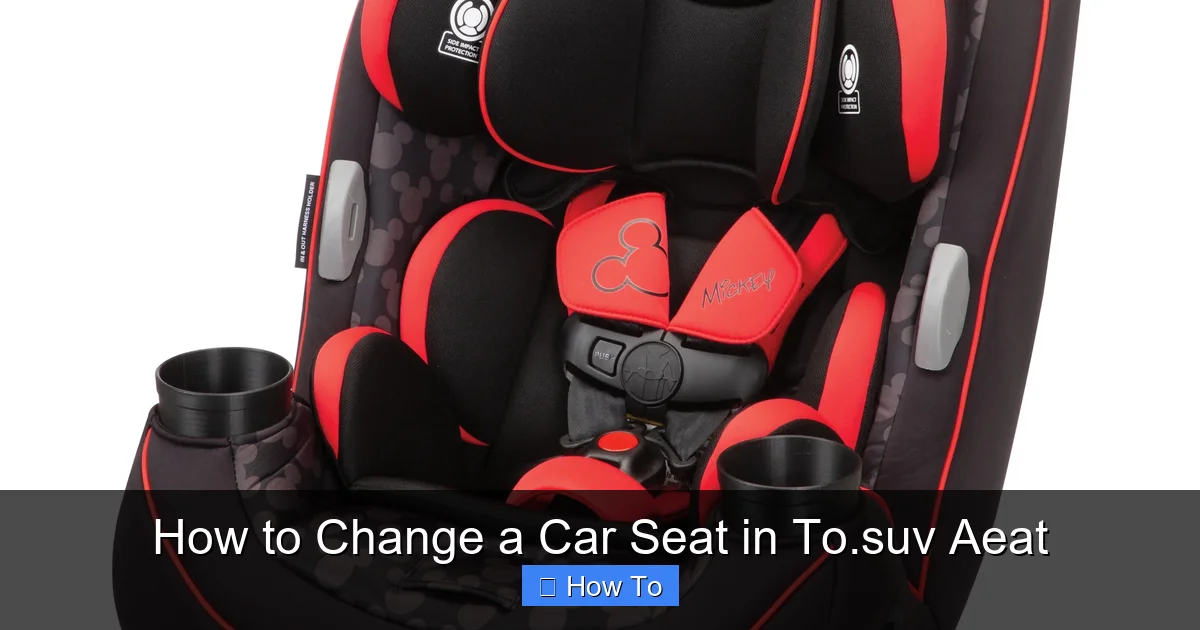
Visual guide about How to Change a Car Seat in To.suv Aeat
Image source: i5.walmartimages.com
Before you begin, it’s important to know that the To.suv Aeat is a compact SUV designed with family safety in mind. It typically includes multiple seating positions, LATCH anchors, and seat belts suitable for car seat installation. However, not all seats are created equal, and compatibility varies.
Start by checking your To.suv Aeat owner’s manual. Look for the section on child restraint systems. It will show you where the LATCH anchors are located (usually between the seat back and cushion), which seats are safe for car seats, and whether there are any restrictions—like avoiding the center seat or rear seats with active airbags.
Next, review your car seat manual. Every car seat model has specific weight, height, and installation requirements. For example, infant seats are always rear-facing and often use a base, while convertible seats can switch from rear- to forward-facing as your child grows.
Tip: If you’re unsure whether your car seat fits well in the To.suv Aeat, visit a certified Child Passenger Safety Technician (CPST). Many local fire departments, hospitals, and police stations offer free inspections.
Types of Car Seats and When to Use Them
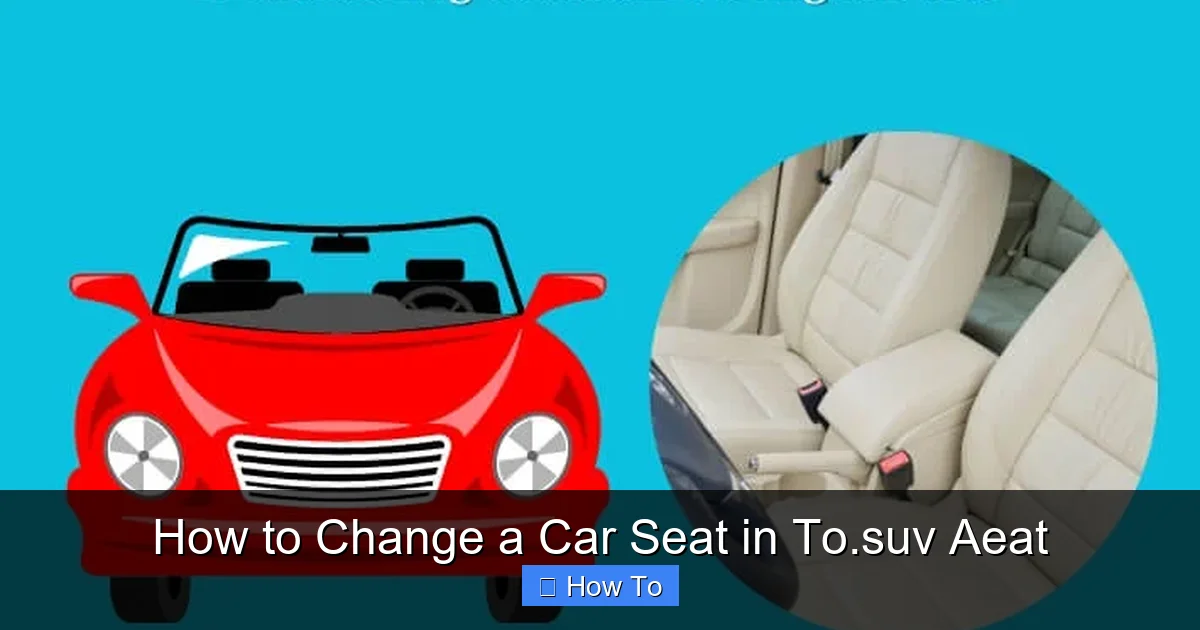
Visual guide about How to Change a Car Seat in To.suv Aeat
Image source: seatplenary.com
Knowing which type of car seat to use is the first step in changing it correctly. Here’s a quick breakdown:
Infant Car Seats
These are rear-facing only and designed for newborns and small babies (usually up to 22–35 pounds). They often come with a detachable base that stays in the car, making it easy to click the seat in and out. Infant seats are ideal for the To.suv Aeat’s rear seats, especially if you plan to move your baby frequently.
Convertible Car Seats
These can be used rear-facing for infants and then turned forward-facing as your child grows. They don’t have a base and are installed directly into the vehicle. Convertible seats are a great long-term option and work well in the To.suv Aeat’s second row.
Forward-Facing Car Seats
Used once your child outgrows the rear-facing limit, these seats have a harness and tether strap. They must be installed with the top tether to reduce head movement in a crash.
Booster Seats
For older children who’ve outgrown their forward-facing seat, boosters lift them so the seat belt fits properly across the shoulder and lap. High-back boosters are recommended for vehicles without headrests, like some To.suv Aeat models.
All-in-One Seats
These grow with your child—from rear-facing to forward-facing to booster. They’re convenient but heavier and bulkier, so make sure your To.suv Aeat has enough space.
Preparing to Change the Car Seat
Before you start, gather your tools and clear the area. You’ll need:
– The car seat and its manual
– Your To.suv Aeat owner’s manual
– A towel or pool noodle (for recline adjustment, if needed)
– A locking clip (if using a seat belt that doesn’t lock automatically)
– A level indicator (some seats have built-in ones)
Make sure the To.suv Aeat is parked on a flat surface and the parking brake is engaged. Remove any loose items from the back seat that could interfere with installation.
If you’re switching from rear-facing to forward-facing, check your child’s height and weight. Most experts recommend keeping children rear-facing as long as possible—ideally until age 2 or beyond, depending on the seat’s limits.
Step 1: Choose the Right Seat Position in the To.suv Aeat
The safest place for a car seat is the back seat, away from active airbags. In the To.suv Aeat, the second row is ideal. Avoid the front passenger seat unless absolutely necessary—and never place a rear-facing seat there if the airbag is active.
The center rear seat is often the safest because it’s farthest from impact zones. However, not all To.suv Aeat models have LATCH anchors in the center. Check your owner’s manual. If LATCH isn’t available, you can use the seat belt to secure the car seat in the center.
Tip: If you’re using the center seat with a seat belt, make sure the belt locks. Some To.suv Aeat models have switchable retractor seat belts—pull the belt all the way out to engage the lock.
Step 2: Install Using the LATCH System (If Available)
The LATCH (Lower Anchors and Tethers for Children) system makes installation easier and more secure. Here’s how to use it in your To.suv Aeat:
Locate the LATCH Anchors
In most To.suv Aeat models, the lower anchors are found in the second-row seats, between the seat back and cushion. They’re usually marked with a small symbol or label. There are typically two sets—one for each side seat.
Attach the Lower Connectors
Open the car seat and find the lower connectors (usually red or labeled). Push them onto the vehicle’s lower anchors until you hear a click. Give them a firm tug to make sure they’re secure.
Adjust the Seat Position
Place the car seat in the desired position (rear- or forward-facing). Make sure it’s centered and not tilted to one side.
Tighten the Straps
Pull the LATCH strap tight. You should not be able to move the seat more than one inch side-to-side or front-to-back at the belt path (the area where the seat connects to the vehicle).
Attach the Top Tether (Forward-Facing Only)
If you’re installing a forward-facing seat, locate the top tether anchor in your To.suv Aeat. It’s usually on the back of the seat, the floor, or the ceiling behind the seat. Attach the tether hook to the anchor and tighten the strap.
Tip: Don’t use LATCH and seat belt together unless the car seat manual says it’s okay. Most seats are designed for one method at a time.
Step 3: Install Using the Seat Belt (If LATCH Is Not Available or Preferred)
If your To.suv Aeat doesn’t have LATCH in the desired seat, or if your child has outgrown the LATCH weight limit (usually 65 pounds total for seat + child), use the seat belt.
Thread the Seat Belt Through the Car Seat
Follow the path indicated in your car seat manual. For rear-facing seats, the belt usually goes through the back. For forward-facing, it may go over the top or through the front.
Buckle the Seat Belt
Insert the latch plate into the buckle and pull the belt tight.
Lock the Seat Belt
If your To.suv Aeat has an automatic locking retractor (ALR), pull the belt all the way out until it clicks, then let it retract. This locks the belt in place. If not, use a locking clip (included with most seats) to secure the belt.
Press Down and Tighten
Press firmly on the car seat while pulling the seat belt tight. This removes slack and ensures a secure fit.
Attach the Top Tether (Forward-Facing Only)
Just like with LATCH, use the top tether anchor to reduce forward movement.
Step 4: Adjust the Recline Angle (Rear-Facing Seats)
For rear-facing seats, the correct recline is critical. Too upright, and your baby’s head may flop forward, blocking their airway. Too reclined, and the seat may not protect them properly in a crash.
Most infant and convertible seats have a built-in level indicator. Adjust the seat until the bubble is in the correct zone (usually marked green or with a line).
If your seat doesn’t have a level, use a rolled towel or pool noodle under the seat (not the back) to achieve the right angle. Never place anything under the seat base unless the manual allows it.
Tip: The recline angle is typically between 30 and 45 degrees. Check your car seat manual for the exact range.
Step 5: Secure the Harness and Buckle
Once the seat is installed, it’s time to secure your child.
Adjust the Harness Height
For rear-facing seats, the harness straps should be at or below your child’s shoulders. For forward-facing, they should be at or above.
Most seats have multiple harness slots. Move the straps to the correct position before placing your child in the seat.
Buckle the Harness
Place your child in the seat and insert the chest clip at armpit level. Buckle the crotch strap and shoulder straps.
Check for Tightness
The harness should be snug. You should not be able to pinch any webbing at the shoulder. A good test: try to pinch the strap between your thumb and forefinger. If you can, it’s too loose.
Position the Chest Clip
The chest clip should be at armpit level—not on the neck or stomach. This helps keep the harness in place during a crash.
Step 6: Final Safety Checks
After installation, perform these checks to ensure everything is secure:
Wiggle Test
Grab the seat at the belt path and try to move it side-to-side and front-to-back. It should not move more than one inch in any direction.
Harness Check
Make sure the harness is snug and the chest clip is in the right place. Re-check after every ride, especially in cold weather when bulky clothing can create slack.
Tether Check (Forward-Facing)
Ensure the top tether is tight and the hook is securely attached to the anchor.
Seat Position
Confirm the seat is in the correct orientation (rear- or forward-facing) and not installed in a seat with an active airbag.
Troubleshooting Common Issues
Even with careful installation, problems can arise. Here’s how to fix the most common ones:
Seat Won’t Stay Tight
If the seat moves more than one inch, try re-tightening the LATCH strap or seat belt. Press down hard on the seat while pulling the strap. If using a seat belt, make sure it’s locked.
Seat Is Too Reclined or Too Upright
Adjust the recline using a towel or pool noodle under the seat base (if allowed). Check the level indicator and re-measure.
Harness Is Too Loose
Remove bulky clothing like winter coats. These can compress in a crash, creating dangerous slack. Use a car seat-safe blanket over the harness instead.
LATCH Anchors Are Hard to Reach
Some To.suv Aeat seats have deep seat bight (the crease between seat back and cushion). Try using a LATCH adjuster or ask a CPST for help.
Top Tether Won’t Reach the Anchor
Check your To.suv Aeat manual for alternate anchor locations. Some models have anchors on the back of the seat, the floor, or the cargo area.
When to Change the Car Seat
You’ll need to change the car seat as your child grows. Here’s a general timeline:
– Rear-facing to forward-facing: When your child reaches the height or weight limit of the rear-facing mode (usually around age 2 or older).
– Forward-facing to booster: When your child outgrows the harness (usually around 40–65 pounds, depending on the seat).
– Booster to seat belt: When your child is tall enough (usually 4’9”) for the seat belt to fit properly across the shoulder and lap.
Always follow the car seat manufacturer’s guidelines—not just age, but height and weight limits.
Maintaining Your Car Seat
A well-maintained car seat lasts longer and performs better. Here’s how to care for it:
– Clean regularly: Wipe down the harness with a damp cloth and mild soap. Remove the cover if washable (check the manual).
– Inspect for damage: Look for cracks, frayed straps, or loose parts. Never use a seat that’s been in a moderate or severe crash.
– Store properly: Keep the seat in a cool, dry place. Avoid extreme heat or cold, which can weaken materials.
– Check expiration date: Most car seats expire 6–10 years after manufacture. Find the date on the label.
Conclusion
Changing a car seat in a To.suv Aeat doesn’t have to be stressful. With the right knowledge and tools, you can install it safely and confidently. Remember to always follow the car seat and vehicle manuals, use the correct installation method (LATCH or seat belt), and perform regular safety checks.
Your child’s safety is worth the extra effort. By taking the time to change the car seat properly, you’re giving them the best protection on every journey. Whether you’re switching from rear-facing to forward-facing or upgrading to a booster, this guide has you covered.
And if you’re ever unsure, don’t hesitate to seek help. Certified Child Passenger Safety Technicians are available nationwide to inspect your installation for free. A few minutes of their time could make all the difference.
Drive safe, and enjoy the ride with your little one securely buckled in.