
Changing a headlight on a 1999 Chevy SUV is easier than you think. This guide walks you through every step, from gathering tools to testing the new bulb, so you can save money and stay safe on the road.
Key Takeaways
- Gather the right tools first: You’ll need a replacement bulb, gloves, and possibly a screwdriver or socket wrench depending on your model.
- Always disconnect the battery: This prevents electrical shocks and protects your vehicle’s wiring system.
- Handle bulbs with care: Never touch the glass with bare hands—oils can cause hot spots and shorten bulb life.
- Check both low and high beams: Some 1999 Chevy SUVs use dual-filament bulbs, so test both settings after installation.
- Reassemble carefully: Make sure all clips, screws, and covers are securely fastened to avoid moisture damage.
- Test before driving: Turn on your headlights and walk around the vehicle to confirm proper alignment and function.
- Keep spare bulbs handy: Store a backup in your glove box for emergencies.
Introduction: Why Changing a Headlight Matters
Headlights are one of the most important safety features on your vehicle. They help you see the road at night and make your car visible to others during fog, rain, or low-light conditions. If one of your headlights goes out on your 1999 Chevy SUV, it’s not just an inconvenience—it’s a safety risk. Driving with a broken headlight can lead to accidents, tickets, or failed inspections.
The good news? You don’t need to be a mechanic to replace a headlight bulb. With the right tools and a little patience, you can do it yourself in under 30 minutes. This guide will walk you through the entire process, from identifying the problem to testing your new bulb. Whether you’re driving a Tahoe, Suburban, or Blazer, the steps are similar across most 1999 Chevy SUV models.
By the end of this guide, you’ll know exactly how to change a headlight on your 1999 Chevy SUV safely and correctly. You’ll also learn tips to extend the life of your new bulb and avoid common mistakes. Let’s get started!
Tools and Materials You’ll Need
Before you begin, make sure you have everything you need. Having the right tools on hand will save you time and frustration. Here’s a checklist of what to gather:

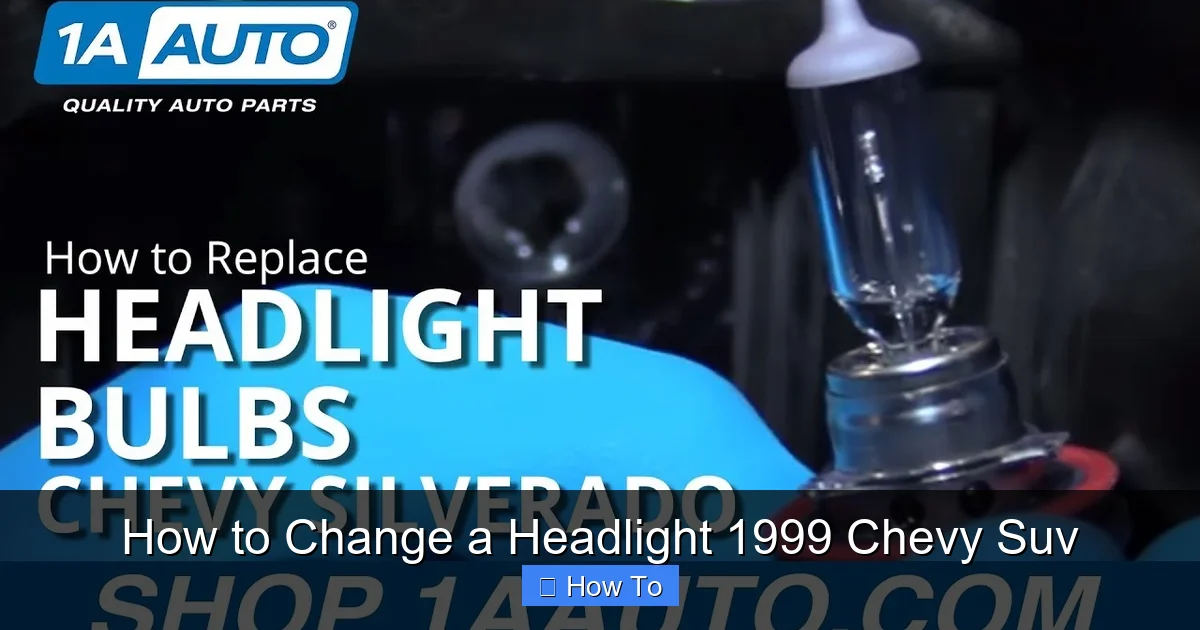
Visual guide about How to Change a Headlight 1999 Chevy Suv
Image source: i.ytimg.com
- Replacement headlight bulb: Make sure it matches your SUV’s make and model. Common types for 1999 Chevy SUVs include H4, 9007, or 9006 bulbs. Check your owner’s manual or the old bulb for the correct part number.
- Gloves: Use clean, lint-free gloves (like cotton or nitrile) to handle the bulb. This prevents oils from your skin from damaging the glass.
- Screwdriver or socket wrench: Depending on your model, you may need a Phillips or flathead screwdriver, or a 10mm socket wrench to remove screws or clips.
- Clean cloth or paper towels: For wiping down surfaces and handling the bulb.
- Flashlight: To see clearly inside the engine bay, especially if you’re working at night.
- Safety glasses: Optional but recommended to protect your eyes from debris.
Pro tip: Buy a high-quality bulb from a trusted brand like Philips, Sylvania, or GE. Cheap bulbs may burn out faster and don’t always provide the same brightness or beam pattern.
Step 1: Park and Prepare Your Vehicle
Safety comes first. Before you touch anything under the hood, make sure your SUV is parked on a flat, stable surface. Turn off the engine and remove the keys from the ignition. This prevents accidental starts and reduces the risk of electrical shock.
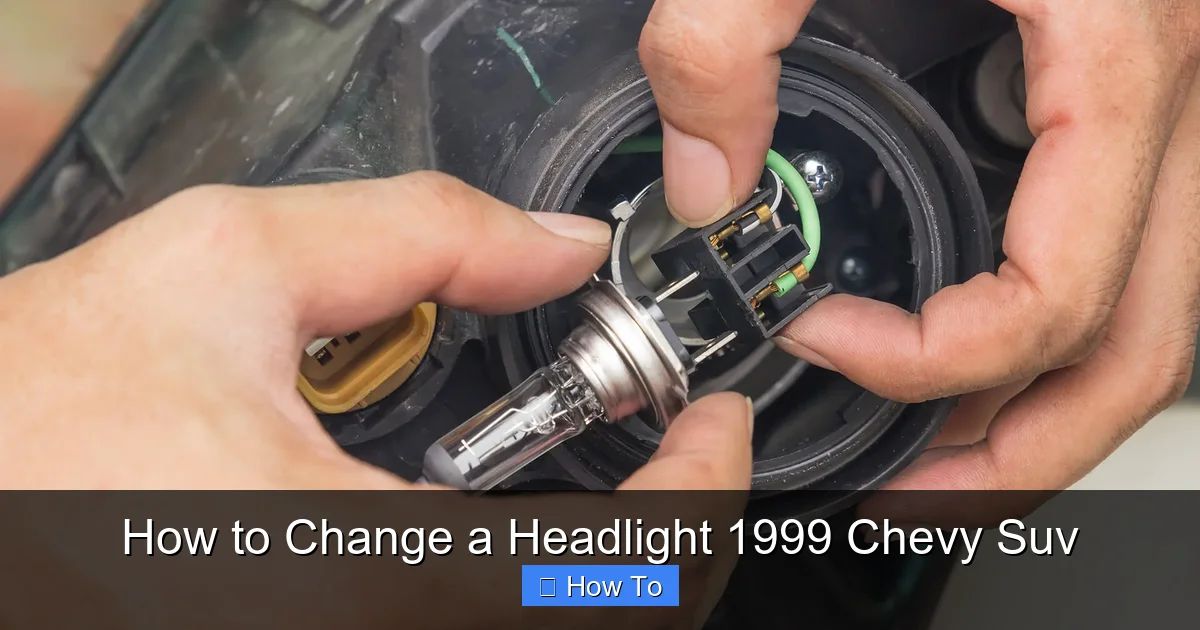
Visual guide about How to Change a Headlight 1999 Chevy Suv
Image source: hella-bulbs.com
Turn Off All Electrical Systems
Even with the engine off, your vehicle’s electrical system may still be active. Turn off the headlights, radio, and any other accessories. This reduces the load on the battery and makes it safer to work with wiring.
Disconnect the Battery (Optional but Recommended)
While not always necessary, disconnecting the negative terminal of your battery is a smart precaution. It eliminates the risk of short circuits or accidental shocks when handling electrical components. Use a wrench to loosen the nut on the negative (black) cable and gently pull it off the terminal. Tuck it away so it doesn’t touch metal.
Note: If you’re confident in your skills and working carefully, you can skip this step. But if you’re new to car repairs, disconnecting the battery is a simple way to stay safe.
Step 2: Locate the Headlight Assembly
Now it’s time to find the headlight assembly. On most 1999 Chevy SUVs, the headlight is located at the front corners of the vehicle, behind a plastic or composite lens. You’ll need to access it from under the hood.
Open the Hood
Pull the hood release lever inside your SUV (usually near the driver’s side footwell), then go to the front and lift the hood. Secure it with the prop rod or hood strut.
Identify the Back of the Headlight
Look for a round or rectangular plastic cover at the back of the headlight assembly. This is where the bulb connects to the wiring harness. It’s usually held in place by a rubber boot or plastic clip. The exact design varies slightly between models like the Tahoe, Suburban, and Blazer, but the general layout is similar.
Tip: If you’re unsure which side is out, turn on the headlights (with the battery reconnected temporarily) and see which one doesn’t light up. Then turn everything off again before proceeding.
Step 3: Remove the Old Bulb
This is the core of the process. Removing the old bulb requires care to avoid damaging the housing or wiring.
Remove the Rubber Boot or Cover
Gently pull back the rubber boot that covers the bulb connector. It should come off easily with a little tug. If it’s stuck, wiggle it slightly while pulling. Don’t force it—this could tear the rubber or damage the wiring.
Disconnect the Wiring Harness
Once the boot is off, you’ll see a plastic connector attached to the bulb. Press the release tab (if there is one) and pull the connector straight out. Do not twist or yank it. If it’s tight, use a small flathead screwdriver to gently pry the tab while pulling.
Release the Bulb Retaining Clip
Most 1999 Chevy SUVs use a metal or plastic clip to hold the bulb in place. This clip wraps around the base of the bulb and locks it into the housing. To release it:
- Look for a small lever or spring clip near the bulb base.
- Press or lift the clip to unlock it.
- Once released, the bulb should loosen and come out easily.
Important: Do not pull the bulb out by the glass. Always grip it by the base or use gloves to avoid touching the glass.
Remove the Old Bulb
With the clip released, gently pull the bulb straight out of the housing. It may take a little wiggling, but it should come free without force. Set the old bulb aside in a safe place—don’t throw it in the trash yet, as it may contain hazardous materials.
Step 4: Install the New Bulb
Now that the old bulb is out, it’s time to install the new one. This step is just as important as removal—improper installation can lead to poor lighting, moisture buildup, or premature failure.
Handle the New Bulb Correctly
Take the new bulb out of its packaging, but avoid touching the glass with your bare hands. The natural oils from your skin can create hot spots when the bulb heats up, causing it to burn out faster. Always wear gloves or use a clean cloth.
Insert the New Bulb
Align the tabs on the bulb base with the slots in the headlight housing. Gently push the bulb in until it seats fully. You should feel it click into place.
Secure the Retaining Clip
Once the bulb is in, reattach the metal or plastic clip. Make sure it snaps securely over the bulb base. A loose clip can cause the bulb to vibrate or fall out while driving.
Reconnect the Wiring Harness
Plug the wiring connector back into the bulb. Push it in until you hear or feel a click. Give it a gentle tug to make sure it’s secure.
Replace the Rubber Boot
Slide the rubber boot back over the connector and bulb base. Make sure it’s fully seated and covers the entire connection. This boot protects the wiring from moisture and dirt.
Step 5: Reassemble and Test
With the new bulb installed, it’s time to put everything back together and test your work.
Reconnect the Battery (If Disconnected)
If you disconnected the battery earlier, now is the time to reconnect it. Attach the negative cable to the terminal and tighten the nut with a wrench.
Turn On the Headlights
Start your SUV and turn on the headlights. Check both the low beam and high beam settings. Walk around the vehicle to make sure the new bulb is working and shining in the correct direction.
Check for Proper Alignment
Misaligned headlights can blind other drivers or fail to illuminate the road properly. If the beam seems too high, too low, or off-center, you may need to adjust the headlight alignment. Most 1999 Chevy SUVs have adjustment screws near the headlight assembly that can be turned with a screwdriver.
Secure the Hood
Once you’re satisfied with the results, close the hood and make sure it latches securely.
Troubleshooting Common Issues
Even with careful installation, problems can occur. Here are some common issues and how to fix them:
Headlight Still Doesn’t Work
If the new bulb doesn’t light up, check the following:
- Is the wiring connector fully plugged in?
- Is the bulb the correct type for your SUV?
- Is the fuse blown? Check the fuse box under the dashboard or hood.
- Is there corrosion on the connector? Clean it with electrical contact cleaner.
Blows Out Quickly
If the new bulb burns out within days or weeks, it could be due to:
- Touching the glass with bare hands.
- Using a low-quality or incompatible bulb.
- Vibration from a loose bulb or clip.
- Electrical issues like voltage spikes or a failing alternator.
Moisture Inside the Headlight
If you see condensation or water droplets inside the lens, the seal may be broken. This can damage the bulb and wiring. You may need to replace the entire headlight assembly or reseal it with silicone.
Flickering Light
A flickering headlight often indicates a loose connection or a failing bulb. Double-check the wiring harness and clip. If the problem persists, have your electrical system inspected.
Tips for Long-Lasting Headlights
To get the most out of your new headlight bulb and avoid frequent replacements, follow these tips:
- Use quality bulbs: Invest in reputable brands for better performance and longevity.
- Avoid touching the glass: Always wear gloves when handling bulbs.
- Clean the lens regularly: Dirt and grime can reduce brightness. Use a headlight cleaner or toothpaste to polish the lens.
- Check alignment periodically: Headlights can shift over time, especially after hitting potholes or curbs.
- Replace in pairs: Even if only one bulb is out, consider replacing both. The other may fail soon, and it’s easier to do both at once.
Conclusion: You’ve Got This!
Changing a headlight on a 1999 Chevy SUV is a simple task that anyone can do with the right guidance. By following this step-by-step guide, you’ve learned how to safely remove the old bulb, install a new one, and test your work. Not only did you save money on a mechanic, but you also gained valuable DIY skills.
Remember, safety is key—always disconnect the battery if you’re unsure, and never touch the bulb glass with your bare hands. With proper care, your new headlight will provide bright, reliable illumination for thousands of miles.
Now that you’re done, take a moment to admire your work. You’ve just completed a basic but essential car repair. Keep this guide handy for future reference, and don’t forget to store a spare bulb in your glove box—just in case.
Safe driving starts with working headlights. You’ve got this!