
Changing the cabin air filter in your Nissan SUV is a quick, cost-effective way to improve interior air quality and HVAC performance. This guide walks you through every step, from locating the filter to installing the new one—no mechanic required. With basic tools and under 30 minutes, you’ll breathe easier and extend your vehicle’s lifespan.
Key Takeaways
- Improved Air Quality: A clean cabin filter removes dust, pollen, and pollutants, making your drive healthier and more comfortable.
- Easy DIY Project: Most Nissan SUVs allow cabin filter replacement in under 30 minutes with minimal tools—no need for a dealership visit.
- Cost Savings: Replacing the filter yourself saves $50–$100 compared to professional service, with filters costing as little as $15.
- Regular Maintenance Matters: Replace the cabin filter every 12,000–15,000 miles or once a year to maintain HVAC efficiency and prevent odors.
- Check Your Owner’s Manual: Filter location and type vary slightly by model (e.g., Rogue, Pathfinder, Murano), so always confirm specifics for your SUV.
- Watch for Warning Signs: Reduced airflow, musty smells, or increased noise from the AC fan may indicate a clogged filter needing replacement.
- Use OEM or High-Quality Filters: While aftermarket options exist, OEM (Original Equipment Manufacturer) filters ensure proper fit and filtration performance.
Why Changing Your Nissan SUV Cabin Filter Matters
Your Nissan SUV’s cabin air filter plays a silent but vital role in your driving experience. It’s the barrier between the outside air and your vehicle’s interior, trapping dust, pollen, exhaust fumes, and even bacteria before they enter through the vents. Over time, this filter becomes clogged with debris, reducing airflow and compromising air quality. A dirty filter can also strain your HVAC system, leading to weaker heating or cooling, unpleasant odors, and even increased fuel consumption due to reduced efficiency.
Replacing the cabin filter is one of the simplest and most impactful maintenance tasks you can do. Unlike oil changes or brake jobs, it requires no special mechanical skills—just a few basic tools and about 20–30 minutes of your time. Whether you drive a Nissan Rogue, Pathfinder, Murano, or Armada, this guide will walk you through the entire process step by step. By the end, you’ll not only have fresher air inside your SUV but also the confidence to tackle more DIY car care tasks.
What You’ll Need for the Job
Before diving in, gather these items to ensure a smooth cabin filter replacement:
- New Cabin Air Filter: Choose an OEM (Nissan Genuine Part) or a high-quality aftermarket filter compatible with your specific SUV model and year. Look for filters labeled “cabin air filter” or “pollen filter.”
- Screwdriver (Phillips or flathead): Most Nissan SUVs use Phillips-head screws, but some older models may require a flathead.
- Gloves (optional but recommended): Protect your hands from dust and debris, especially if the old filter is heavily soiled.
- Flashlight: Helps illuminate the filter housing, especially in tight spaces.
- Vacuum or Rag: Useful for cleaning out any accumulated dust in the filter housing.
- Owner’s Manual: Always helpful for confirming filter location and specifications.
Most of these items are household staples, and the filter itself typically costs between $15 and $30. You can purchase a new filter at an auto parts store, Nissan dealership, or online retailers like Amazon or RockAuto. Be sure to double-check compatibility using your vehicle’s year, make, and model.
Step 1: Locate the Cabin Air Filter Housing
The cabin air filter in most Nissan SUVs is located behind the glove box. This placement makes it accessible without requiring you to remove the dashboard or crawl under the hood. However, the exact access method varies slightly by model.
For Nissan Rogue, Murano, and Pathfinder (2013–2023)
In these popular models, the filter housing is directly behind the glove box. Open the glove box and look for a small panel or latch on the side or back. Some models have a removable glove box liner, while others require you to squeeze the sides to release it.
For Older Models (e.g., 2005–2012 Pathfinder or Xterra)
The process is similar, but you may need to remove a few screws securing the glove box or lower dashboard panel. Always consult your owner’s manual for model-specific instructions.
Pro Tip:
If you’re unsure where the filter is, search online for “cabin filter location [your Nissan SUV model and year].” Many forums and YouTube videos provide visual guides that can save you time.
Step 2: Remove the Glove Box (If Necessary)
In most cases, you’ll need to partially or fully remove the glove box to access the filter housing.
How to Remove the Glove Box Safely
- Open the glove box and empty it completely.
- Look for stoppers or dampers on the sides—these prevent the glove box from falling too fast. Gently push them inward to release the glove box.
- On some models, you’ll need to squeeze the sides of the glove box to release it from the hinges. Apply even pressure until it pops free.
- If screws are present (common in older models), use your screwdriver to remove them before detaching the glove box.
Important:
Don’t force the glove box. If it doesn’t come out easily, double-check for hidden clips or screws. Forcing it can damage plastic components.
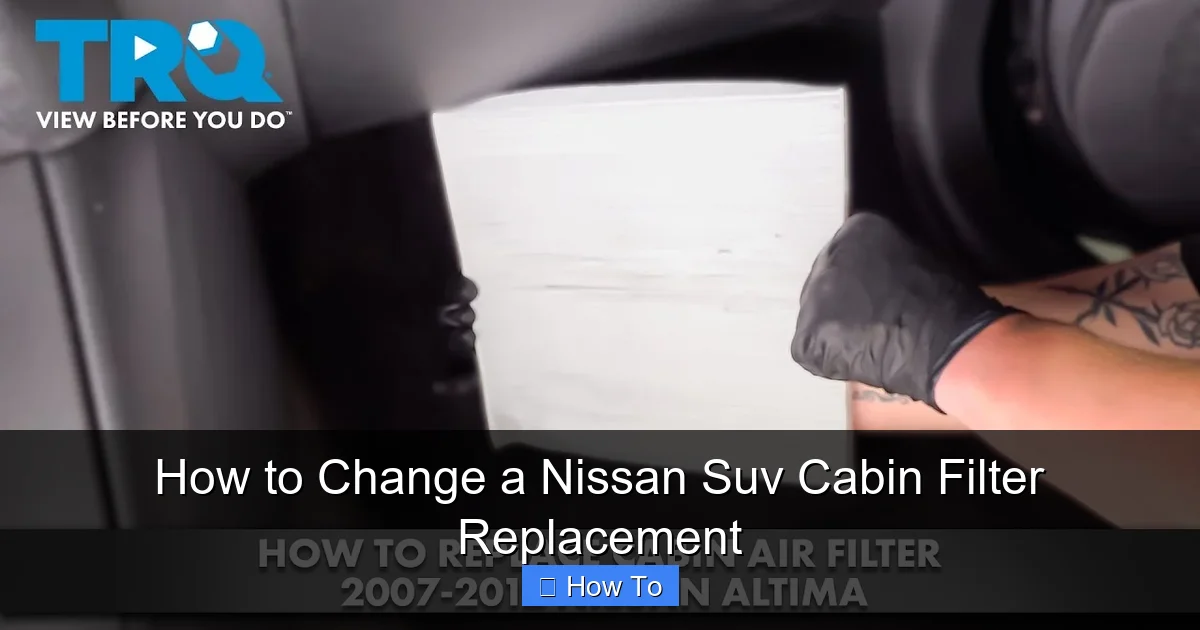
Step 3: Access the Cabin Filter Housing
Once the glove box is out of the way, you should see a rectangular or square plastic cover—this is the cabin filter housing.
Identifying the Housing
The cover is usually held in place by clips, screws, or a simple latch. It may be labeled “Cabin Air Filter” or have an arrow indicating airflow direction. Some models have a small access door that swings open, while others require you to remove the entire cover.
Opening the Housing
- Clip-style covers: Press the clips inward and pull the cover away from the dashboard.
- Screw-secured covers: Use your screwdriver to remove 2–4 screws, then lift the cover off.
- Latch-style covers: Simply lift or slide the latch to open.
Pro Tip:
Take a photo of the housing before opening it. This helps you remember how the old filter was positioned and how the cover reassembles.
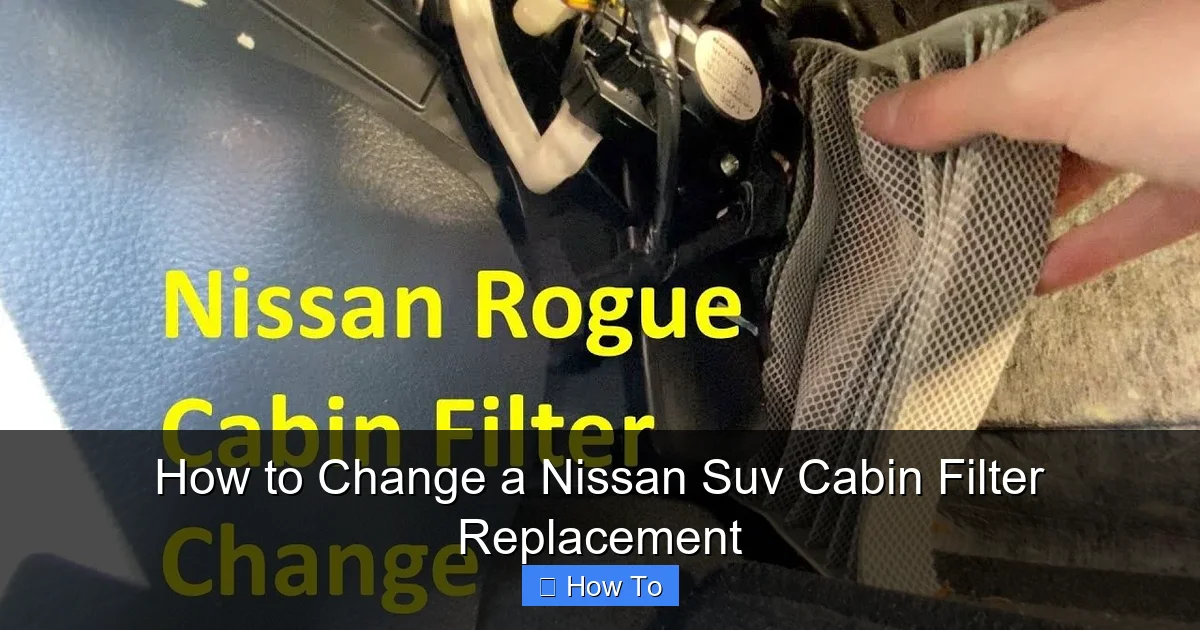
Step 4: Remove the Old Cabin Filter
With the housing open, you’ll see the old cabin filter inside. It’s typically a flat, pleated paper or charcoal filter.
How to Remove It
- Gently pull the filter straight out. It should slide out easily if it’s not overly clogged.
- If it’s stuck, wiggle it slightly while pulling. Avoid tearing the filter—this can leave debris in the housing.
- Inspect the filter: If it’s dark, dirty, or smells musty, it’s definitely time for a replacement.
Disposal Tip:
Place the old filter in a plastic bag before throwing it away. This prevents dust and contaminants from spreading in your trash or garage.
Step 5: Clean the Filter Housing
Before installing the new filter, take a moment to clean the housing.
Why Cleaning Matters
Dust, leaves, and debris can accumulate in the housing over time. If left behind, they can reduce airflow and contaminate your new filter.
How to Clean It
- Use a vacuum with a crevice tool to remove loose debris.
- Wipe the interior with a dry or slightly damp rag. Avoid using water or cleaning sprays—moisture can damage the HVAC system.
- Check for any obstructions, such as leaves or paper, and remove them carefully.
Pro Tip:
If you notice a strong musty smell, it could indicate mold growth in the HVAC system. Consider using an HVAC cleaner spray (available at auto stores) or having the system professionally cleaned.
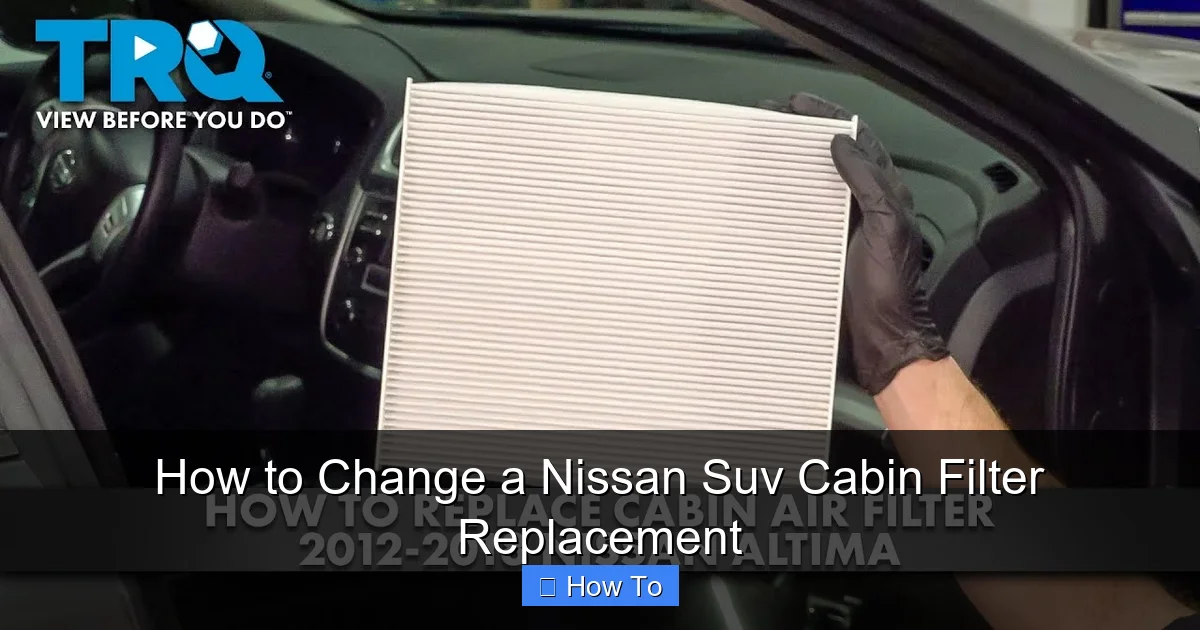
Step 6: Install the New Cabin Filter
Now it’s time to install the new filter. This step is straightforward, but attention to detail ensures optimal performance.
Check the Filter Direction
Most cabin filters have an arrow printed on the frame indicating airflow direction. This arrow should point toward the interior of the vehicle (usually downward or toward the back of the housing). Installing it backward can restrict airflow and reduce efficiency.
Insert the New Filter
- Align the filter with the housing slot, ensuring the arrow points in the correct direction.
- Gently slide the filter into place. It should fit snugly but not require force.
- Double-check that the filter is fully seated and not bent or folded.
Pro Tip:
If the filter seems too tight, compare it to the old one. Sometimes aftermarket filters are slightly larger. In rare cases, you may need to trim the edges slightly with scissors—but only if the manufacturer instructions allow it.
Step 7: Reassemble the Housing and Glove Box
With the new filter in place, it’s time to put everything back together.
Reattach the Filter Cover
- Align the cover with the housing and press it into place if it uses clips.
- If screws were removed, reinsert and tighten them—don’t overtighten, as plastic threads can strip easily.
- Ensure the cover is secure and there are no gaps where unfiltered air could enter.
Reinstall the Glove Box
- Carefully guide the glove box back into position.
- Reattach any stoppers or dampers by pushing them into place.
- If screws were removed, reinsert and tighten them.
- Test the glove box by opening and closing it to ensure it moves smoothly.
Final Check:
Turn on your vehicle and test the HVAC system. Set the fan to high and cycle through heat, AC, and fresh/recirculate modes. You should notice improved airflow and no unusual noises.
Troubleshooting Common Issues
Even with careful steps, you might encounter a few hiccups. Here’s how to handle them:
Issue: Filter Doesn’t Fit Properly
This usually happens with aftermarket filters. Double-check the part number and compare it to the old filter. If it’s too large, gently trim the edges with scissors—but only if the filter material allows it. Never force a filter into place.
Visual guide about How to Change a Nissan Suv Cabin Filter Replacement
Image source: i.ytimg.com
Visual guide about How to Change a Nissan Suv Cabin Filter Replacement
Image source: i.ytimg.com
Issue: Reduced Airflow After Replacement
Ensure the filter is installed in the correct direction (arrow pointing inward). Also, check that the housing cover is fully sealed. A loose cover can allow unfiltered air to bypass the filter.
Issue: Musty Smell Persists
A new filter won’t fix mold or mildew in the HVAC system. Use an HVAC cleaner spray or schedule a professional cleaning. Regularly switching to fresh air mode (instead of recirculate) can also help prevent moisture buildup.
Issue: Glove Box Won’t Close Properly
This often means the filter housing cover isn’t fully seated or the glove box wasn’t reattached correctly. Recheck all clips, screws, and stoppers. Make sure nothing is blocking the glove box’s path.
How Often Should You Replace the Cabin Filter?
Nissan recommends replacing the cabin air filter every 12,000 to 15,000 miles or once a year—whichever comes first. However, if you drive in heavy traffic, dusty areas, or during high-pollen seasons, consider replacing it more frequently (every 6,000–10,000 miles).
Signs It’s Time for a Replacement
- Reduced airflow from vents, even on high fan speed
- Unpleasant odors when using AC or heat
- Increased noise from the blower fan
- Visible dirt or debris on the filter
- Allergy or respiratory symptoms worsening while driving
Pro Tip:
Mark your calendar or set a reminder on your phone after each replacement. Keeping a maintenance log in your glove box can also help track service intervals.
Choosing the Right Cabin Filter
Not all cabin filters are created equal. Here’s what to look for:
OEM vs. Aftermarket
OEM filters are made by Nissan and guaranteed to fit and perform as intended. Aftermarket filters can be cheaper but vary in quality. Stick to reputable brands like Fram, Bosch, or K&N for reliable performance.
Filter Types
- Standard Paper Filters: Basic filtration for dust and pollen. Affordable but less effective against odors.
- Activated Charcoal Filters: Include a layer of charcoal to absorb odors, smoke, and gases. Ideal for city driving or smokers.
- HEPA Filters: Offer the highest level of filtration, capturing 99.97% of particles. Great for allergy sufferers but may reduce airflow slightly.
Pro Tip:
If you live in a polluted area or have allergies, opt for a charcoal or HEPA filter. The small price difference is worth the improved air quality.
Final Thoughts and Maintenance Tips
Changing the cabin air filter in your Nissan SUV is a simple yet powerful way to enhance your driving experience. It improves air quality, protects your HVAC system, and saves you money on professional service. With this guide, you now have the knowledge and confidence to do it yourself—quickly, safely, and effectively.
To keep your SUV running smoothly, pair regular cabin filter changes with other basic maintenance tasks like oil changes, tire rotations, and brake inspections. A well-maintained vehicle not only performs better but also retains its value longer.
Remember: a clean cabin filter means cleaner air, better airflow, and a more comfortable ride for you and your passengers. So the next time you’re due for a replacement, grab a new filter, follow these steps, and breathe easy knowing you’ve taken great care of your Nissan SUV.