
Changing a SUV battery is simpler than it seems with the right tools and safety steps. This guide walks you through locating, removing, and installing a new battery while avoiding common mistakes. Save time and money by doing it yourself safely and correctly.
Key Takeaways
- Safety first: Always wear gloves and eye protection, and disconnect the negative terminal first to prevent sparks or shocks.
- Know your battery type: Check your owner’s manual or existing battery label to ensure you buy the correct replacement (e.g., group size, CCA rating).
- Use the right tools: A socket wrench, battery terminal cleaner, and battery strap or handle make the job easier and safer.
- Handle with care: SUV batteries are heavy—lift with your legs, not your back, and avoid tipping to prevent acid spills.
- Reset electronics: After installation, you may need to reset radio presets, clock, or power windows depending on your vehicle.
- Dispose responsibly: Take the old battery to a recycling center or auto parts store—most will recycle it for free.
- Test after install: Start the engine and check for warning lights to confirm the new battery is working properly.
How to Change a SUV Battery: A Complete Step-by-Step Guide
Changing a SUV battery might sound intimidating, but with the right preparation and a little know-how, it’s a task most drivers can handle in under an hour. Whether your SUV won’t start, the dashboard lights flicker, or your battery is over three years old, replacing it yourself can save you a trip to the mechanic and $50–$150 in labor costs.
In this guide, we’ll walk you through every step of how to change a SUV battery safely and efficiently. You’ll learn how to identify the right replacement, gather the necessary tools, remove the old battery, install the new one, and troubleshoot common issues. By the end, you’ll feel confident tackling this essential maintenance task on your own.
Why You Might Need to Change Your SUV Battery
SUV batteries typically last between 3 to 5 years, depending on climate, driving habits, and vehicle usage. Over time, the battery loses its ability to hold a charge, especially in extreme temperatures. Here are some common signs it’s time for a replacement:
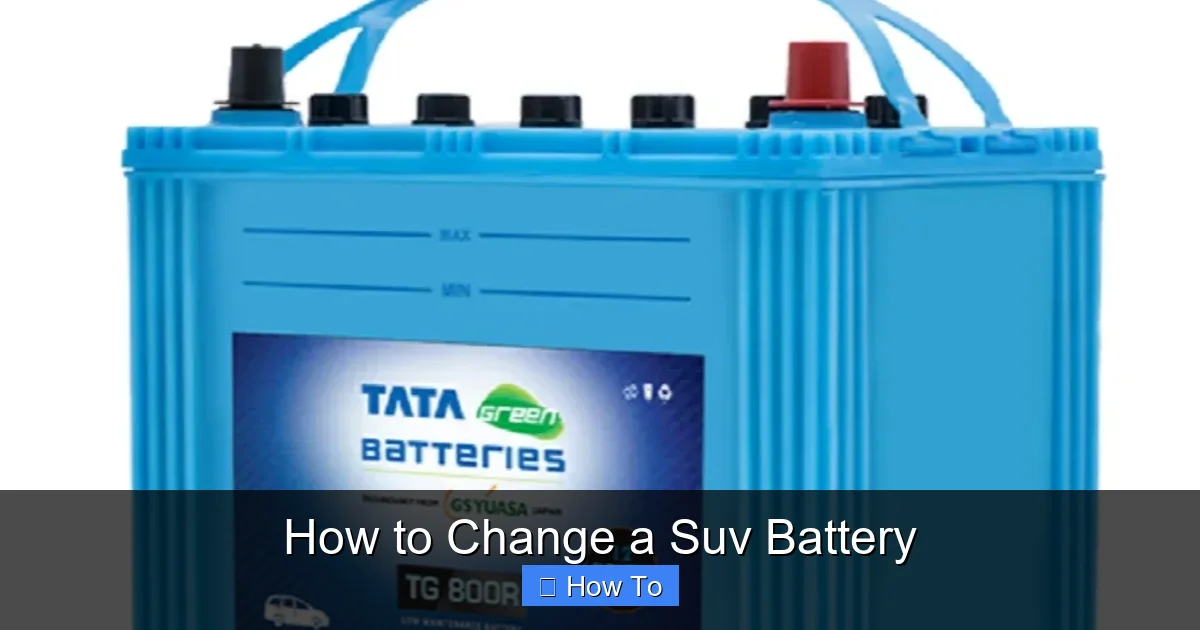
Visual guide about How to Change a Suv Battery
Image source: 5.imimg.com
- The engine cranks slowly or struggles to start, especially in cold weather.
- The dashboard shows a battery warning light (often shaped like a battery or labeled “ALT” or “CHG”).
- Electrical components like headlights, radio, or power windows behave erratically.
- The battery case appears swollen, cracked, or leaking.
- Your SUV has been sitting unused for several weeks and won’t start.
If you notice any of these symptoms, it’s time to test your battery or consider a replacement. You can use a multimeter to check voltage (a healthy battery reads 12.6 volts or higher when the engine is off), or visit an auto parts store for a free battery test.
Tools and Materials You’ll Need
Before you begin, gather the following tools and supplies. Having everything ready will make the process smoother and safer.
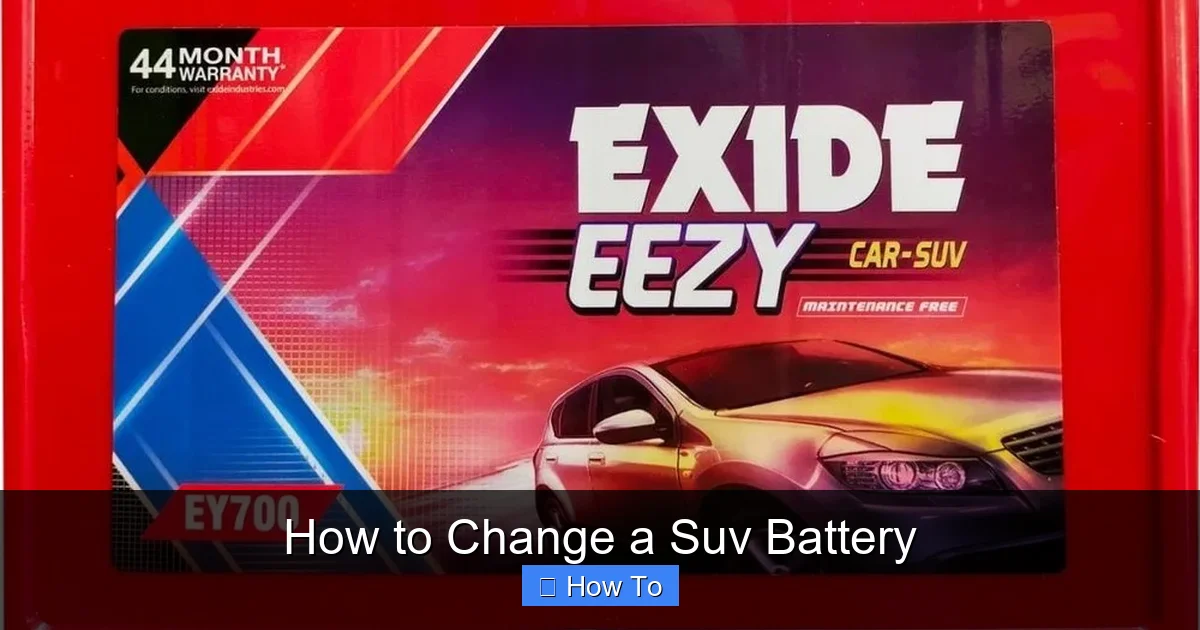
Visual guide about How to Change a Suv Battery
Image source: 5.imimg.com
Essential Tools
- Socket wrench set (usually 10mm or 13mm sockets for battery terminals)
- Adjustable wrench or pliers (as a backup)
- Battery terminal cleaner or wire brush (to clean corrosion)
- Battery strap or handle (optional, but helpful for lifting)
- Gloves and safety goggles (protect against acid and sparks)
- Old rag or towel (for cleaning spills or wiping terminals)
Optional but Helpful
- Battery terminal protector spray (prevents future corrosion)
- Memory saver device (preserves radio settings and computer data)
- Jack and jack stands (only if the battery is under the floor or in a hard-to-reach spot)
- Flashlight (for better visibility in dim engine bays)
Replacement Battery
Make sure you purchase the correct battery for your SUV. Check your owner’s manual or look at the label on your current battery for:
- Group size (e.g., Group 48, Group 94R)—this ensures it fits in the tray
- Cold Cranking Amps (CCA)—higher is better for cold climates
- Reserve Capacity (RC)—how long the battery can run essentials if the alternator fails
- Terminal layout (top-post vs. side-post, and which side is positive/negative)
Most auto parts stores can help you find the right match using your SUV’s year, make, and model. Brands like Optima, DieHard, and Interstate offer reliable options with warranties.
Safety Precautions Before You Begin
Battery work involves electricity, chemicals, and heavy objects—so safety is critical. Follow these precautions to avoid injury or damage:
Wear Protective Gear
Always wear rubber gloves and safety goggles. Battery acid can cause burns, and sparks can ignite hydrogen gas released by the battery.
Work in a Well-Ventilated Area
Never change a battery in a closed garage. Open the doors and windows to allow fresh air to circulate.
Turn Off the Engine and Remove the Keys
Ensure the SUV is off, the keys are removed, and the parking brake is engaged. This prevents accidental starts or electrical shorts.
Disconnect the Negative Terminal First
This is the most important rule. Always disconnect the negative (black) cable first and reconnect it last. This reduces the risk of short circuits if your tool touches the frame while working on the positive terminal.
Avoid Metal Contact
Keep jewelry, watches, and tools away from both terminals at the same time. A metal object touching both terminals can cause a dangerous spark or shock.
Step-by-Step: How to Change a SUV Battery
Now that you’re prepared, let’s get started. Follow these steps carefully to replace your SUV battery safely and correctly.
Step 1: Locate the Battery
Most SUV batteries are under the hood, but some models (like certain Toyota Highlanders or Ford Explorers) have them in the trunk, under the rear seat, or even beneath the floor mats. Check your owner’s manual if you can’t find it.
Once located, clear away any debris or covers. Some batteries have a plastic cover that snaps off—remove it gently.
Step 2: Disconnect the Negative Terminal
Using your socket wrench, loosen the nut on the negative (black) terminal clamp. Turn it counterclockwise until it’s loose enough to wiggle off. Do not remove the wrench yet—just loosen it.
Once loose, carefully lift the negative cable off the terminal and tuck it aside so it doesn’t touch the battery. Use a rag to cover the terminal if needed.
Step 3: Disconnect the Positive Terminal
Repeat the process with the positive (red) terminal. Loosen the nut, remove the cable, and secure it away from the battery.
Pro Tip: If the terminals are corroded (white or green powdery buildup), use a wire brush or terminal cleaner to scrub them before disconnecting. This ensures a clean connection later.
Step 4: Remove Any Battery Hold-Down Clamps or Brackets
Most SUVs have a metal or plastic clamp securing the battery to the tray. Use your wrench or socket to remove the bolts or nuts holding it in place.
Some batteries also have a strap or bracket over the top. Remove these carefully—don’t force anything.
Step 5: Lift Out the Old Battery
Batteries can weigh 30–50 pounds, so lift with your legs, not your back. If the battery has a handle, use it. Otherwise, grip the sides firmly and lift straight up.
Avoid tilting the battery—this can spill acid. If you’re struggling, ask someone to help or use a battery strap with a handle.
Step 6: Clean the Battery Tray and Terminals
While the battery is out, inspect the tray for corrosion or dirt. Use a mixture of baking soda and water (1 tablespoon per cup) and a brush to neutralize any acid residue. Wipe dry with a rag.
Also clean the cable terminals with a wire brush. This ensures a strong connection with the new battery.
Step 7: Install the New Battery
Place the new battery into the tray, matching the terminal positions (positive on the correct side). Make sure it sits flat and secure.
Reattach the hold-down clamp or bracket and tighten the bolts. The battery should not move when shaken gently.
Step 8: Reconnect the Terminals
Connect the positive (red) terminal first. Slide the cable onto the terminal and tighten the nut securely with your wrench.
Then connect the negative (black) terminal and tighten it. Double-check both connections—they should be snug but not over-tightened, which can damage the terminals.
Step 9: Apply Terminal Protector (Optional)
Spray a thin layer of battery terminal protector on both terminals. This helps prevent future corrosion and extends battery life.
Step 10: Test the Installation
Turn on the ignition (but don’t start the engine yet). Check that the dashboard lights up normally. Then start the engine.
If the SUV starts smoothly and no warning lights appear, you’ve successfully changed the battery. If it struggles to start or lights flicker, double-check your connections.
Troubleshooting Common Issues
Even with careful work, you might run into a few hiccups. Here’s how to handle them:
Battery Won’t Hold a Charge
If the new battery dies quickly, it could be a defective unit or an issue with the alternator. Test the alternator output with a multimeter—it should read 13.7–14.7 volts when the engine is running.
Corrosion Returns Quickly
Frequent corrosion may indicate a charging system problem or a leaking battery. Have your SUV inspected by a mechanic.
Electronics Not Working Properly
After battery replacement, some SUVs require a reset for power windows, radio presets, or the clock. Consult your owner’s manual for reset procedures. In some cases, you may need to drive the vehicle for 10–15 minutes to allow the computer to recalibrate.
Battery Doesn’t Fit
Double-check the group size and dimensions. If it’s too big, you may need a different model or a custom tray. Never force a battery into place.
Disposing of the Old Battery
Never throw an old car battery in the trash. They contain lead and sulfuric acid, which are hazardous to the environment.
Most auto parts stores (like AutoZone, Advance Auto Parts, or O’Reilly) will accept used batteries for recycling—often for free. Some even offer a small rebate (e.g., $10) when you bring in an old battery with your new purchase.
When transporting the old battery, place it in a sturdy plastic bin or battery carrier to prevent leaks. Keep it upright and secure it in your vehicle to avoid spills.
Tips for Maintaining Your New Battery
To get the most life out of your new SUV battery, follow these maintenance tips:
- Drive regularly: Short trips don’t allow the alternator to fully recharge the battery. Take longer drives weekly if possible.
- Turn off accessories when parked: Avoid leaving lights, radio, or phone chargers on when the engine is off.
- Check terminals monthly: Look for corrosion and clean as needed.
- Use a battery maintainer: If you don’t drive often, a trickle charger or maintainer can keep the battery charged.
- Inspect the charging system: Have your alternator and voltage regulator checked during routine maintenance.
When to Call a Professional
While changing a SUV battery is generally DIY-friendly, there are situations where it’s best to call a mechanic:
- The battery is located in a hard-to-reach area (e.g., under the rear seat or behind panels).
- Your SUV has a start-stop system or advanced electronics that require special programming.
- You’re uncomfortable working with electrical systems or heavy objects.
- The battery tray or cables are damaged and need repair.
Many dealerships and repair shops offer battery replacement services for $100–$200, including installation and recycling.
Conclusion
Learning how to change a SUV battery is a valuable skill that saves money, builds confidence, and keeps your vehicle running reliably. With the right tools, safety precautions, and step-by-step guidance, you can complete the job in under an hour.
Remember to always disconnect the negative terminal first, handle the battery with care, and dispose of the old one responsibly. Regular maintenance and attention to warning signs will help you avoid unexpected breakdowns.
Now that you know how to change a SUV battery, you’re ready to tackle this common repair with ease. Keep this guide handy for future reference, and don’t hesitate to reach out to a professional if you run into challenges. Safe driving!