
Changing brake pads in a newer Ford SUV is easier than you think—and it can save you hundreds at the mechanic. This guide walks you through the entire process safely and clearly, from gathering tools to testing your brakes afterward. Whether you drive a Ford Explorer, Edge, or Escape, you’ll gain the confidence to do it yourself.
Key Takeaways
- Safety first: Always use jack stands and wheel chocks when lifting your SUV—never rely solely on a jack.
- Use the right tools: A lug wrench, C-clamp, socket set, and torque wrench are essential for a smooth job.
- Inspect components: Check rotors, calipers, and brake fluid while replacing pads to avoid future issues.
- Brake-in new pads properly: Follow a specific driving pattern after installation to ensure optimal performance and longevity.
- Know your model: Newer Ford SUVs may have electronic parking brakes that require special steps or tools.
- Don’t ignore warning signs: Squealing, grinding, or a soft pedal mean it’s time to act—don’t wait.
- Dispose of old parts responsibly: Recycle brake pads and clean up brake dust safely to protect your health and the environment.
How to Change Brake Pads in a Newer Ford SUV
If you drive a newer Ford SUV—like the Explorer, Edge, Escape, or Expedition—you know how important reliable brakes are. Over time, brake pads wear down, and replacing them is one of the most essential maintenance tasks you can do. The good news? You don’t need to visit a mechanic every time your brakes start squeaking. With the right tools, a little patience, and this step-by-step guide, you can change your brake pads at home and save serious money.
In this guide, you’ll learn exactly how to change brake pads in a newer Ford SUV safely and effectively. We’ll cover everything from diagnosing worn pads to installing new ones and testing your brakes afterward. Whether you’re a first-time DIYer or a seasoned home mechanic, this guide is designed to be clear, practical, and easy to follow.
We’ll focus on common models from 2015 onward, but most steps apply to a wide range of Ford SUVs. Keep in mind that some newer models come with electronic parking brakes (EPB), which may require extra steps or a scan tool to retract the caliper piston. Don’t worry—we’ll explain how to handle that too.
By the end of this guide, you’ll not only have fresh brake pads but also the confidence to tackle other maintenance tasks on your Ford SUV. Let’s get started!
Why Change Your Brake Pads?
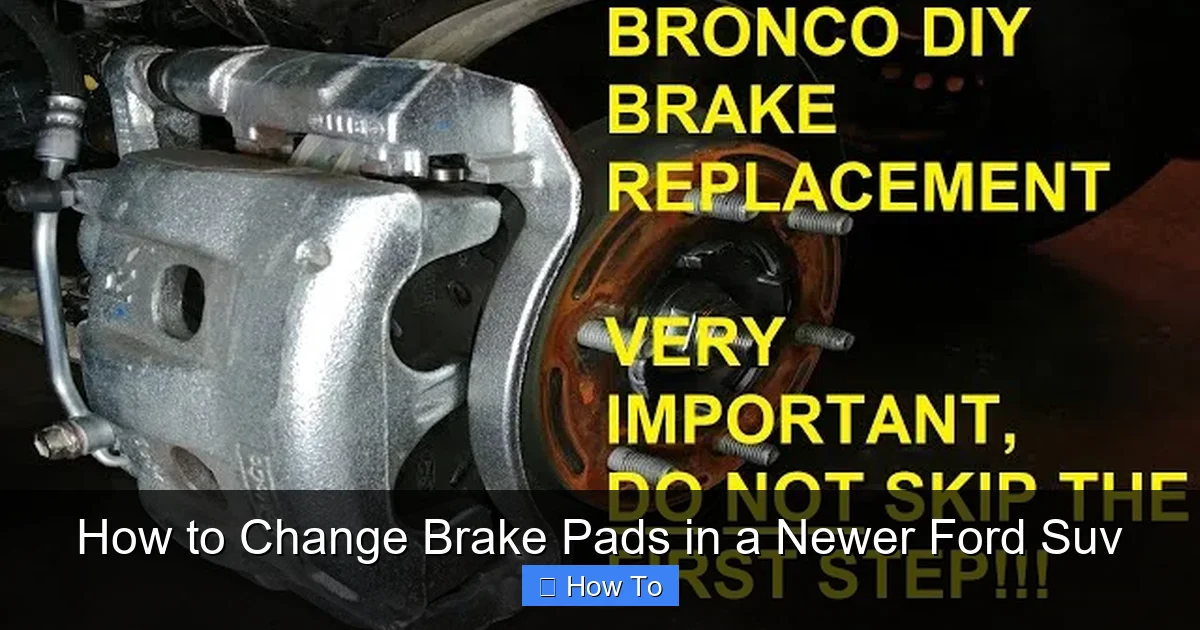
Visual guide about How to Change Brake Pads in a Newer Ford Suv
Image source: brakepadboss.com
Brake pads are the friction material that presses against your brake rotors to slow or stop your vehicle. Every time you press the brake pedal, these pads wear down a little. Over time, they become too thin to stop your SUV safely.
Most Ford SUVs have built-in wear indicators—small metal tabs that squeal when the pads are worn down. If you hear a high-pitched squeal when braking, it’s time to check your pads. Ignoring this sound can lead to metal-on-metal contact, which damages your rotors and makes braking less effective.
Replacing brake pads early saves you money. Worn pads can warp rotors, requiring costly resurfacing or replacement. Plus, driving with bad brakes is dangerous—especially in an SUV, which weighs more and needs more stopping power.
Changing brake pads yourself is also a smart financial move. A professional brake job can cost $200–$400 per axle. With this guide, you can do it for under $100 in parts—and in about an hour or two.
Tools and Materials You’ll Need
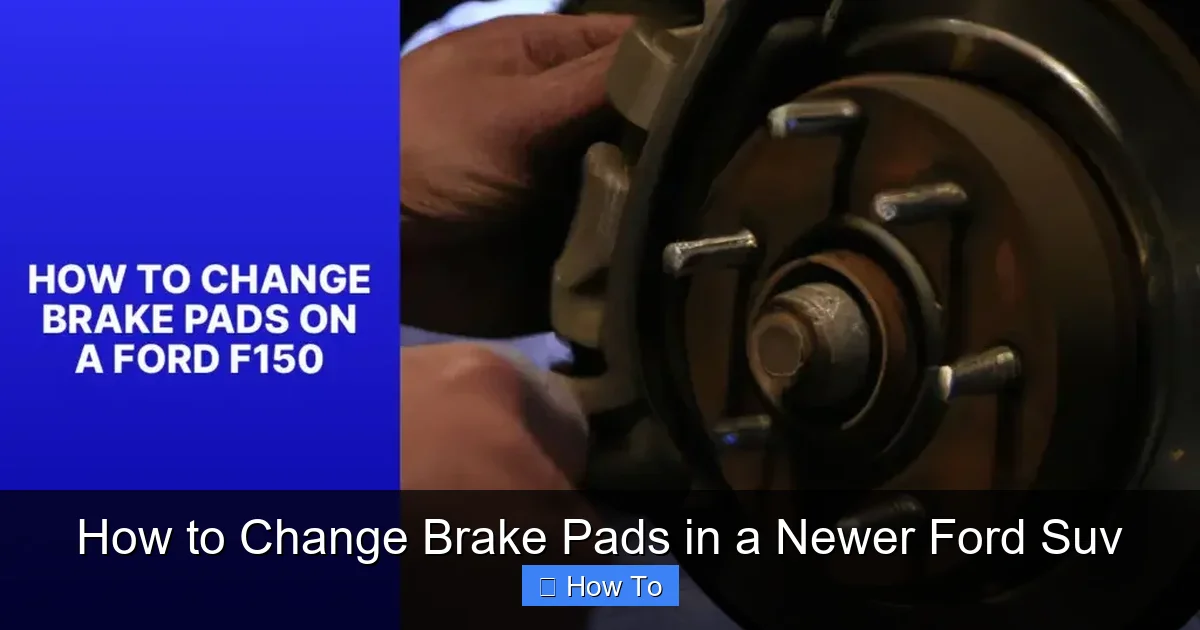
Visual guide about How to Change Brake Pads in a Newer Ford Suv
Image source: brakepadboss.com
Before you begin, gather all the tools and supplies. Having everything ready will make the job faster and safer.
Here’s what you’ll need:
- Lug wrench or tire iron – To remove the lug nuts
- Jack and jack stands – Never work under a vehicle supported only by a jack
- Wheel chocks – Place behind the wheels that stay on the ground
- Socket wrench set – Usually 13mm, 15mm, or 18mm sockets for caliper bolts
- C-clamp or brake caliper tool – To compress the caliper piston
- Torque wrench – To tighten bolts to the correct specification
- Brake cleaner spray – To clean dust and debris
- New brake pads – Make sure they’re compatible with your Ford SUV model and year
- Gloves and safety glasses – Brake dust is harmful if inhaled or touched
- Brake grease (optional) – For lubricating pad contact points
- Wire brush (optional) – To clean the caliper bracket
If your Ford SUV has an electronic parking brake (common on 2018+ models), you may also need:
- OBD2 scan tool with EPB function – To retract the caliper piston electronically
- Or a manual override method – Some models allow manual retraction with a hex key
Always check your owner’s manual or a repair guide for your specific model to confirm the tools needed.
Safety First: Preparing Your Vehicle
Safety is the most important part of any DIY repair. Follow these steps carefully before you start working.
Park on a Flat, Stable Surface
Choose a level driveway or garage floor. Avoid slopes or soft ground. Turn off the engine and engage the parking brake.
Use Wheel Chocks
Place wheel chocks behind the tires that will remain on the ground. For example, if you’re working on the front brakes, chock the rear wheels. This prevents the SUV from rolling.
Lift the Vehicle Safely
Use the jack to lift one corner of the SUV at a time. Always lift at the manufacturer-recommended jacking points—usually marked by reinforced areas under the frame. Never lift by the oil pan, suspension, or body panels.
Once the tire is off the ground, place a jack stand under the frame near the jacking point. Lower the jack slightly so the weight rests on the stand. Repeat for the other side if changing both front or rear pads.
Never get under a vehicle supported only by a jack. Jacks can fail. Jack stands are essential.
Remove the Wheel
Use the lug wrench to loosen the lug nuts while the tire is still on the ground. Turn them counterclockwise. Once loose, lift the wheel off and set it aside.
Step-by-Step: Removing the Old Brake Pads
Now that your SUV is safely lifted and the wheel is off, it’s time to access the brake components.
Locate the Brake Caliper
The brake caliper is the part that holds the brake pads and squeezes them against the rotor. It’s usually mounted over the top of the rotor and held in place by two bolts.
Remove the Caliper Bolts
Use your socket wrench to remove the two caliper mounting bolts. These are typically 13mm, 15mm, or 18mm. Keep the bolts in a safe place—you’ll need them later.
Tip: If the bolts are tight, spray a little penetrating oil and wait a few minutes before trying again.
Pivot the Caliper Up
Once the bolts are out, carefully pivot the caliper up and away from the rotor. Don’t let it hang by the brake hose—this can damage the line. Use a bungee cord or wire to secure it to the suspension or frame.
Remove the Old Brake Pads
The brake pads sit inside the caliper bracket. Slide them out from the sides. Note how they’re positioned—some have wear indicators or anti-rattle clips. Take a photo if needed.
Inspect the pads. If they’re less than 1/4 inch thick (about the width of a fingernail), they need replacing. Uneven wear or glazing (shiny spots) can indicate other issues.
Compressing the Caliper Piston
Before installing new pads, you must compress the caliper piston to make room. The piston pushes the pads against the rotor when you brake, and it extends as the pads wear.
Check for Electronic Parking Brake (EPB)
On newer Ford SUVs (especially 2018+), the rear calipers may have an electronic parking brake. If so, you’ll need to retract the piston electronically.
Use an OBD2 scan tool with EPB function to put the system in “service mode.” Follow the tool’s instructions to retract the piston. If you don’t have a scan tool, some models allow manual retraction with a hex key inserted into the piston.
Warning: Forcing the piston in on an EPB-equipped caliper can damage the motor.
Compress the Piston (Non-EPB Models)
For standard calipers, use a C-clamp to compress the piston.
Place the old brake pad (or a piece of wood) against the piston to protect it. Screw the C-clamp over the caliper body and tighten slowly until the piston is fully retracted.
Tip: Open the brake fluid reservoir cap slightly to relieve pressure, but don’t let fluid spill out.
Installing the New Brake Pads
Now that the piston is compressed, you can install the new pads.
Clean the Caliper Bracket
Use a wire brush and brake cleaner to remove rust, dirt, and old grease from the caliper bracket. This ensures the new pads slide smoothly.
Lubricate Contact Points (Optional but Recommended)
Apply a thin layer of brake grease to the back of the pads and the contact points on the caliper bracket. This reduces noise and prevents squealing.
Never get grease on the friction surface of the pads or rotor.
Insert the New Pads
Slide the new brake pads into the caliper bracket. Make sure they’re seated properly and facing the right direction. The friction material should face the rotor.
If your pads came with new clips or shims, install them now.
Reattach the Caliper
Pivot the caliper back over the rotor and align it with the mounting holes. Insert the caliper bolts and hand-tighten first.
Use your torque wrench to tighten the bolts to the manufacturer’s specification—usually between 20–30 ft-lbs for most Ford SUVs. Over-tightening can strip threads.
Reinstall the Wheel and Lower the Vehicle
With the new pads in place, it’s time to put everything back together.
Mount the Wheel
Place the wheel back on the hub and hand-tighten the lug nuts in a star pattern. This ensures even pressure.
Lower the Vehicle
Use the jack to lift the SUV slightly, remove the jack stand, and lower the vehicle completely.
Tighten the Lug Nuts
With the SUV on the ground, use the torque wrench to tighten the lug nuts to the correct specification—usually 100 ft-lbs for most Ford SUVs. Again, use a star pattern.
Bedding In the New Brake Pads
New brake pads need to be “bedded in” to transfer a thin, even layer of friction material onto the rotor. This ensures smooth, quiet, and effective braking.
Drive Gently at First
For the first 100 miles, avoid hard braking. Drive normally but leave extra space between vehicles.
Perform a Series of Braking Stops
Find a safe, empty road. Drive to about 35 mph and apply the brakes firmly (but not to a full stop) to slow to 10 mph. Repeat this 5–10 times.
Let the brakes cool for 10–15 minutes. This process heats the pads and transfers material to the rotor.
Avoid Coming to a Complete Stop
During bedding, try not to stop completely unless necessary. This prevents uneven deposits.
After bedding, your brakes should feel smooth and responsive.
Troubleshooting Common Issues
Even with careful work, problems can happen. Here’s how to fix common issues.
Brake Pedal Feels Spongy
This usually means air got into the brake lines. You may need to bleed the brakes. Use a brake bleeder kit or have a helper pump the pedal while you open the bleeder valve.
Brake Noise (Squealing or Grinding)
Squealing can mean the pads aren’t seated properly or lack lubrication. Recheck the installation and apply brake grease to contact points.
Grinding means metal is touching metal—likely the pads are worn through. Inspect immediately.
Brake Warning Light Stays On
On newer Ford SUVs, the brake warning light may stay on if the electronic parking brake wasn’t reset properly. Use a scan tool to clear the code or reset the system.
Uneven Pad Wear
If one pad wears faster than the other, the caliper may be sticking. Clean and lubricate the slide pins, or replace the caliper if necessary.
When to Seek Professional Help
While changing brake pads is a DIY-friendly job, some situations require a mechanic.
- You’re uncomfortable working on brakes
- The rotor is deeply scored or warped
- You don’t have the right tools (especially for EPB systems)
- Brake fluid is low or contaminated
- You notice fluid leaks
Brakes are critical for safety. If you’re unsure, it’s better to get professional help.
Final Tips for Long-Lasting Brakes
To keep your brakes in top shape:
- Check pad thickness every 10,000 miles
- Replace pads in pairs (both front or both rear)
- Inspect rotors for grooves or warping
- Use quality brake pads—cheap ones wear faster and may contain harmful materials
- Keep brake fluid fresh—replace every 2–3 years
Conclusion
Changing brake pads in a newer Ford SUV is a manageable task that saves money and gives you peace of mind. With the right tools, safety precautions, and this guide, you can replace your pads confidently and correctly.
Remember: safety comes first. Always use jack stands, wear gloves and glasses, and follow torque specs. Take your time, double-check your work, and bed in the new pads properly.
By doing this job yourself, you’re not just saving cash—you’re learning more about your vehicle and becoming a more capable driver. So the next time your brakes start to squeal, don’t panic. Grab your tools, follow these steps, and get back on the road with confidence.
Your Ford SUV—and your wallet—will thank you.