

Changing the cabin filter in your 2006 Mercedes SUV is a simple DIY task that improves air quality and HVAC performance. This guide walks you through locating, removing, and replacing the filter in under 30 minutes—no mechanic required.
Key Takeaways
- Locate the cabin filter behind the glove box: In most 2006 Mercedes SUVs (like the ML-Class or GL-Class), the filter housing is accessed by removing the glove compartment.
- Use the correct filter type: Always replace with a genuine Mercedes-Benz or high-quality aftermarket cabin air filter (e.g., Mann, Bosch, or Hengst) that matches your model.
- Check airflow direction: The filter has an arrow indicating airflow—install it pointing downward or toward the blower motor for proper function.
- Inspect for debris and mold: While replacing, check the filter housing for leaves, dirt, or moisture that could affect performance or cause odors.
- Reset the service reminder (if applicable): Some models may display a maintenance message—use the onboard menu or a diagnostic tool to reset it.
- Replace every 15,000–30,000 miles: Follow your owner’s manual or climate conditions; dusty areas may require more frequent changes.
- Wear gloves and safety glasses: Protect yourself from dust, mold, and sharp edges during the process.
How to Change Cabin Filter 2006 Mercedes SUV
If you own a 2006 Mercedes SUV—whether it’s an ML350, ML500, GL450, or another model from that era—you know how important clean, fresh air is inside your cabin. Over time, the cabin air filter gets clogged with dust, pollen, leaves, and other pollutants. This not only reduces airflow from your vents but can also lead to musty odors, reduced HVAC efficiency, and even health issues for sensitive passengers.
The good news? Replacing the cabin filter in your 2006 Mercedes SUV is one of the easiest and most cost-effective maintenance tasks you can do yourself. You don’t need special tools, a lift, or a mechanic. With just a few basic items and about 20–30 minutes of your time, you can restore clean air flow and protect your vehicle’s climate control system.
In this comprehensive guide, we’ll walk you through every step of changing the cabin filter in your 2006 Mercedes SUV. Whether you’re a seasoned DIYer or a first-timer, we’ve got you covered. We’ll explain where the filter is located, what tools you’ll need, how to remove the old filter safely, how to install the new one correctly, and how to avoid common mistakes. Plus, we’ll share tips for troubleshooting issues and maintaining your HVAC system long-term.
By the end of this guide, you’ll not only have a brand-new cabin filter installed, but you’ll also feel confident tackling other simple car maintenance tasks. Let’s get started!
Why Replace the Cabin Filter?
Before diving into the how-to, it’s important to understand why this small component plays such a big role in your driving experience.
The cabin air filter is designed to clean the air entering your vehicle through the heating, ventilation, and air conditioning (HVAC) system. It traps dust, pollen, soot, mold spores, and even exhaust fumes before they reach the cabin. Over time, this filter becomes saturated and loses its effectiveness.
Here are some signs that your cabin filter needs replacing:
- Reduced airflow from vents: Even on high fan settings, you notice weaker airflow.
- Unpleasant odors: A musty or sour smell when you turn on the A/C or heat.
- Increased allergy symptoms: Sneezing, itchy eyes, or congestion while driving.
- Visible dirt or debris: When you peek into the filter housing, you see a thick layer of grime.
- Hazy windows: Poor defrosting performance due to restricted airflow.
Ignoring a dirty cabin filter can also strain your blower motor and reduce the efficiency of your A/C system. In extreme cases, moisture buildup in a clogged filter can lead to mold growth, which is not only smelly but potentially harmful.
For 2006 Mercedes SUVs, Mercedes-Benz recommends replacing the cabin filter every 15,000 to 30,000 miles, or once a year—whichever comes first. If you live in a dusty area, drive frequently on dirt roads, or have pets, you may need to replace it more often.
Tools and Materials You’ll Need
One of the best things about changing the cabin filter in a 2006 Mercedes SUV is that it requires minimal tools. Here’s what you’ll need:
- New cabin air filter: Make sure it’s compatible with your specific model (e.g., ML350, GL450). Look for OEM (original equipment manufacturer) parts or high-quality aftermarket brands like Mann, Bosch, or Hengst.
- Phillips-head screwdriver: For removing screws on the glove box or trim panels.
- Flathead screwdriver (optional): Useful for prying off clips or panels gently.
- Flashlight: To illuminate the filter housing, especially if it’s dark inside.
- Gloves: Nitrile or latex gloves protect your hands from dust and mold.
- Safety glasses: Prevent debris from getting into your eyes.
- Shop vacuum or rag: For cleaning out the filter housing.
- Owner’s manual (optional): For model-specific guidance or torque specs.
You can find replacement filters at auto parts stores, Mercedes dealerships, or online retailers like Amazon, RockAuto, or FCP Euro. Prices typically range from $15 to $40, depending on the brand and whether it’s a standard or activated carbon filter (which offers better odor and gas filtration).
Step-by-Step Guide to Changing the Cabin Filter
Now that you’re prepared, let’s walk through the process step by step. We’ll focus on the most common 2006 Mercedes SUV models—primarily the ML-Class and GL-Class—but the procedure is similar across the lineup.
Step 1: Prepare Your Vehicle
Start by parking your SUV on a flat surface and turning off the engine. Engage the parking brake for safety. Open the driver’s side door and locate the glove box on the passenger side.
Before you begin, put on your gloves and safety glasses. Even if the filter isn’t visibly dirty, there could be mold or fine particles that you don’t want to inhale or touch.
It’s also a good idea to clean the area around the glove box with a damp cloth to prevent dust from falling into the HVAC system when you open the housing.
Step 2: Remove the Glove Box
The cabin filter in 2006 Mercedes SUVs is typically located behind the glove box. To access it, you’ll need to remove the glove box assembly.
Here’s how:
- Open the glove box fully. You’ll see two stop arms on the sides that prevent it from falling out.
- Press the stop arms inward. On most models, these are plastic tabs that you can squeeze with your fingers. Gently push them toward the center of the glove box to release the stops.
- Lower the glove box slowly. Once the stops are disengaged, the glove box will drop down. Be careful—it’s attached by a damper (a small hydraulic arm) on the right side.
- Disconnect the damper (if needed). Some models have a small clip or pin connecting the damper to the glove box. Use a flathead screwdriver to gently pry it loose. Don’t force it—most are designed to pop off with light pressure.
- Remove any screws or clips. Look for Phillips-head screws along the top or sides of the glove box. Remove them using your screwdriver. Some models also have plastic push-pins—press the center pin down and pull the clip out.
Once all fasteners are removed, carefully lift the glove box out and set it aside. You should now have clear access to the cabin filter housing.
Step 3: Locate the Cabin Filter Housing
Behind the glove box, you’ll see a rectangular plastic cover—this is the cabin filter housing. It’s usually black or gray and has a series of clips or screws holding it in place.
The housing is typically located on the passenger side of the firewall, near the center console. In some models, it may be slightly recessed or covered by a trim panel.
Use your flashlight to get a clear view. You should see:
- A plastic cover with tabs or screws
- A rubber gasket around the edge (to seal the housing)
- An arrow or label indicating airflow direction (important for installation)
If you’re having trouble finding it, consult your owner’s manual or look for a diagram online specific to your model.
Step 4: Remove the Old Cabin Filter
Now it’s time to remove the old filter.
- Open the housing cover. Depending on your model, the cover may be held by:
- Plastic clips: Gently pry them open with a flathead screwdriver or your fingers.
- Screws: Use your Phillips-head screwdriver to remove them.
Be careful not to break the clips—they’re often brittle with age.
- Pull out the old filter. Slide the filter straight out. It may be snug, especially if it’s been in place for a long time. Wiggle it gently if needed.
- Inspect the filter and housing. Look for:
- Heavy dirt, leaves, or debris
- Mold or mildew (dark spots or fuzzy growth)
- Moisture or water stains
- Damage to the filter frame or housing
If you see mold or standing water, you may have a clogged drain or leak—address this before installing the new filter.
- Clean the housing. Use a shop vacuum or a damp rag to remove any loose debris. Avoid using water directly—excess moisture can promote mold growth. If there’s stubborn grime, use a mild cleaner and let it dry completely.
This is also a good time to check the blower motor area (if accessible) for dust buildup. A clean system ensures optimal airflow.
Step 5: Install the New Cabin Filter
With the housing clean and the old filter removed, it’s time to install the new one.
- Check the airflow direction. The new filter will have an arrow printed on the frame. This indicates the direction of airflow—usually pointing downward or toward the blower motor. Installing it backward will restrict airflow and reduce efficiency.
- Align the filter correctly. Slide the new filter into the housing, making sure it fits snugly. The arrow should match the direction shown on the housing or in your owner’s manual.
- Secure the housing cover. Reattach the cover by snapping the clips back into place or reinstalling the screws. Make sure the rubber gasket is seated properly to prevent air leaks.
- Double-check the installation. Give the filter a gentle tug to ensure it’s secure. The cover should close flush with no gaps.
Pro tip: Take a photo of the old filter before removing it. This can help you remember the orientation and condition for future reference.
Step 6: Reinstall the Glove Box
Now that the new filter is in place, it’s time to put everything back together.
- Reattach the glove box. Carefully lift it back into position. Reconnect the damper arm if you removed it—snap it back into place or reinsert the pin.
- Secure with screws or clips. Reinstall any screws or push-pins you removed earlier. Tighten screws snugly but don’t over-tighten—plastic threads can strip easily.
- Test the glove box movement. Open and close it a few times to ensure it moves smoothly and doesn’t bind.
If the glove box feels loose or wobbly, double-check that all fasteners are properly secured.
Step 7: Test the HVAC System
Before you call it a day, test your HVAC system to make sure everything is working correctly.
- Start the engine. Turn on the A/C or heat and set the fan to high.
- Check airflow. You should notice improved airflow from the vents within a few seconds.
- Listen for unusual noises. If you hear rattling, grinding, or whistling, the filter may not be seated properly or there could be debris in the system.
- Smell the air. The air should feel fresher and cleaner. If you still notice odors, there may be mold deeper in the system or a clogged evaporator drain.
If airflow is still weak, double-check that the filter is installed correctly and that the housing is sealed.
Troubleshooting Common Issues
Even with careful installation, you might run into a few hiccups. Here’s how to handle common problems:
Problem: Filter Doesn’t Fit Properly
If the new filter is too tight or too loose, double-check the part number. Some aftermarket filters may have slight dimensional differences. Compare it side-by-side with the old one. If it’s clearly the wrong size, return it and get the correct model.

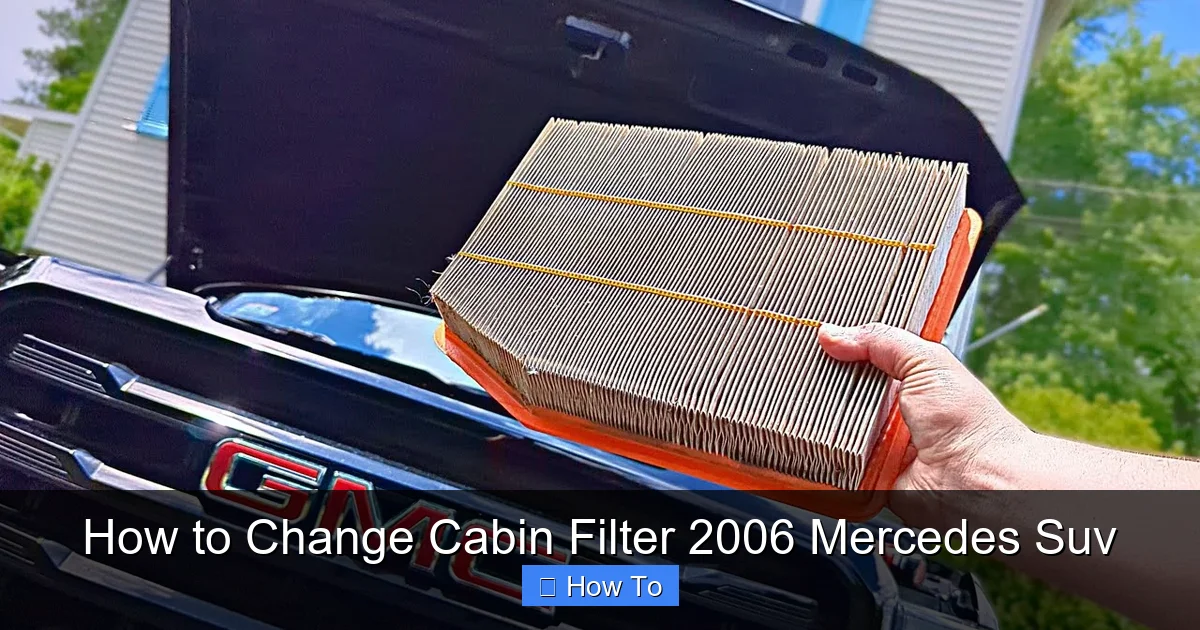
Visual guide about How to Change Cabin Filter 2006 Mercedes Suv
Image source: fram.com
Visual guide about How to Change Cabin Filter 2006 Mercedes Suv
Image source: i.ytimg.com
Problem: Glove Box Won’t Close
This usually happens if the damper isn’t reconnected or the filter housing is misaligned. Make sure all components are seated correctly and nothing is blocking the glove box path.
Problem: Musty Smell Persists
A new filter won’t eliminate odors caused by mold in the evaporator or ducts. Consider using an HVAC cleaner spray or scheduling a professional cleaning. Also, check the drain tube under the vehicle for clogs.
Problem: Reduced Airflow After Installation
Ensure the filter arrow is pointing in the correct direction. Also, verify that the housing cover is fully closed and sealed. A loose cover can cause air to bypass the filter.
Problem: Service Light Still On
Some 2006 Mercedes SUVs have a maintenance reminder that tracks cabin filter replacement. To reset it:
- Turn the ignition to position 2 (without starting the engine).
- Press and hold the “Reset” button on the instrument cluster.
- Navigate to the service menu using the steering wheel controls.
- Select “Cabin Filter” and confirm the reset.
If you’re unsure, consult your owner’s manual or use an OBD2 scanner with Mercedes software.
Maintenance Tips for Long-Term Performance
Changing the cabin filter is just one part of maintaining a healthy HVAC system. Here are a few tips to keep your 2006 Mercedes SUV breathing easy:
- Replace the engine air filter regularly: A dirty engine air filter can reduce performance and fuel economy. Check it every 15,000 miles.
- Use the recirculation mode wisely: In heavy traffic or polluted areas, switch to recirculation to reduce outside contaminants. But don’t use it for long periods—it can reduce oxygen levels and cause drowsiness.
- Run the A/C periodically: Even in winter, run the A/C for 10 minutes every few weeks to keep the system lubricated and prevent seals from drying out.
- Clean the exterior intake vents: Leaves and debris can block the fresh air intake near the windshield wipers. Clear them regularly.
- Consider an activated carbon filter: These offer superior odor and gas filtration, ideal for city driving or pet owners.
Conclusion
Changing the cabin filter in your 2006 Mercedes SUV is a quick, affordable, and highly effective way to improve your driving experience. With just a few tools and a little time, you can enjoy cleaner air, better HVAC performance, and peace of mind knowing your vehicle is well-maintained.
By following this guide, you’ve learned how to locate the filter, remove the glove box, replace the filter correctly, and troubleshoot common issues. You’ve also picked up valuable tips for long-term care of your climate control system.
Remember: a clean cabin filter isn’t just about comfort—it’s about health, safety, and vehicle longevity. Make it a habit to check and replace your filter according to your driving conditions, and your Mercedes will thank you with years of reliable service.
So next time you’re due for a cabin filter change, don’t call the mechanic. Grab your tools, follow these steps, and take pride in doing it yourself. Your lungs—and your wallet—will thank you.