
Changing the headlight in a 2006 Highlander SUV is a simple DIY task that saves time and money. This guide walks you through every step, from gathering tools to testing your new bulb, with clear instructions and helpful tips.
Key Takeaways
- Gather the right tools: You’ll need a replacement bulb (H11 for low beam, 9005 for high beam), gloves, and a clean cloth.
- Work safely: Always disconnect the battery before starting to avoid electrical shock or short circuits.
- Access the headlight assembly: Open the hood and locate the back of the headlight housing—no need to remove the bumper.
- Handle bulbs carefully: Never touch the glass with bare hands—oil residue can shorten bulb life.
- Test before reassembly: Turn on the headlights after installation to confirm proper function.
- Check alignment: Adjust the beam height if needed using the built-in adjustment screws.
- Replace in pairs: For even lighting, consider replacing both headlights at the same time.
How to Change Headlight in 2006 Highlander SUV
If you’ve noticed your 2006 Toyota Highlander’s headlights are dim, flickering, or completely out, it’s likely time for a replacement. The good news? You don’t need to visit a mechanic or spend $100+ on labor. Changing the headlight bulb in your 2006 Highlander SUV is a straightforward DIY project that most car owners can complete in under 30 minutes.
In this comprehensive guide, we’ll walk you through every step of replacing your headlight bulb—safely, efficiently, and correctly. Whether you’re a first-time DIYer or a seasoned car tinkerer, you’ll find clear instructions, practical tips, and troubleshooting advice to ensure your Highlander shines bright again. We’ll cover everything from identifying the right bulb type to testing your new light and adjusting the beam alignment.
By the end of this guide, you’ll not only have a working headlight but also the confidence to handle future maintenance tasks on your own. Let’s get started!
Why Replace Your Headlight Bulb?
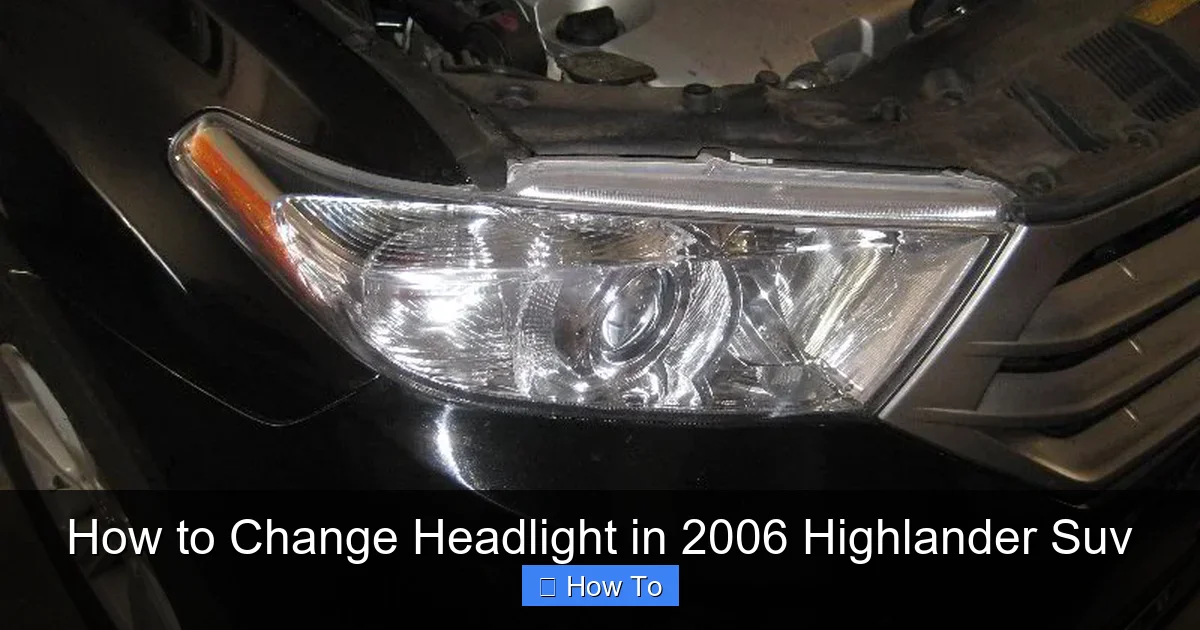
Visual guide about How to Change Headlight in 2006 Highlander Suv
Image source: i.ytimg.com
Headlights are essential for safe driving, especially at night or in poor weather conditions. Over time, halogen bulbs (the standard type used in the 2006 Highlander) naturally burn out due to heat and usage. Dimming or failure can reduce visibility, increase accident risk, and even result in a traffic ticket.
Replacing a headlight bulb promptly ensures:
– Better nighttime visibility
– Improved safety for you and other drivers
– Compliance with local traffic laws
– Prevention of moisture buildup in the headlight assembly (which can occur if a seal is compromised)
Plus, doing it yourself saves money. A professional replacement might cost $50–$150 per bulb including labor, while a new bulb costs $10–$30. With just a few tools and a little patience, you can do it for a fraction of the price.
Tools and Materials You’ll Need

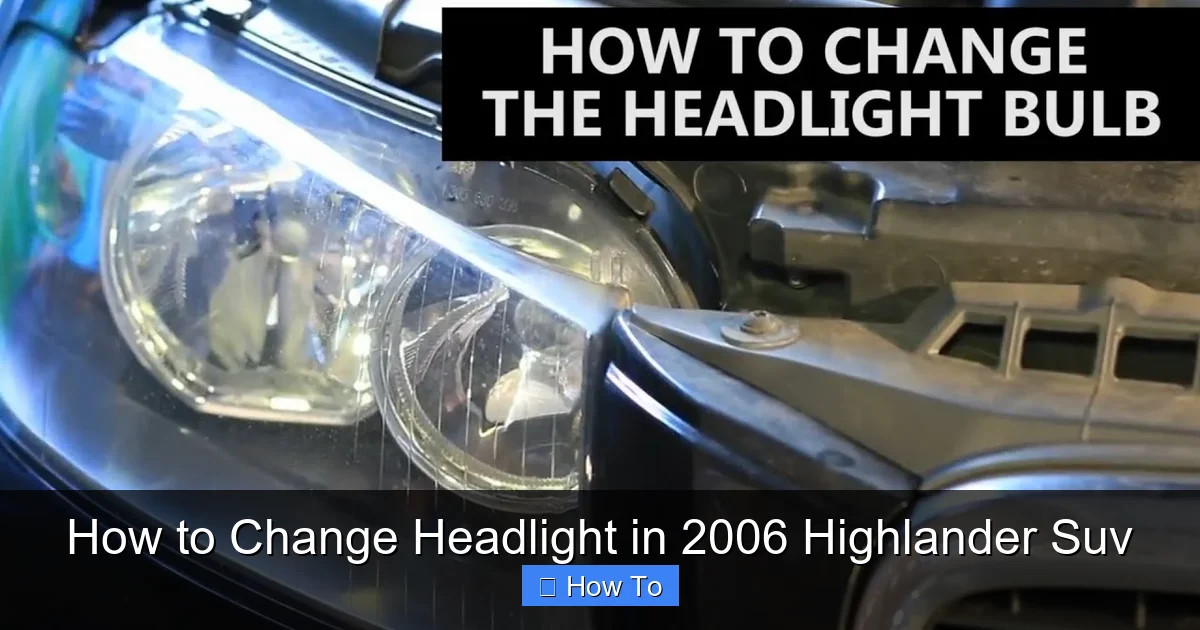
Visual guide about How to Change Headlight in 2006 Highlander Suv
Image source: i.ytimg.com
Before you begin, gather the following items to make the process smooth and safe:
- Replacement bulb(s): The 2006 Highlander uses an H11 bulb for the low beam and a 9005 bulb for the high beam. Check your owner’s manual or the existing bulb to confirm. It’s wise to replace both bulbs at the same time to ensure even lighting.
- Clean gloves: Nitrile or cotton gloves prevent oil from your skin from touching the bulb glass.
- Clean microfiber cloth: For wiping down components and handling the bulb.
- Screwdriver (Phillips head): May be needed for minor adjustments or access.
- Flashlight: Helps illuminate the engine bay while working.
- Owner’s manual: Useful for reference, especially if you’re unsure about bulb type or access points.
Optional but helpful:
– A small tray or container to hold screws
– Electrical contact cleaner (if connectors look dirty)
– Zip ties or tape to secure loose wires temporarily
Safety First: Precautions Before You Start
Working under the hood involves electrical components and moving parts, so safety is critical.
Disconnect the Battery
To prevent accidental short circuits or electrical shock, disconnect the negative terminal of your car battery. Use a wrench to loosen the clamp and carefully remove the cable. Tuck it away from the terminal so it doesn’t accidentally reconnect while you’re working.
Let the Engine Cool
If you’ve recently driven your Highlander, allow the engine and headlight housing to cool for at least 30 minutes. Hot components can cause burns, and warm bulbs are more fragile.
Work in a Well-Lit Area
Choose a garage or shaded driveway with good lighting. Natural daylight is ideal, but a work lamp can help if you’re working at night.
Wear Gloves and Eye Protection
Even though the risk is low, wearing gloves protects your hands and prevents oil transfer to the bulb. Safety glasses are optional but recommended if you’re working in tight spaces.
Step-by-Step: How to Access the Headlight Assembly
The 2006 Highlander features a front-end design that allows relatively easy access to the headlight bulbs without removing the bumper or headlight assembly. Here’s how to get to them.
Open the Hood
Pull the hood release lever inside the cabin (usually near the driver’s side footwell), then go to the front of the vehicle and lift the hood. Secure it with the prop rod.
Locate the Headlight Housing
Look at the back of the headlight assembly on the side you want to replace. You’ll see a round or rectangular plastic cover with wires coming out—this is the bulb access panel.
On the 2006 Highlander, the driver’s side (left) and passenger’s side (right) are accessed the same way. The high beam and low beam bulbs are housed separately, so you may need to repeat the process for each if replacing both.
Remove the Access Cover
The cover is held in place by a twist-lock mechanism. Gently turn the cover counterclockwise (usually about 1/4 turn) until it releases. Pull it straight out. Some models may have a small clip or screw—check your owner’s manual if it doesn’t twist easily.
Set the cover aside in a safe place where it won’t get lost or damaged.
Step-by-Step: Removing the Old Bulb
Now that you have access, it’s time to remove the old bulb.
Disconnect the Wiring Harness
You’ll see a plastic connector attached to the back of the bulb. Press the small tab on the side of the connector and gently pull it straight off. Do not yank or twist—this can damage the wires.
If the connector feels stiff, wiggle it slightly while pulling. Avoid pulling on the wires themselves.
Release the Bulb Retaining Clip
Most 2006 Highlanders use a metal or plastic spring clip to hold the bulb in place. This clip wraps around the base of the bulb and locks it into the housing.
Use your fingers or a flathead screwdriver to carefully pry the clip upward or outward. Once released, the bulb should loosen and come out easily.
Remove the Old Bulb
Gently pull the bulb straight out of the housing. Do not twist or force it—this can crack the glass or damage the socket.
If the bulb is broken, wear gloves and use needle-nose pliers to carefully remove any glass fragments. Be extra cautious not to drop pieces into the housing.
Step-by-Step: Installing the New Bulb
Now for the fun part—installing your new headlight bulb.
Handle the New Bulb Properly
Never touch the glass part of a halogen bulb with your bare fingers. The natural oils from your skin can create hot spots when the bulb heats up, leading to premature failure.
Always hold the bulb by its base or use a clean cloth or gloves.
Insert the New Bulb
Align the tabs on the bulb base with the slots in the headlight housing. Gently push the bulb in until it seats fully.
Make sure it’s oriented correctly—most bulbs only fit one way. If it doesn’t go in easily, don’t force it. Double-check the alignment.
Secure the Retaining Clip
Once the bulb is in place, reattach the metal or plastic clip. Press it firmly over the bulb base until it clicks or snaps into position. Ensure it’s tight and secure—loose clips can cause the bulb to vibrate and fail early.
Reconnect the Wiring Harness
Push the plastic connector back onto the bulb’s electrical contacts until it clicks. Give it a gentle tug to confirm it’s secure.
Reassembly and Testing
With the new bulb installed, it’s time to put everything back together.
Replace the Access Cover
Align the cover with the opening and twist it clockwise until it locks into place. Make sure it’s snug but don’t overtighten—this can crack the plastic.
Reconnect the Battery
Reattach the negative battery cable and tighten the clamp with a wrench. Ensure it’s secure to avoid electrical issues.
Test the Headlight
Turn on your headlights using the switch inside the vehicle. Check that the new bulb lights up properly. Test both low and high beams if applicable.
If the light doesn’t come on:
– Double-check that the bulb is fully seated
– Ensure the wiring harness is connected
– Verify the fuse hasn’t blown (check the fuse box under the dashboard or hood)
Adjusting Headlight Alignment (Optional)
After replacing a bulb, your headlight beam may need adjustment to ensure it’s pointing at the correct height and angle.
Locate the Adjustment Screws
On the 2006 Highlander, the headlight assembly has two adjustment screws—one for vertical alignment (up/down) and one for horizontal (left/right). These are usually located on the top or side of the headlight housing.
Use a Phillips screwdriver to turn them:
– Clockwise to raise or move the beam right
– Counterclockwise to lower or move the beam left
Test on a Flat Surface
Park your Highlander on a level surface about 25 feet from a wall or garage door. Turn on the low beams and observe the beam pattern.
The top of the beam should be slightly below the centerline of the headlight. Adjust as needed for even, safe illumination.
Troubleshooting Common Issues
Even with careful installation, you might run into a few hiccups. Here’s how to fix them.
Bulb Doesn’t Light Up
– Check the fuse: Locate the headlight fuse in the fuse box (refer to your owner’s manual). Replace if blown.
– Inspect the wiring: Look for loose, corroded, or damaged connectors.
– Test the bulb: Try the bulb in the other side to see if it works.
Flickering Light
This usually indicates a poor connection. Re-seat the wiring harness and ensure the bulb is fully locked in place.
Moisture Inside the Headlight
If you see condensation or water droplets inside the lens, the seal may be compromised. This can lead to bulb failure and electrical issues. Consider replacing the entire headlight assembly or having it professionally resealed.
Bulb Burns Out Quickly
Frequent burnout can be caused by:
– Touching the bulb with bare hands
– Voltage fluctuations (faulty alternator)
– Poor-quality bulbs
Use OEM or high-quality aftermarket bulbs and avoid skin contact.
Tips for Long-Lasting Headlights
To maximize the life of your new headlight bulbs and maintain optimal performance:
- Replace bulbs in pairs: Even if only one is out, the other is likely close to failing. Replacing both ensures balanced lighting.
- Use quality bulbs: Cheap bulbs may save a few dollars but often last half as long. Look for reputable brands like Philips, Sylvania, or GE.
- Clean headlight lenses: Over time, plastic lenses can become cloudy. Use a headlight restoration kit to improve clarity and brightness.
- Check alignment regularly: Misaligned headlights can blind other drivers or reduce your visibility. Adjust as needed.
- Inspect wiring annually: Look for frayed wires, corrosion, or loose connections during routine maintenance.
When to Call a Professional
While changing a headlight bulb is generally a DIY-friendly task, there are times when it’s best to seek help:
– If the headlight assembly is cracked or damaged
– If you suspect electrical issues (e.g., flickering, blown fuses)
– If the bulb access is obstructed and requires bumper removal (rare on the 2006 Highlander, but possible with aftermarket parts)
– If you’re uncomfortable working with electrical systems
A certified mechanic can diagnose and fix complex issues quickly and safely.
Conclusion
Changing the headlight in your 2006 Highlander SUV is a simple, rewarding DIY project that enhances your safety and saves you money. With the right tools, a bit of patience, and this step-by-step guide, you can replace your headlight bulb in under 30 minutes.
Remember to prioritize safety—disconnect the battery, wear gloves, and handle bulbs with care. Test your new light thoroughly and adjust the alignment if needed. And don’t forget to replace both bulbs for the best results.
By taking care of your headlights, you’re not just maintaining your vehicle—you’re investing in safer, more confident driving. So the next time your Highlander’s light goes out, don’t panic. Grab a new bulb, follow these steps, and get back on the road with confidence.
Your Highlander—and your wallet—will thank you.