
Changing the oil in your SUV is a simple yet essential maintenance task that can save you hundreds in mechanic fees and keep your engine running smoothly. This guide walks you through every step—from gathering supplies to disposing of old oil—so you can do it confidently at home. With clear instructions and expert tips, even first-timers can master this DIY project.
Key Takeaways
- Regular oil changes extend engine life: Fresh oil reduces friction, prevents overheating, and removes harmful contaminants.
- Use the right oil and filter: Check your owner’s manual for the correct viscosity (e.g., 5W-30) and filter type to match your SUV’s engine.
- Safety first: Always use jack stands or ramps, wear gloves and eye protection, and work on a level surface to prevent accidents.
- Drain oil when warm: Warm oil flows more easily, ensuring a more complete drain and reducing sludge buildup.
- Dispose of used oil responsibly: Take used oil to a recycling center or auto parts store—never pour it down drains or on the ground.
- Reset the oil change light: After replacing the oil, don’t forget to reset your SUV’s maintenance reminder to avoid confusion later.
- Keep a maintenance log: Track oil change dates, mileage, and oil type to stay on schedule and help with resale value.
How to Change Oil in a SUV
Keeping your SUV’s engine in top shape doesn’t require a mechanic’s degree—just a little know-how and the right tools. One of the most important maintenance tasks you can do yourself is changing the oil. It’s simple, cost-effective, and takes less than an hour once you get the hang of it. In this guide, we’ll walk you through every step of how to change oil in a SUV, from preparation to cleanup. Whether you drive a Toyota Highlander, Ford Explorer, or Jeep Grand Cherokee, these instructions apply to most modern SUVs.
By the end of this guide, you’ll know exactly what tools you need, how to safely lift your vehicle, how to drain and replace the oil, and how to dispose of the old oil responsibly. You’ll also learn tips to avoid common mistakes and keep your SUV running smoothly for years to come.
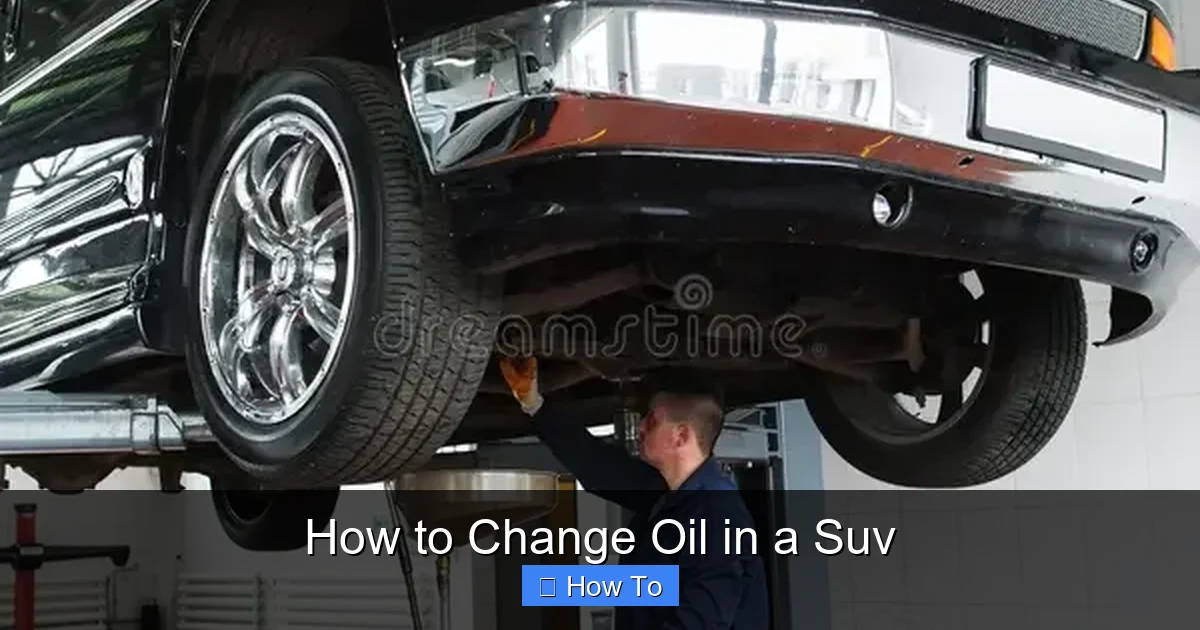
Why Changing Your SUV’s Oil Matters
Visual guide about How to Change Oil in a Suv
Image source: thumbs.dreamstime.com
Engine oil is the lifeblood of your SUV. It lubricates moving parts, reduces friction, cools the engine, and helps clean internal components by carrying away dirt and metal particles. Over time, oil breaks down and becomes contaminated, losing its effectiveness. If you don’t change it regularly, sludge can build up, leading to poor performance, reduced fuel efficiency, and even engine damage.
Most SUV manufacturers recommend changing the oil every 5,000 to 7,500 miles, depending on driving conditions and oil type. If you frequently drive in stop-and-go traffic, tow heavy loads, or drive in extreme temperatures, you may need to change it more often. Regular oil changes are one of the easiest ways to protect your investment and avoid costly repairs down the road.
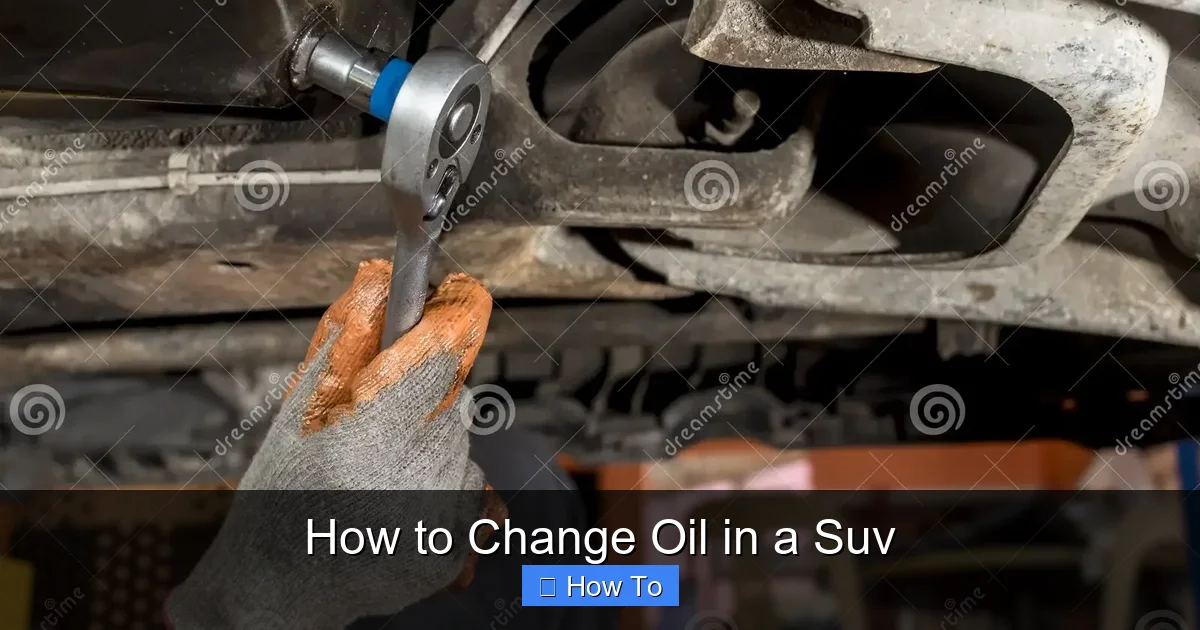
What You’ll Need
Visual guide about How to Change Oil in a Suv
Image source: colliermiller.com.au
Before you start, gather all the necessary tools and supplies. Having everything ready will make the process faster and safer.
Tools and Equipment
- Socket wrench or ratchet set (usually 13mm, 15mm, or 17mm for the drain plug)
- Oil filter wrench (if the filter is tight)
- Funnel
- Oil drain pan (at least 5-quart capacity)
- Jack and jack stands or ramps (never rely on just a jack)
- Gloves (nitrile or mechanic’s gloves)
- Safety glasses
- Rags or paper towels
- Torque wrench (optional but recommended)
Supplies
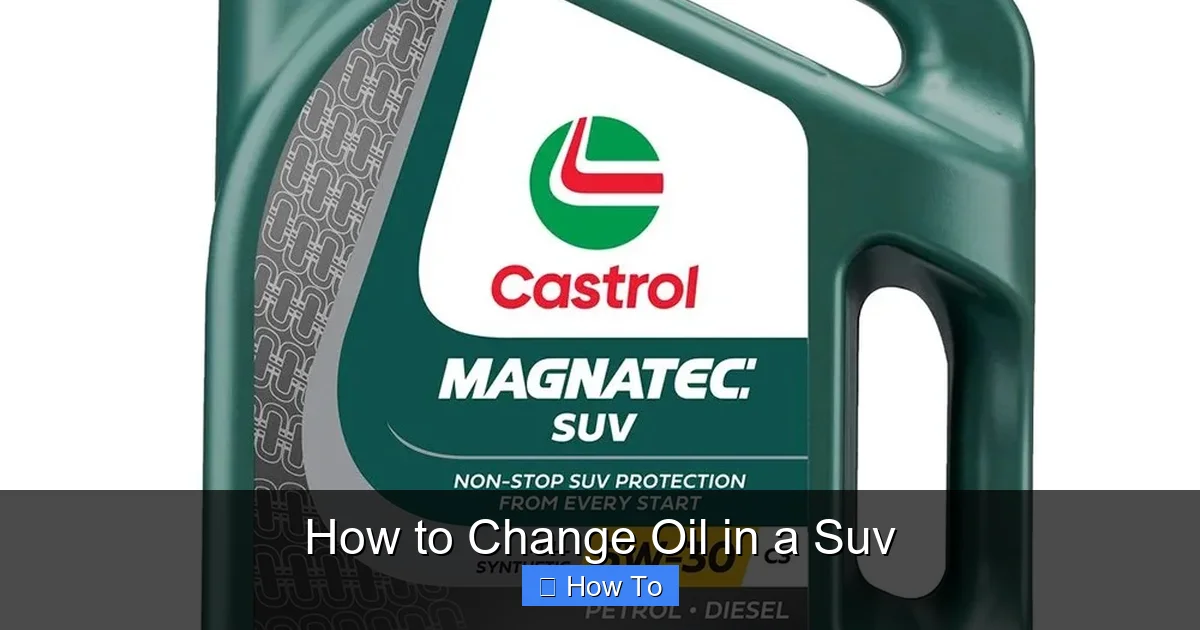
- New engine oil (check your owner’s manual for the correct type and amount—typically 5–6 quarts for most SUVs)
- New oil filter (match the part number to your SUV model)
- Oil filter gasket (if not included with the filter)
- Drip tray or cardboard (to protect your driveway)
Optional but Helpful
- Oil absorbent pads (for spills)
- Funnel with built-in filter (makes pouring easier)
- Maintenance logbook or app
Step 1: Prepare Your SUV
Safety and preparation are key. Never rush this step.
Park on a Level Surface
Choose a flat, level area like a driveway or garage. Avoid slopes—this ensures the oil drains completely and prevents the vehicle from rolling.
Let the Engine Cool Slightly
If you’ve just driven your SUV, wait 10–15 minutes. You want the oil warm, not hot. Warm oil flows better and drains more thoroughly, but hot oil can cause burns.
Engage the Parking Brake and Chock the Wheels
Put the SUV in “Park” (for automatics) or first gear (for manuals), then set the parking brake. Place wheel chocks behind the rear tires for extra safety.
Gather Your Tools and Supplies
Lay everything out within reach. This includes the new oil, filter, drain pan, wrench, gloves, and safety glasses.
Step 2: Lift the Vehicle Safely
Never work under a vehicle supported only by a jack. Use jack stands or ramps for safety.
Use Ramps (Easiest Option)
Drive the front wheels slowly up onto ramps. Make sure the SUV is centered and secure. Apply the parking brake and chock the rear wheels.
Use a Jack and Jack Stands (More Control)
If using a jack:
- Locate the front jack point (usually under the engine or front crossmember—check your owner’s manual).
- Lift the front of the SUV just high enough to slide jack stands under the frame or designated support points.
- Lower the SUV onto the stands. Double-check that it’s stable before crawling underneath.
Never get under a vehicle supported only by a hydraulic jack. Jack stands are essential.
Step 3: Locate the Oil Drain Plug and Oil Filter
Now that your SUV is safely lifted, it’s time to find the key components.
Find the Oil Drain Plug
Look underneath the engine for a large bolt on the bottom of the oil pan. It’s usually at the lowest point and may have a hexagonal head. This is where the old oil will drain out.
Locate the Oil Filter
The oil filter is typically a cylindrical canister near the engine block. It may be on the side or bottom. Some SUVs have filters that are hard to reach—this is where an oil filter wrench helps.
Tip: If you’re unsure, consult your owner’s manual or look up a diagram for your specific SUV model.
Step 4: Drain the Old Oil
This is the core of the oil change process.
Position the Drain Pan
Slide the drain pan directly under the oil drain plug. Make sure it’s large enough to catch all the oil—most SUVs hold 5–6 quarts.
Loosen the Drain Plug
Put on your gloves and safety glasses. Use the correct socket or wrench to turn the drain plug counterclockwise. Loosen it slowly—oil will start to flow once it’s loose.
Remove the Plug and Let Oil Drain
Once loose, unscrew the plug by hand and pull it away quickly. Let the oil drain completely. This may take 5–10 minutes. Don’t rush—complete drainage ensures better performance.
Inspect the Drain Plug
Check the plug for damage or wear. Look for metal shavings—this could indicate engine wear. Clean the plug and its threads with a rag.
Replace the Drain Plug
Once the oil has drained, wipe the oil pan surface clean. Reinstall the drain plug and tighten it by hand first, then use the wrench to snug it. Do not over-tighten—this can strip the threads. A torque wrench set to the manufacturer’s specification (usually 15–25 ft-lbs) is ideal.
Step 5: Replace the Oil Filter
The oil filter traps contaminants, so replacing it is just as important as changing the oil.
Remove the Old Filter
Use an oil filter wrench if it’s tight. Turn it counterclockwise. Be ready—some oil will spill out when you remove it. Have a rag handy.
Prepare the New Filter
Before installing, lightly coat the rubber gasket on the new filter with fresh oil. This helps create a better seal and makes future removal easier.
Install the New Filter
Screw the new filter on by hand until it’s snug. Then give it an extra quarter-turn. Do not overtighten. Over-tightening can damage the gasket and cause leaks.
Step 6: Add New Oil
Now it’s time to refill your SUV with clean oil.
Locate the Oil Fill Cap
Pop the hood and find the oil fill cap on top of the engine. It’s usually labeled “Oil” and has a dipstick attached.
Pour in the New Oil
Use a funnel to avoid spills. Pour in the recommended amount of oil—usually 5–6 quarts for most SUVs. Check your owner’s manual for the exact capacity.
Wait and Check the Level
After adding oil, wait a minute for it to settle. Then pull out the dipstick, wipe it clean, reinsert it, and check the level. Add more oil if needed, but don’t overfill.
Step 7: Start the Engine and Check for Leaks
Before you finish, make sure everything is working properly.
Start the Engine
Turn the key and let the engine run for 30–60 seconds. This circulates the new oil and builds pressure.
Check for Leaks
Turn off the engine and look under the SUV. Check the drain plug and oil filter for any signs of dripping. If you see a leak, tighten the plug or filter slightly—but don’t overdo it.
Recheck the Oil Level
Wait a few minutes, then check the dipstick again. Top off if necessary.
Step 8: Reset the Oil Change Light (If Applicable)
Many modern SUVs have a maintenance reminder light. After an oil change, you’ll need to reset it.
How to Reset the Light
The process varies by make and model. Common methods include:
- Turning the ignition to “ON” (without starting), then pressing the gas pedal three times within 10 seconds.
- Using the dashboard menu to navigate to “Maintenance” and selecting “Reset.”
- Holding the trip odometer button while turning the key.
Check your owner’s manual for the exact steps.
Step 9: Dispose of Used Oil Responsibly
Never pour used oil down the drain or on the ground. It’s toxic and illegal in most areas.
Store Used Oil Properly
Pour the used oil from the drain pan into a sealed, leak-proof container. Use the original oil bottle or a dedicated oil jug.
Take It to a Recycling Center
Most auto parts stores (like AutoZone, O’Reilly, or Advance Auto Parts) accept used oil for free. Some service stations and recycling centers also take it.
Recycle the Oil Filter
Many places also recycle used oil filters. Some require you to drain the filter for 24 hours first.
Troubleshooting Common Issues
Even with careful preparation, problems can happen. Here’s how to handle them.
Oil Won’t Drain Completely
Make sure the SUV is level and the drain plug is fully removed. If oil is still stuck, the engine may need to cool longer or the oil may be too thick.
Drain Plug Won’t Tighten
Check for stripped threads. If damaged, you may need a thread repair kit or a new oil pan.
Oil Leak After Change
Most leaks come from an over-tightened filter or loose drain plug. Double-check both. If the leak persists, consult a mechanic.
Wrong Oil Type Used
If you accidentally used the wrong viscosity, don’t panic. Drive gently and change it again as soon as possible. Using the wrong oil long-term can harm the engine.
Oil Light Stays On
This could mean low oil level, a faulty sensor, or a problem with the oil pump. Check the dipstick first. If the level is fine, see a mechanic.
Tips for Success
Keep a Maintenance Log
Record the date, mileage, oil type, and filter used. This helps you stay on schedule and adds value if you sell the SUV.
Use High-Quality Oil and Filters
Cheap oil and filters may save money upfront but can lead to engine problems. Stick with reputable brands like Mobil 1, Castrol, or Pennzoil.
Change Oil Before Long Trips
Fresh oil ensures better engine protection, especially when towing or driving in hot weather.
Consider Synthetic Oil
Synthetic oil lasts longer and performs better in extreme conditions. Many SUVs are designed to use it.
Don’t Skip the Filter
Always replace the filter with every oil change. A clogged filter reduces oil flow and can damage the engine.
Conclusion
Changing the oil in your SUV is a straightforward task that pays big dividends. It saves money, extends engine life, and gives you peace of mind knowing your vehicle is well-maintained. With the right tools, a little patience, and this step-by-step guide, you can do it safely and effectively at home.
Remember: safety first, use the correct oil and filter, and always dispose of used materials responsibly. Over time, this routine will become second nature—and your SUV will thank you with reliable performance for years to come.
So grab your tools, lift that SUV, and take control of your vehicle’s health. You’ve got this!