
Replacing a tail light in a Volvo SUV is simpler than you think. This guide walks you through every step—from identifying the issue to installing the new bulb or assembly—so you can do it safely and correctly at home.
Key Takeaways
- Safety first: Always disconnect the battery before starting to prevent electrical shorts or shocks.
- Know your model: Tail light access varies by Volvo SUV model (e.g., XC90, XC60, XC40), so check your owner’s manual.
- Use the right bulb: Match the bulb type (e.g., H21W, P21W) to your vehicle’s specifications to avoid damage.
- Handle with care: Avoid touching the glass of halogen bulbs with bare hands—oils can cause premature burnout.
- Test before reassembly: Turn on your lights after installation to confirm everything works properly.
- Keep spare bulbs handy: Store extra bulbs in your glove compartment for emergencies.
- When to replace the whole unit: If the lens is cracked or housing is damaged, replace the entire tail light assembly.
How to Change Tail Light in a SUV Volvo
Whether you’re driving a rugged XC90, a sleek XC60, or a compact XC40, one thing all Volvo SUVs have in common is their commitment to safety and design. But even the most reliable vehicles need maintenance—and that includes replacing a burnt-out tail light. A working tail light isn’t just about avoiding a traffic ticket; it’s a critical part of your vehicle’s visibility, especially during nighttime or bad weather. Fortunately, changing a tail light in a Volvo SUV is a straightforward DIY task that most owners can complete in under 30 minutes with basic tools.
In this comprehensive guide, you’ll learn exactly how to change the tail light in your Volvo SUV—step by step. We’ll cover everything from diagnosing the problem and gathering the right tools, to safely removing the old bulb or assembly and installing the new one. Whether you’re dealing with a single burnt bulb or a cracked lens, this guide will help you get your Volvo back on the road safely and legally. Plus, we’ll share practical tips, model-specific advice, and troubleshooting solutions to make the process smooth and stress-free.
Why Tail Lights Matter in Your Volvo SUV
Tail lights are more than just decorative elements on your vehicle—they’re essential safety features. When you press the brake pedal, your tail lights illuminate to signal drivers behind you that you’re slowing down. They also stay on when your headlights are on, increasing your visibility in low-light conditions. In many countries, including the United States and across Europe, driving with a non-functioning tail light is illegal and can result in a fine or failed inspection.
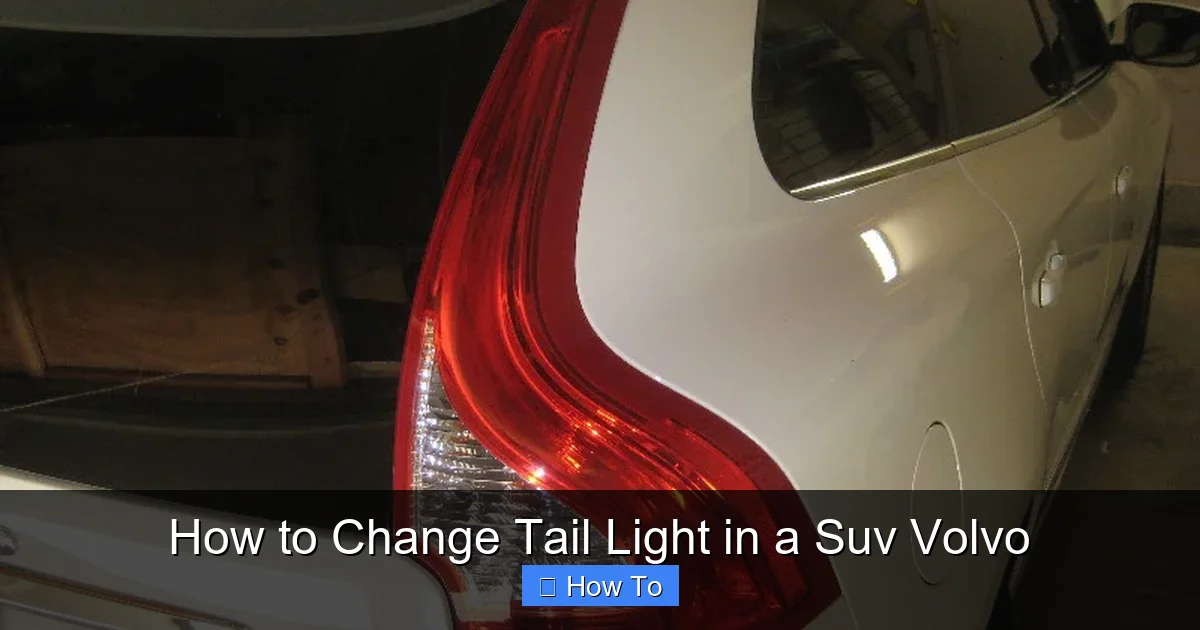
Visual guide about How to Change Tail Light in a Suv Volvo
Image source: rumorfix.com
Volvo, known for its focus on safety, designs its SUVs with advanced lighting systems that include LED tail lights on newer models and traditional halogen bulbs on older ones. While LED lights last longer and are more energy-efficient, halogen bulbs are still common and may need replacement over time. Ignoring a faulty tail light not only puts you at risk of a citation but also compromises the safety of everyone on the road.
Additionally, a damaged or missing tail light can allow moisture to enter the housing, leading to corrosion, fogging, or electrical issues. That’s why it’s important to address the problem as soon as you notice it—whether it’s a flickering light, complete failure, or physical damage to the lens.
Tools and Materials You’ll Need
Before you begin, gather the following tools and materials to ensure a smooth and efficient repair:

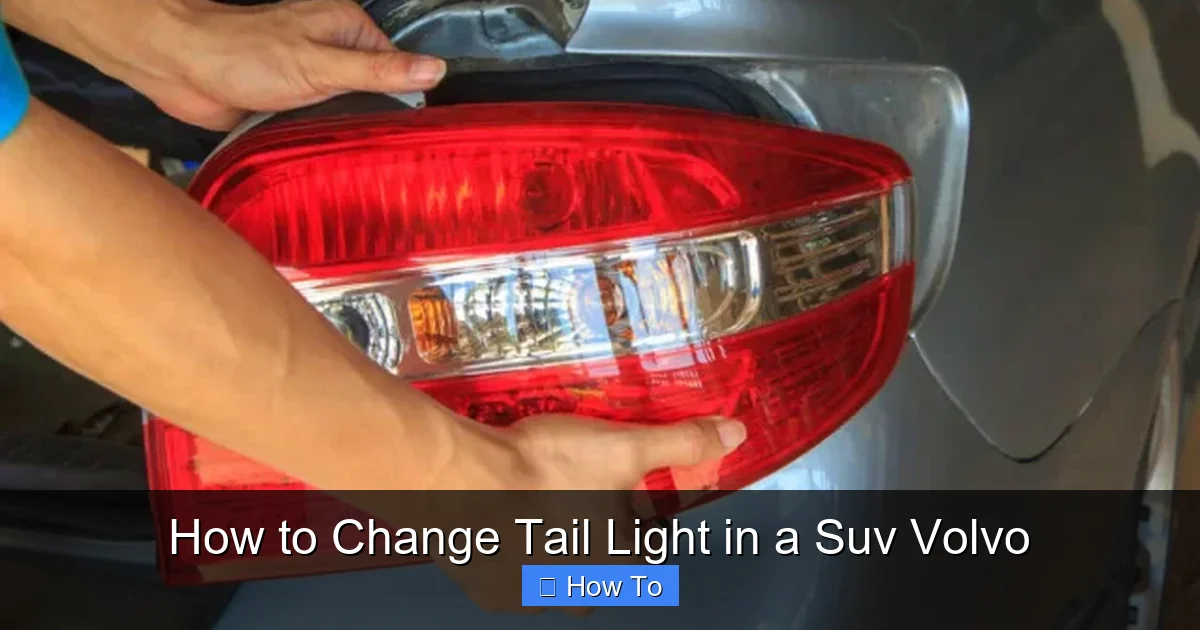
Visual guide about How to Change Tail Light in a Suv Volvo
Image source: img.freepik.com
- Replacement bulb(s): Check your owner’s manual or the existing bulb for the correct type (e.g., H21W for brake lights, P21W for turn signals).
- Screwdriver set: Typically a Phillips or flathead, depending on your model.
- Socket wrench or ratchet: Some Volvo SUVs require removing bolts with a socket.
- Gloves: To protect your hands and avoid touching the bulb glass.
- Clean cloth or paper towels: For wiping down surfaces and handling bulbs.
- Flashlight: To inspect the housing and wiring.
- Electrical contact cleaner (optional): Useful if there’s corrosion in the socket.
- New tail light assembly (if needed): If the lens is cracked or the housing is damaged.
Most of these items are inexpensive and can be found at auto parts stores, hardware shops, or online retailers like Amazon or Volvo Parts Direct. If you’re unsure about the bulb type, take the old one with you to the store for comparison.
Step 1: Identify the Problem
The first step in changing a tail light is confirming that the issue is actually with the bulb or assembly—and not something else. Sometimes, a tail light may appear to be out when the real problem is a blown fuse, faulty wiring, or a bad ground connection.
Check the Fuse
Volvo SUVs have multiple fuses that control different electrical systems, including the tail lights. Refer to your owner’s manual to locate the fuse box—usually found under the dashboard or in the engine compartment. Look for the diagram on the fuse box cover to identify the correct fuse for the tail lights. Use a fuse puller or needle-nose pliers to remove it and inspect the metal strip inside. If it’s broken or discolored, replace it with a fuse of the same amperage.
Test the Bulb
If the fuse is intact, the next step is to check the bulb itself. Turn on your headlights and press the brake pedal while someone observes the tail light from outside. If the light doesn’t illuminate at all, the bulb is likely burnt out. If it flickers or only works intermittently, there may be a loose connection or corrosion in the socket.
Inspect the Lens and Housing
Look closely at the tail light assembly. Is the lens cracked, foggy, or filled with moisture? These are signs that the seal has failed and the entire unit may need replacement. A damaged housing can allow water to enter, leading to electrical shorts and bulb failure.
By diagnosing the issue correctly, you’ll avoid unnecessary repairs and ensure you’re addressing the root cause.
Step 2: Prepare Your Vehicle
Safety is paramount when working on any part of your vehicle’s electrical system. Before you begin, take the following precautions:
Park on a Level Surface
Make sure your Volvo is parked on a flat, stable surface and the parking brake is engaged. This prevents the vehicle from rolling while you’re working.
Turn Off the Engine and Lights
Shut off the engine and remove the key from the ignition. Turn off all lights, including the headlights and interior lights, to prevent accidental activation.
Disconnect the Battery (Recommended)
While not always necessary, disconnecting the negative terminal of the battery is a smart safety measure. Use a wrench to loosen the clamp and remove the cable. This prevents any accidental short circuits while handling electrical components.
Allow the Bulb to Cool
If the tail light was recently on, give it 10–15 minutes to cool down. Halogen bulbs get extremely hot and can cause burns if touched too soon.
Taking these steps ensures a safe and controlled environment for your repair.
Step 3: Access the Tail Light Assembly
The method for accessing the tail light assembly varies slightly depending on your Volvo SUV model. Below are the most common approaches:
XC90 (2016 and newer)
On the XC90, the tail light is accessed from inside the cargo area. Open the rear hatch and remove the interior trim panel on the side where the faulty light is located. Use a trim removal tool or flathead screwdriver (carefully) to pop off the plastic clips. Once the panel is off, you’ll see the back of the tail light assembly with the bulb sockets.
XC60 (2018 and newer)
Similar to the XC90, the XC60 requires removing the interior trim in the cargo area. Look for hidden screws behind the cargo net or storage compartments. Once the trim is removed, you’ll have direct access to the bulb holders.
XC40 (2019 and newer)
The XC40 also uses an interior access method. Open the rear hatch and locate the plastic cover on the side panel. Remove the cover and any screws securing the trim. Gently pull the trim away to reveal the tail light assembly.
Older Models (Pre-2016)
On older Volvo SUVs like the XC90 (2003–2015), you may need to access the tail light from outside the vehicle. Look for screws or bolts along the edge of the light assembly. Use a screwdriver or socket wrench to remove them, then carefully pull the assembly outward.
Always refer to your owner’s manual or a model-specific repair guide if you’re unsure. Forcing the assembly can damage clips or wiring.
Step 4: Remove the Old Bulb
Once you’ve accessed the back of the tail light assembly, follow these steps to remove the old bulb:
Locate the Bulb Socket
You’ll see one or more bulb sockets attached to the housing. Each socket corresponds to a different function: brake light, turn signal, reverse light, or parking light. Identify which one needs replacement.
Twist and Pull the Socket
Most Volvo SUVs use a twist-lock mechanism. Gently twist the socket counterclockwise (usually about 1/4 turn) until it releases. Pull it straight out from the housing.
Remove the Bulb
Once the socket is out, you’ll see the bulb seated inside. For halogen bulbs, gently pull it straight out. For some models, you may need to squeeze small tabs or press a release button. Avoid twisting the bulb, as this can break the filament or damage the socket.
Inspect the Socket and Wiring
While the socket is out, check for signs of corrosion, melted plastic, or loose wires. If you see corrosion, clean the contacts with electrical contact cleaner and a small brush. If the socket is damaged, consider replacing it.
Handle the old bulb carefully—halogen bulbs contain gas and can shatter if dropped. Dispose of it properly, preferably in a sealed container.
Step 5: Install the New Bulb
Now it’s time to install the replacement bulb. Follow these steps for a successful installation:
Choose the Correct Bulb
Ensure the new bulb matches the specifications of the old one. Common types include:
- H21W: Used for brake lights on many Volvo models.
- P21W: Common for turn signals and parking lights.
- W16W: Used in some LED or dual-function applications.
Using the wrong bulb can cause electrical issues or premature failure.
Handle the Bulb Properly
Never touch the glass part of a halogen bulb with your bare fingers. The natural oils from your skin can create hot spots on the glass, leading to early burnout. If you accidentally touch it, clean it with isopropyl alcohol and a lint-free cloth.
Insert the New Bulb
Align the pins or base of the bulb with the socket and gently push it in. Make sure it’s seated securely. For twist-in bulbs, rotate it clockwise until it locks into place.
Reattach the Socket
Insert the socket back into the tail light housing and twist it clockwise to lock it in place. Ensure it’s fully seated to prevent moisture from entering.
Take your time during this step—rushing can lead to misalignment or damage.
Step 6: Test the New Bulb
Before reassembling everything, it’s crucial to test the new bulb to confirm it’s working properly.
Reconnect the Battery (if disconnected)
If you disconnected the battery, reconnect the negative terminal and tighten the clamp securely.
Turn On the Lights
Turn on your headlights and press the brake pedal. Have someone stand behind the vehicle to observe the tail light. Check that:
- The brake light illuminates brightly when the pedal is pressed.
- The parking light stays on when the headlights are on.
- The turn signal flashes at the correct rate (not too fast or slow).
- The reverse light comes on when you shift into reverse.
Check for Flickering or Dimness
If the light flickers or appears dim, double-check the bulb installation and socket connection. A loose fit can cause intermittent operation.
If everything works as expected, you’re ready to reassemble the vehicle.
Step 7: Reassemble the Tail Light
Once you’ve confirmed the new bulb is functioning, it’s time to put everything back together.
Replace the Trim Panel
Carefully reattach the interior trim panel. Align the clips and press firmly until they snap into place. Reinstall any screws or covers you removed earlier.
Secure the Tail Light Assembly (if removed)
If you removed the entire assembly, align it with the mounting points and secure it with screws or bolts. Tighten them evenly to avoid cracking the plastic.
Clean the Lens
Use a microfiber cloth and glass cleaner to wipe the exterior of the tail light. This removes fingerprints, dust, and improves visibility.
Take your time during reassembly to ensure everything is secure and properly aligned.
When to Replace the Entire Tail Light Assembly
In some cases, replacing just the bulb isn’t enough. If the tail light lens is cracked, yellowed, or filled with moisture, the entire assembly may need to be replaced. Here’s how to know:
- Cracked or broken lens: Even small cracks can allow water to enter and damage the bulb or wiring.
- Fogging or condensation: Persistent moisture inside the housing indicates a failed seal.
- Corroded or melted socket: Electrical damage may require a new assembly.
- Faded or discolored lens: Over time, UV exposure can yellow the plastic, reducing light output.
Replacing the entire assembly is more involved and may require professional help, especially if it involves disconnecting wiring harnesses or recalibrating sensors (on models with adaptive lighting). However, many Volvo owners successfully replace assemblies themselves using online guides and OEM or aftermarket parts.
Troubleshooting Common Issues
Even with careful installation, you might encounter problems. Here are some common issues and how to fix them:
Bulb Burns Out Quickly
If your new bulb burns out within days or weeks, it could be due to:
- Vibration: Poorly seated bulbs can vibrate and break the filament. Ensure the bulb is fully locked in.
- Voltage spikes: Faulty alternator or wiring can send too much power to the bulb. Have your electrical system checked.
- Touching the glass: As mentioned earlier, oils from your skin can shorten bulb life.
Light Doesn’t Turn On After Installation
Double-check:
- The bulb is the correct type and properly installed.
- The fuse hasn’t blown again.
- The socket isn’t corroded or damaged.
- The wiring harness is securely connected.
Turn Signal Flashes Too Fast
A rapid flash (also called “hyperflashing”) usually indicates a burnt-out bulb on the same circuit. Check all related lights—sometimes one bulb affects another.
Moisture Inside the Lens
If you see condensation after installation, the seal may be compromised. Remove the assembly, dry it thoroughly, and apply a silicone sealant around the edges before reinstalling.
When in doubt, consult a Volvo service manual or visit a certified technician.
Maintenance Tips to Extend Tail Light Life
To keep your Volvo’s tail lights in top condition, follow these maintenance tips:
- Inspect regularly: Check your tail lights monthly for cracks, moisture, or dimness.
- Clean the lenses: Use a glass cleaner and soft cloth to remove dirt and grime.
- Replace bulbs in pairs: If one bulb burns out, the other is likely close to failing.
- Use quality bulbs: Opt for OEM or reputable aftermarket brands like Philips or Osram.
- Store spare bulbs: Keep a set in your glove box for emergencies.
Regular care not only improves safety but also saves you time and money in the long run.
Conclusion
Changing a tail light in your Volvo SUV is a simple, cost-effective way to maintain your vehicle’s safety and compliance. With the right tools, a little patience, and this step-by-step guide, you can complete the job in under 30 minutes—no mechanic required. Whether you’re replacing a single bulb or the entire assembly, following proper procedures ensures a reliable, long-lasting repair.
Remember to prioritize safety, use the correct parts, and test your work before hitting the road. And if you ever feel unsure, don’t hesitate to consult your owner’s manual or seek professional assistance. Your Volvo is designed to keep you safe—and keeping its lights in working order is a big part of that promise.