
This guide walks you through how to build a big dog ramp for SUV that’s sturdy, safe, and easy to use. You’ll learn material selection, design tips, and assembly steps to help your large dog get in and out of your vehicle with comfort and confidence.
Key Takeaways
- Measure your SUV height and dog size first: Accurate measurements ensure the ramp is the right length, width, and angle for safe use.
- Use durable, non-slip materials: Plywood, outdoor carpet, and weather-resistant wood prevent slipping and increase longevity.
- Build with a gentle slope: A 20–25 degree incline is ideal for most large dogs to climb comfortably without strain.
- Reinforce the structure for weight support: Use cross braces and thick plywood to safely hold dogs up to 150+ pounds.
- Add side rails for safety: 4–6 inch side barriers prevent your dog from slipping off the sides.
- Test and adjust before regular use: Always do a trial run with your dog and make small adjustments for comfort and stability.
- Maintain the ramp regularly: Clean the surface and check for wear to keep it safe over time.
How to Build a Big Dog Ramp for SUV
If you’ve got a big dog and an SUV, you know how tough it can be helping your furry friend get in and out of the vehicle. Jumping can hurt their joints, especially as they age. A custom-built dog ramp solves this problem—giving your pup safe, easy access without strain. In this guide, we’ll show you exactly how to build a big dog ramp for SUV that’s strong, slip-resistant, and built to last.
Whether you’re building it for a senior dog, a breed prone to hip dysplasia, or just want to make life easier, this DIY project is practical, affordable, and totally doable. You don’t need to be a master carpenter—just basic tools, some patience, and the right plan. By the end of this guide, you’ll have a sturdy ramp that fits your SUV and supports your dog’s weight with confidence.
We’ll cover everything from measuring your vehicle and choosing materials to cutting, assembling, and testing the ramp. Plus, we’ll share safety tips, troubleshooting advice, and ideas for customizing your ramp to suit your dog’s needs. Let’s get started!
Why Your Dog Needs a Ramp for the SUV
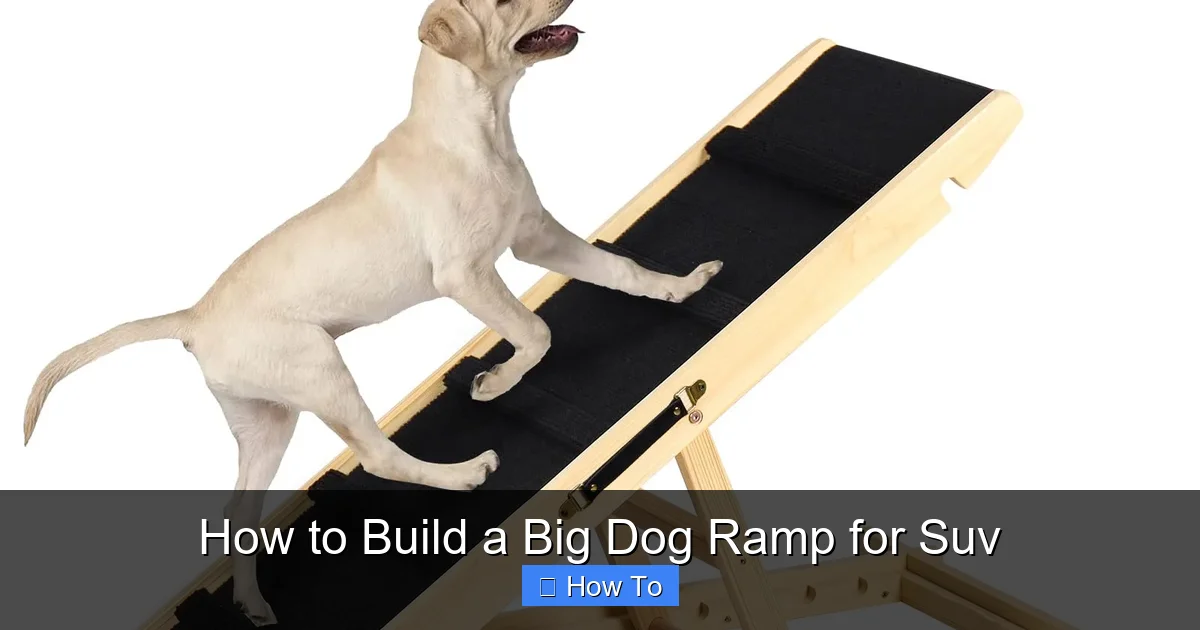
Visual guide about How to Build a Big Dog Ramp for Suv
Image source: m.media-amazon.com
SUVs sit higher off the ground than regular cars, which means jumping in and out can be tough—even for healthy dogs. For large breeds like Labs, German Shepherds, or Golden Retrievers, repeated jumping can lead to joint stress, arthritis, or injuries over time. Older dogs or those with mobility issues face even greater risks.
A dog ramp reduces impact on hips, knees, and spine. It gives your dog independence and confidence, especially on long trips or during vet visits. Plus, it protects your back—no more lifting a 100-pound dog in and out of the car!
A well-built ramp also helps prevent accidents. Dogs can slip or miss their footing when jumping, leading to sprains or worse. A ramp with a gentle slope and non-slip surface keeps them steady and secure.
Finally, a custom ramp fits your SUV perfectly. Store-bought ramps are often too short, too narrow, or not strong enough for big dogs. Building your own lets you tailor the size, weight capacity, and features to your dog’s needs.
Planning Your Dog Ramp: Key Measurements
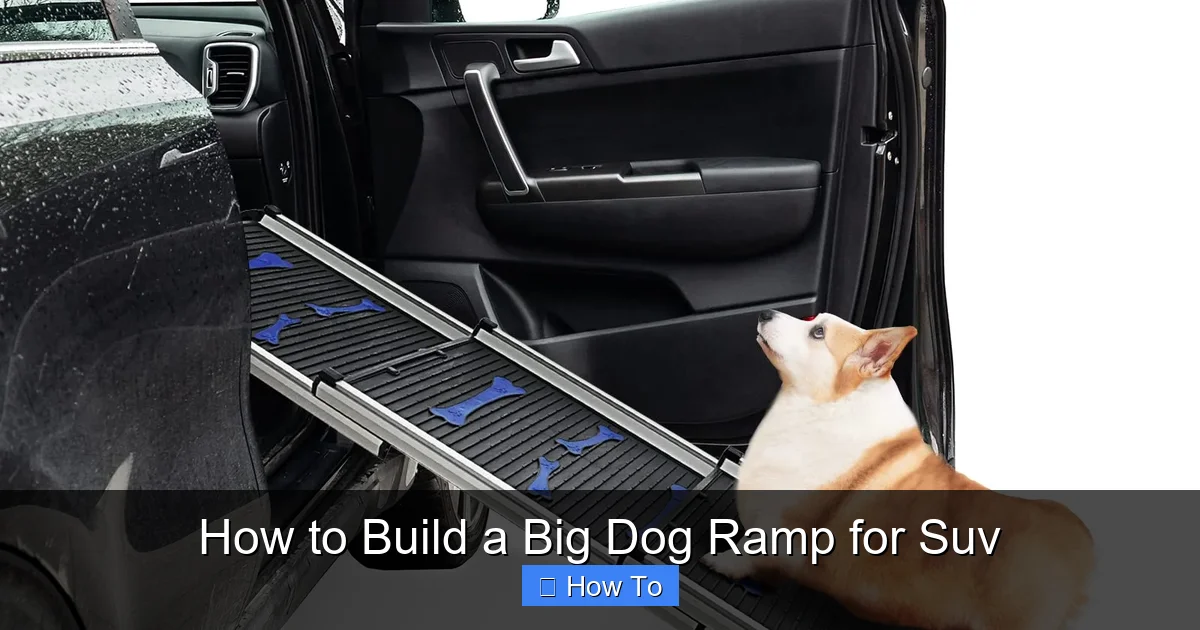
Visual guide about How to Build a Big Dog Ramp for Suv
Image source: m.media-amazon.com
Before you buy a single piece of wood, take accurate measurements. This step is crucial—getting it wrong means a ramp that’s too steep, too short, or unstable.
Measure Your SUV’s Height
Start by measuring the height from the ground to the floor of your SUV’s cargo area or back seat. Use a tape measure and stand on level ground. If your SUV has a tailgate, measure to the top of the tailgate when it’s down—this is where the ramp will rest.
Write down this number. For most SUVs, this height ranges from 24 to 36 inches.
Determine the Ramp Length
The longer the ramp, the gentler the slope. A steep ramp is hard for dogs to climb and increases the risk of slipping.
A good rule of thumb: for every 1 inch of height, use 2.5 to 3 inches of ramp length. So, if your SUV is 30 inches high, your ramp should be 75 to 90 inches long (about 6.25 to 7.5 feet).
This creates a slope of 20–25 degrees, which is comfortable for most large dogs. Anything steeper than 30 degrees can be too challenging.
Choose the Right Width
Your ramp should be wide enough for your dog to walk comfortably without feeling cramped. For big dogs, aim for 16 to 20 inches wide. This gives them space to place all four paws securely.
If your dog is extra large or nervous, go wider—up to 24 inches. Just make sure it still fits in your vehicle when folded or stored.
Consider Folding or Fixed Design
Do you need a ramp you can store easily? A folding ramp saves space but adds complexity. A fixed ramp is simpler to build and often more stable.
For most DIY builders, a fixed ramp is the best choice. If you want portability, consider a two-part folding design with hinges in the middle.
Choosing the Right Materials
The materials you choose affect the ramp’s strength, weight, and durability. Since this is for a big dog, prioritize sturdiness and weather resistance.
Wood Selection
Use exterior-grade plywood for the ramp surface. ¾-inch thick plywood is ideal—it’s strong enough to support 150+ pounds without bending.
Avoid particleboard or MDF—they swell and weaken when wet. Look for plywood labeled “CDX” or “ACX,” which are designed for outdoor use.
For the frame and supports, use 2x4s or 2x6s made of pine or fir. These are strong, affordable, and easy to work with.
Non-Slip Surface
A smooth wood surface is slippery, especially when wet. You need a non-slip coating to keep your dog safe.
Outdoor carpet is a popular choice. It’s grippy, durable, and easy to attach with outdoor adhesive or staples. Choose a low-pile carpet to prevent claws from catching.
Alternatively, use rubberized non-slip tape, grip strips, or even indoor/outdoor vinyl flooring. Some builders apply a textured paint with sand mixed in for extra traction.
Hardware and Fasteners
Use galvanized or stainless steel screws and bolts. These resist rust and hold up in all weather conditions.
For hinges (if folding), choose heavy-duty outdoor hinges. For side rails, use wood screws at least 2 inches long to secure them firmly.
Optional Add-Ons
– **Side rails:** 4–6 inches high to prevent falls.
– **Carrying handle:** A cutout or attached strap for easy transport.
– **Rubber feet:** To prevent slipping on pavement or grass.
– **Weatherproof sealant:** To protect wood from rain and sun.
Tools You’ll Need
Gather these tools before you start:
– Tape measure
– Circular saw or jigsaw
– Drill with drill bits
– Screwdriver
– Clamps
– Sandpaper (medium and fine grit)
– Staple gun (for carpet)
– Level
– Pencil
– Safety goggles and gloves
If you’re building a folding ramp, you’ll also need a hinge installation kit or drill guide for precise hinge placement.
Step-by-Step Instructions: Building the Ramp
Now it’s time to build! Follow these steps to create a safe, sturdy ramp for your big dog.
Step 1: Cut the Ramp Surface
Using your measurements, cut the plywood to the correct length and width. For a 30-inch high SUV and a 7.5-foot ramp, cut a piece of ¾-inch plywood to 90 inches long and 18 inches wide.
Sand the edges smooth to prevent splinters. Round the corners slightly for a cleaner look and safer handling.
Step 2: Build the Frame
The frame supports the ramp and prevents sagging. Use 2x4s to create a rectangular frame that matches the ramp’s dimensions.
Cut two long pieces (same length as the ramp) and two short pieces (same width minus 3 inches to fit inside the long pieces).
Assemble the rectangle using wood screws. Drill pilot holes first to prevent splitting. Use a square to ensure the corners are 90 degrees.
Step 3: Add Cross Braces
To support heavy weight, add cross braces underneath the ramp. Cut 2x4s to fit between the long sides of the frame, spaced every 12 to 16 inches.
Attach them with screws, making sure they’re flush with the top of the frame. This creates a solid base for the plywood surface.
For extra strength, add a center support beam running the length of the ramp.
Step 4: Attach the Ramp Surface
Place the plywood on top of the frame. Make sure it overhangs evenly on all sides (about ½ inch).
Secure it with wood screws every 6 inches along the edges and across the cross braces. Countersink the screws slightly so they don’t poke through.
Step 5: Install Side Rails
Cut two pieces of 1×4 or 1×6 wood to the length of the ramp. These will be the side rails.
Attach them to the sides of the ramp using wood screws. Make sure they’re flush with the top surface and extend 4–6 inches above it.
Sand the rails smooth. You can round the top edges for comfort.
Step 6: Add the Non-Slip Surface
Cut the outdoor carpet to fit the ramp surface, including the side rails if desired.
Apply outdoor adhesive to the plywood and press the carpet firmly into place. Use a roller or your hands to smooth out bubbles.
Alternatively, use a staple gun to secure the carpet along the edges. Trim excess material with a utility knife.
If using non-slip tape, apply it in strips across the ramp, spaced 2–3 inches apart.
Step 7: Reinforce the Ends
The ends of the ramp take a lot of stress. Reinforce them with extra wood strips or metal brackets.
Attach a 2×4 block to the bottom end (the part that touches the ground) to prevent splitting. Do the same at the top end where it rests on the SUV.
Step 8: Add Rubber Feet (Optional)
To prevent slipping, attach rubber feet or pads to the bottom of the ramp. You can use adhesive-backed rubber pads or cut pieces from an old yoga mat.
Place them at the corners and center for even support.
Step 9: Apply Weatherproof Finish
Protect your ramp from the elements. Apply a coat of exterior wood sealant or waterproof paint.
Let it dry completely before use. Reapply every year or two to maintain protection.
Step 10: Test the Ramp
Before letting your dog use it, test the ramp yourself. Walk up and down to check for stability, squeaks, or weak spots.
Make sure it doesn’t wobble or shift when placed on the ground and against the SUV.
Adjust the angle if needed by adding a small wooden shim under the bottom end.
Training Your Dog to Use the Ramp
Even the best ramp won’t help if your dog is afraid of it. Take time to train your dog to feel confident.
Start by placing the ramp on the ground, not connected to the SUV. Let your dog sniff and explore it.
Use treats and praise to encourage stepping on it. Reward every small success.
Once they’re comfortable, lift one end slightly to create a gentle slope. Practice walking up and down.
When they’re ready, position the ramp against the SUV. Go slow—don’t rush the process.
Some dogs respond well to a leash and gentle guidance. Others prefer to figure it out on their own.
Be patient. Most dogs adapt within a few days or weeks.
Customization Ideas
Make your ramp even better with these upgrades:
– **Folding design:** Add hinges in the middle for easy storage. Use a latch to keep it closed when not in use.
– **Carrying handle:** Cut a handle hole near the top or attach a rope handle.
– **Lightweight version:** Use thinner plywood (½-inch) and aluminum framing if you need a lighter ramp (for smaller large dogs).
– **Storage bag:** Sew or buy a padded bag to protect the ramp when traveling.
– **Reflective strips:** Add reflective tape for visibility at night.
Troubleshooting Common Issues
Even with careful planning, problems can come up. Here’s how to fix them:
Ramp is Too Steep
If your dog struggles to climb, the ramp may be too short. Extend the length by adding a wooden extension piece. Or, place the ramp on a slight incline (like a driveway) to reduce the angle.
Ramp Wobbles or Sags
This usually means the frame isn’t strong enough. Add more cross braces or use thicker plywood. Check that all screws are tight.
Dog Slips on Surface
The non-slip material may not be grippy enough. Replace the carpet with a higher-traction option, or add more non-slip strips.
Ramp Doesn’t Fit in SUV
If it’s too long, consider a folding design. Or, store it in the garage and carry it when needed.
Wood Swells or Warps
This happens if the wood gets wet and isn’t sealed properly. Reapply sealant and store the ramp indoors when not in use.
Safety Tips for Using the Ramp
– Always supervise your dog the first few times they use the ramp.
– Never leave the ramp unattended on uneven ground.
– Check for loose screws or worn carpet before each use.
– Avoid using the ramp in icy or very wet conditions unless it has excellent traction.
– Keep the ramp clean—remove dirt, mud, and debris that can make it slippery.
Maintenance and Care
To keep your ramp in great shape:
– Wipe down the surface after each use.
– Inspect for cracks, splinters, or loose parts monthly.
– Reapply sealant annually.
– Store indoors or under cover when not in use.
– Replace the non-slip surface when it wears out.
With proper care, your ramp can last 5–10 years.
Conclusion
Building a big dog ramp for your SUV is a rewarding project that improves your dog’s quality of life. It’s safer than jumping, easier on their joints, and gives them independence. With the right measurements, materials, and steps, you can create a ramp that’s strong, stable, and built to last.
This guide walked you through every stage—from planning and cutting to assembly and training. You now have the knowledge to build a ramp that fits your SUV and supports your dog’s weight with confidence.
Remember: safety comes first. Take your time, double-check your work, and always test the ramp before regular use. Your dog will thank you with wagging tails and happy rides.
So grab your tools, measure twice, and start building. Your big dog deserves the best—and now, they’ve got it.