
This guide shows you how to build a dog ramp for SUV safely and affordably. You’ll learn material choices, measurements, and assembly tips to help your dog climb in and out with ease.
Key Takeaways
- Measure your SUV height: Accurate measurements ensure the ramp fits properly and is safe for your dog to use.
- Choose the right materials: Use durable, weather-resistant wood like plywood or treated lumber for long-lasting results.
- Include a non-slip surface: Add grip tape, carpet, or rubber matting to prevent slipping, especially in wet conditions.
- Build with adjustable legs or hinges: This allows the ramp to adapt to different SUV heights and makes storage easier.
- Test the ramp before regular use: Have your dog try it under supervision to ensure stability and comfort.
- Customize for your dog’s size: Larger or older dogs need wider, gentler slopes and extra support.
- Maintain regularly: Check for wear, tighten screws, and clean the surface to keep the ramp safe over time.
How to Build a Dog Ramp for SUV: A Complete DIY Guide
If your dog struggles to jump into your SUV—whether due to age, injury, or size—building a custom dog ramp can make life easier for both of you. Commercially available ramps can be expensive, bulky, or not quite the right fit. That’s why making your own is a smart, cost-effective solution. In this guide, we’ll walk you through how to build a dog ramp for SUV step by step, using simple tools and readily available materials.
You don’t need to be a master carpenter to complete this project. With basic woodworking skills, a few hours of your time, and attention to safety, you can create a sturdy, reliable ramp that helps your furry friend get in and out of the vehicle with confidence. Whether you have a senior dog with arthritis, a large breed that’s hard on their joints, or a small dog who just can’t make the leap, this DIY ramp will improve their mobility and your peace of mind.
By the end of this guide, you’ll know exactly how to measure your SUV, select the best materials, design a safe slope, and assemble a ramp that’s both functional and durable. We’ll also cover tips for customization, troubleshooting common issues, and maintaining your ramp for long-term use.
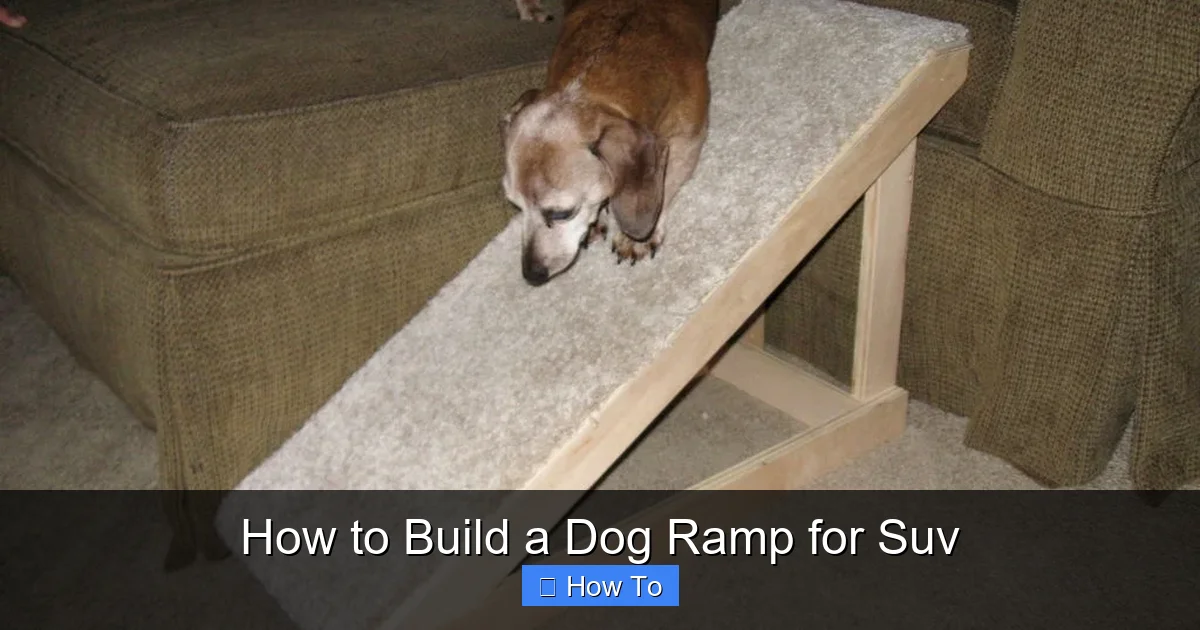
Why Build a Dog Ramp for Your SUV?
Visual guide about How to Build a Dog Ramp for Suv
Image source: images-na.ssl-images-amazon.com
Many dog owners don’t realize how much strain jumping in and out of an SUV can put on their pet’s joints. Repeated impact can lead to hip dysplasia, arthritis, or spinal injuries—especially in larger breeds like Golden Retrievers, Labradors, or German Shepherds. Even small dogs can suffer from slipped discs or muscle strains over time.
A dog ramp reduces this risk by providing a gentle, stable incline. It’s especially helpful for:
– Senior dogs with reduced mobility
– Dogs recovering from surgery or injury
– Puppies still developing coordination
– Overweight dogs who struggle with jumping
Beyond health benefits, a ramp also makes travel less stressful. Your dog won’t feel anxious about climbing into the car, and you won’t have to lift them—saving your own back from strain.
While you can buy pre-made ramps, they often come with limitations: they may not fit your SUV’s height, lack proper grip, or be too narrow for larger dogs. Building your own allows you to tailor the ramp to your specific needs, vehicle, and dog.
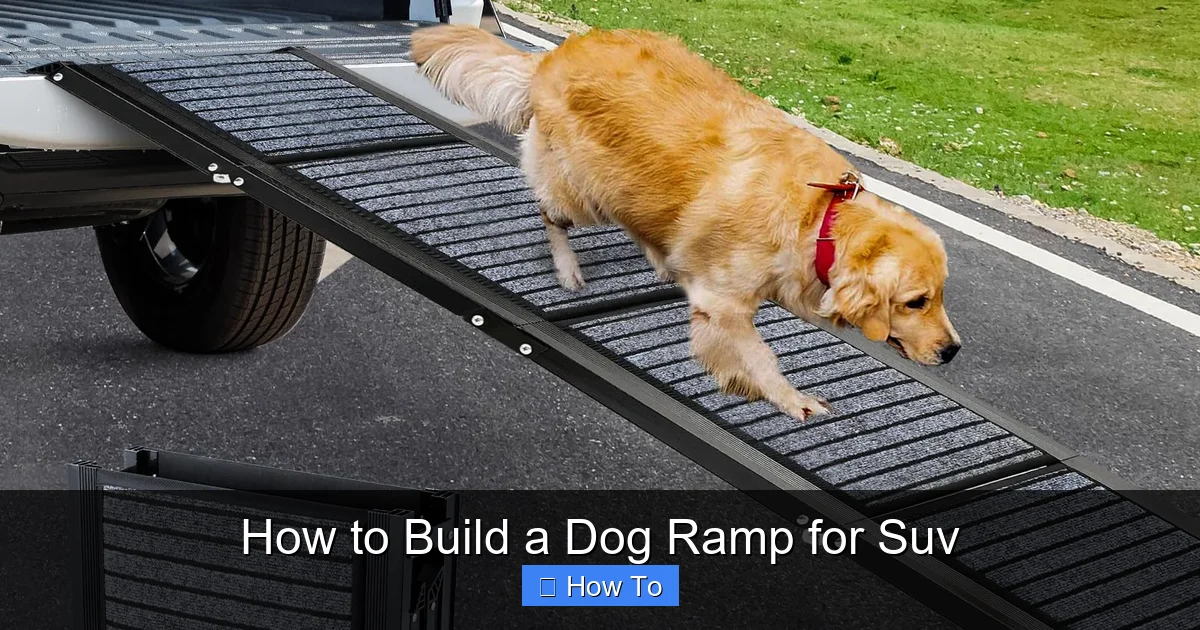
Planning Your Dog Ramp: Key Considerations
Visual guide about How to Build a Dog Ramp for Suv
Image source: hepper.com
Before you grab your tools, take time to plan. A well-designed ramp starts with understanding your dog’s needs and your SUV’s dimensions.
Measure Your SUV’s Height
The most important measurement is the height from the ground to the cargo area floor of your SUV. Use a tape measure to find the vertical distance. For most SUVs, this ranges from 24 to 36 inches.
Write down this number—it will determine the length and angle of your ramp. A good rule of thumb is to aim for a slope no steeper than 20 to 25 degrees. This is gentle enough for most dogs to climb comfortably.
To calculate the ideal ramp length, use this formula:
Ramp Length = SUV Height ÷ tan(desired angle)
For example, if your SUV is 30 inches high and you want a 22-degree slope:
– tan(22°) ≈ 0.404
– Ramp Length = 30 ÷ 0.404 ≈ 74 inches (about 6 feet 2 inches)
So, a 74-inch-long ramp would give your dog a safe, gradual incline.
Consider Your Dog’s Size and Weight
Larger dogs need wider, stronger ramps. A ramp for a 100-pound Mastiff should be at least 18 inches wide, while a smaller dog like a Beagle might only need 12 inches.
Also, think about your dog’s gait. Older or arthritic dogs may walk slowly or hesitate. A wider ramp with side rails can give them confidence and prevent falls.
Decide on Portability and Storage
Do you want a permanent ramp that stays in your garage, or one you can fold and store in the SUV? Folding ramps are great for travel but require hinges and extra support. Fixed ramps are sturdier but less convenient.
If you plan to store the ramp in your vehicle, consider a two-part design that folds in half or a telescoping version (though telescoping is more complex to build).
Materials and Tools You’ll Need
You don’t need expensive materials to build a strong dog ramp. Here’s a list of what to gather:
Materials
- Wood: ¾-inch exterior-grade plywood (for the ramp surface) or 1×6 or 2×6 treated lumber (for framing). Plywood is lighter and easier to work with.
- Non-slip surface: Outdoor carpet, rubber matting, or non-slip tape. Avoid smooth surfaces—dogs can slip easily.
- Wood screws: 2-inch exterior screws to assemble the frame.
- Wood glue: Waterproof wood glue for added strength.
- Hinges (optional): Heavy-duty hinges if you want a folding ramp.
- Adjustable feet (optional): Rubber feet or leveling legs to stabilize the ramp on uneven ground.
- Stain or sealant (optional): To protect the wood from moisture and extend its life.
Tools
- Tape measure
- Circular saw or jigsaw
- Drill with drill bits
- Screwdriver or impact driver
- Clamps
- Pencil
- Speed square
- Level
Step-by-Step Instructions: Building the Ramp
Now that you’ve planned and gathered supplies, it’s time to build. Follow these steps to create a safe, sturdy dog ramp.
Step 1: Cut the Ramp Surface
Start by cutting the plywood to size. Based on your SUV height and desired slope, cut a piece that’s the correct length and width.
For example:
– Length: 74 inches (as calculated earlier)
– Width: 18 inches (for a large dog)
Use a circular saw with a straight edge guide to ensure a clean, straight cut. Sand the edges to remove splinters.
Step 2: Build the Frame
The frame supports the ramp surface and adds strength. Use 2×4 or 2×6 lumber to create a rectangular frame that matches the dimensions of your ramp surface.
Cut four pieces:
– Two long side rails (same length as the ramp)
– Two end pieces (same width as the ramp, minus the thickness of the side rails)
Assemble the frame using wood screws and wood glue. Drill pilot holes to prevent splitting. Clamp the pieces together while driving screws for a tight fit.
For extra support, add cross braces every 12 to 16 inches along the length of the frame. These prevent sagging, especially for heavier dogs.
Step 3: Attach the Ramp Surface
Place the plywood surface on top of the frame. Make sure it’s centered and flush with the edges.
Secure it with wood screws every 6 to 8 inches along the perimeter and across the cross braces. Use waterproof wood glue between the plywood and frame for added durability.
Step 4: Add a Non-Slip Surface
This step is crucial for safety. A smooth wooden surface becomes slippery when wet or muddy.
Options for non-slip surfaces:
– Outdoor carpet: Cut to size and attach with outdoor adhesive or staples. Choose a low-pile carpet for easy cleaning.
– Rubber matting: Cut from a roll of gym or stall matting. It’s durable, grippy, and easy to hose off.
– Non-slip tape: Apply strips across the ramp surface. Look for marine-grade or industrial tape with aggressive adhesive.
If using carpet or rubber, trim the edges neatly and secure them well. Over time, loose edges can curl and become a tripping hazard.
Step 5: Add Side Rails (Optional but Recommended)
Side rails help guide your dog and prevent them from stepping off the ramp. They’re especially helpful for nervous or older dogs.
Cut two pieces of 1×4 or 1×6 lumber to match the length of the ramp. Attach them along the long edges using screws. Make sure they’re flush with the top surface so they don’t interfere with walking.
For a more polished look, round the top edges of the rails with sandpaper or a router.
Step 6: Install Adjustable Feet or Legs (Optional)
If you want the ramp to sit level on uneven ground, add adjustable feet.
Attach rubber furniture levelers or threaded feet to the bottom of the frame at each corner. These can be screwed in or out to adjust height and stability.
Alternatively, build short legs into the frame using 2x4s. Make them tall enough to reach the ground when the ramp is angled.
Step 7: Finish and Seal (Optional)
To protect your ramp from rain, snow, and UV damage, apply a wood sealant or outdoor stain. This is especially important if the ramp will be used outdoors regularly.
Let the sealant dry completely before use. Reapply every year or two to maintain protection.
Customization Tips for Your Dog Ramp
Every dog is different, so don’t be afraid to customize your ramp.
Make It Folding
If you want a portable ramp, add hinges in the middle. Cut the frame and surface in half, then connect them with heavy-duty hinges.
Add a latch or hook to keep the ramp closed when folded. This makes it easy to store in your SUV or garage.
Add a Handle
Attach a rope handle or cut a handhold in the end of the ramp for easier carrying.
Use Lighter Materials
If weight is a concern, use ½-inch plywood instead of ¾-inch, or switch to aluminum framing (though this requires welding or specialized connectors).
Include a Landing Platform
For very tall SUVs or dogs with severe mobility issues, consider adding a small platform at the top. This gives your dog a place to rest before stepping into the vehicle.
Testing and Using the Ramp Safely
Before letting your dog use the ramp unsupervised, test it thoroughly.
Check Stability
Place the ramp against your SUV and press down on it. It shouldn’t wobble or shift. If it does, adjust the feet or add more support.
Introduce Your Dog Gradually
Don’t expect your dog to hop on the ramp right away. Use treats and positive reinforcement to encourage them.
Start by letting them sniff and walk on the ramp while it’s flat on the ground. Then, gradually increase the angle.
Practice in short sessions. Say “ramp” or “up” as they climb to build a command association.
Supervise First Uses
Stay close during the first few attempts. Be ready to steady the ramp or assist if your dog seems unsure.
Never force your dog onto the ramp. If they resist, try again later or consult a trainer.
Troubleshooting Common Issues
Even well-built ramps can have problems. Here’s how to fix them:
Ramp Is Too Steep
If your dog struggles to climb, the slope may be too steep. Solutions:
– Lengthen the ramp (add an extension piece)
– Lower the SUV height (park on a slight incline)
– Add more cross braces to reduce flex
Ramp Slips on Ground
Use rubber feet or place a non-slip mat under the bottom of the ramp. You can also anchor it with stakes if used on grass.
Dog Is Afraid of the Ramp
Try these tips:
– Use high-value treats (like chicken or cheese)
– Walk beside the ramp to build confidence
– Start with the ramp flat, then slowly increase the angle
– Use a familiar blanket or toy on the ramp
Surface Wears Out Quickly
Replace worn carpet or tape promptly. Consider upgrading to thicker rubber matting for heavy use.
Maintenance Tips
To keep your ramp in top condition:
– Clean it regularly with soap and water
– Check screws and hinges for tightness
– Reapply sealant annually
– Store indoors during winter if possible
– Inspect for cracks, splinters, or loose parts
A well-maintained ramp can last 5–10 years or more.
Conclusion
Building a dog ramp for your SUV is a rewarding project that improves your dog’s quality of life. With the right measurements, materials, and a little patience, you can create a safe, durable ramp that helps your pet travel with comfort and confidence.
This DIY solution saves money, fits your exact needs, and gives you the satisfaction of helping your furry friend. Whether you have a senior dog, a large breed, or just want to reduce joint stress, a custom ramp is a smart investment.
Follow the steps in this guide, customize as needed, and always prioritize safety. Your dog will thank you with wagging tails and happy climbs into the car.