
Attaching a cargo net in your SUV’s trunk is a simple way to keep groceries, gear, and luggage from shifting during drives. This guide walks you through choosing the right net, locating anchor points, and securing it properly for maximum safety and convenience.
Key Takeaways
- Choose the right cargo net: Select a net designed for your SUV model and trunk size to ensure a snug, secure fit.
- Locate factory anchor points: Most SUVs have built-in hooks or loops in the trunk; use these for the safest attachment.
- Use adjustable hooks and straps: Flexible attachment hardware helps secure the net even if anchor points are uneven or spaced irregularly.
- Test the setup before loading: Always tug gently on the net to confirm it’s firmly anchored before placing items inside.
- Avoid overloading the net: Follow the manufacturer’s weight limit to prevent tearing or detachment during travel.
- Store the net properly when not in use: Fold or roll it neatly to save space and prevent tangling.
- Regularly inspect for wear: Check hooks, straps, and mesh for damage to maintain safety over time.
How to Attach Cargo Net in Trunk of SUV
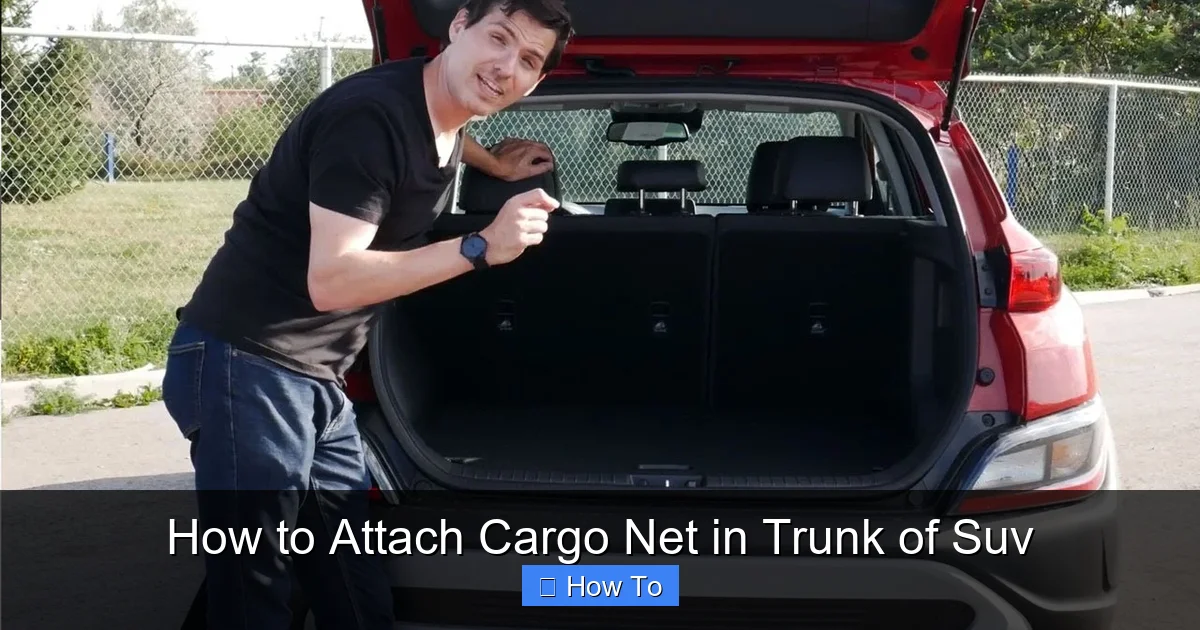
Keeping your belongings organized and secure in the trunk of your SUV doesn’t have to be a challenge. Whether you’re heading out for a weekend camping trip, hauling groceries, or transporting sports gear, a cargo net is one of the simplest and most effective tools to prevent items from rolling around, spilling, or becoming damaged. But simply tossing a net into the back isn’t enough—proper installation is key to safety and functionality.
In this comprehensive guide, you’ll learn everything you need to know about how to attach a cargo net in the trunk of your SUV. We’ll cover how to choose the right net, locate anchor points, install it step by step, and maintain it for long-term use. By the end, you’ll be able to confidently secure your cargo, reduce clutter, and enjoy a smoother, safer ride—no matter where the road takes you.
Why Use a Cargo Net in Your SUV?
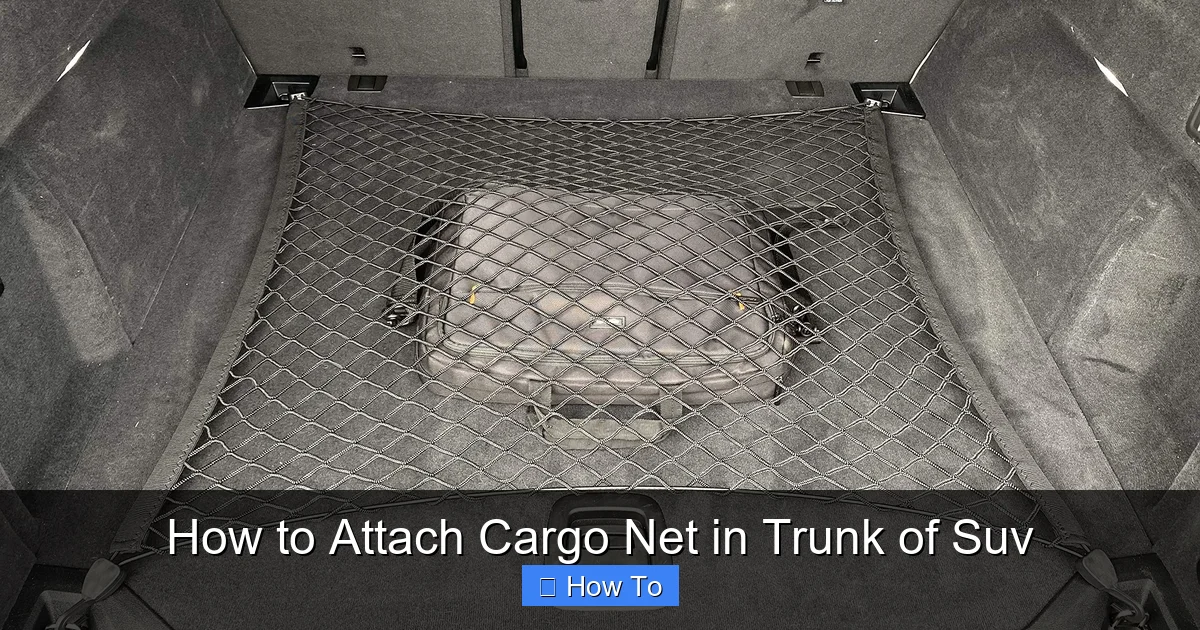
Visual guide about How to Attach Cargo Net in Trunk of Suv
Image source: m.media-amazon.com
Before diving into the installation process, it’s helpful to understand why a cargo net is such a valuable addition to your vehicle. SUVs are known for their spacious interiors, but that space can quickly become chaotic without proper organization. Loose items can shift during sudden stops, turns, or bumpy roads, creating distractions for the driver and potential hazards for passengers.
A cargo net acts as a flexible barrier that holds items in place. It’s especially useful for:
– Preventing grocery bags from tipping over
– Securing luggage during long trips
– Organizing sports equipment like balls, helmets, or shoes
– Keeping pet supplies or travel kits contained
– Protecting fragile items from knocking into harder objects
Unlike hard-sided storage bins, cargo nets are lightweight, collapsible, and adaptable. They conform to the shape of your load and can be adjusted as needed. Plus, they’re often more affordable and take up less space when not in use.
Choosing the Right Cargo Net for Your SUV
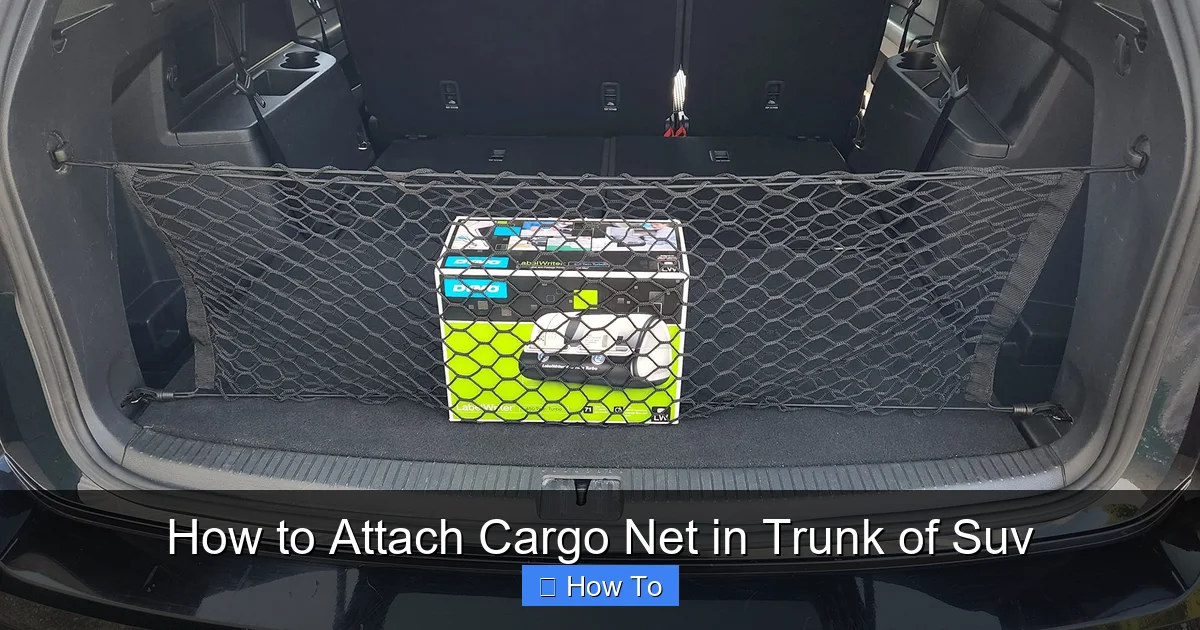
Visual guide about How to Attach Cargo Net in Trunk of Suv
Image source: m.media-amazon.com
Not all cargo nets are created equal. To get the best performance, you’ll want to select one that’s compatible with your SUV’s trunk layout and your typical cargo needs.
Types of Cargo Nets
There are two main types of cargo nets: elastic mesh nets and rigid-frame nets.
Elastic mesh nets are the most common. Made from durable, stretchable fabric, they expand to fit various loads and are easy to attach using hooks or straps. These are ideal for everyday use and light to medium loads.
Rigid-frame nets have a more structured design, often with a metal or plastic frame. They offer stronger support and are better for heavier items, but they’re less flexible and may not fit all trunk shapes.
For most SUV owners, an elastic mesh net is the best choice due to its versatility and ease of use.
Size and Compatibility
Measure your SUV’s trunk area—both the floor space and the height from the floor to the ceiling or headliner. Choose a net that covers the area you plan to use. Many nets are designed to stretch, so a slightly smaller net may still work if it’s highly elastic.
Check the product description for compatibility with your SUV make and model. Some manufacturers offer vehicle-specific nets that are pre-sized for popular models like the Toyota RAV4, Honda CR-V, or Ford Explorer.
Attachment Method
Look for a net with multiple attachment points—typically four to six hooks or straps. The more attachment points, the more secure the net will be. Hooks should be rubber-coated or padded to prevent scratching your vehicle’s interior.
Some nets come with built-in hooks, while others require you to attach separate hooks to your SUV’s anchor points. Make sure the hooks are sturdy and compatible with your vehicle’s design.
Weight Capacity
Always check the manufacturer’s weight limit. Most cargo nets can hold between 50 and 100 pounds, but overloading can cause the net to tear or the hooks to pull out. If you frequently carry heavy items, consider a heavy-duty net or supplement with additional straps.
Locating Anchor Points in Your SUV Trunk
The next step in attaching your cargo net is finding the right places to secure it. Most modern SUVs come equipped with built-in anchor points designed specifically for cargo management.
Factory-Installed Hooks and Loops
These are typically located along the sides of the trunk, near the floor, or on the back of the rear seats. They may be metal hooks, plastic D-rings, or fabric loops. Consult your vehicle’s owner’s manual to identify their exact location—many manuals include diagrams.
Common locations include:
– Along the sides of the trunk, near the wheel wells
– On the back of the rear seats (especially if they fold down)
– Near the liftgate or tailgate opening
– Under the trunk floor (in some models with hidden storage)
Using Seat Bolt Anchors
If your SUV doesn’t have visible hooks, you may be able to use the bolts that secure the rear seats. These are strong and reliable anchor points. However, only use them if the cargo net instructions specifically recommend it, and avoid loosening bolts more than necessary.
Aftermarket Anchor Installation
In rare cases where no anchor points exist, you can install aftermarket hooks. These are typically screwed into the trunk’s metal frame or attached with strong adhesive. Be cautious—improper installation can damage your vehicle or void the warranty. Always follow the manufacturer’s guidelines and consider professional help if unsure.
Step-by-Step Guide to Attaching the Cargo Net
Now that you’ve chosen the right net and located your anchor points, it’s time to install it. Follow these steps for a secure and effective setup.
Step 1: Prepare the Trunk
Clear out any items from the trunk. Wipe down the floor and anchor points to remove dust or debris. This ensures a clean surface for the net and prevents slipping.
Step 2: Unpack and Inspect the Net
Remove the cargo net from its packaging. Check for any defects, such as torn mesh, broken hooks, or frayed straps. If anything looks damaged, contact the manufacturer for a replacement.
Step 3: Position the Net
Lay the net flat on the trunk floor. Orient it so that the hooks or straps align with the anchor points. If the net is directional (e.g., has a top and bottom), make sure it’s facing the correct way.
For most SUVs, the net should stretch from side to side, covering the width of the trunk. If you’re using it behind the rear seats, position it vertically to create a barrier.
Step 4: Attach the Hooks
Starting with one corner, hook the net’s attachment hardware to the nearest anchor point. Pull gently to ensure it’s secure. Move to the opposite corner and repeat. Then attach the remaining hooks, working your way around the net.
If the net is too tight or too loose, adjust the straps (if adjustable) or reposition the hooks. The net should be taut but not overly stretched—this prevents sagging and improves load stability.
Step 5: Test the Installation
Once all hooks are attached, give the net a firm tug in multiple directions. It should stay firmly in place without slipping or detaching. If any hook feels loose, reattach it or try a different anchor point.
Step 6: Load Your Items
Place your cargo inside the net. Distribute weight evenly and avoid piling items too high, which can cause the net to bulge or tear. For extra security, consider using bungee cords or additional straps for bulky items.
Practical Tips for Maximum Effectiveness
Even with a properly installed net, a few smart practices can enhance its performance and longevity.
Use the Net for the Right Items
Cargo nets are best for soft or flexible items like bags, clothing, or sports gear. Avoid using them for sharp, heavy, or irregularly shaped objects that could puncture the mesh or stress the hooks.
Combine with Other Organizers
For maximum organization, pair your cargo net with trunk mats, dividers, or storage bins. This creates a layered system that keeps everything in its place.
Adjust for Different Loads
If you’re carrying a small load, you can fold part of the net or use only some of the hooks. For larger loads, stretch the net fully and use all attachment points.
Secure the Net When Not in Use
If you remove the net frequently, store it in a dedicated bag or pouch. This prevents tangling and makes it easier to reinstall next time.
Troubleshooting Common Issues
Even with careful installation, you may encounter a few challenges. Here’s how to address them.
Hooks Won’t Stay Attached
If hooks keep slipping off, try wrapping a small piece of rubber or silicone tape around the anchor point to improve grip. Alternatively, use carabiners or S-hooks for a more secure connection.
Net Sags or Slips
This usually happens when the net is too loose or the anchor points are too far apart. Try repositioning the hooks closer together or using a smaller net. You can also add a second net for extra support.
Mesh Tears or Stretches Excessively
Overloading is the most common cause. Always follow the weight limit and avoid placing sharp objects directly against the net. If the mesh is damaged, replace the net to maintain safety.
Anchor Points Are Missing or Inaccessible
If your SUV lacks anchor points, consider using a cargo net with suction cup hooks (for smooth surfaces) or a freestanding cargo barrier. These alternatives don’t require permanent attachment and can be moved as needed.
Maintaining Your Cargo Net
To keep your cargo net in top condition, perform regular maintenance.
Clean Regularly
Wipe down the net with a damp cloth to remove dirt, spills, or debris. For deeper cleaning, hand wash with mild soap and air dry. Avoid machine washing, which can damage the elastic fibers.
Inspect for Wear
Check the mesh, hooks, and straps before each use. Look for fraying, rust, or loose stitching. Replace any damaged components immediately.
Store Properly
When not in use, fold or roll the net neatly and store it in a dry, cool place. Avoid leaving it in direct sunlight for long periods, as UV rays can weaken the material.
Conclusion
Attaching a cargo net in the trunk of your SUV is a simple yet powerful way to improve safety, organization, and convenience. By choosing the right net, locating secure anchor points, and following proper installation steps, you can keep your belongings stable and your trunk clutter-free.
Remember to test the setup, avoid overloading, and maintain the net regularly. With these practices, your cargo net will serve you well for countless trips—whether you’re commuting to work, heading out on vacation, or running weekend errands.
Investing a few minutes to install your cargo net correctly can make a big difference in your driving experience. So next time you load up your SUV, take that extra step to secure your cargo. Your peace of mind—and your belongings—will thank you.