
This guide walks you through how to attach a cargo net to your SUV ceiling using simple tools and proven methods. Whether you’re hauling gear for a road trip or organizing daily essentials, you’ll learn safe, secure installation techniques that keep your cargo in place.
Key Takeaways
- Choose the right cargo net: Select a high-quality, adjustable net designed for SUVs with reinforced edges and strong hooks or straps.
- Locate anchor points: Most SUVs have built-in roof rails, headliner clips, or mounting points—use these for secure attachment.
- Use proper tools: A trim removal tool, screwdriver, and measuring tape help avoid damage during installation.
- Test before loading: Always do a gentle tug test to ensure the net is firmly secured before placing items inside.
- Avoid overloading: Follow the manufacturer’s weight limit to prevent damage to the net or your vehicle’s ceiling.
- Maintain regularly: Check hooks, straps, and anchor points periodically for wear and tear.
- Consider alternatives: If your SUV lacks ceiling anchors, use overhead storage bags or magnetic hooks as temporary solutions.
How to Attach Cargo Net to SUV Ceiling: A Complete Step-by-Step Guide
Whether you’re packing for a weekend camping trip, hauling sports equipment, or just trying to keep your SUV organized, a ceiling-mounted cargo net can be a game-changer. It frees up floor and seat space, keeps loose items from rolling around, and helps maintain a clean, safe cabin. But installing one isn’t always as simple as it looks—especially if you’ve never done it before.
In this comprehensive guide, you’ll learn how to attach a cargo net to your SUV ceiling safely, securely, and without damaging your vehicle. We’ll walk you through choosing the right net, locating anchor points, installing hardware (if needed), and testing your setup. You’ll also get practical tips, troubleshooting advice, and answers to common questions. By the end, you’ll have a reliable overhead storage solution that makes every drive more organized and stress-free.
Why Use a Cargo Net in Your SUV?
Before we dive into the installation, let’s talk about why a ceiling cargo net is such a smart addition to your SUV. Most drivers think of cargo nets as floor or trunk accessories—but mounting one on the ceiling opens up a whole new level of storage efficiency.

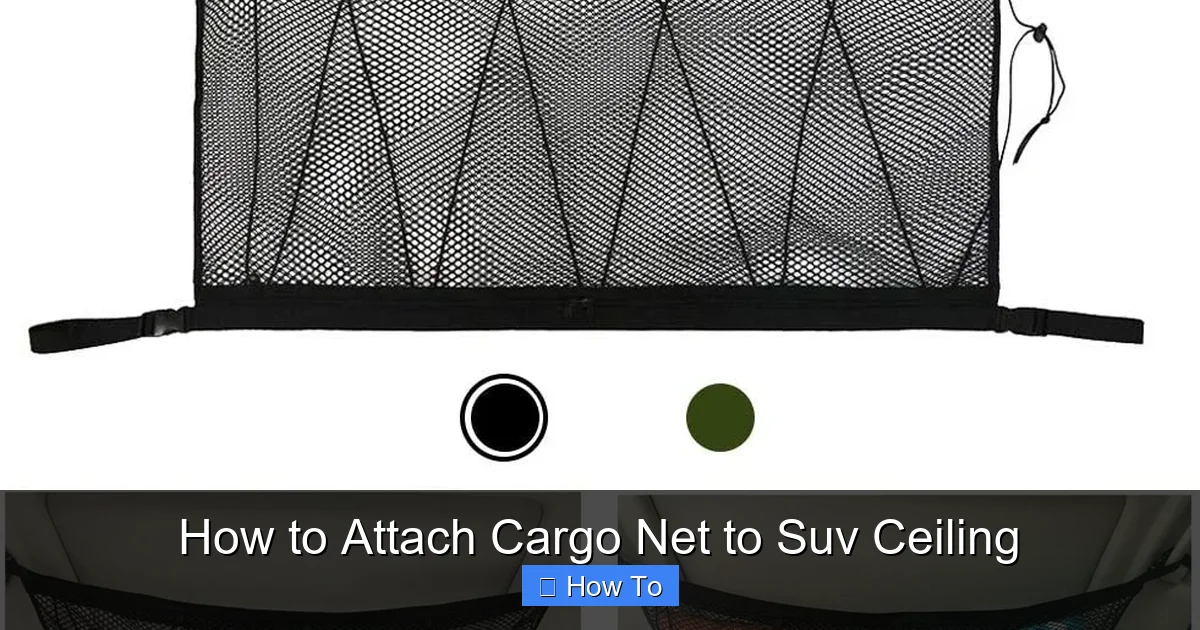
Visual guide about How to Attach Cargo Net to Suv Ceiling
Image source: i5.walmartimages.com
First, it maximizes vertical space. SUVs are tall for a reason—they’re built to carry people and gear. But all that headroom often goes unused. A ceiling net lets you store lightweight items like blankets, backpacks, soft coolers, or travel pillows up high, where they won’t interfere with passengers or block your view.
Second, it improves safety. Loose items in the cabin can become dangerous projectiles in sudden stops or accidents. A cargo net holds everything in place, reducing clutter and minimizing risk. It’s especially useful for families with kids who tend to toss toys or snacks around.
Third, it’s versatile. You can use it for short trips or long hauls, and easily remove or adjust it when not needed. Many modern cargo nets are collapsible and lightweight, so they don’t add bulk when stowed.
Finally, it’s cost-effective. Compared to bulky roof boxes or permanent storage systems, a ceiling cargo net is affordable, easy to install, and doesn’t require drilling or major modifications (in most cases).
What You’ll Need
Before you start, gather the right tools and materials. Having everything ready will make the process smoother and help you avoid mistakes.
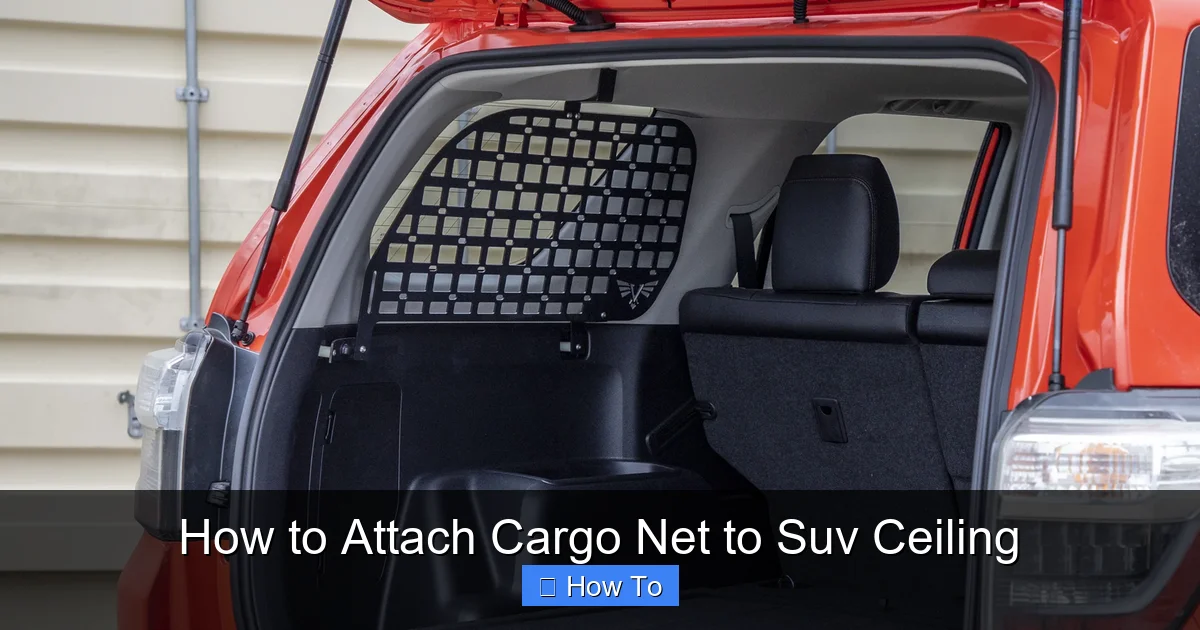
Visual guide about How to Attach Cargo Net to Suv Ceiling
Image source: victory4x4.com
Essential Tools and Materials
- Cargo net: Choose one designed for ceiling use with adjustable straps and strong hooks or carabiners.
- Trim removal tool: A plastic pry tool helps remove headliner panels without scratching or breaking clips.
- Screwdriver (Phillips and flathead): Useful for accessing hidden anchor points or removing screws.
- Measuring tape: Ensures even spacing and proper alignment.
- Flashlight: Helps you see inside tight spaces near the ceiling.
- Clean cloth: For wiping down surfaces before installation.
Optional (Depending on Your SUV)
- Ceiling anchor hooks: If your SUV doesn’t have built-in points, you may need to install screw-in or adhesive hooks.
- Drill and drill bits: Only if you’re installing permanent anchors (use with caution).
- Adhesive-backed hooks: For temporary setups on smooth surfaces (less secure but non-damaging).
- Zip ties or Velcro straps: For securing loose straps or bundling excess material.
Pro tip: Always check your vehicle’s owner’s manual before drilling or modifying any part of the interior. Some SUVs have wiring or airbags near the ceiling that could be damaged.
Step 1: Choose the Right Cargo Net
Not all cargo nets are created equal. The right one for your SUV should match your vehicle’s size, your storage needs, and your installation method.
Types of Cargo Nets
- Elastic mesh nets: Stretchy and flexible, great for lightweight items. Easy to install but may sag over time.
- Reinforced strap nets: Made with nylon webbing and sturdy hooks. More durable and better for heavier loads.
- Modular nets: Come with multiple attachment points and adjustable sections. Ideal for larger SUVs or custom setups.
What to Look For
- Adjustable straps: Allow you to tighten the net securely across the ceiling.
- Strong hooks or carabiners: Should be metal or heavy-duty plastic—avoid flimsy clips.
- Reinforced edges: Prevent tearing at stress points.
- Weight capacity: Check the label—most ceiling nets support 10–25 lbs.
- Compatibility: Some nets are designed specifically for certain SUV models (e.g., Honda CR-V, Toyota RAV4).
Example: The OxGord SUV Ceiling Cargo Net is a popular choice. It features four heavy-duty hooks, adjustable straps, and a 20-lb capacity. It fits most mid-size SUVs and installs in under 15 minutes.
Step 2: Locate Anchor Points in Your SUV
The key to a secure installation is finding reliable anchor points. Most SUVs have built-in options, but they’re not always obvious.
Common Anchor Locations
- Roof rails: Many SUVs have fixed or removable roof rails along the sides of the ceiling. These are ideal for attaching hooks.
- Headliner clips: The fabric ceiling (headliner) is held in place by plastic clips. You can often remove a clip to access a metal frame underneath.
- Grab handles: Some SUVs have overhead grab handles near the doors. These can sometimes be used as anchor points (check weight limits).
- Sunroof frames: The metal frame around a sunroof can support lightweight nets—avoid attaching directly to the glass.
- Factory-installed tie-downs: A few SUV models come with pre-installed ceiling tie-downs (common in off-road or utility vehicles).
How to Find Hidden Anchors
- Use a flashlight to inspect the edges of the headliner.
- Gently press along the ceiling—listen for clicks or feel for clips.
- Look for small indentations or seams where panels meet.
- Consult your owner’s manual or search online for your SUV model + “ceiling anchor points.”
Tip: If you can’t find built-in anchors, don’t panic. We’ll cover alternative solutions in Step 5.
Step 3: Prepare the Installation Area
A clean, clear workspace ensures a smooth installation and prevents damage to your SUV’s interior.
Clean the Ceiling
Use a clean, dry cloth to wipe down the area where you’ll attach the net. Dust, grease, or debris can weaken adhesive hooks or cause straps to slip.
Remove Obstacles
Temporarily take down any hanging items like air fresheners, garage door openers, or decorative straps. You want a clear path for the net.
Test Fit the Net
Before attaching anything, drape the net over the ceiling to see how it fits. Adjust the straps to approximate length. This helps you identify any issues early.
Example: If the net is too long, you may need to tie off excess strap length with a secure knot or use a strap adjuster.
Step 4: Install the Cargo Net
Now it’s time to attach the net. The method depends on your SUV’s anchor points and the type of net you’re using.
Method 1: Using Existing Roof Rails or Grab Handles
- Open all rear doors for easy access.
- Hook one corner of the net onto a roof rail or grab handle.
- Stretch the net across the ceiling and hook the opposite corner.
- Repeat for the other two corners, adjusting straps for even tension.
- Pull gently on each hook to ensure it’s secure.
Tip: If the net sags in the middle, use a central support hook or attach a small bungee cord to lift the center.
Method 2: Accessing Headliner Clips
- Use a trim removal tool to carefully pop out a headliner clip near the desired anchor point.
- Look for a metal frame or bolt underneath.
- Attach a screw-in ceiling hook or eye bolt into the frame (if drilling is safe).
- Reinstall the headliner clip around the hook, leaving the hook exposed.
- Hook the cargo net onto the new anchor.
Warning: Only drill if you’re certain there’s no wiring, airbag, or structural component behind the panel. When in doubt, consult a professional.
Method 3: Using Adhesive Hooks (Temporary Solution)
- Clean the ceiling surface with rubbing alcohol.
- Peel the backing off heavy-duty adhesive hooks (e.g., 3M Command Hooks).
- Press firmly onto the ceiling for 30 seconds.
- Wait 1 hour before attaching the net to allow the adhesive to cure.
- Hook the net straps onto the adhesive hooks.
Note: Adhesive hooks are best for lightweight nets and short-term use. Avoid in hot climates—heat can weaken the bond.
Step 5: Secure and Adjust the Net
A properly tensioned net stays flat, doesn’t sag, and holds items securely.
Tighten the Straps
Use the adjustable buckles on the net’s straps to pull it taut. Avoid over-tightening, which can strain hooks or damage the headliner.
Check for Sagging
If the net droops in the center, add a support point:
- Use a small bungee cord from the net to a grab handle.
- Install a fifth hook in the middle of the ceiling (if possible).
- Choose a net with a reinforced center panel.
Secure Loose Ends
Tuck excess strap length into the net or secure it with a zip tie. Loose straps can flap around and distract the driver.
Step 6: Test the Installation
Never load your net without testing it first. A failed attachment can damage your SUV or cause injury.
Perform a Tug Test
Gently pull on each hook and strap. They should feel solid—no wobbling, slipping, or creaking.
Simulate Weight
Place a lightweight bag (like a backpack) in the net and drive around the block. Check for movement, noise, or strain.
Inspect After Use
After your first trip, recheck all hooks and straps. Vibration and movement can loosen connections over time.
Troubleshooting Common Issues
Even with careful installation, problems can arise. Here’s how to fix the most common ones.
Problem: Net Sags in the Middle
Solution: Add a center support hook or use a net with a stiffened center. Alternatively, reduce the load or switch to a tighter mesh design.
Problem: Hooks Keep Slipping Off
Solution: Use carabiners instead of simple hooks. Or wrap the hook with electrical tape to increase grip.
Problem: Headliner Puckers or Rips
Solution: Avoid over-tightening. Use wider hooks or padding under the hook to distribute pressure. If damaged, consult an auto upholstery specialist.
Problem: Adhesive Hooks Fall Off
Solution: Clean the surface better next time, or switch to screw-in hooks. Avoid using adhesive hooks in high-heat areas.
Problem: Net Blocks Rearview Mirror
Solution: Reposition the net toward the rear seats or choose a smaller net. Never compromise visibility.
Safety Tips and Best Practices
Your safety and your passengers’ safety come first. Follow these guidelines to use your cargo net responsibly.
- Never exceed the weight limit. Most ceiling nets are rated for 10–25 lbs. Overloading can cause failure.
- Secure all items inside the net. Use smaller bags or bins to prevent items from slipping through the mesh.
- Avoid sharp or heavy objects. These can tear the net or fall through.
- Check the net regularly. Inspect hooks, straps, and anchors before long trips.
- Don’t block air vents or lights. Ensure the net doesn’t interfere with climate control or interior lighting.
- Remove the net when not in use. Prolonged tension can damage the headliner over time.
Alternative Solutions
If attaching a net to the ceiling isn’t feasible, consider these alternatives:
Overhead Storage Bags
Soft fabric bags that hang from grab handles or roof rails. Great for lightweight items like clothes or toys.
Magnetic Cargo Nets
Use magnetic hooks to attach a net to metal parts of the ceiling. Only works on vehicles with metal frames.
Seatback Organizers
Hang storage pockets on the back of front seats. Keeps items accessible without ceiling installation.
Trunk Cargo Nets
Mount a net in the cargo area instead. Frees up floor space and is easier to install.
Conclusion
Attaching a cargo net to your SUV ceiling is a simple, effective way to maximize storage and keep your cabin organized. With the right net, a few basic tools, and careful installation, you can create a secure overhead solution that works for road trips, daily commutes, and everything in between.
Remember to choose a high-quality net, locate reliable anchor points, and test your setup before loading. Follow safety guidelines, maintain your equipment, and don’t hesitate to explore alternatives if ceiling mounting isn’t practical.
Now that you know how to attach a cargo net to your SUV ceiling, you’re ready to hit the road with confidence—and a whole lot more space.