
This guide walks you through how to build a Lego Police SUV from start to finish, using clear instructions and helpful tips. Whether you’re a beginner or experienced builder, you’ll enjoy creating a detailed, functional police vehicle complete with lights, doors, and storage space.
Key Takeaways
- Start with the right set: Choose an official Lego City Police set or a compatible custom design that includes all necessary parts for a realistic SUV.
- Organize your pieces: Sort bricks by color and size before building to speed up the process and reduce frustration.
- Follow instructions carefully: Use the official Lego manual or a trusted digital guide to ensure each step is completed correctly.
- Customize your SUV: Add stickers, lights, or extra accessories like a radio or police dog to make your build unique.
- Test functionality: Make sure doors open, wheels roll, and the roof light bar works (if motorized) before finalizing your build.
- Display with pride: Once complete, place your Lego Police SUV in a diorama or collection to showcase your creativity.
- Involve the whole family: Building together is a fun, educational activity that strengthens problem-solving and teamwork skills.
How to Build a Lego Police SUV Instructions: A Complete Step-by-Step Guide
Are you ready to build your very own Lego Police SUV? Whether you’re a parent helping your child, a teen who loves Lego, or an adult fan of the brand, this guide will walk you through the entire process—from unboxing to final display. Building a Lego Police SUV is more than just snapping bricks together; it’s a fun, creative adventure that teaches patience, focus, and engineering basics.
In this comprehensive guide, you’ll learn how to build a Lego Police SUV using official Lego sets or custom designs. We’ll cover everything from choosing the right kit and organizing your pieces to advanced customization and troubleshooting common issues. By the end, you’ll have a fully functional, detailed police vehicle ready for action.
So grab your bricks, clear a workspace, and let’s get building!
Why Build a Lego Police SUV?
Lego Police SUVs are among the most popular builds in the Lego City series. These rugged, realistic vehicles capture the excitement of law enforcement and emergency response. They’re not just toys—they’re tools for imaginative play, storytelling, and learning.
Building a Lego Police SUV helps develop fine motor skills, spatial reasoning, and following directions. It also encourages creativity, as you can modify the design or create your own police scenarios. Plus, it’s a great way to bond with family or friends over a shared project.
Whether you’re building for play, display, or educational purposes, a Lego Police SUV offers hours of engagement and satisfaction.
Choosing the Right Lego Police SUV Set
Before you start building, you need the right set. Lego offers several official Police SUV kits, each with unique features. Here are some top options:
- Lego City Police Mobile Command Unit (Set 60307): Includes a large SUV with a command center, drone, and multiple minifigures. Great for advanced builders.
- Lego City Police Patrol Car (Set 60310): A compact, agile SUV perfect for beginners. Comes with a police officer, dog, and accessories.
- Lego Creator 3-in-1 Police Car (Set 31109): Build a police car, fire truck, or taxi—all from one set. Offers flexibility and replay value.
- Custom MOC (My Own Creation) Designs: If you prefer a unique build, search for free MOC instructions online. Websites like Rebrickable offer fan-made police SUVs with downloadable guides.
When choosing a set, consider your skill level, available time, and desired features. Beginners should start with simpler sets, while experienced builders can tackle larger, more complex models.
Gathering Your Materials and Tools
Once you’ve selected your set, it’s time to gather everything you need. Here’s a checklist:
- Lego Police SUV set: Make sure all bags are included and undamaged.
- Instruction manual: Either the printed version or a digital copy from Lego’s website.
- Flat building surface: A table or desk with good lighting.
- Brick separator: Helps remove misplaced pieces without damaging them.
- Small containers or trays: For sorting bricks by color or type.
- Optional: Magnifying glass or lamp: Useful for small pieces or detailed work.
Having the right tools makes the building process smoother and more enjoyable.
Preparing Your Workspace
A clean, organized workspace is essential for a successful build. Here’s how to set it up:
Clear and Clean the Area
Remove any clutter from your table. Wipe the surface with a damp cloth to remove dust. A clean space prevents lost pieces and distractions.
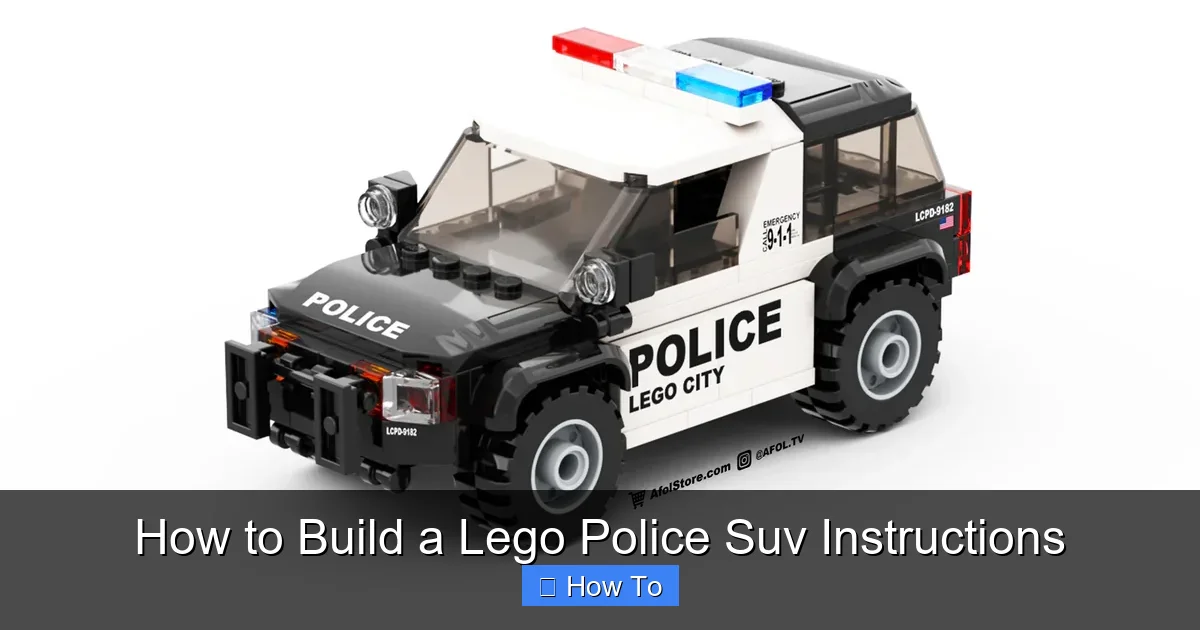
Visual guide about How to Build a Lego Police Suv Instructions
Image source: cdn.shopify.com
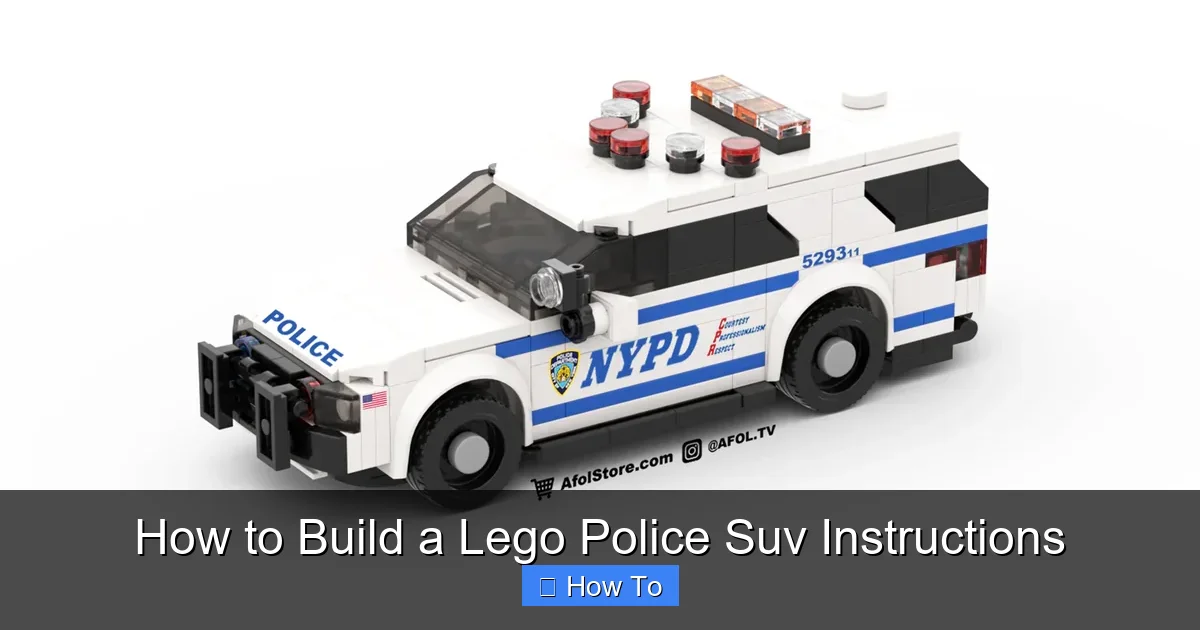
Visual guide about How to Build a Lego Police Suv Instructions
Image source: cdn.shopify.com
Arrange Your Tools
Place your instruction manual, brick separator, and containers within easy reach. Keep a notepad nearby to jot down notes or ideas.
Sort Your Bricks
Open all bags and sort the bricks into containers by color (e.g., black, white, blue) or type (e.g., 1×2 bricks, slopes, wheels). This saves time and reduces frustration during building.
Ensure Good Lighting
Natural light is best, but a desk lamp works too. Proper lighting helps you see small details and avoid mistakes.
A well-prepared workspace sets the stage for a stress-free building experience.
Step-by-Step Building Instructions
Now comes the fun part—building your Lego Police SUV! We’ll use the Lego City Police Patrol Car (Set 60310) as our example, but the principles apply to most police SUV sets.
Step 1: Build the Chassis
Start with the base of the vehicle. Locate the long, flat plates and axle connectors. Attach the wheels using the provided axles and tires. Make sure they spin freely.
Tip: Double-check that all wheels are aligned. Misaligned wheels can cause the SUV to wobble or not roll smoothly.
Step 2: Construct the Body Frame
Use rectangular bricks and Technic pins to build the main frame. Follow the manual closely—this step forms the skeleton of your SUV.
Tip: Press each brick firmly to ensure a secure connection. Loose bricks can collapse later.
Step 3: Add the Lower Body Panels
Attach the side panels, front bumper, and rear section. These give the SUV its shape and protect the interior.
Tip: Use dark gray or black bricks for a realistic look. Some sets include printed tiles for license plates—apply them now.
Step 4: Install the Interior
Build the seats, dashboard, and steering wheel. Place the minifigure in the driver’s seat to test fit.
Tip: Add small details like a radio or coffee cup for extra realism. These touches make the build more engaging.
Step 5: Assemble the Roof and Light Bar
Construct the roof using flat tiles and slopes. Attach the transparent blue light bar to the top. If your set includes a motorized light, connect it now.
Tip: Test the lights before finalizing the roof. Replace batteries if needed.
Step 6: Attach the Doors and Windows
Snap the doors onto the hinges and add transparent window pieces. Make sure the doors open and close smoothly.
Tip: If a door feels stiff, gently wiggle it to loosen the hinge. Avoid forcing it.
Step 7: Final Details and Accessories
Add stickers for police logos, sirens, and reflective stripes. Include accessories like a police dog, handcuffs, or a flashlight.
Tip: Use a tweezers or toothpick to apply small stickers precisely.
Step 8: Test and Adjust
Roll the SUV on a flat surface. Check that all parts are secure and functional. Make any necessary adjustments.
Tip: If the SUV doesn’t roll well, check the wheels and axles for obstructions.
Congratulations! You’ve successfully built your Lego Police SUV.
Customizing Your Lego Police SUV
Once the basic build is complete, you can personalize your SUV to make it truly unique. Here are some ideas:
Add Extra Lights
Use transparent red and blue bricks to create additional flashing lights. You can even install a small LED kit for real illumination.
Create a Police Dog Carrier
Build a small compartment in the back for a police dog minifigure. Add a leash and water bowl for realism.
Design a Roof Rack
Use Technic beams and clips to attach a roof rack. Store gear like a first-aid kit or traffic cones.
Paint or Sticker Modifications
Use non-toxic markers or custom stickers to add unit numbers, city names, or special badges.
Build a Matching Trailer
Create a trailer to carry a motorcycle, ATV, or crime scene kit. Connect it with a tow hitch.
Customization lets you express your creativity and make your build stand out.
Troubleshooting Common Building Issues
Even experienced builders run into problems. Here’s how to solve common issues:
Bricks Won’t Stay Connected
This usually happens if the bricks aren’t pressed firmly. Use the brick separator to remove the piece and reattach it with more pressure.
Doors Don’t Open Smoothly
Check the hinges for tightness. If they’re too stiff, gently bend them back and forth to loosen. Avoid over-tightening.
Wheels Don’t Roll Freely
Inspect the axles and tires for debris. Remove any dust or loose bricks. Ensure the wheels are properly seated.
Stickers Won’t Stick
Clean the surface with a dry cloth before applying. Use a toothpick to smooth out air bubbles.
Missing Pieces
Check under furniture and in carpet fibers. If a piece is truly missing, contact Lego customer service for a free replacement.
Don’t let small setbacks ruin your fun. Most issues are easy to fix with a little patience.
Safety Tips for Building with Lego
While Lego is generally safe, it’s important to follow a few guidelines:
- Supervise young children: Small bricks can be a choking hazard for kids under 3.
- Use proper lighting: Avoid eye strain by building in a well-lit area.
- Take breaks: Building for long periods can cause fatigue. Rest every 30–45 minutes.
- Store pieces safely: Keep bricks in sealed containers to prevent loss or damage.
- Avoid eating near bricks: Food crumbs can attract pests and damage pieces.
Safety ensures everyone can enjoy the building experience.
Displaying and Playing with Your Lego Police SUV
Once your SUV is complete, it’s time to show it off! Here are some ideas:
Create a Police Station Diorama
Build a small police station with a garage, jail cell, and office. Place your SUV in the driveway for a realistic scene.
Set Up a Crime Scene
Use minifigures to act out a police chase or investigation. Add road cones, evidence markers, and a police tape barrier.
Join a Lego Community
Share photos of your build on social media or Lego fan forums. Get feedback and inspiration from other builders.
Use in Stop-Motion Videos
Create a short film featuring your police SUV. Use a smartphone and free animation apps to bring your story to life.
Displaying your build adds value and extends the fun beyond the initial construction.
Conclusion
Building a Lego Police SUV is a rewarding experience that combines creativity, learning, and fun. From choosing the right set to customizing your final model, every step offers a chance to grow and explore.
By following this guide, you’ve learned how to build a Lego Police SUV with confidence and skill. Whether you’re building for play, display, or education, your SUV is now ready for action.
Remember, the best builds come from patience, practice, and passion. So keep building, keep creating, and most importantly—keep having fun!
Now go patrol the Lego streets in style!