
This guide teaches you how to access SUV roof rack systems safely, whether you’re loading gear, cleaning, or inspecting. You’ll learn the right tools, techniques, and safety tips to avoid damage or injury.
Key Takeaways
- Know your roof rack type: Different SUVs have different roof rack systems—factory-installed, aftermarket, or clamp-on—so identify yours first.
- Use proper tools and equipment: A sturdy step stool, ladder, or roof rack ladder can make access safer and easier.
- Practice safety first: Always secure the vehicle, wear non-slip shoes, and never lean too far over the edge of the roof.
- Clean and inspect regularly: Dirt, ice, or corrosion can make roof racks harder to access and less secure.
- Load and unload carefully: Distribute weight evenly and avoid sudden movements that could cause imbalance.
- Check manufacturer guidelines: Your SUV’s manual may include specific instructions for accessing and using the roof rack.
- Upgrade if needed: Consider adding side rails, crossbars, or a roof rack ladder for easier access on taller SUVs.
How to Access SUV Roof Rack: A Complete Step-by-Step Guide
Accessing your SUV’s roof rack might seem simple at first glance—just climb up and grab your gear, right? But doing it safely and efficiently requires more than just a leap of faith. Whether you’re loading camping equipment, securing a kayak, or just checking for damage, knowing how to access your SUV roof rack properly can save you time, prevent injury, and protect your vehicle.
In this comprehensive guide, you’ll learn everything you need to know about safely and effectively accessing your SUV’s roof rack. We’ll cover the different types of roof racks, the tools you’ll need, step-by-step instructions for safe access, and troubleshooting tips for common problems. By the end, you’ll feel confident tackling any roof rack task—whether you’re a weekend adventurer or a daily commuter with gear to carry.
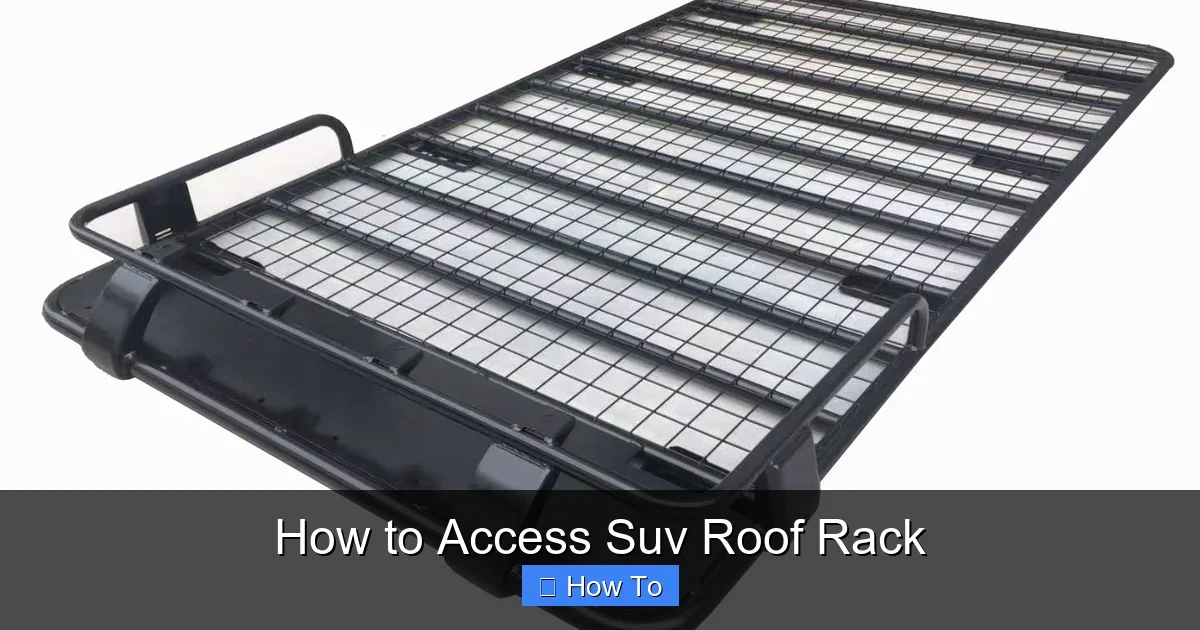
Understanding Your SUV Roof Rack System
Visual guide about How to Access Suv Roof Rack
Image source: cdn.shopify.com
Before you even think about climbing up, it’s important to understand what kind of roof rack your SUV has. Not all roof racks are created equal, and knowing the type will help you access it safely and avoid damaging your vehicle.
Factory-Installed Roof Racks
Many modern SUVs come with factory-installed roof racks. These are built into the vehicle’s design and typically include fixed side rails running along the roof’s length, with crossbars that can be adjusted or removed. Brands like Toyota, Honda, Subaru, and Ford often include these as standard or optional features.
Factory racks are usually sturdy and well-integrated, but they can vary in height and accessibility. Some are flush with the roof, while others sit higher, making them harder to reach. Always check your owner’s manual to confirm the design and weight capacity.
Aftermarket Roof Racks
If your SUV didn’t come with a roof rack or you’ve upgraded for more capacity, you might have an aftermarket system. These are sold by companies like Thule, Yakima, Rhino-Rack, and others. They’re designed to fit a wide range of vehicles and often offer more customization.
Aftermarket racks may use clamps, brackets, or adhesive mounts. They can be easier to install and remove, but they also require regular checks to ensure they’re secure. Because they’re not factory-fitted, they might sit higher or have different access points.
Clamp-On or Temporary Racks
Some roof racks are designed for occasional use and attach via door frame clamps or suction cups. These are common for carrying bikes, kayaks, or cargo boxes on short trips.
While convenient, clamp-on systems can be less stable and harder to access because they may not have side rails. You’ll need extra care when loading and unloading to avoid scratching the roof or losing grip.
Roof Rack with Side Rails and Crossbars
Most functional roof racks include side rails (also called raised rails) and removable crossbars. The side rails run along the edges of the roof, while the crossbars span the width and support your cargo.
This setup makes access easier because you can use the rails as handholds. However, if the rails are high or the roof is slippery, you may still need a step or ladder.
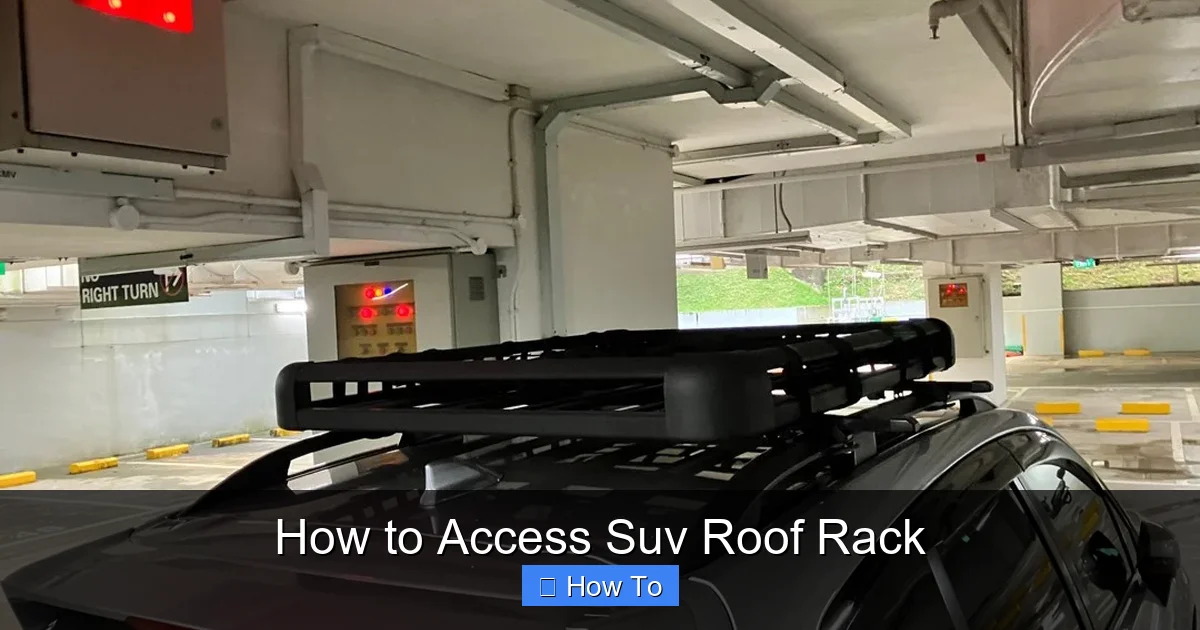
Tools and Equipment You’ll Need
Visual guide about How to Access Suv Roof Rack
Image source: media.karousell.com
Accessing your SUV roof rack safely isn’t just about strength—it’s about preparation. Having the right tools on hand can make the process smoother and safer.
Step Stool or Folding Step
A sturdy step stool is one of the most useful tools for accessing a roof rack. Look for one with a non-slip surface and a weight capacity that exceeds your own. A folding step that attaches to the bumper or tailgate can be especially helpful for taller SUVs.
Some models even have adjustable heights or built-in handles for extra stability. Avoid using unstable objects like boxes or coolers—they can tip over and cause falls.
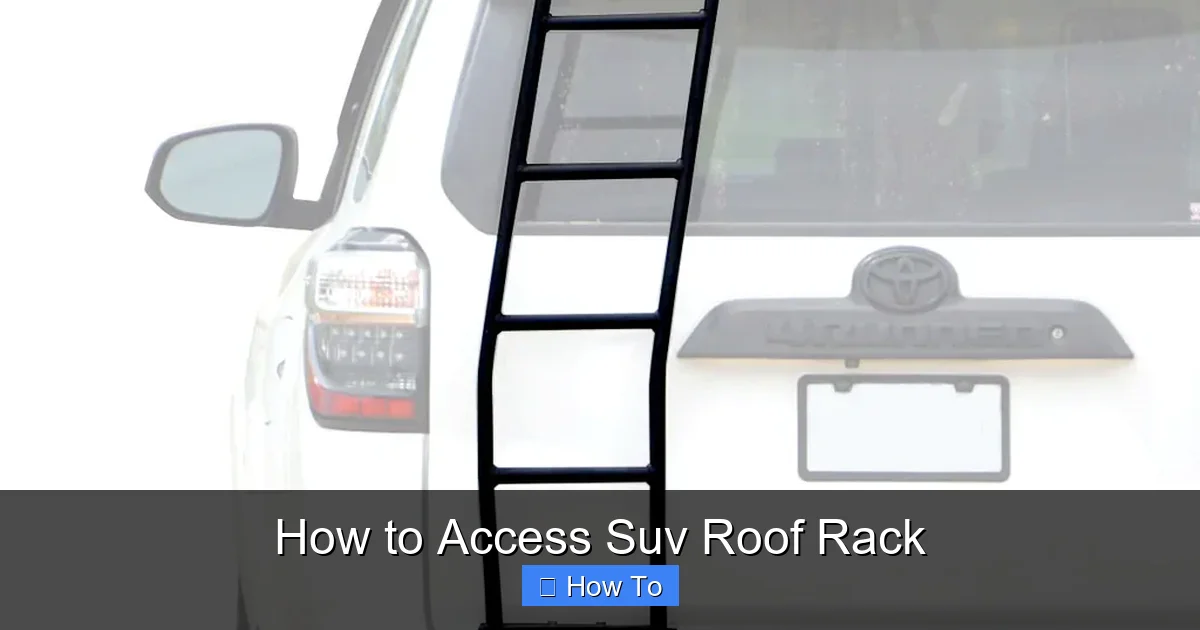
Roof Rack Ladder or Extension
For larger SUVs like the Ford Explorer, Chevrolet Tahoe, or Toyota Sequoia, a roof rack ladder can be a game-changer. These are small, foldable ladders that attach to the side of the vehicle or the roof rack itself.
They provide secure footing and reduce strain on your arms and back. Some are magnetic, while others clamp onto the crossbars. They’re lightweight and easy to store when not in use.
Non-Slip Footwear
Wearing shoes with good grip is essential. Avoid sandals, high heels, or smooth-soled shoes. Opt for sneakers or hiking boots with rubber soles that can grip wet or icy surfaces.
Even a small slip can lead to a serious fall, especially when you’re reaching for heavy items.
Gloves
Gloves protect your hands from sharp edges, cold metal, or rough cargo. They also improve your grip when lifting or securing items.
Choose gloves that are durable but flexible—something like work gloves or outdoor gloves with grip pads.
Assistance from a Second Person
For heavy or bulky items like kayaks, cargo boxes, or ladders, having a helper can make access much safer. One person can steady the item while the other climbs up.
This reduces the risk of dropping gear or losing balance. It’s always better to ask for help than to risk injury.
Step-by-Step Guide to Accessing Your SUV Roof Rack
Now that you know your roof rack type and have the right tools, it’s time to access it safely. Follow these steps every time you need to load, unload, or inspect your roof rack.
Step 1: Park on Level Ground
Always park your SUV on a flat, stable surface. Avoid slopes or uneven terrain, which can make the vehicle unstable and increase the risk of slipping.
Turn off the engine and engage the parking brake. If you’re on a slight incline, consider chocking the wheels with blocks for extra safety.
Step 2: Clear the Area Around the Vehicle
Make sure there’s nothing in the way—low-hanging branches, power lines, or other obstacles. You don’t want to bump your head or get tangled while climbing up.
Also, check the ground for puddles, ice, or loose gravel. Wet or slippery surfaces can make stepping up dangerous.
Step 3: Gather Your Gear and Tools
Bring everything you need to the vehicle before you start. This includes your cargo, straps, gloves, step stool, and any other equipment.
Having everything ready reduces the number of trips up and down, which minimizes fatigue and risk.
Step 4: Use a Step Stool or Ladder
Position your step stool or ladder securely against the side of the SUV. Make sure it’s on solid ground and won’t shift when you step on it.
For taller vehicles, a roof rack ladder is ideal. Attach it to the side rail or crossbar, ensuring it’s locked in place.
Step up slowly and test your balance before putting full weight on it. Keep three points of contact at all times—two hands and one foot, or two feet and one hand.
Step 5: Secure Your Position on the Roof
Once you’re on the roof, avoid standing directly on the roof panel. Most SUV roofs aren’t designed to support full body weight, especially in the center.
Instead, stand on the side rails or crossbars if they’re sturdy enough. Use them as handholds to maintain balance.
If you need to move across the roof, shuffle your feet slowly and keep your center of gravity low. Never run or make sudden movements.
Step 6: Load or Unload Your Gear
When placing items on the roof rack, lift with your legs—not your back. Bend your knees and keep the load close to your body.
Distribute weight evenly across the crossbars. Heavier items should go in the center, closer to the vehicle, to maintain balance.
Use straps, nets, or cargo boxes to secure everything. Double-check that all ties are tight and nothing can shift during driving.
Step 7: Inspect the Roof Rack
While you’re up there, take a moment to inspect the roof rack. Look for loose bolts, rust, cracks, or worn straps.
Check that the crossbars are properly aligned and the side rails are secure. Tighten any loose fittings with the appropriate tools.
This quick check can prevent failures on the road and extend the life of your roof rack.
Step 8: Safely Descend
When you’re done, carefully climb down. Use the step stool or ladder again, and maintain three points of contact.
Don’t jump off the roof—even a small drop can cause injury. Take your time and step down firmly.
Safety Tips for Accessing Your SUV Roof Rack
Safety should always be your top priority when accessing a roof rack. Here are some essential tips to keep in mind.
Never Stand on the Roof Panel
The roof of your SUV is not meant to hold your full weight. Standing in the center can dent or damage the sheet metal, especially on older or lighter vehicles.
Always stand on the side rails, crossbars, or use a roof rack platform designed for foot traffic.
Avoid Windy or Icy Conditions
Strong winds can make it harder to balance, especially when reaching for tall items like kayaks or cargo boxes.
Ice or snow on the roof or step stool increases the risk of slipping. If conditions are bad, wait for better weather or use extra caution.
Don’t Overreach
Leaning too far to one side can cause you to lose balance. If you can’t reach something safely, reposition your step stool or ask for help.
It’s better to make an extra trip than to risk a fall.
Check Weight Limits
Every roof rack has a maximum weight capacity—usually listed in the owner’s manual or on the manufacturer’s website.
Exceeding this limit can damage the roof, crossbars, or mounting points. It can also affect your vehicle’s handling and safety.
As a rule of thumb, don’t exceed 165 pounds (75 kg) for dynamic (driving) loads and 300–400 pounds (136–181 kg) for static (parked) loads, unless specified otherwise.
Use Proper Lifting Techniques
When lifting heavy items, keep your back straight and lift with your legs. Avoid twisting your body while holding a load.
If an item is too heavy, use a cargo lift, ramp, or ask for assistance.
Troubleshooting Common Roof Rack Access Issues
Even with the best preparation, you might run into problems. Here’s how to solve some common issues.
Problem: Roof Rack Is Too High to Reach
If your SUV has a high roofline, like a full-size SUV or lifted vehicle, reaching the roof rack can be a challenge.
Solution: Use a taller step stool, a roof rack ladder, or a portable platform. Some people install permanent side steps or running boards to make access easier.
Problem: Crossbars Are Loose or Wobbly
Loose crossbars can shift during driving and make access unsafe.
Solution: Tighten the mounting bolts or clamps according to the manufacturer’s instructions. Use a torque wrench if specified. Check regularly, especially after long trips.
Problem: Roof Rack Is Frozen or Iced Over
In cold climates, ice can build up on the roof and rack, making it slippery and hard to grip.
Solution: Use a plastic ice scraper to remove snow and ice. Avoid metal tools that can scratch the roof. Apply a de-icing spray if needed, but rinse it off afterward to prevent corrosion.
Problem: Cargo Is Too Heavy or Bulky
Large items like kayaks, canoes, or cargo boxes can be difficult to lift and secure alone.
Solution: Use a kayak loader, cargo lift, or ramp system. These tools reduce strain and make loading safer. Always have a helper when possible.
Problem: Roof Rack Makes Noise While Driving
Wind noise or rattling can indicate loose parts or poor aerodynamics.
Solution: Check all connections and tighten as needed. Add fairings or wind deflectors to reduce noise. Ensure cargo is secured tightly to prevent flapping.
Maintaining Your Roof Rack for Easy Access
Regular maintenance keeps your roof rack in good condition and makes access easier over time.
Clean the Roof and Rack
Dirt, salt, and grime can build up and make surfaces slippery. Wash the roof and rack with mild soap and water.
Pay special attention to the mounting points and moving parts. Dry thoroughly to prevent rust.
Lubricate Moving Parts
If your roof rack has adjustable crossbars or folding components, apply a silicone-based lubricant to keep them moving smoothly.
Avoid petroleum-based products, which can damage rubber seals.
Inspect for Damage
Check for cracks, rust, or bent components. Replace worn parts immediately to avoid failure.
Look for signs of stress around the mounting points—these are critical for safety.
Store Properly When Not in Use
If you remove your roof rack seasonally, store it in a dry, cool place. Keep all hardware together in a labeled bag.
Cover the roof area to prevent scratches or water damage.
Conclusion
Learning how to access your SUV roof rack safely and efficiently is an essential skill for any driver who carries gear on the roof. Whether you’re heading out for a weekend camping trip, transporting sports equipment, or just need extra storage space, following the right steps can make all the difference.
Start by understanding your roof rack type—factory, aftermarket, or temporary—and gather the right tools like a step stool, gloves, and non-slip shoes. Always park on level ground, use proper lifting techniques, and never stand on the roof panel. Regular maintenance and inspections will keep your system in top shape and prevent problems down the road.
By following this guide, you’ll not only protect yourself and your vehicle but also extend the life of your roof rack and enjoy more peace of mind on every adventure. Remember: safety first, preparation second, and always take your time.
With the right approach, accessing your SUV roof rack doesn’t have to be a challenge—it can be a smooth, confident part of your routine.