
Clearing the maintenance required light on your Toyota RAV4 is simple and can be done at home in under 5 minutes. This guide covers every RAV4 model year with clear, step-by-step instructions so you can reset the light safely and correctly.
Key Takeaways
- Know the difference between “Maintenance Required” and “Check Engine” lights: The maintenance light is a routine reminder, not a warning of engine trouble.
- Reset procedures vary by model year: 2001–2012, 2013–2018, and 2019–2024 RAV4s each have unique reset methods.
- Use the trip meter and ignition key for older models: No tools needed—just your key and dashboard controls.
- Newer models use the multi-information display (MID): Navigate through menus using steering wheel buttons.
- Always complete scheduled maintenance first: Resetting the light without servicing can lead to missed oil changes or inspections.
- Keep a maintenance log: Track oil changes, tire rotations, and other services to stay on schedule.
- If the light won’t turn off, consult a mechanic: Persistent lights may indicate an actual issue needing professional attention.
📑 Table of Contents
- Understanding the Maintenance Required Light on Your Toyota RAV4
- Why the Maintenance Light Comes On
- How to Clear the Maintenance Light on Older RAV4 Models (2001–2012)
- Resetting the Light on Mid-Generation RAV4s (2013–2018)
- Clearing the Light on Newer RAV4 Models (2019–2024)
- When the Light Won’t Turn Off: Troubleshooting Tips
- Best Practices for Maintaining Your RAV4
- Conclusion
Understanding the Maintenance Required Light on Your Toyota RAV4
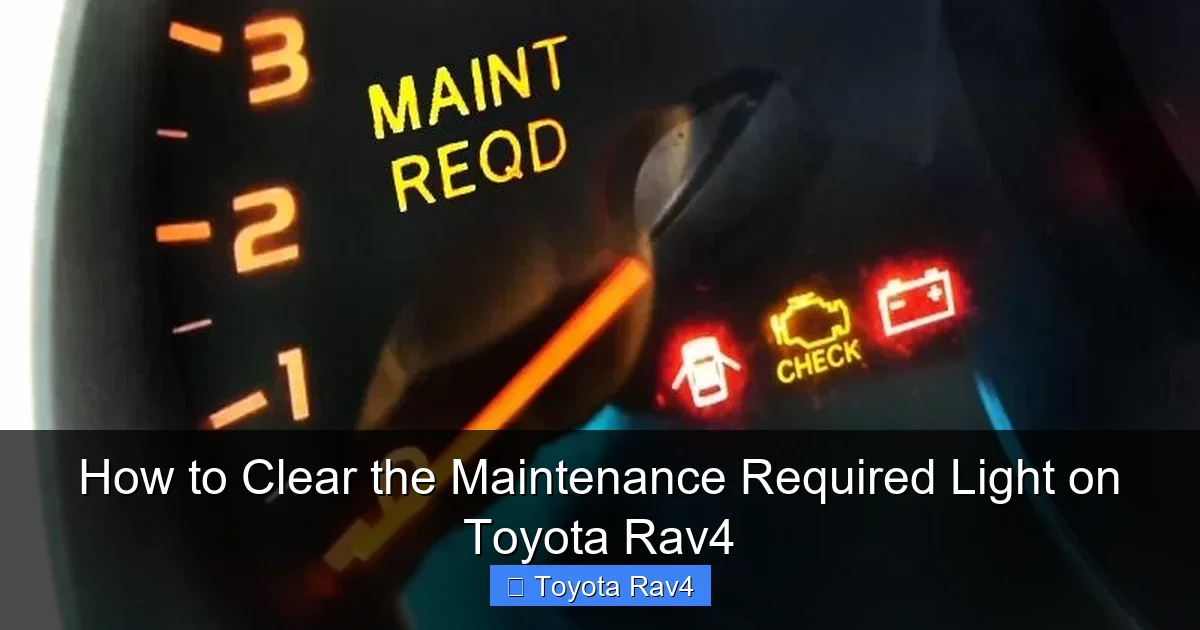
If you’ve ever been driving your Toyota RAV4 and noticed a small yellow or orange light on your dashboard that says “Maintenance Required,” you’re not alone. This light is one of the most common—and often misunderstood—dashboard indicators in modern vehicles. Unlike the more alarming “Check Engine” light, the Maintenance Required light isn’t signaling an emergency. Instead, it’s simply reminding you that it’s time for routine service, like an oil change, tire rotation, or fluid top-up.
Toyota designed this system to help drivers stay on top of regular maintenance without relying solely on memory or guesswork. The light typically comes on every 5,000 to 10,000 miles, depending on your driving habits and the specific model year of your RAV4. It’s part of Toyota’s Maintenance Reminder System (MRS), which tracks mileage and prompts you when service is due. Once you’ve completed the required maintenance, the next step is clearing the light so your dashboard stays clean and you know when the next service is coming up.
But here’s the good news: you don’t need to visit a dealership or pay a mechanic to reset this light. In most cases, you can do it yourself in just a few minutes using simple steps that involve your ignition key, trip meter, or steering wheel controls. Whether you drive a 2001 RAV4 or a brand-new 2024 model, this guide will walk you through the exact process for your vehicle.
Why the Maintenance Light Comes On
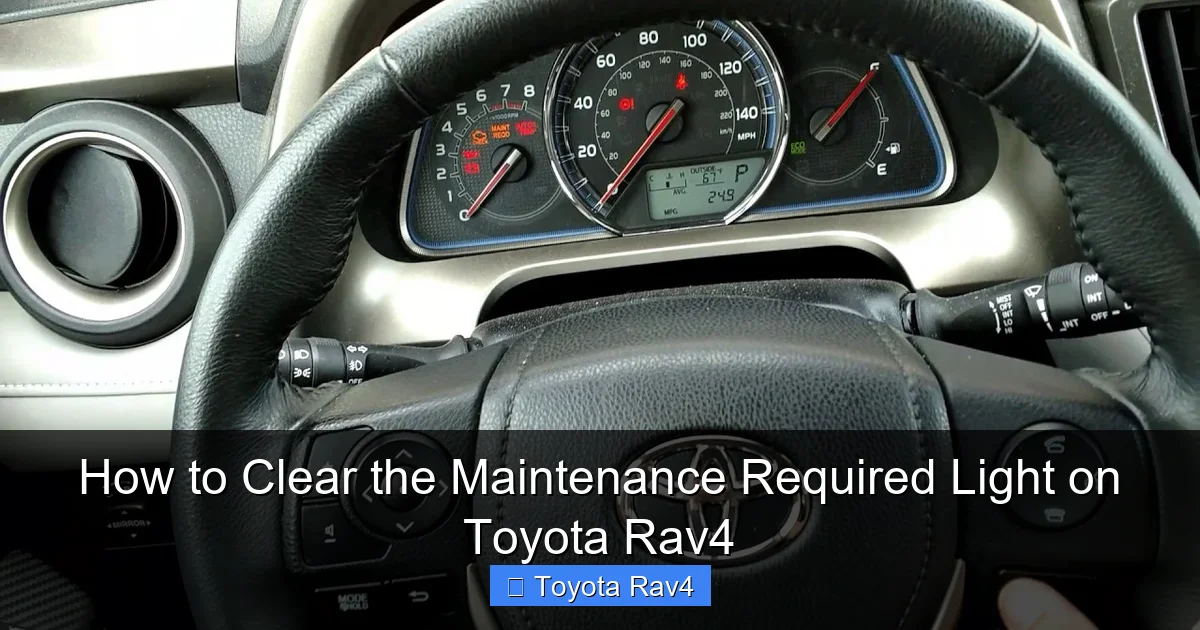
Visual guide about How to Clear the Maintenance Required Light on Toyota Rav4
Image source: i.ytimg.com
Before we dive into how to clear the maintenance required light on your Toyota RAV4, it’s important to understand why it appears in the first place. This light is not a malfunction indicator—it’s a proactive reminder system. Toyota vehicles, including the RAV4, are equipped with a maintenance schedule that’s based on mileage intervals. The car’s computer tracks how far you’ve driven since the last reset and triggers the light when you reach the preset mileage threshold.
For most RAV4 models, the light comes on around every 5,000 miles for basic maintenance like oil and filter changes. However, if you drive in severe conditions—such as frequent short trips, extreme temperatures, towing, or dusty environments—Toyota recommends more frequent service, and the light may appear sooner. The system is designed to adapt to your driving patterns, ensuring your vehicle gets the care it needs to run smoothly and efficiently.
It’s also worth noting that the Maintenance Required light is different from the “Check Engine” light. The Check Engine light indicates a potential problem with the engine, emissions system, or other critical components and should be addressed immediately. In contrast, the Maintenance Required light is purely informational. It’s your car’s way of saying, “Hey, it’s time for your regular check-up!” Ignoring it won’t cause immediate damage, but skipping routine maintenance can lead to reduced fuel efficiency, engine wear, and costly repairs down the road.
Common Maintenance Tasks Triggered by the Light
When the Maintenance Required light comes on, it’s usually time for one or more of the following services:
- Oil and oil filter change: This is the most common reason the light appears. Fresh oil keeps your engine lubricated and running smoothly.
- Tire rotation: Rotating your tires helps them wear evenly, extending their lifespan and improving handling.
- Air filter replacement: A clean air filter ensures proper airflow to the engine, boosting performance and fuel economy.
- Brake inspection: Checking brake pads, rotors, and fluid levels helps maintain safe stopping power.
- Fluid top-offs: This includes windshield washer fluid, coolant, and brake fluid.
- Battery check: Ensuring your battery is in good condition prevents unexpected breakdowns.
Completing these tasks not only keeps your RAV4 in top shape but also ensures that resetting the light is meaningful. After all, there’s no point in clearing the reminder if you haven’t actually done the maintenance!
How to Clear the Maintenance Light on Older RAV4 Models (2001–2012)
If you drive a Toyota RAV4 from 2001 to 2012, you’re in luck—the process to clear the maintenance required light is straightforward and requires no special tools. These older models use a simple key-and-dashboard method that relies on the trip meter and ignition switch. Here’s how to do it step by step.
Step-by-Step Reset for 2001–2012 RAV4
- Turn the ignition to the “ON” position: Insert your key and turn it to the “ON” position, but do not start the engine. You should see the dashboard lights illuminate, including the Maintenance Required light.
- Locate the trip meter button: On the instrument cluster, find the trip meter button (usually labeled “TRIP” or “ODO/TRIP”). This button switches between odometer and trip meter readings.
- Press and hold the trip meter button: While the ignition is on, press and hold the trip meter button. Keep it held down.
- Turn the ignition to “OFF”: While still holding the trip meter button, turn the key back to the “OFF” position.
- Turn the ignition back to “ON”: Without releasing the trip meter button, turn the key back to the “ON” position. Continue holding the button.
- Watch for the light to flash: After a few seconds, the Maintenance Required light should begin to flash. Keep holding the button until the light turns off completely—this usually takes about 10–15 seconds.
- Release the button and start the engine: Once the light is off, release the trip meter button. You can now start your engine. The light should remain off, indicating a successful reset.
Tips for Success
- Make sure the ignition is in the correct position at each step. Rushing can cause the reset to fail.
- If the light doesn’t turn off, repeat the process. Sometimes it takes a second try.
- Always complete your maintenance before resetting the light. Resetting without service defeats the purpose of the reminder.
This method works for most RAV4 models from this era, including the 2001–2005 first-generation models and the 2006–2012 second-generation versions. It’s a reliable, no-cost way to keep your dashboard clean and your maintenance schedule on track.
Resetting the Light on Mid-Generation RAV4s (2013–2018)
The 2013–2018 Toyota RAV4 models introduced a more advanced dashboard system, including a multi-information display (MID) that allows for digital menu navigation. While the reset process is still DIY-friendly, it’s a bit different from the older key-and-button method. These models use a combination of the trip meter and ignition, but with a slight variation in timing and button presses.
Step-by-Step Guide for 2013–2018 RAV4
- Turn the ignition to “ON”: Insert your key and turn it to the “ON” position without starting the engine. The dashboard should light up.
- Press the trip meter button to select “Trip A”: Use the trip meter button to cycle through the options until “Trip A” is displayed on the odometer screen.
- Turn the ignition to “OFF”: Turn the key back to the “OFF” position.
- Press and hold the trip meter button: While the ignition is off, press and hold the trip meter button.
- Turn the ignition back to “ON”: With the button still held down, turn the key to “ON.” Continue holding the button.
- Wait for the light to reset: After about 5–10 seconds, the Maintenance Required light should begin to flash and then turn off. This indicates the reset is complete.
- Release the button and start the engine: Once the light is off, release the trip meter button and start your RAV4. The light should stay off.
Common Issues and Fixes
Sometimes, the reset doesn’t work on the first try. If the light remains on, don’t panic—here are a few troubleshooting tips:
- Check your timing: The key is to hold the button the entire time between turning the ignition off and back on. Any release too early can interrupt the process.
- Ensure “Trip A” is selected: The reset only works when “Trip A” is displayed. If you’re on “Trip B” or the main odometer, switch to “Trip A” first.
- Try it again: Repeat the steps carefully. Most users succeed on the second or third attempt.
This method is consistent across the 2013–2018 RAV4 lineup, including both gas and hybrid versions. It’s a simple process that takes less than a minute once you get the hang of it.
Clearing the Light on Newer RAV4 Models (2019–2024)
The 2019–2024 Toyota RAV4 models feature a fully digital multi-information display (MID) and steering wheel controls, making the reset process more menu-driven. Instead of using the trip meter button alone, you’ll navigate through the MID using buttons on the steering wheel. This method is intuitive once you know the steps, and it’s designed to be user-friendly for modern drivers.
Step-by-Step Reset for 2019–2024 RAV4
- Turn the ignition to “ON”: Press the “Start” button without pressing the brake pedal, or turn the key to “ON” if your model has a key. The dashboard and MID should light up.
- Use the steering wheel controls: Locate the arrow or “DISP” button on the left side of the steering wheel. Press it to cycle through the MID screens until you see the “Maintenance” or “Service” menu.
- Navigate to the reset option: Use the up/down arrows to scroll to the “Reset” or “Clear” option under the maintenance menu.
- Confirm the reset: Press the “OK” or “Enter” button (usually in the center of the arrow keys) to confirm. You may see a prompt asking, “Reset maintenance data?” Select “Yes.”
- Wait for confirmation: The screen should display a message like “Maintenance data reset” or the light should turn off.
- Turn off the ignition and restart: Turn the vehicle off and then start it normally. The Maintenance Required light should be gone.
Tips for Newer Models
- Use the correct button: Some RAV4s have a “DISP” button, while others use arrow keys. Check your owner’s manual if you’re unsure.
- Don’t rush: Take your time navigating the menu. Rushing can cause you to miss the reset option.
- Hybrid models work the same: The process is identical for gas and hybrid RAV4s from 2019–2024.
This digital method is clean, precise, and eliminates the guesswork of older reset techniques. It’s also a great example of how Toyota has evolved its user interface to make vehicle maintenance more accessible.
When the Light Won’t Turn Off: Troubleshooting Tips
Even with the correct steps, sometimes the Maintenance Required light refuses to clear. If you’ve followed the instructions for your model year and the light is still on, don’t worry—there are a few common reasons and solutions.
Possible Causes and Fixes
- Incomplete maintenance: If you reset the light without changing the oil or performing the required service, the system may detect the lack of action and keep the light on. Always complete the maintenance first.
- Battery disconnect: If you recently disconnected the battery (for example, to replace it), the system may need to relearn the maintenance schedule. In some cases, driving for 50–100 miles can reset the system automatically.
- Faulty sensor or module: Rarely, a malfunctioning maintenance reminder module or sensor can cause the light to stay on. This requires diagnostic tools to identify and fix.
- Incorrect reset procedure: Double-check that you’re using the right method for your model year. Using the 2013 method on a 2020 RAV4 won’t work.
- Software glitch: Occasionally, a temporary software issue can prevent the reset. Try turning the car off, waiting 10 minutes, and attempting the reset again.
When to See a Mechanic
If you’ve tried everything and the light still won’t turn off, it’s time to consult a professional. A certified Toyota technician can use diagnostic equipment to check for underlying issues, such as:
- A malfunctioning oil life monitoring system
- Electrical problems in the dashboard
- Software updates needed for the vehicle’s computer
While most cases are simple user errors, persistent lights may indicate a deeper issue that requires expert attention.
Best Practices for Maintaining Your RAV4
Clearing the maintenance light is just one part of keeping your Toyota RAV4 in great condition. To get the most out of your vehicle and avoid unnecessary repairs, follow these best practices:
Stick to the Maintenance Schedule
Your RAV4’s owner’s manual includes a detailed maintenance schedule based on mileage and time. Follow it closely, especially for oil changes, tire rotations, and brake inspections. Regular maintenance extends the life of your engine, improves fuel efficiency, and keeps your car safe.
Keep a Maintenance Log
Use a notebook, app, or digital spreadsheet to track every service you perform. Include the date, mileage, type of service, and any notes. This helps you stay on schedule and provides valuable information if you ever sell the car.
Use Quality Parts and Fluids
Always use Toyota-recommended oil, filters, and fluids. Cheap alternatives may save money upfront but can cause long-term damage. For example, using the wrong oil viscosity can reduce engine performance and increase wear.
Check Tire Pressure Monthly
Proper tire pressure improves fuel economy, handling, and tire life. Use a tire pressure gauge to check all four tires (including the spare) at least once a month.
Listen to Your Car
Unusual noises, vibrations, or warning lights (other than the maintenance reminder) should never be ignored. Address them promptly to prevent bigger problems.
Conclusion
Clearing the maintenance required light on your Toyota RAV4 is a simple task that anyone can do at home. Whether you drive a 2001 model with a basic trip meter or a 2024 RAV4 with a digital display, the process is quick, cost-free, and effective. By understanding why the light comes on and following the correct reset procedure for your model year, you can keep your dashboard clean and your vehicle well-maintained.
Remember, the light is there to help you—not hassle you. It’s a reminder to take care of your RAV4 so it can take care of you. Complete your scheduled maintenance, reset the light, and enjoy the peace of mind that comes with a well-cared-for vehicle. With this guide, you’re equipped to handle the maintenance reminder like a pro, no matter which RAV4 you drive.
Frequently Asked Questions
Can I clear the maintenance light without doing the service?
Technically, yes—but it’s not recommended. Resetting the light without performing the required maintenance defeats the purpose of the reminder and can lead to engine wear or other issues over time.
Will disconnecting the battery reset the maintenance light?
Not always. While disconnecting the battery may reset some systems, the maintenance reminder often requires a specific procedure to clear. It’s better to use the correct reset method for your model.
How often does the maintenance light come on?
The light typically appears every 5,000 to 10,000 miles, depending on your driving habits and the model year. Severe driving conditions may trigger it sooner.
Is the maintenance light the same as the check engine light?
No. The maintenance light is a routine reminder for service, while the check engine light indicates a potential mechanical or emissions problem that needs immediate attention.
Can I reset the light using an OBD2 scanner?
Some advanced OBD2 scanners can reset maintenance lights, but it’s not necessary. The built-in reset procedures are simple and don’t require special tools.
What if the light comes back on right after resetting?
If the light returns immediately, you may have an underlying issue, such as a faulty sensor or incomplete maintenance. Double-check your work or consult a mechanic if the problem persists.