
This guide walks you through how to adjust headlights on a Ford 2011 SUV using simple tools and clear instructions. You’ll ensure proper visibility, safety, and compliance with road regulations—no mechanic required.
Key Takeaways
- Proper headlight alignment improves nighttime visibility and safety: Misaligned headlights can blind other drivers or fail to illuminate the road properly, increasing accident risk.
- Adjustments are easy with basic tools: You only need a Phillips screwdriver, measuring tape, and a flat surface—no special equipment required.
- Use a wall or garage door as a reference point: Park your SUV 25 feet from a flat, dark wall to measure and adjust beam height accurately.
- Check both vertical and horizontal alignment: Most Ford 2011 SUVs allow vertical adjustment; some models also support horizontal tweaks for optimal coverage.
- Test after adjustments in real driving conditions: Always take a short night drive to confirm the beams illuminate the road without glaring into oncoming traffic.
- Refer to your owner’s manual for model-specific details: Trim levels like Explorer, Edge, or Flex may have slight variations in adjustment mechanisms.
- Recheck alignment after suspension changes or accidents: Any impact or modification can shift headlight aim, so periodic checks are essential.
How to Adjust Headlights on Ford 2011 SUV
If you’ve noticed your Ford 2011 SUV’s headlights are pointing too high, too low, or off to one side, you’re not alone. Over time, bumps, potholes, or even normal wear can shift your headlight alignment. The good news? You don’t need to visit a mechanic or spend money at a shop. With a few basic tools and about 30 minutes of your time, you can adjust your headlights yourself—safely and effectively.
In this comprehensive guide, we’ll walk you through the entire process of adjusting the headlights on your 2011 Ford SUV—whether it’s an Explorer, Edge, Flex, or another model in the lineup. You’ll learn why proper alignment matters, how to prepare your vehicle, step-by-step adjustment instructions, and tips to ensure your lights perform at their best. By the end, you’ll have brighter, safer nighttime driving and peace of mind knowing your headlights are aimed correctly.
Why Headlight Alignment Matters

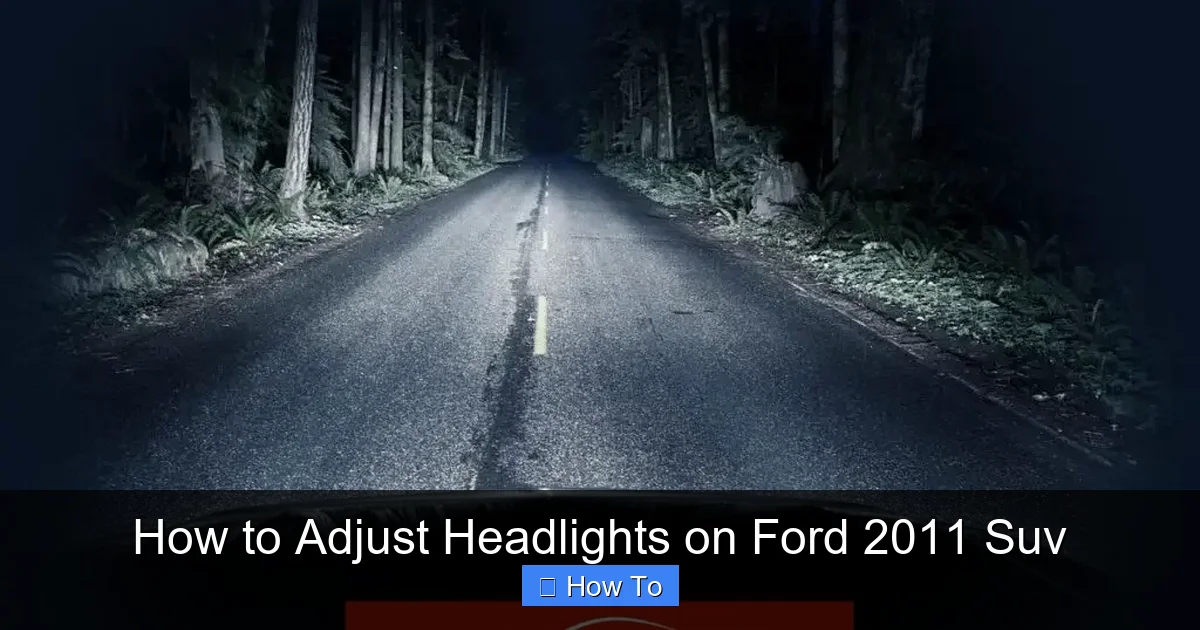
Visual guide about How to Adjust Headlights on Ford 2011 Suv
Image source: jeepzine.com
Before diving into the how-to, it’s important to understand why headlight adjustment is so crucial. Your headlights are your primary source of visibility after dark. If they’re misaligned, you could be creating dangerous driving conditions—for yourself and others.
When headlights point too high, they can blind oncoming drivers, causing temporary vision loss and increasing the risk of accidents. This is not only unsafe but can also result in fines in some areas. On the flip side, if your headlights are too low, you won’t see far enough down the road, especially on hills or curves. This reduces your reaction time and makes nighttime driving more stressful.
Properly aligned headlights ensure that:
– The light beam reaches the optimal distance (usually 30–50 feet ahead).
– The cutoff line (the sharp edge between light and dark) is level and not angled.
– Both low and high beams function as intended.
– You comply with local traffic safety regulations.
Additionally, after replacing a headlight bulb, installing new suspension components, or even after a minor fender bender, your headlight aim can shift. That’s why it’s a good idea to check alignment periodically—especially if you notice changes in how your lights perform.
Tools and Materials You’ll Need
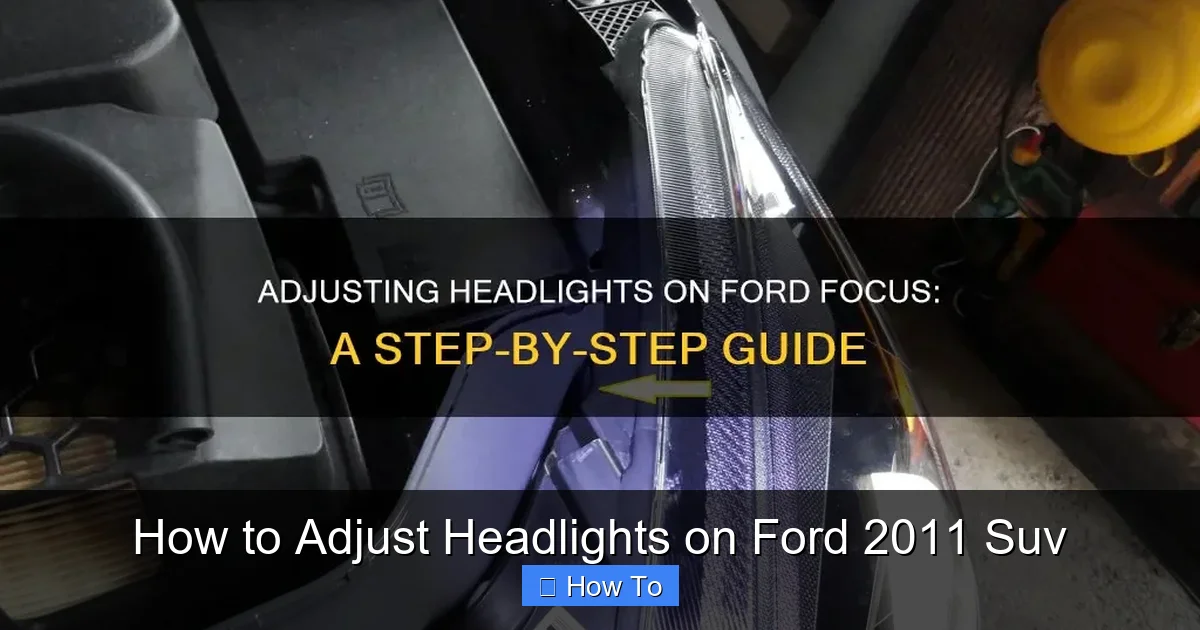
Visual guide about How to Adjust Headlights on Ford 2011 Suv
Image source: shunauto.com
One of the best parts about adjusting your Ford 2011 SUV’s headlights is that you don’t need expensive tools or professional equipment. Here’s what you’ll need:
- Phillips head screwdriver: Most Ford 2011 SUVs use Phillips screws for headlight adjustment.
- Measuring tape or ruler: To measure the height of your headlights and mark reference points.
- Flat, level surface: A driveway or garage floor works best.
- Dark wall or garage door: At least 25 feet away from your SUV. A painted wall or large door provides a clear surface to project the light beams.
- Masking tape or chalk: To mark reference lines on the wall.
- Level (optional but helpful): A small bubble level can help ensure your markings are accurate.
- Flashlight: To see adjustment screws inside the engine bay or behind the headlight assembly.
Make sure your SUV is parked on level ground and the tires are properly inflated. If your vehicle is leaning to one side due to uneven tire pressure or a heavy load, it can throw off your measurements.
Step-by-Step Guide to Adjusting Headlights
Now that you understand the importance and have your tools ready, let’s get into the actual process. Follow these steps carefully to adjust your Ford 2011 SUV’s headlights for optimal performance.
Step 1: Prepare Your Vehicle
Start by parking your SUV on a flat, level surface—like a driveway or garage floor. Make sure the vehicle is unloaded (no heavy items in the trunk or back seat) and the fuel tank is at least half full. This ensures the suspension is in its normal position, which affects headlight height.
Next, locate a dark, flat wall or garage door that’s at least 25 feet (about 7.6 meters) away. A white or light-colored wall works best because it clearly shows the light beam pattern. If you’re using a garage door, make sure it’s closed and clean.
Turn on your headlights to the low beam setting. This is the setting you’ll be adjusting. High beams are typically not adjustable and are designed to point straight ahead.
Step 2: Measure and Mark Reference Points
Now, measure the height from the ground to the center of each headlight. Use your measuring tape and record both measurements. Ideally, they should be within 1/4 inch of each other. If one is significantly higher or lower, note the difference.
Once you have the measurements, mark a horizontal line on the wall at the same height as the center of your headlights. Use masking tape or chalk to draw a straight line across the wall. This line will serve as your reference for proper beam height.
Next, measure the distance between the centers of the two headlights. Divide that number in half to find the midpoint. From that midpoint, mark vertical lines on the wall directly in front of each headlight. These vertical lines will help you check horizontal alignment.
For example, if your headlights are 60 inches apart, the midpoint is 30 inches. So, mark a vertical line 30 inches to the left and right of the center point on the wall.
Step 3: Locate the Adjustment Screws
Now it’s time to access the headlight adjustment screws. On most Ford 2011 SUVs, these are located on the top or side of the headlight assembly, under the hood.
Open the hood and look for small screws near the headlight unit. There are typically two types:
– Vertical adjustment screw: Controls up and down movement.
– Horizontal adjustment screw: Controls left and right movement (not all models have this).
The vertical screw is usually on the top of the headlight housing and may be labeled or marked with an up/down arrow. The horizontal screw, if present, is often on the side.
Use your flashlight to get a clear view. Some models may require you to remove a small cover or panel to access the screws. If so, gently pry it off with a flathead screwdriver.
Step 4: Adjust the Vertical Aim
With your reference lines in place, turn on the headlights and observe where the beams hit the wall. The goal is to have the brightest part of the beam (the “hot spot”) just below the horizontal reference line you marked.
If the beam is too high, use the Phillips screwdriver to turn the vertical adjustment screw counterclockwise. This will lower the beam. If it’s too low, turn the screw clockwise to raise it.
Make small adjustments—quarter turns at a time—and step back to check the result. It’s better to go slowly than to overcorrect.
The ideal position is when the cutoff line (the sharp edge between light and dark) is level and just below the horizontal tape line. This ensures the light illuminates the road without blinding oncoming drivers.
Step 5: Adjust the Horizontal Aim (If Applicable)
Not all Ford 2011 SUVs allow horizontal adjustment, but if your model does, this step is important for proper coverage.
Look at where the beams hit the vertical reference lines on the wall. The center of each beam should align with the vertical line directly in front of it.
If one beam is pointing inward or outward, use the horizontal adjustment screw to correct it. Turn the screw clockwise or counterclockwise to shift the beam left or right.
For most driving conditions, the beams should be parallel and slightly angled inward (about 1–2 inches inward at 25 feet). This helps illuminate the road shoulders without crossing into oncoming traffic.
Step 6: Test and Fine-Tune
After making your adjustments, turn off the headlights and let them cool for a few minutes. Then, turn them back on and recheck the alignment against your reference lines.
Make any final tweaks as needed. It’s normal to go back and forth a few times to get it just right.
Once you’re satisfied, take your SUV for a short test drive at night. Drive on a quiet road with minimal traffic and observe how the headlights perform. Do they illuminate the road clearly? Are oncoming drivers flashing their lights (a sign your beams are too high)? Adjust further if necessary.
Tips for Success
Here are some practical tips to make the process smoother and more accurate:
- Work in a dark environment: The darker it is, the easier it is to see the beam pattern on the wall.
- Have a helper: Ask someone to sit in the driver’s seat and turn the headlights on and off while you make adjustments.
- Use a level: If you have a small bubble level, use it to ensure your horizontal reference line is truly level.
- Check both low and high beams: While you’re adjusting, test the high beams to ensure they’re not pointing too high.
- Don’t over-tighten screws: The adjustment screws are delicate. Turn them gently to avoid stripping.
- Recheck after driving: After a few days of normal driving, recheck the alignment. Vibrations can sometimes shift the aim slightly.
Troubleshooting Common Issues
Even with careful adjustments, you might run into a few hiccups. Here’s how to handle common problems:
Headlights Still Too High or Too Low
If your beams are still not aligned after adjustment, double-check your reference measurements. Make sure your SUV is on level ground and the wall is flat. Also, confirm that you’re adjusting the correct screw—some models have multiple screws for different functions.
One Headlight Adjusts, the Other Doesn’t
This could mean the adjustment screw is stripped or the mechanism is stuck. Try turning the screw in both directions to see if it moves. If not, you may need to inspect the headlight assembly for damage or consult a professional.
Beams Are Uneven or Asymmetrical
Some Ford models are designed with slightly asymmetrical beams for better road coverage. However, if one beam is significantly higher or lower than the other, recheck your measurements and ensure both headlights are adjusted equally.
No Adjustment Screws Visible
On some trims or aftermarket headlight units, the adjustment screws may be hidden behind covers or require partial disassembly. Refer to your owner’s manual or a repair guide specific to your model.
When to Seek Professional Help
While most Ford 2011 SUV owners can adjust their headlights at home, there are times when it’s best to consult a professional:
- If the headlight assembly is damaged or cracked.
- If the adjustment screws are stripped or broken.
- If your SUV has adaptive headlights or automatic leveling systems (some higher trims do).
- If you’ve recently replaced the headlight assembly and it doesn’t seem to align properly.
In these cases, a certified technician can diagnose and fix the issue safely.
Conclusion
Adjusting the headlights on your Ford 2011 SUV is a simple yet important maintenance task that enhances safety and driving comfort. With just a screwdriver, a tape measure, and a flat wall, you can ensure your headlights are aimed correctly—illuminating the road without blinding others.
By following this guide, you’ve learned how to measure, mark, and adjust both vertical and horizontal alignment. You’ve also picked up tips to troubleshoot common issues and know when it’s time to call in a pro.
Remember, proper headlight alignment isn’t a one-time fix. Check your lights periodically, especially after repairs or long trips. A well-aligned headlight system means better visibility, safer driving, and fewer surprises on the road.
So grab your tools, head to the garage, and give your Ford the attention it deserves. Your night drives will be brighter, safer, and more confident.