
Resetting the Toyota RAV4 maintenance required light is simple and can be done at home in minutes. This guide covers methods for every RAV4 model year, from older models with mechanical odometers to newer ones with digital displays.
Key Takeaways
- Know Your Model Year: The reset procedure varies between older (pre-2013) and newer (2013+) RAV4 models due to differences in dashboard technology.
- Use the Trip Meter Button: Most RAV4s require using the trip meter or odometer reset button to access the maintenance reset menu.
- Turn the Ignition On (But Don’t Start the Engine): This powers the dashboard electronics without engaging the engine, allowing access to service menus.
- Press and Hold Buttons in Sequence: Timing and button combinations are crucial—follow the steps precisely to avoid errors.
- Confirm the Reset: After completing the steps, verify the light has turned off and the maintenance counter has reset to zero.
- Don’t Skip Scheduled Maintenance: Resetting the light doesn’t replace actual service—always follow your owner’s manual for oil changes, tire rotations, and inspections.
- Use a Scan Tool for Advanced Models: Some 2019+ RAV4s may require an OBD2 scanner for full reset functionality, especially after major services.
Understanding the Maintenance Required Light
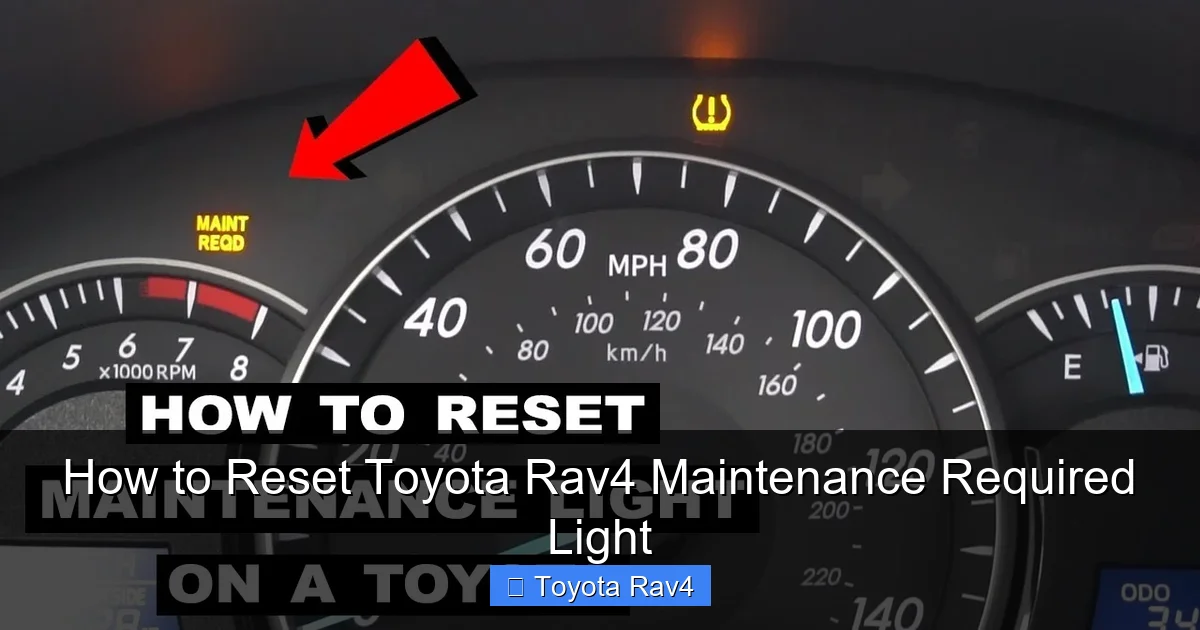
The maintenance required light in your Toyota RAV4 isn’t a warning of immediate danger—it’s a friendly reminder that your vehicle is due for routine service. Think of it like your phone’s low battery alert: it’s not broken, but it needs attention soon. This light typically comes on every 5,000 to 10,000 miles, depending on your driving habits and the model year of your RAV4.
Toyota designed this system to help owners stay on top of regular maintenance, which is key to keeping your RAV4 running smoothly for years. The light is part of the Maintenance Reminder System (MRS), which tracks mileage and prompts you when it’s time for an oil change, tire rotation, or other scheduled services. It’s not connected to engine diagnostics or fault codes—so if your check engine light is on, that’s a separate issue.
What Triggers the Light?
The maintenance required light is triggered by mileage intervals set by Toyota. For most RAV4 models, it illuminates every 5,000 miles for severe driving conditions (like frequent short trips, towing, or driving in dusty areas) or every 10,000 miles for normal driving. Some newer models use oil life monitoring systems that adjust intervals based on driving behavior, but the light still serves the same purpose: remind you to service your vehicle.
Why Reset It?
After you’ve completed the recommended maintenance—whether you did it yourself or took it to a shop—you’ll want to reset the light so it doesn’t keep bothering you. If you don’t reset it, the light will stay on, which can be distracting and may cause confusion later when you’re unsure if it’s a new reminder or an old one. Resetting it gives you a clean slate and ensures the next reminder comes at the correct interval.
Common Misconceptions
Many RAV4 owners assume the maintenance light means something is wrong with the car. That’s not true. It’s purely a scheduling tool. Also, some believe that disconnecting the battery will reset the light—while this sometimes works temporarily, it’s not reliable and can cause other electronic systems to reset (like radio presets or climate settings). The proper method ensures a clean, accurate reset every time.
Tools and Preparation Needed
Before you begin resetting the maintenance required light, make sure you have the right tools and are in the right mindset. The good news? You don’t need any special equipment for most RAV4 models. Just your hands, a few minutes, and a quiet place to focus.
What You’ll Need
- Your Toyota RAV4: Obviously, you’ll need access to the vehicle.
- Ignition Key or Key Fob: You’ll need to turn the ignition to the “ON” position, but you won’t start the engine.
- A Flat, Stable Surface: Park your RAV4 on level ground and engage the parking brake for safety.
- Owner’s Manual (Optional but Helpful): While this guide covers all major models, your manual may have model-specific notes.
- Patience and Focus: The reset process requires precise timing. Rushing can lead to mistakes.
Safety First
Always ensure your vehicle is parked safely before attempting any dashboard procedures. Turn off the engine, engage the parking brake, and make sure the gear selector is in “Park” (for automatic transmissions). Never attempt to reset the light while driving—this is not only dangerous but also impossible, as the system won’t respond while the car is in motion.
Model Year Matters
One of the most important things to know is your RAV4’s model year. The reset procedure changed significantly around 2013 when Toyota introduced newer dashboard designs with digital displays and more advanced electronics. Older models (2006–2012) typically use a mechanical odometer and a simpler reset process, while newer models (2013–present) often require navigating a digital menu. Knowing your year will help you follow the correct steps.
Check Your Dashboard Type
Take a quick look at your instrument cluster. If you have a traditional analog speedometer with a small LCD screen below it, you likely have an older model. If your dashboard has a full-color digital display or a larger central screen with multiple menus, you’re probably driving a newer RAV4. This distinction is crucial for choosing the right reset method.
Step-by-Step Reset Guide for Older RAV4 Models (2006–2012)
If you own a Toyota RAV4 from 2006 to 2012, you’re in luck—the reset process is straightforward and doesn’t require any digital menus. These models use a simple button combination on the instrument cluster to reset the maintenance light. Follow these steps carefully to ensure success.
Step 1: Turn the Ignition to “ON”
Insert your key into the ignition and turn it to the “ON” position. You’ll see all the dashboard lights illuminate, including the maintenance required light. Do not start the engine. The engine should remain off throughout this process. This powers the electronics without engaging the motor, which is essential for accessing the reset function.
Step 2: Locate the Trip Meter Button
Look at your instrument cluster, usually near the speedometer. You’ll see a small button labeled “TRIP” or “ODO/TRIP.” This button cycles through trip meters (Trip A, Trip B) and the main odometer. Press it a few times to familiarize yourself with its function. On some models, it may be on the steering column stalk, but most RAV4s have it directly on the cluster.
Step 3: Reset the Trip Meter
Press and hold the trip meter button. While holding it, turn the ignition back to the “OFF” position, then immediately turn it back to “ON.” Keep holding the button. You should see the odometer digits begin to count up rapidly. This indicates the system is in reset mode.
Step 4: Wait for the Light to Flash
Continue holding the button until the maintenance required light starts to flash. This usually takes about 5–10 seconds. Once it flashes, release the button. The light should then turn off completely. If it doesn’t flash, repeat the process, ensuring you’re holding the button the entire time during the ignition cycle.
Step 5: Confirm the Reset
Turn the ignition off, wait a few seconds, then turn it back on. The maintenance required light should no longer be illuminated. If it’s still on, repeat the steps. Sometimes it takes two attempts, especially if the timing wasn’t perfect the first time.
Pro Tip: Use Trip A for Tracking
After resetting, consider setting Trip A to zero. This way, you can easily track when your next 5,000 or 10,000-mile service is due. Simply press the trip button until you see “Trip A,” then hold the button until it resets to 0.0. This simple habit helps you stay proactive about maintenance.
Step-by-Step Reset Guide for Newer RAV4 Models (2013–Present)
Newer Toyota RAV4 models (2013 and later) feature updated dashboards with digital displays and more complex electronics. The reset process is slightly different and involves navigating a menu system using the trip meter button or steering wheel controls. Don’t worry—it’s still doable without any tools.
Step 1: Turn the Ignition to “ON”
As with older models, start by turning the ignition to the “ON” position without starting the engine. Wait for the dashboard to fully power up. You should see the maintenance required light illuminated.
Step 2: Access the Maintenance Menu
Press the trip meter button (usually on the instrument cluster) repeatedly until you see “MAINT REQD” or “OIL MAINT” on the display. On some models, you may need to press and hold the button for a few seconds to enter the menu. The exact wording varies by year, but look for anything related to maintenance or oil.
Step 3: Enter Reset Mode
Once you see the maintenance message, press and hold the trip meter button for about 5–10 seconds. The display should change, and you may see a message like “RESET” or “CLEAR.” Keep holding until the system confirms the reset.
Step 4: Confirm the Reset
Release the button and turn the ignition off. Wait 10–15 seconds, then turn it back on. The maintenance required light should be off. If it’s still on, repeat the process, making sure you’re holding the button long enough.
Alternative Method: Using Steering Wheel Controls (2019+)
On 2019 and newer RAV4 models with advanced infotainment systems, you may need to use the steering wheel controls. Turn the ignition on, then use the arrow buttons on the left side of the steering wheel to navigate to “Settings” > “Vehicle” > “Maintenance.” From there, select “Reset” and confirm. This method is more intuitive but requires familiarity with the menu layout.
What If It Doesn’t Work?
If the light won’t reset using the button method, your RAV4 may require a professional scan tool. Some newer models have enhanced security features that prevent manual resets after certain services. In this case, visit a Toyota dealer or a trusted mechanic with an OBD2 scanner capable of resetting Toyota maintenance lights.
Troubleshooting Common Issues
Even with clear instructions, things don’t always go as planned. Here are some common problems RAV4 owners face when resetting the maintenance light—and how to fix them.
The Light Won’t Turn Off
If the maintenance required light remains on after following the steps, double-check your model year and method. Older models require the ignition cycle trick, while newer ones need menu navigation. Also, ensure you’re not starting the engine—only turning the ignition to “ON.” Starting the engine can interrupt the reset process.
Button Doesn’t Respond
If the trip meter button feels stuck or unresponsive, it may be dirty or worn. Try cleaning around the button with a soft cloth and a bit of isopropyl alcohol. Avoid using water or harsh chemicals. If the button is physically damaged, it may need replacement, but this is rare.
Dashboard Goes Blank
If your dashboard lights flicker or go out during the process, you may have turned the ignition too far or too quickly. Turn the key back to “OFF,” wait 10 seconds, then try again. Make sure the battery is in good condition—a weak battery can cause electrical issues during reset attempts.
Light Resets But Comes Back Immediately
This usually means the system didn’t fully register the reset. Try the process again, holding the button a few seconds longer. On some models, you may need to drive a short distance (1–2 miles) for the system to confirm the reset. If it persists, consult your owner’s manual or a technician.
Check Engine Light Is Also On
If the check engine light is illuminated along with the maintenance light, don’t ignore it. The maintenance light is routine, but the check engine light indicates a potential mechanical issue. Use an OBD2 scanner to read the code, or visit a mechanic. Resetting the maintenance light won’t fix underlying problems.
When to Visit a Professional
While most RAV4 owners can reset the maintenance light at home, there are times when professional help is the best option. Knowing when to call in the experts can save you time, frustration, and potential damage to your vehicle’s electronics.
Advanced Model Years (2019+)
Starting in 2019, Toyota introduced more sophisticated onboard systems that sometimes require a scan tool for full reset functionality. If your RAV4 has a hybrid powertrain or advanced driver-assistance features, the manual reset may not work. In these cases, a Toyota-certified technician can reset the light using specialized equipment.
After Major Repairs
If you’ve recently had major work done—like a transmission service, brake job, or engine repair—the maintenance light may be tied to multiple systems. A professional can ensure all reminders are properly reset and that no other issues are present.
Persistent Electrical Issues
If you’ve tried the reset multiple times and the light won’t turn off, or if other dashboard warnings appear, there may be an electrical fault. This could be a failing sensor, a wiring issue, or a problem with the instrument cluster. A diagnostic scan can pinpoint the cause.
Lack of Confidence
If you’re unsure about any step or uncomfortable working with your vehicle’s electronics, it’s perfectly okay to visit a service center. Many Toyota dealers offer quick, low-cost reset services—sometimes even for free if you’re a regular customer.
Maintaining Your RAV4 Beyond the Light
Resetting the maintenance light is just one part of vehicle care. To keep your Toyota RAV4 running smoothly for years, follow a consistent maintenance schedule based on your driving habits and the recommendations in your owner’s manual.
Follow the Maintenance Schedule
Toyota provides a detailed maintenance schedule in the owner’s manual, typically divided into “Normal” and “Severe” driving conditions. Normal includes highway driving with regular oil changes every 10,000 miles. Severe includes city driving, short trips, towing, or extreme temperatures—requiring service every 5,000 miles.
Keep Records
Whether you do the work yourself or use a shop, keep a log of all maintenance. Note the date, mileage, and services performed. This helps track intervals and can increase your RAV4’s resale value.
Use Quality Parts and Fluids
Always use Toyota-approved or high-quality aftermarket parts and fluids. Cheap oil or filters can reduce engine life and void warranties. Stick to synthetic oil for most modern RAV4s, and replace cabin and engine air filters regularly.
Listen to Your Vehicle
Pay attention to unusual noises, vibrations, or changes in performance. These can signal issues before the maintenance light comes on. Early detection prevents costly repairs.
Schedule Regular Inspections
Even if the light hasn’t come on, have your RAV4 inspected annually. A technician can check brakes, suspension, tires, and fluids to catch problems early.
Conclusion
Resetting the Toyota RAV4 maintenance required light is a simple task that every owner should know how to do. Whether you drive an older model with a mechanical odometer or a newer one with a digital display, the process takes just a few minutes and requires no special tools. By following the correct steps for your model year, you can keep your dashboard clean and your maintenance schedule on track.
Remember, the light is a helpful reminder—not a warning. Resetting it doesn’t replace actual service, so always follow your owner’s manual and stay proactive about oil changes, tire rotations, and inspections. With proper care, your RAV4 will continue to deliver reliable performance, comfort, and safety for many miles to come.
FAQs
How often does the maintenance required light come on in a Toyota RAV4?
The light typically comes on every 5,000 to 10,000 miles, depending on your driving conditions and model year. Severe driving (city traffic, short trips) triggers it sooner, while highway driving allows longer intervals.
Can I reset the maintenance light without turning on the engine?
Yes, you only need to turn the ignition to the “ON” position. Starting the engine is not required and can interfere with the reset process.
Will disconnecting the battery reset the maintenance light?
Sometimes, but it’s not reliable. It may reset the light temporarily, but it can also reset radio settings, clock, and other electronics. Use the proper button method instead.
Why won’t my maintenance light reset even after following the steps?
This could be due to incorrect timing, a weak battery, or a model that requires a scan tool. Try the process again, or consult a technician if it persists.
Is the maintenance required light the same as the check engine light?
No. The maintenance light is a service reminder. The check engine light indicates a mechanical or emissions issue and should be diagnosed immediately.
Do I need a special tool to reset the light on a 2020 RAV4?
Most 2020 RAV4s can be reset manually using the steering wheel controls or trip button. However, some hybrid or advanced models may require an OBD2 scanner for full functionality.
This is a comprehensive guide about how to reset toyota rav4 maintenance required light.
Key Takeaways
- Understanding how to reset toyota rav4 maintenance required light: Provides essential knowledge
Frequently Asked Questions
What is how to reset toyota rav4 maintenance required light?
how to reset toyota rav4 maintenance required light is an important topic with many practical applications.